Category: Blog

17 Apr 2024 Theme: Solar Eclipse & Street Photography

With the Apr 8th solar eclipse happening between the March & April photography group meetings. It was proposed that Solar Eclipse be a theme. Additionally, since photographing people gathering and watching the eclipse would be interesting. Street photography was added as a second theme. Cathy wanted to photograph the people gathered at Reuben H Fleet for the event. As always, sharing photos regardless of theme is an option. Some of us considered traveling to the area of 100% totality since San Diego would only experience ~55% coverage. But with weather concerns and busy schedules, none of the group managed to make it an area of 100%. Here are this month’s collection of photos:
Click any image for full resolution although photos are downsized to ~4mb for online sharing.

Cathy

Gary

Jerry

Jim

Sharon

20 Mar 2024 Theme: Spring

We had a lively discussion this month and everyone shared their favorite images, most theme-related. Anza-Borrego wildflowers were a popular theme-related subject as most SoCal photographers enjoy the post-wet-winter super-blooms. Carlsbad Flowers Fields, Yosemite, and Alabama Hills were also represented. Here are the images presented:

Ralf

John

Jerry

Gary

Cathy

Sharon

Mikky

Barbara

Jim

Tutorial: Photoshop Sky Replacement AI

Adobe Photoshop can easily replace an empty sky with skies in Adobe’s library or your own. There are times when you’ve got a great photo but, because of timing or other circumstances, you miss a more interesting sky by minutes or hours or days.
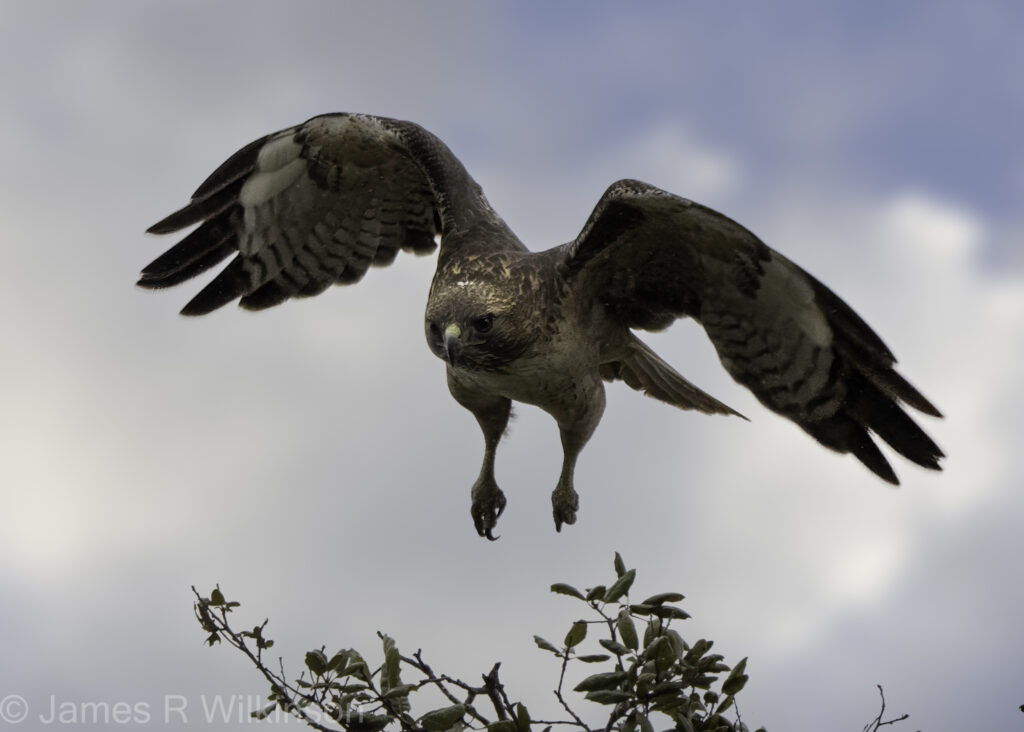
I photographed a Red Tail Hawk against grey rainy skies. Because of the bright backlighting, I added +2 stops compensation. So the bright, flat sky, was completely washed out. To add a more interesting sky, I used Photoshop’s Sky Replacement (Menu: /Edit/Sky Replacement) to replace the background. I also applied a Filter/Gaussian Blur to soften the focus on the crisp clouds, adding bokeh.
Purist will scoff at using tools as this but there are times and circumstances when this is fine in my photography. As long as I’m honest about what edits I’ve done and they aren’t presented as untouched. I grew up with photographic film artists like Jerry Uelsmann and Man Ray. Their photographic manipulations were part of their vision, creative process and integral to their photographic process.

If you prefer to use your own sky photos, once the sky replacement dialog box opens, click the v next to the sky thumbnail then the + in the lower right. A file select dialog box will open, select the photo – it can be a raw file – then click Open. This will add the sky to the existing library. Skies can be manipulated, scaled, flips, rotated, and edited. Although, you may want to do all your edits before importing the image into the library.

Adobe’s instructions on using your own skies:

Get the sky you love in three easy steps.” Adobe

Note – the following text if from Adobe’s sky replacement web page:

The Sky Replacement tool uses artificial intelligence to insert a new sky in place of the sky in the original image. Thanks to Sky Replacement algorithms, Photoshop can analyze and recognize the current sky and then plug in a new one. Upgrade your original sky in three steps:

1. Go to Select and choose Sky from the drop-down menu.

2. Choose Edit › Sky Replacement.

3. Use the sky drop-down to select a new sky from one of the preset sky images.


Adobe Photoshop offers a collection of skies, organized in three categories: Blue Skies, Spectacular, and Sunset. Blue Skies include daytime skies in solid blue or with clouds. Spectacular skies range from dramatic storm clouds and sunscapes to rainbows and a night sky. Sunset features yellow, orange, pink, and red sunset hues.

You can also import and use your own sky image to replace the sky. To do this, click the down caret and then the plus sign — you can import any JPG or PNG image.

“The best thing about Sky Replacement is that everything remains editable via the traditional Photoshop workflow,” says photoshop expert Jesús Ramirez. “This is not like a filter where once you apply it, you’re stuck with it. You actually have a lot of control, and all these controls eventually become a layer mask or adjustment layer.”

https://www.adobe.com/creativecloud/photography/discover/sky-replacement.html#:~:text=Get%20the%20sky,or%20adjustment%20layer.%E2%80%9D

Tutorial: Nik Collections (Google Version)

Disclaimer – Nik Collections is a product currently sold by DXO for $149. But versions have been around for a long time, originally developed in 1995 by Nik Multimedia & sold for $600/copy. Google acquired it in 2012, sold it for $150/copy, then distributed it for free in 2016. DXO bought it in 2017 and currently updates and improves it.
The free google version (courtesy of Techspot: Windows or Mac) is what I’ve been using successfully with the latest version (v13.1, Jan 2024) of Lightroom Classic. Some websites suggest there are bugs using the 2016 version with the latest Adobe products. So far, I’ve had good luck and results but your mileage may vary. I’ve only used the Silver Efex Pro 2 module, not the sharpener, analog, or other modules. For more information, google “Nik Collection free version”.

Black & White Presets

I’ve been interested in film simulations both color and b&w. But I have been somewhat disappointed in many I’ve tried, especially b&w. I like the idea of making my images less digital looking, adding film-like qualities. Many digital photographers have been resorting to mist or glimmer filters to take the ‘digital-edge’ off. These soften the highlights without affecting the shadows. So trying these filters and tinkering with the digital camera color science has been something I’m exploring.
When converting color images to black&white, I haven’t like the results when applying a film simulation. I loved Plus-X and Tri-X film, back-in-the-day. But the artificial grain added by their film simulation presets don’t work for me. So I’ve been trying Silver Efex Pro 2, part of Nik Collection, to convert my color images to black & white. As with any digital darkroom tool, Silver Efex Pro 2 gives me a base b&w image to work on. Nik Collection are a group of plugins for Lightroom and Photoshop. So the color image is exported by Lightroom (with or without Lightroom edits) into a Nik Collection toolbox. I prefer the Silver Efex Pro 2 modules. You cycle through the different presets then save back into Lightroom for further edits and final output. Some of Silver Efex’s presets are extreme but I often get a better result than Lightroom’s b&w presets. I’m sure I could end up with similar results using Lightroom but found Silver Efex to be a better starting point.

Example from Reflections/Komorebi (click each image & read the filename for the Silver Efex Preset used)

Tutorial: Creating an Adobe Portfolio

If you subscribe to Adobe Creative Cloud, you can create a free online portfolio. It’s not really free since it requires a subscription but it is a nice addition to their software suite.

There are plenty of YouTube tutorials on how to setup an Adobe portfolio website:

https://www.youtube.com/results?search_query=adobe+portfolio+for+photographers

Or you can follow the instructions below to get started, it’s easy if you’ve created web content before:

  1. Sign into portfolio.adobe.com using your Adobe login credentials
  2. Select Full Portfolio or Welcome; they’re basically the same but with
    Welcome, you start by creating a personalized cover page then adding portfolio pages.
    Full Portfolio builds a home page with a cover image for every gallery page-album. You can create a cover page later if you decide you prefer a simpler home page. Since it really doesn’t matter, I selected Full Portfolio
    • Full Portfolio has 12 themes to choose from so select your favorite. You can always change your theme later. Example site: fotoikigai.myportfolio.com (note that I have assign a custom domain jrwilkinson.com to this portfolio site).
    • Welcome has 6 themes so if you start by creating a Welcome page, select the theme. You can always change your theme later. Example site: jrwilkinson.myportfolio.com
  3. With either Full Portfolio or Welcome selected, pick a theme. You can scroll through the different themes to get an idea of their look. Once you find one that looks promising, click on Use This Theme in the upper right to create your portfolio website.
  4. You are ready to add content to your portfolio – click the blue circle + in the upper left to begin, next select what kind of page you want to build
    • I uploaded photos at lightroom.adobe.com, organizing them into albums. Your Creative Cloud subscription provides 100gb of space to store photos. Storing images here makes them easily available for building your portfolio pages. Right now, I only use this cloud storage for my website portfolio. But if you work on multiple devices like laptop, desktop, and tablet. Storing your content here makes them available everywhere.
    • In the editor, click the + button and select Lightroom Albums. This will take you to your Lightroom.adobe.com webpage, & display your albums.
    • Select a Lightroom Album then Import Selected in the lower right. A new webpage will be created with those images.
  5. Under Settings/Domain Name: the portfolio website will be labeled <your adobe account name>####.myportfolio.com. Under Settings/Site Subdomain, you can change the first part of myportfolio.com. I changed mine to fotoikigai.myportfolio.com. They allow you to change this up to 5 times so it isn’t permanent.
  6. Custom domain – if you own or want your own custom domain for your portfolio. Under Settings/Domain Name, you can register/buy one through Adobe third party, NameCheap (good affordable domain registrar), or link one you already own or registered elsewhere.

To create a Page, click the blue circle Add Page + in the upper left. Then select the type of content – I’ve been using Lightroom Album.

Once you create your portfolio pages, there are a few tips to reorganize your images. In the page editor, there are blue boxes in the upper left corner of each webpage element. Single-click these boxes for options on reorganizing the gallery.

If you choose not to have a cover page and end up with a collection of album thumbnails. You can change which photo from an album is the cover image. Hover over the cover image you want to change, single-click the blue box labeled Page, then Edit Cover Image. Select the new image from the photo album to use as the cover then click Update Live Site to save the change.

As long as Adobe keeps the webhosting feature part of the Creative Cloud subscription. I think it’s a great add-on to their powerful photography, video, and graphic art software suite. 100gb of storage is plenty unless you store full-resolution images. They offer additional storage for a price of course. I’ll keep using Adobe myportfolio and assess its performance compared to independent webhosting. So far it looks pretty promising although the template themes are limiting.

Tutorial: Using Photoshop To Fix Curved Pano

I enjoying taking panoramic photos with my cameras. iPhone photos, when held level, look pretty good. But sometimes an iPhone or stitched panorama is has barrel distortion and is bowed in the middle. If you google how to repair such issues, the search will recommend using Photoshop’s Filter-Adaptive Wide Angle. This can straighten the center of the image but can cause side-effects on the left and right sides. Photoshop’s Edit-Puppet Warp can correct specific areas of the image, leaving the rest unaffected. Here is an example of an iPhone Panorama with both corrections applied.
Note: these correction require a working layer (ie background copy) so if the controls are greyed-out. Create a background layer to activate these commands.

iPhone Hotel Del Coronado panorama uncorrected

iPhone Hotel Del Coronado panorama, Adaptive Wide Angle corrected. There is still a slight bow plus the image is slightly cropped.

iPhone Hotel Del Coronado panorama, Puppet Warp corrected. Notice the left and right edges are not straightened but also not distorted

Adaptive Wide Angle

Using Photoshop Filter Adaptive Wide Angle requires setting two horizon points, drawing a straight line as a guide then bending the line along the horizontal plane. Then you select & apply the lens correction (Auto, Fisheye, Perspective, Full Spherical). Fisheye will straighten the building but distorts the sides.

Puppet Warp

This is my first try at using Puppet Warp and I was impressed with its flexibility. You can apply corrections to specific areas without affecting the entire image. Adaptive wide angle affects the entire image, puppet warp affects only the area you work on.

Both corrections have their application. But I prefer the Puppet Warp’s ability to just affect the hotel and leave the edges unaffected. The Adaptive Wide Angle would be more for correcting wide angle lens distortion as I’m sure it designed to do.

20 Dec 2023 Theme: Winter

The December theme proposed last meeting by Jerry was ‘Winter’. Eight participants of the December 20th meeting shared theme-related photos as well as others. Finding photos in Southern California is often challenging so many we from travels to colder climates or holiday-related. Here are the photos presented by the group:

Barbara

Cathy

Gary

Jerry

John

Jim

Ralf

Sharon

28 Oct 2023 Meetup: Coronado Moonrise Photo Shoot

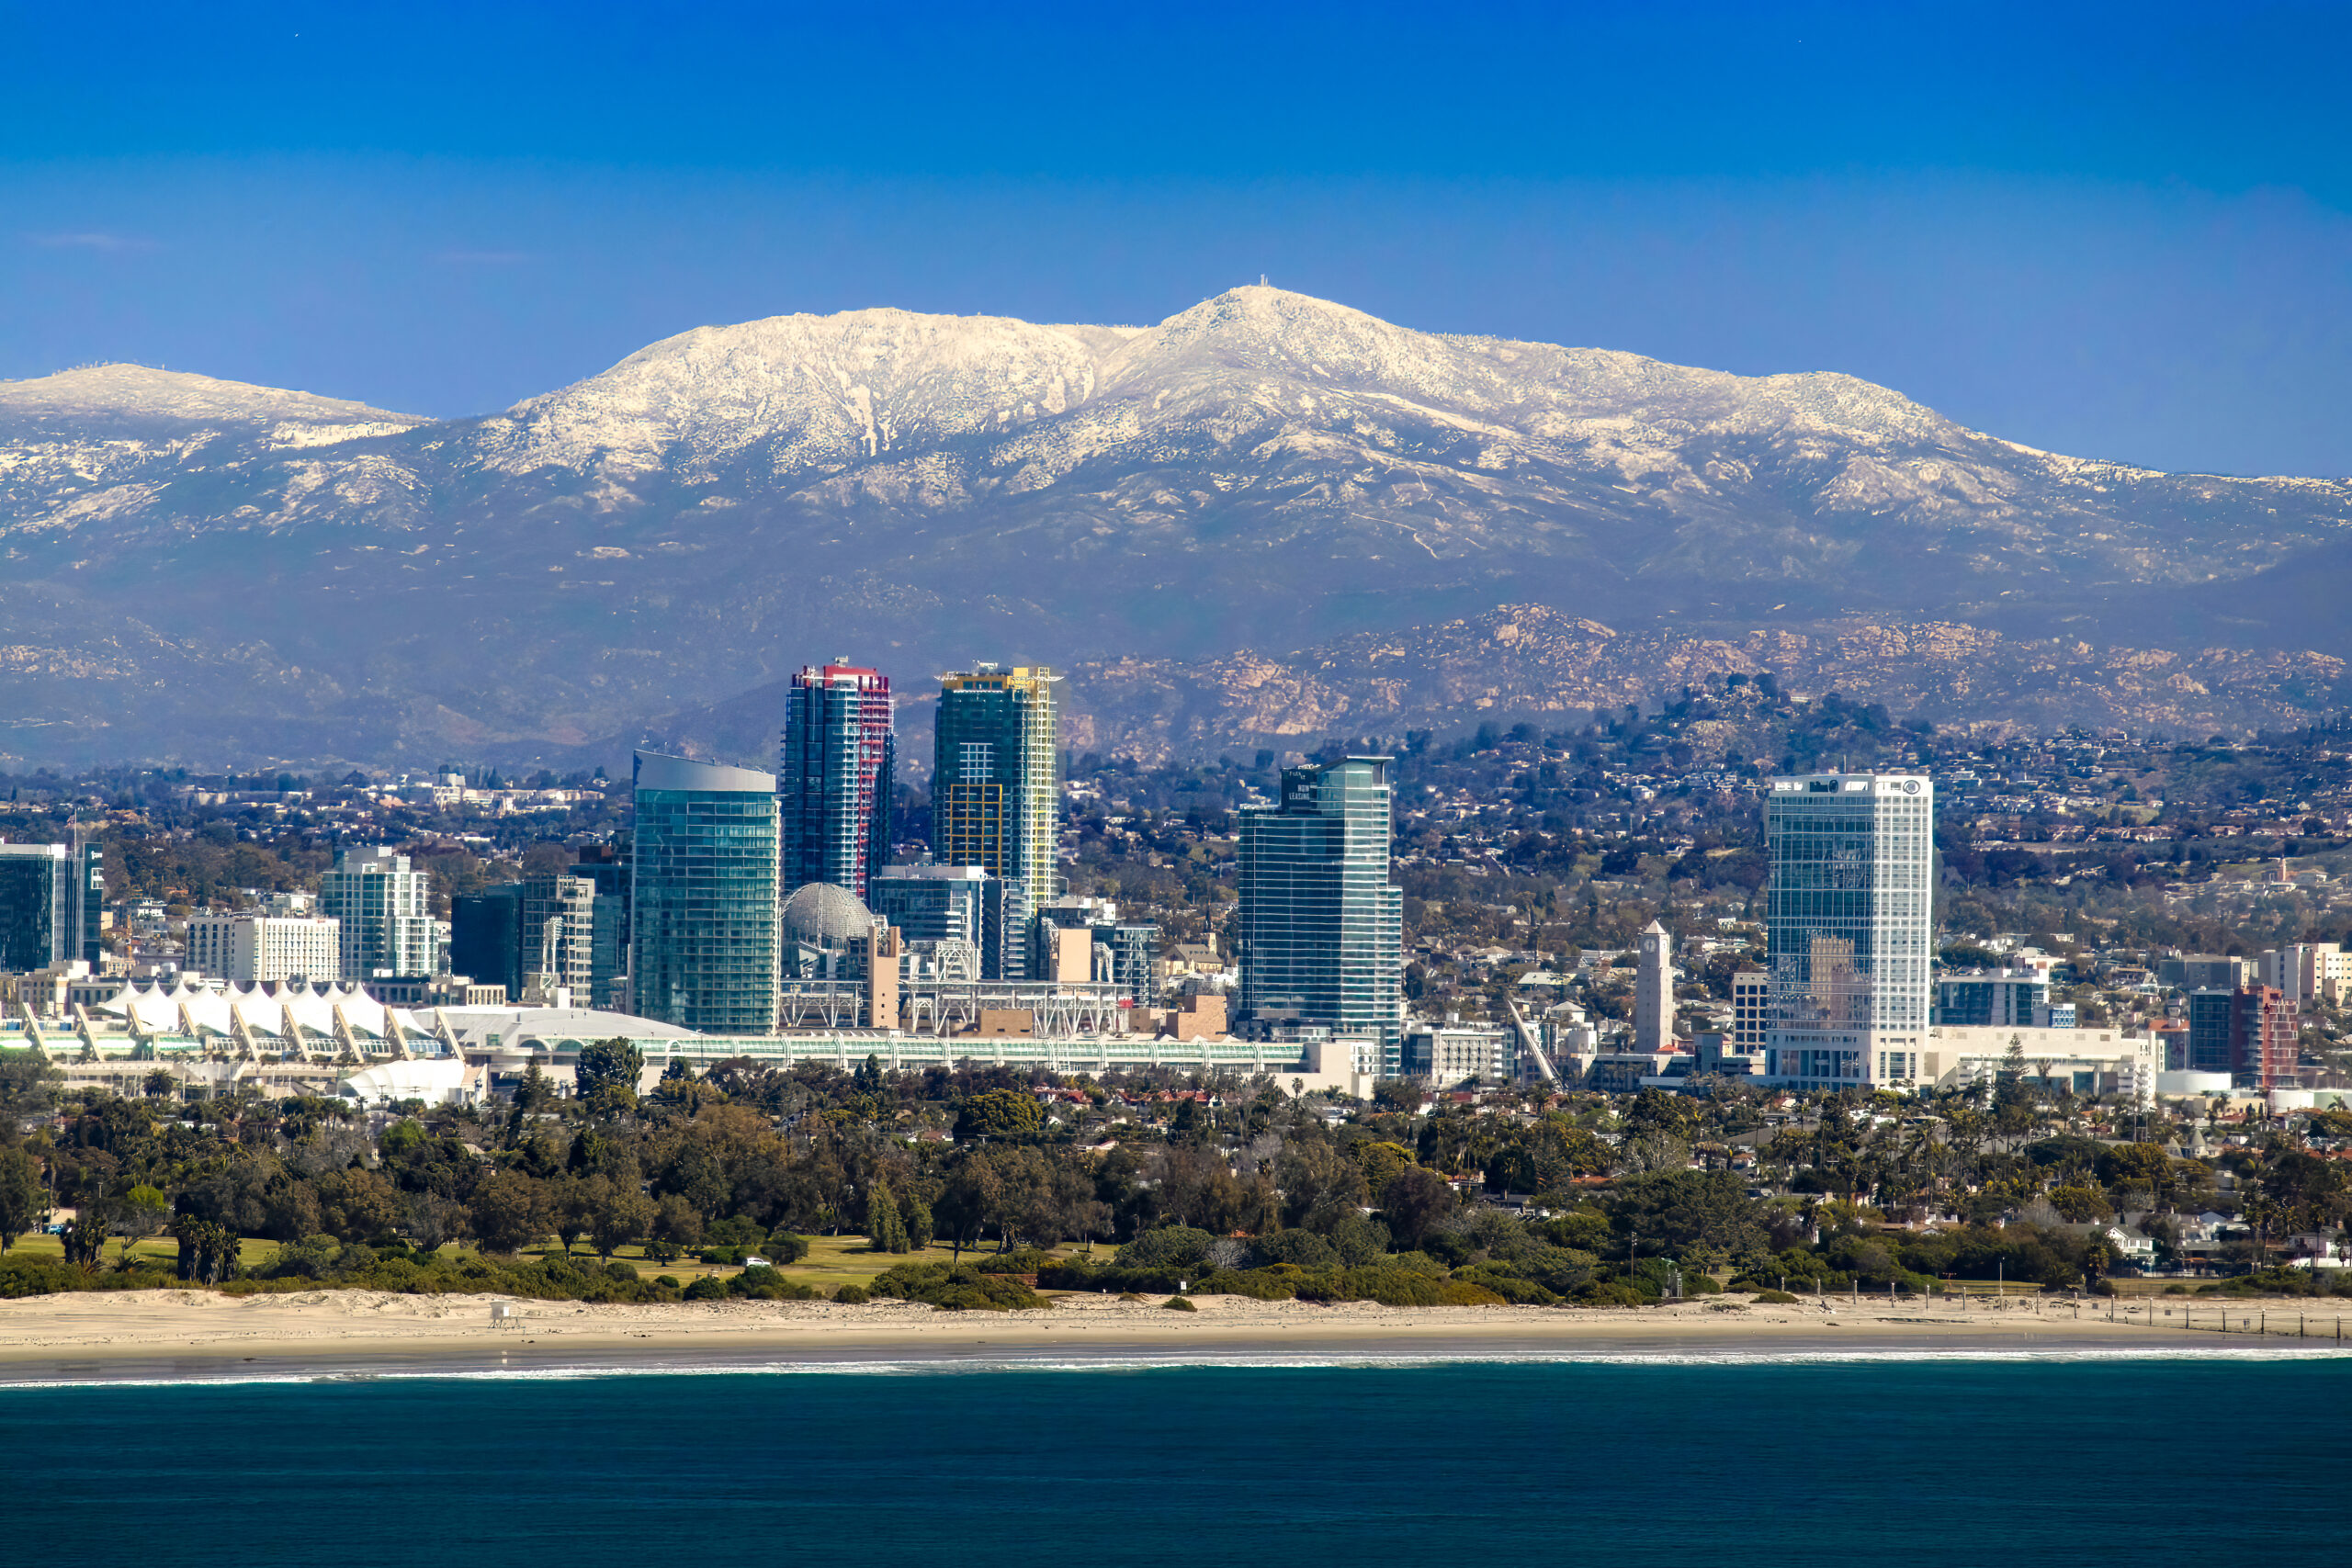
Several photographers from the UCSD Photography Interest Group met-up at Bayview Park to photograph the full moon rising over San Diego. The weather cooperated and it was a fairly clear evening and sunset. Some atmospheric haze was visible in the distance but overall the San Diego Skyline was clear. The moon rose towards the south bay so its position was not ideal for a shot of the taller buildings. It rose over Petco Park and the San Diego Convention Center.
Ideal photographic conditions of blue hour and the moon only lasted ~15mins. It will be interesting to see the variety of photos taken. There’s only so much you can do but post-processing can make a difference.

Jerry – Here are some images Jerry took

Jim – Here are some of the best images Jim shared

Cathy

18 Oct 2023 Theme: Fall

October’s photography theme was Fall – an appropriate topic for the season. Meeting participants shared photos that matched the theme. The meeting was hosted by John Leighton since Jim Wilkinson was off on a photo scouting trip to Lone Pine/Alabama Hills in the Eastern Sierras of California. Here are some of the photos shared:

Jerry

Sharon

Gary

Cathy