Gary shared photos taken at Safari Park during recent visits. His Nikon 100-400mm lens is a great piece of gear to catch his favorite animals & their behavior.


Gary shared photos taken at Safari Park during recent visits. His Nikon 100-400mm lens is a great piece of gear to catch his favorite animals & their behavior.

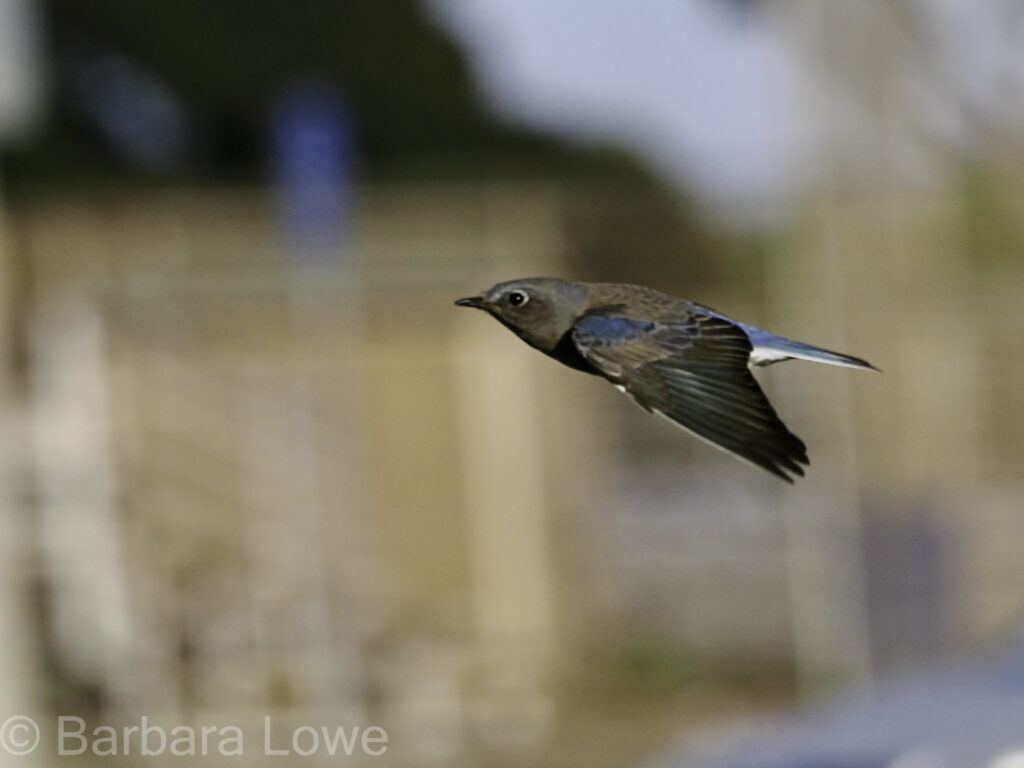
I am always impressed with the images Barbara captures on her walks around San Diego trails. Burrowing Owl from Robb Field and some other great bird images from around San Diego.
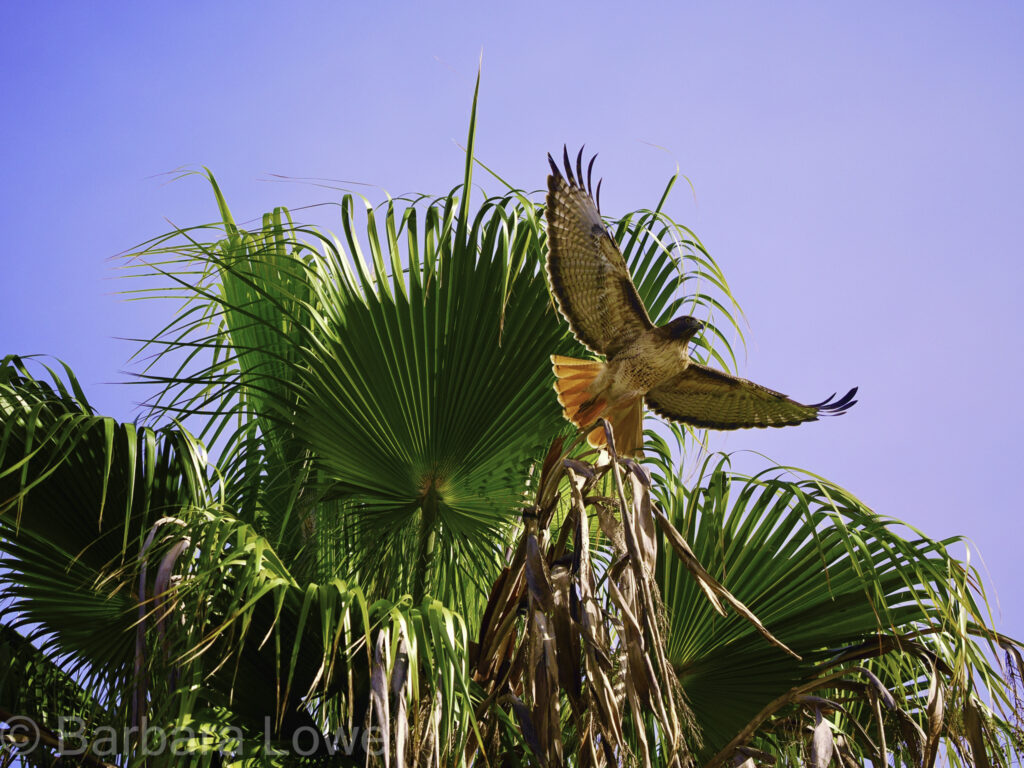


Cathy contributed bird & wildlife photos from Hawk Watch and Safari Park.


We had a good group meeting Wednesday Feb 21st with participants sharing their bird & wildlife images. This is a popular theme category especially with San Diego Zoo Safari Park’s free February admission for seniors. The Safari Park is a great venue for birds & wildlife photography since you have lots of opportunity to grab interesting animal behavior.
Barbara
Cathy
Gary
Jake


John


Jim


Mikky


Sharon


John had an alternate perspective on ‘birds & wildlife’, sharing some fun photo from the San Diego Holiday Bowl parade. They did fit the theme with only a slight stretch of the imagination.
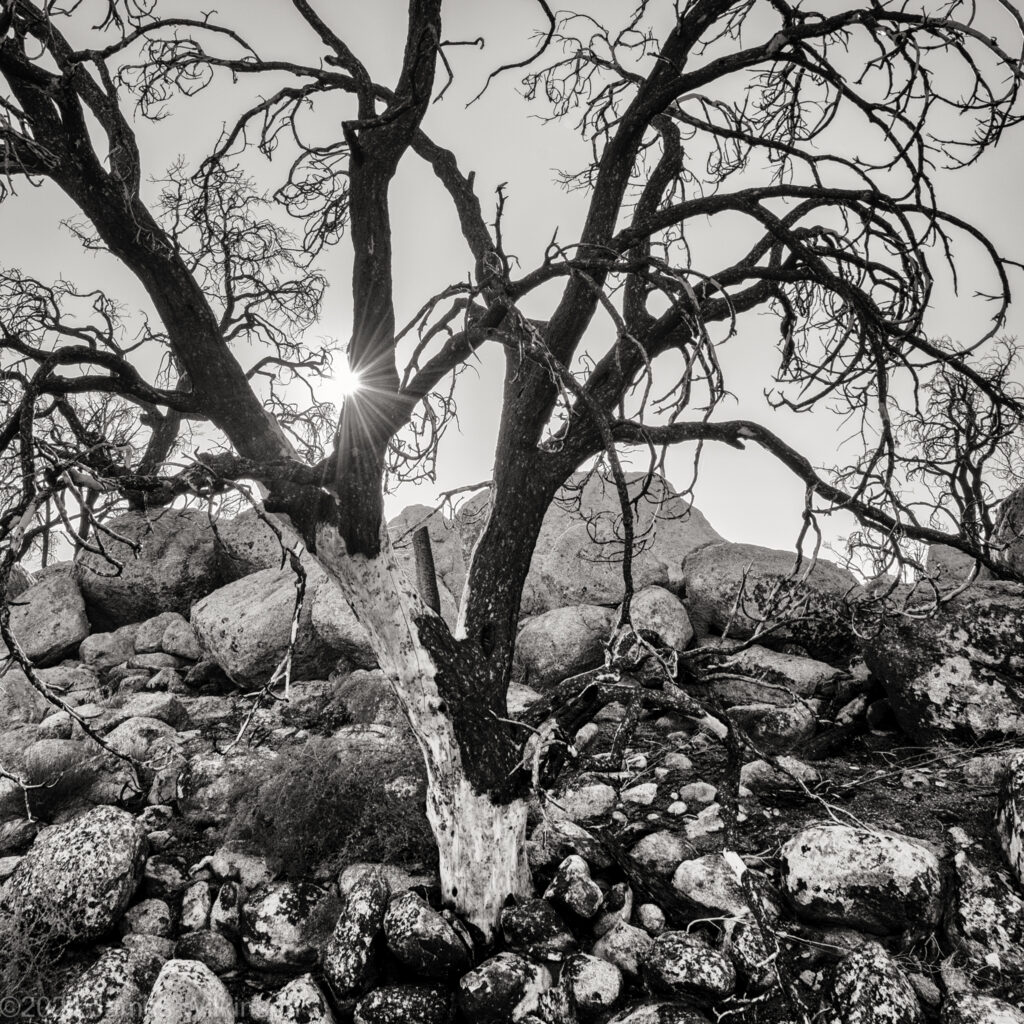
After focusing on primarily landscape photography, Jim has developed interest in improving his bird and wildlife photos. During a recent Safari Park visit, he experimented with the ‘get down to eye-level’ with the birds style. It was effective and will definitely become standard practice. He also visited Hawk Watch in Ramona and photographed the bird ‘ambassadors’. After Hawk Watch, he stalked a Red Tail Hawk in Ramona Grasslands during rainy weather. Using these plain sky images, did a quick demonstration of Photoshop’s sky replacement AI>

Disclaimer – Nik Collections is a product currently sold by DXO for $149. But versions have been around for a long time, originally developed in 1995 by Nik Multimedia & sold for $600/copy. Google acquired it in 2012, sold it for $150/copy, then distributed it for free in 2016. DXO bought it in 2017 and currently updates and improves it.
The free google version (courtesy of Techspot: Windows or Mac) is what I’ve been using successfully with the latest version (v13.1, Jan 2024) of Lightroom Classic. Some websites suggest there are bugs using the 2016 version with the latest Adobe products. So far, I’ve had good luck and results but your mileage may vary. I’ve only used the Silver Efex Pro 2 module, not the sharpener, analog, or other modules. For more information, google “Nik Collection free version”.
Black & White Presets
I’ve been interested in film simulations both color and b&w. But I have been somewhat disappointed in many I’ve tried, especially b&w. I like the idea of making my images less digital looking, adding film-like qualities. Many digital photographers have been resorting to mist or glimmer filters to take the ‘digital-edge’ off. These soften the highlights without affecting the shadows. So trying these filters and tinkering with the digital camera color science has been something I’m exploring.
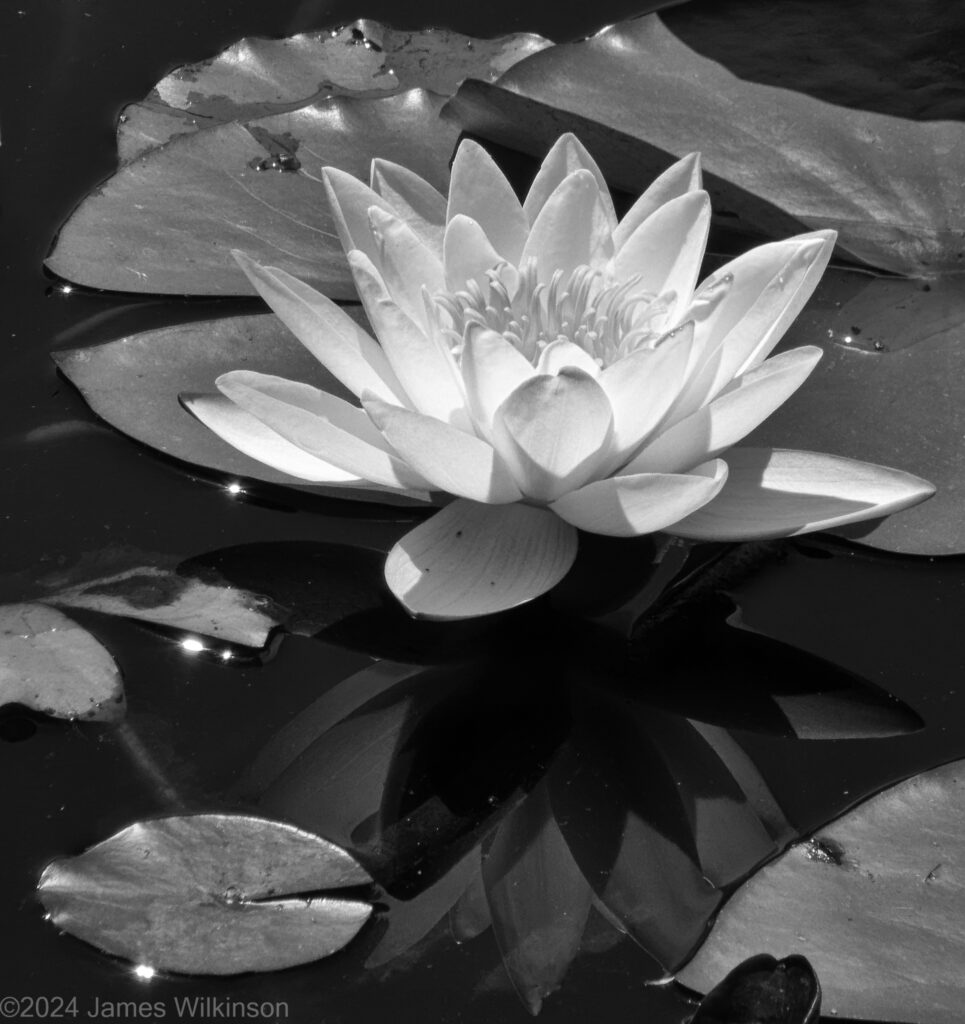
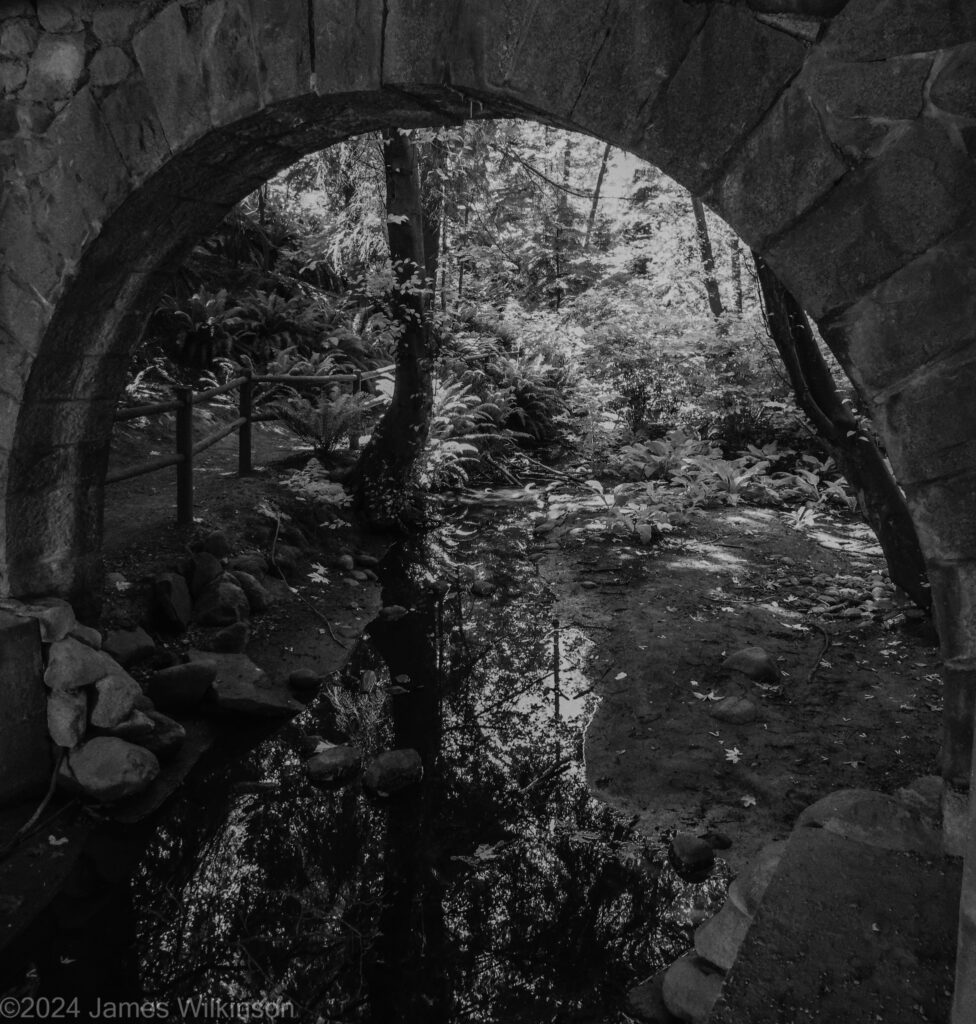
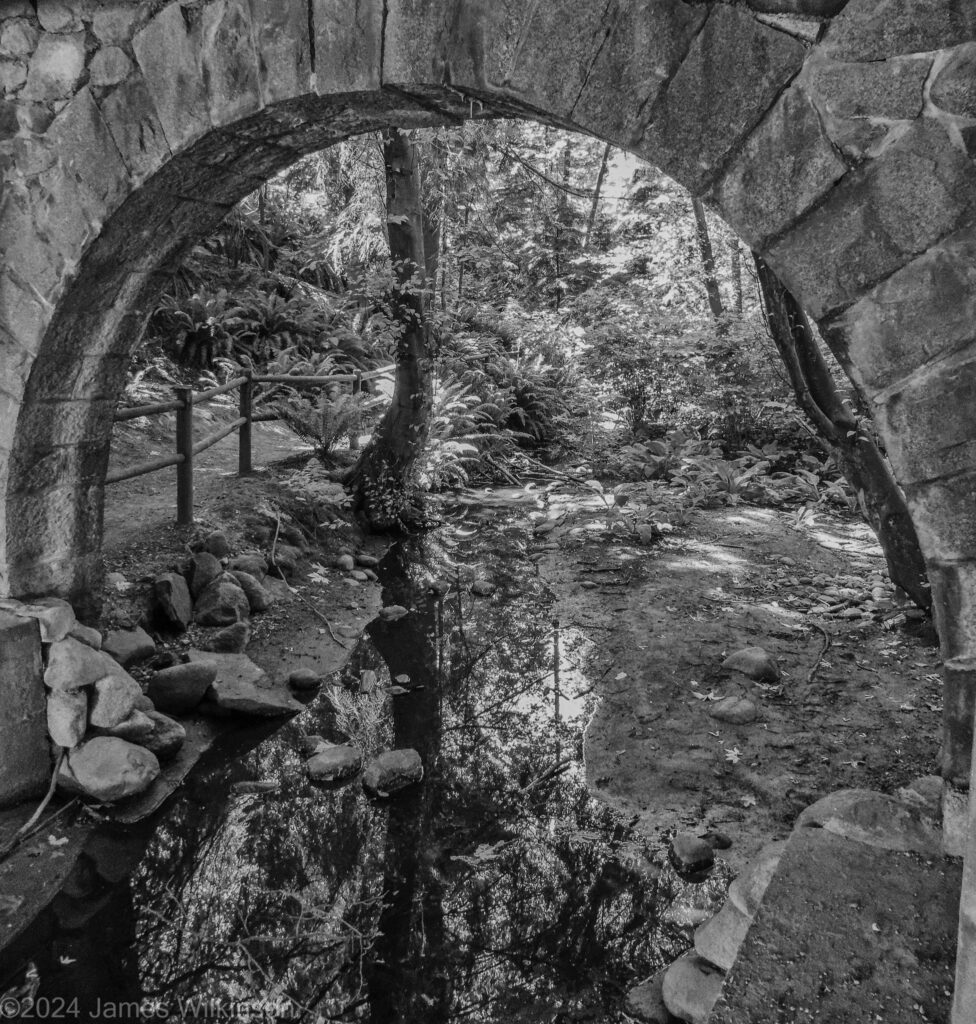
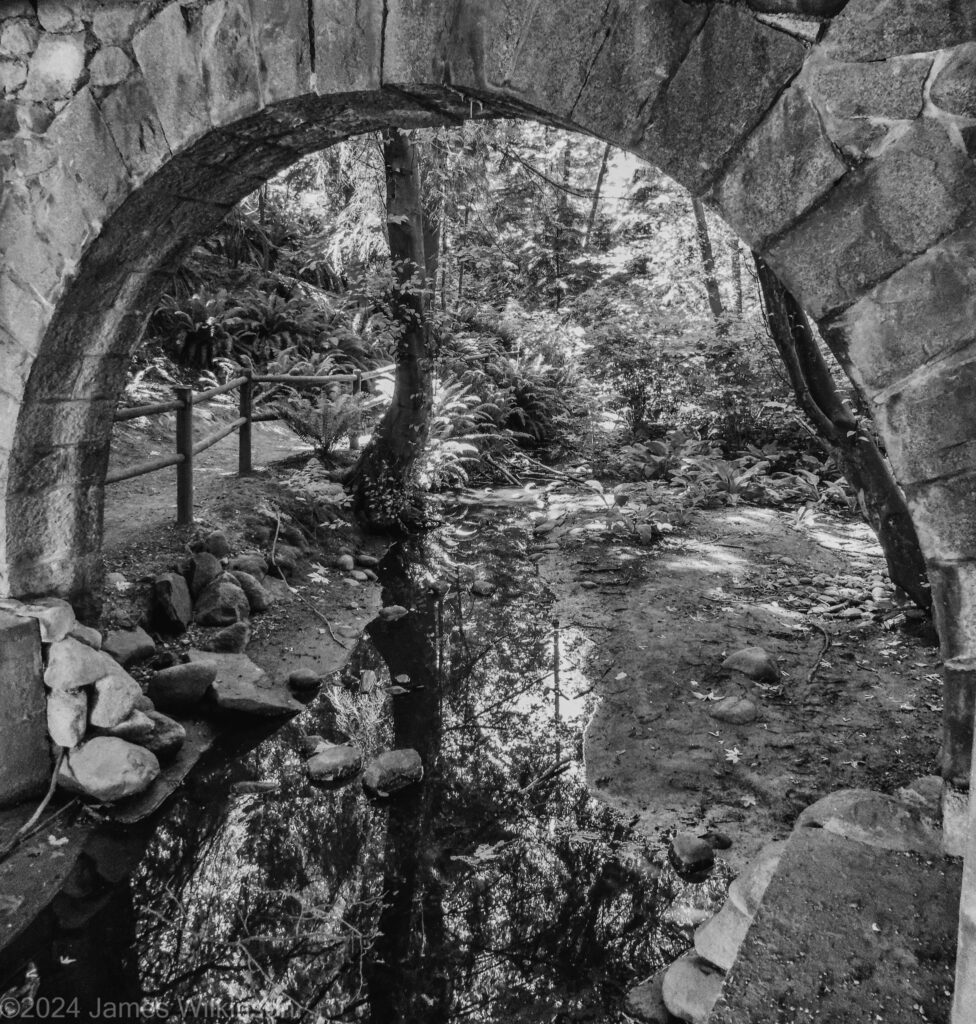
When converting color images to black&white, I haven’t like the results when applying a film simulation. I loved Plus-X and Tri-X film, back-in-the-day. But the artificial grain added by their film simulation presets don’t work for me. So I’ve been trying Silver Efex Pro 2, part of Nik Collection, to convert my color images to black & white. As with any digital darkroom tool, Silver Efex Pro 2 gives me a base b&w image to work on. Nik Collection are a group of plugins for Lightroom and Photoshop. So the color image is exported by Lightroom (with or without Lightroom edits) into a Nik Collection toolbox. I prefer the Silver Efex Pro 2 modules. You cycle through the different presets then save back into Lightroom for further edits and final output. Some of Silver Efex’s presets are extreme but I often get a better result than Lightroom’s b&w presets. I’m sure I could end up with similar results using Lightroom but found Silver Efex to be a better starting point.
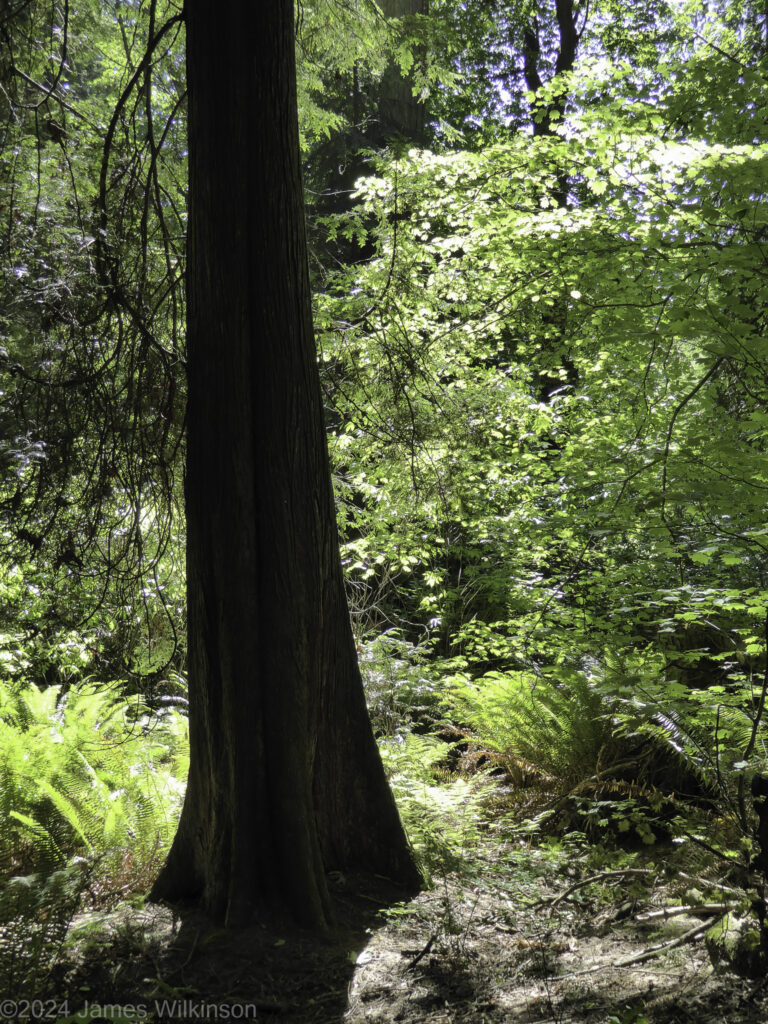
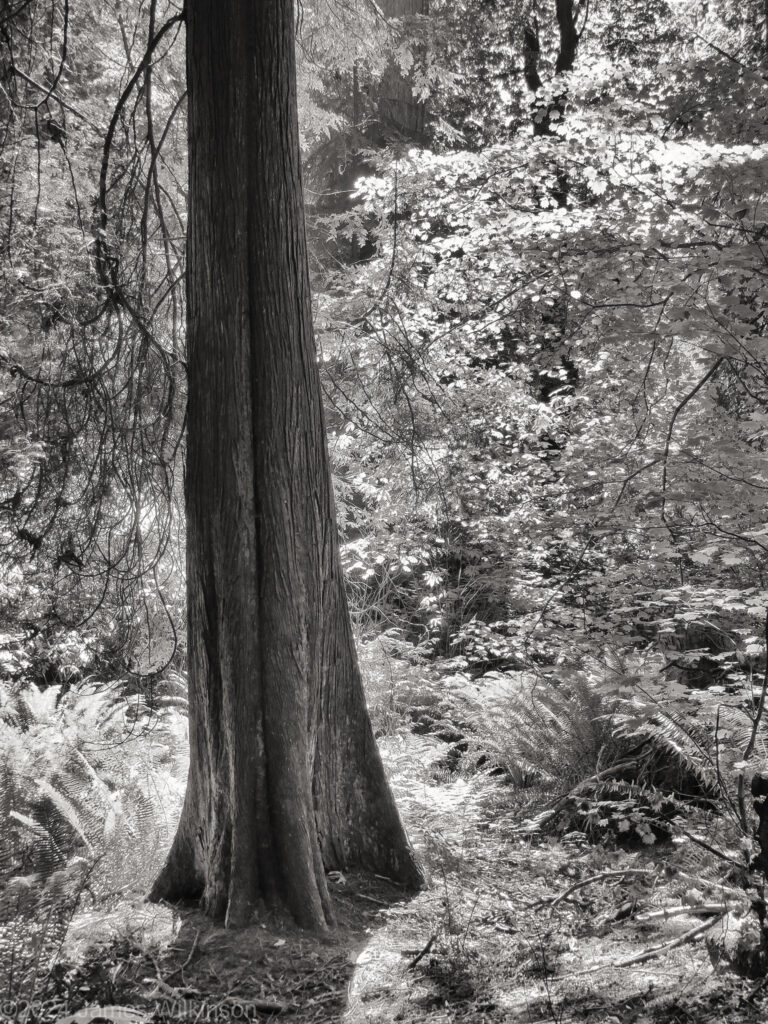
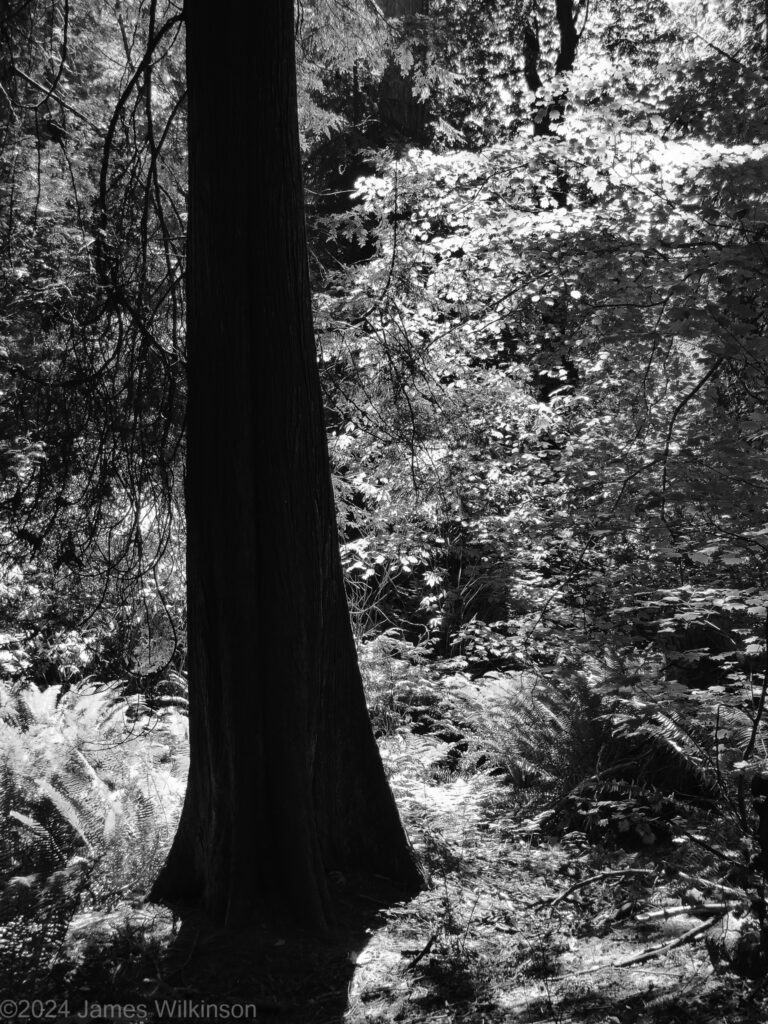
Example from Reflections/Komorebi (click each image & read the filename for the Silver Efex Preset used)


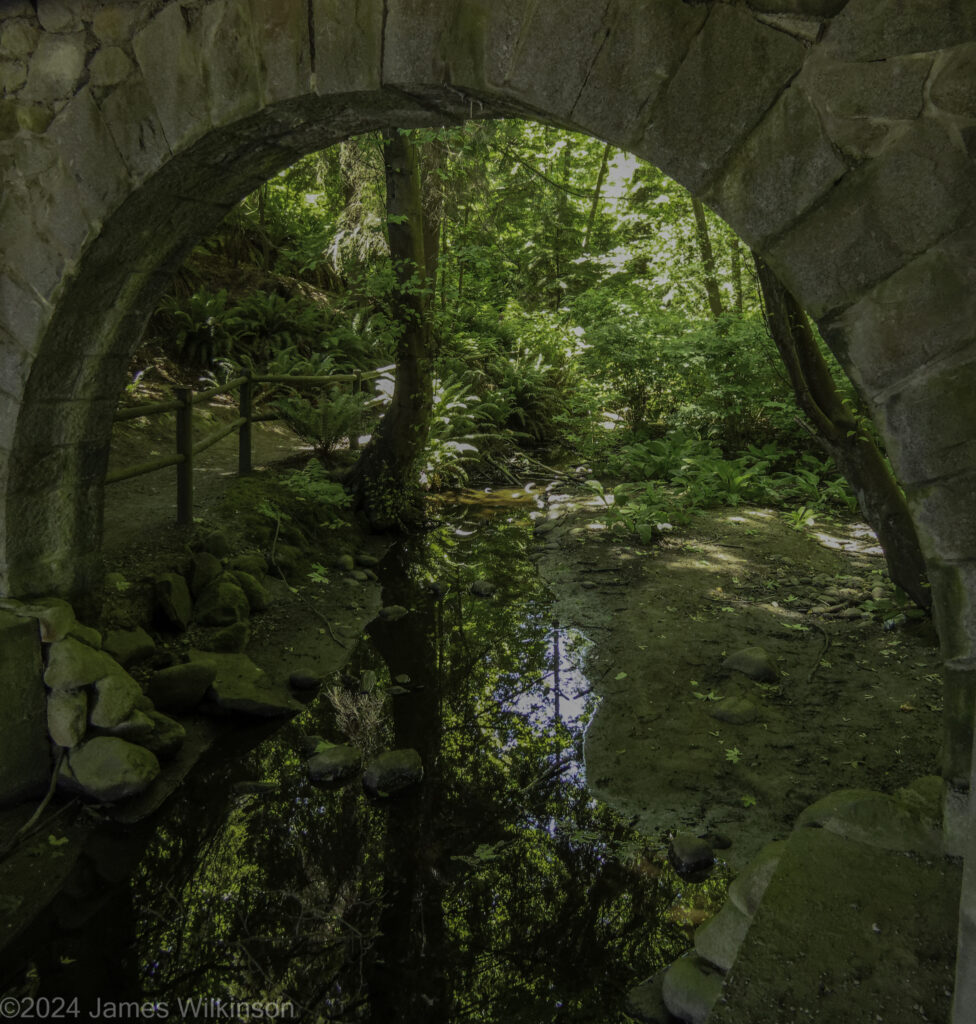

Sharon created some fascinating abstract reflection compared to the rest of the group who did more traditional interpretations-presentations.


Jerry shared photos that reflected this months themes (sorry for the pun Jerry).


Jim shared some images new and old that fit this month’s themes. He continues to reprocess images using film simulations and black&white presets.