Our March 19th meeting had 5 participants. Some members who could not attend were traveling or under-the-weather. This month’s themes were: Weather – with all the rain and snow lately, we thought this might be a timely subject. Alternatively, Animals are always a fun subject and this included birds, insects, pets, and zoo animal photos. Off-theme – March 13-14 there was a full blood moon lunar eclipse. With the rainy weather, no meetup or travel was planned with the photography group. But a few individuals were able to photograph the eclipse through breaks in the clouds. Here are the photos shared this month:
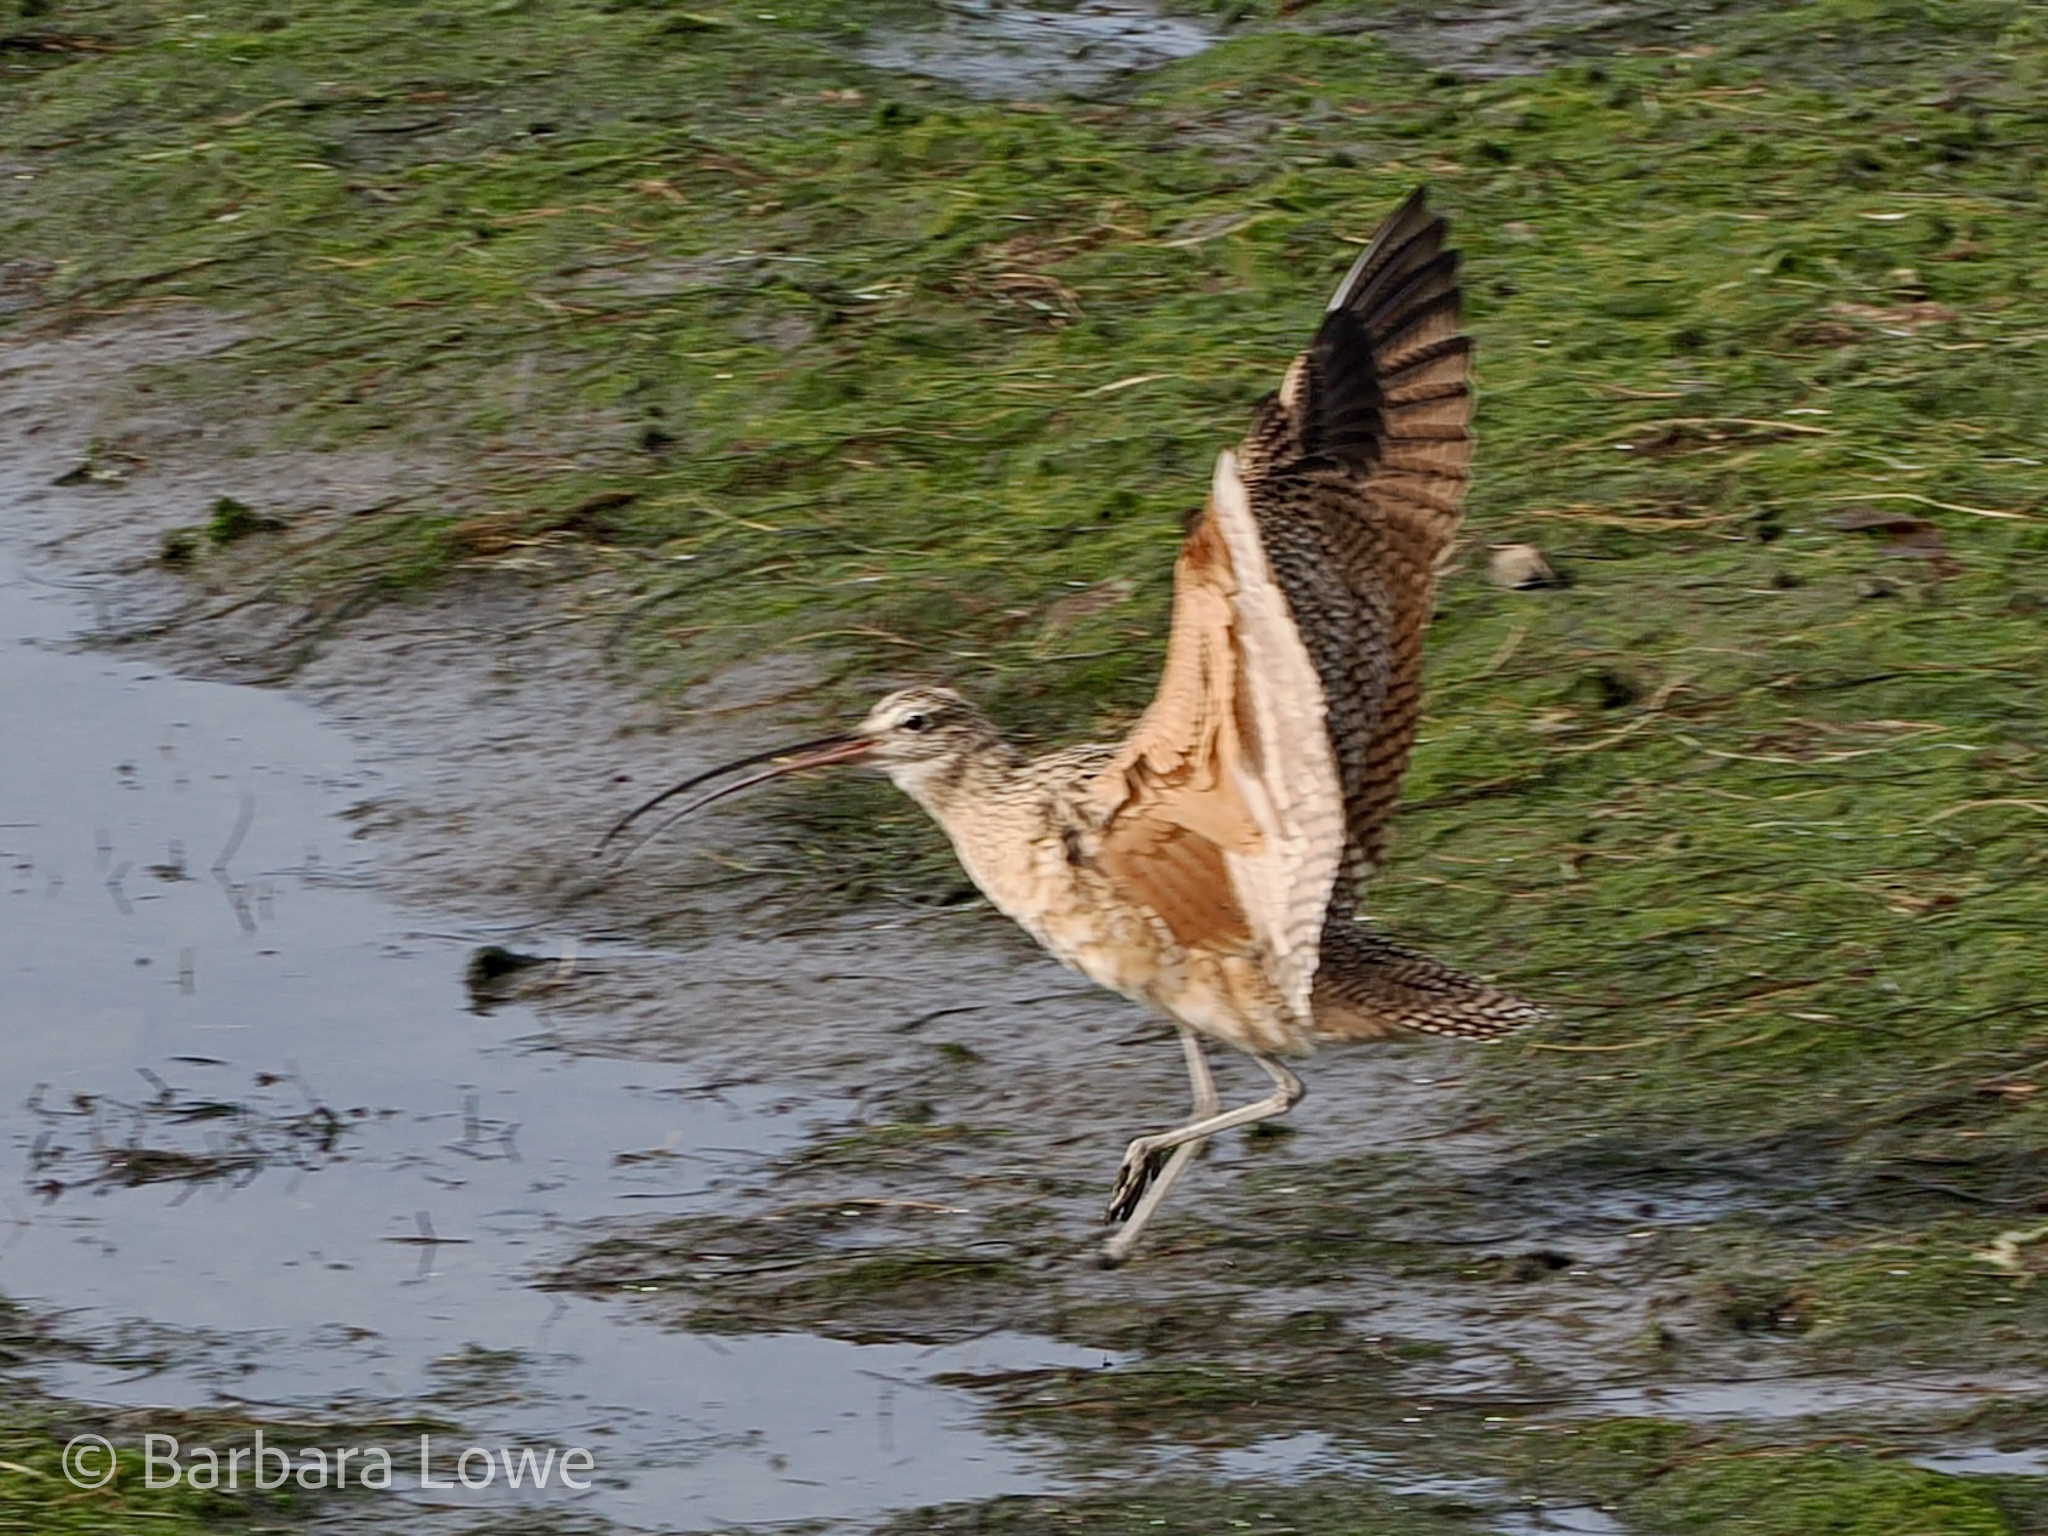
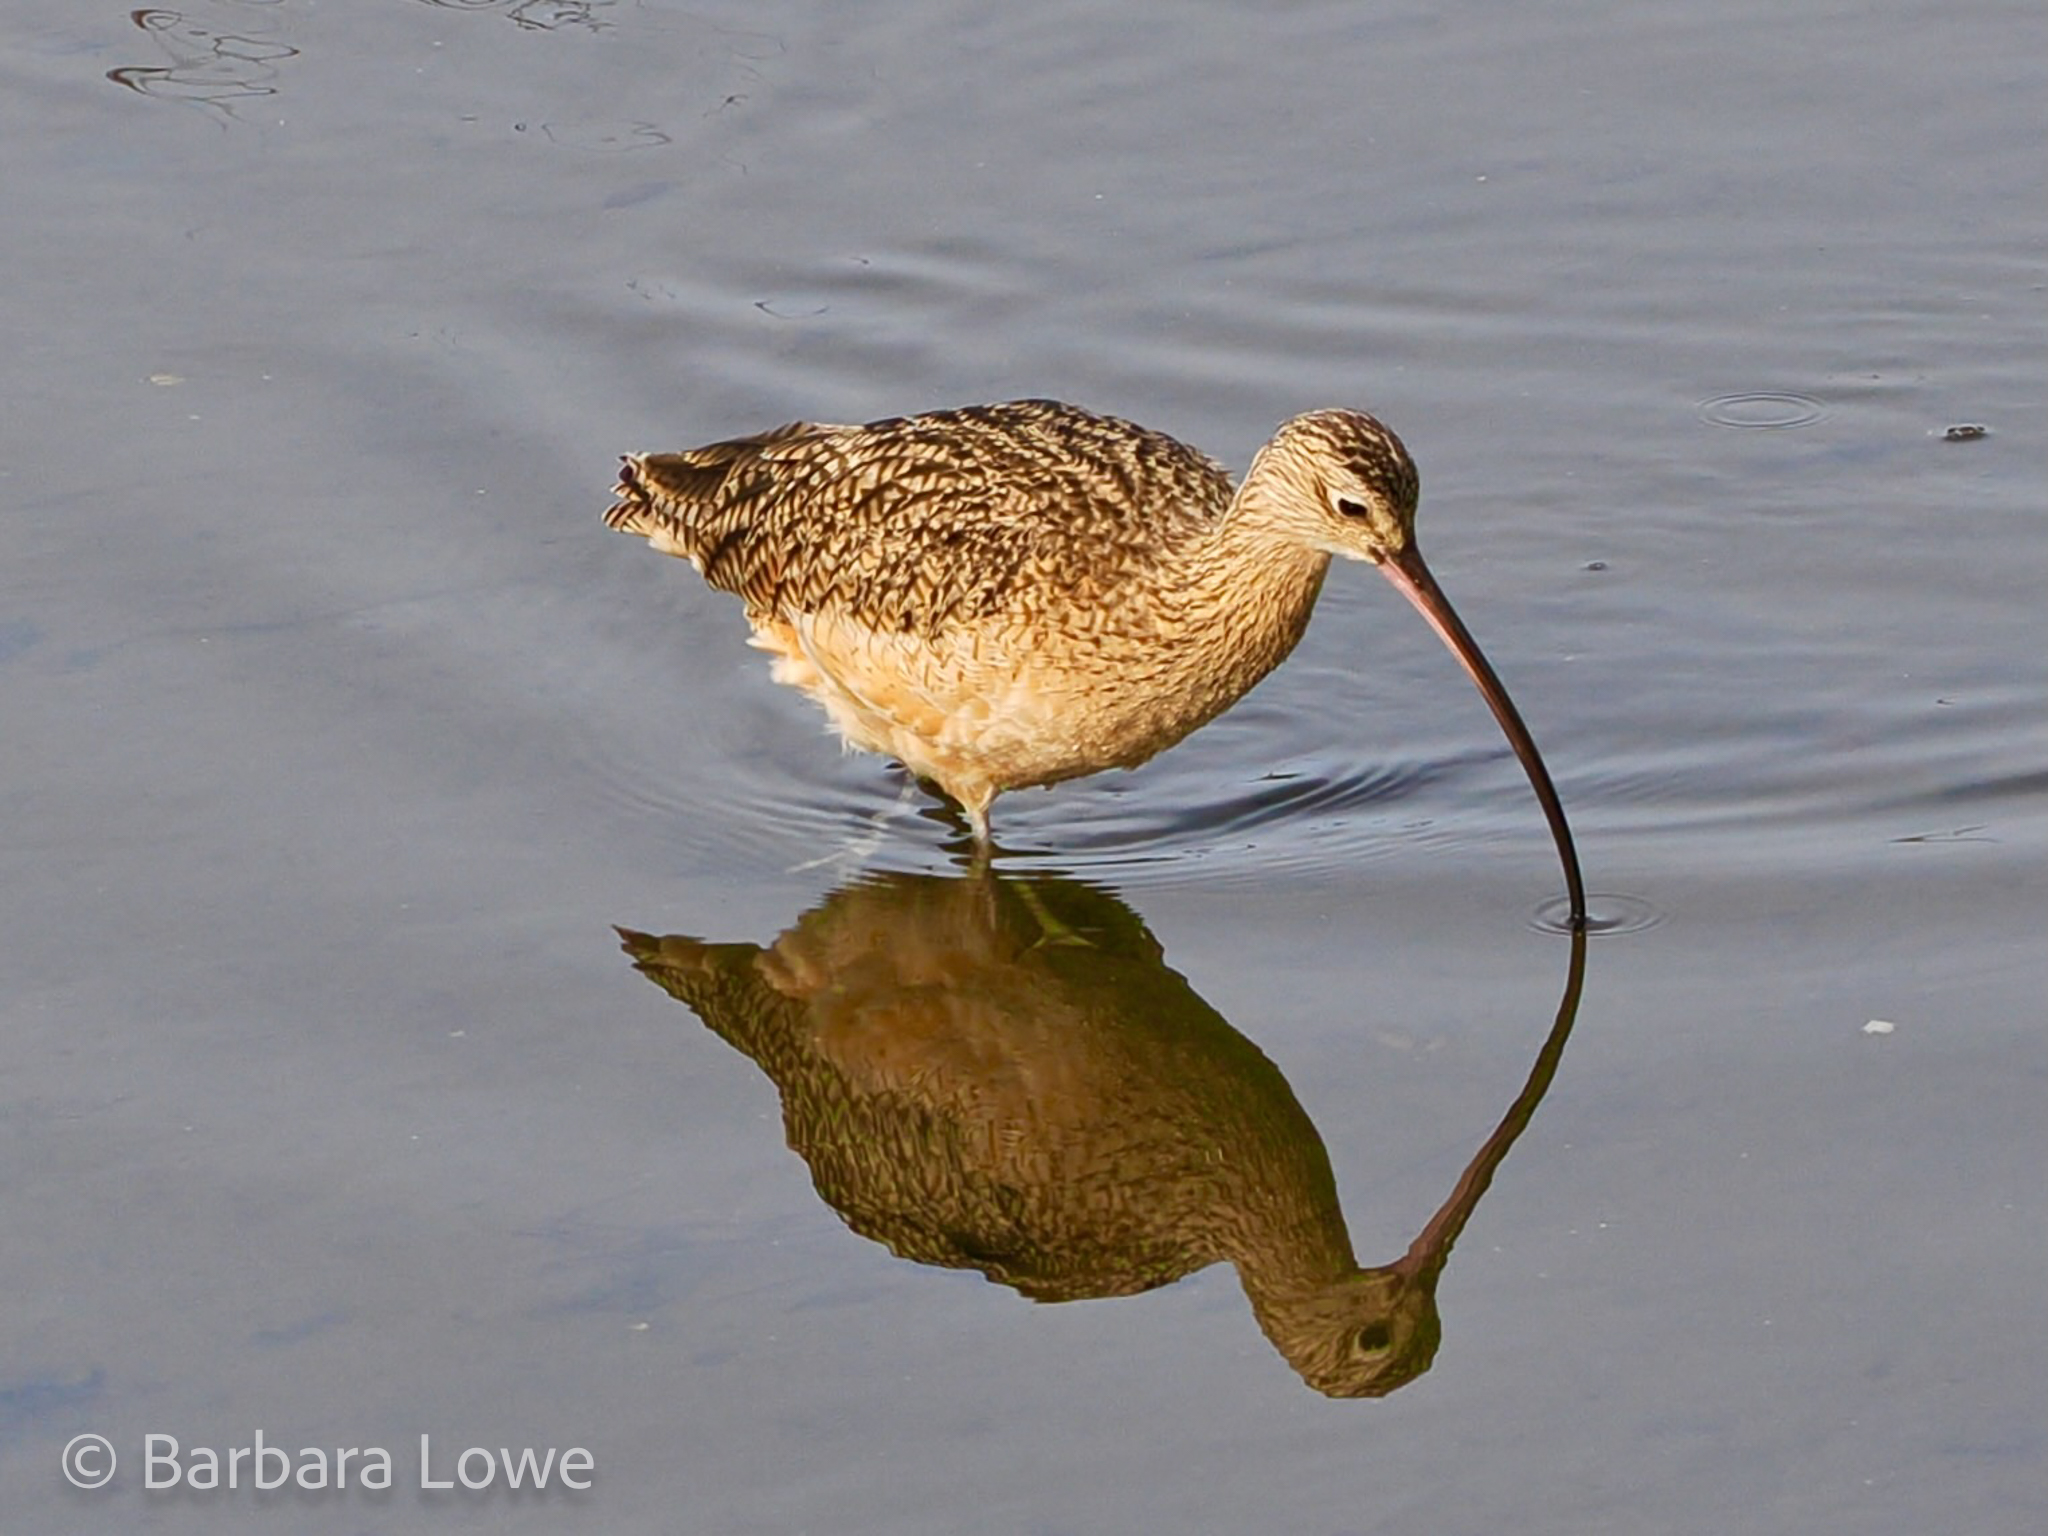
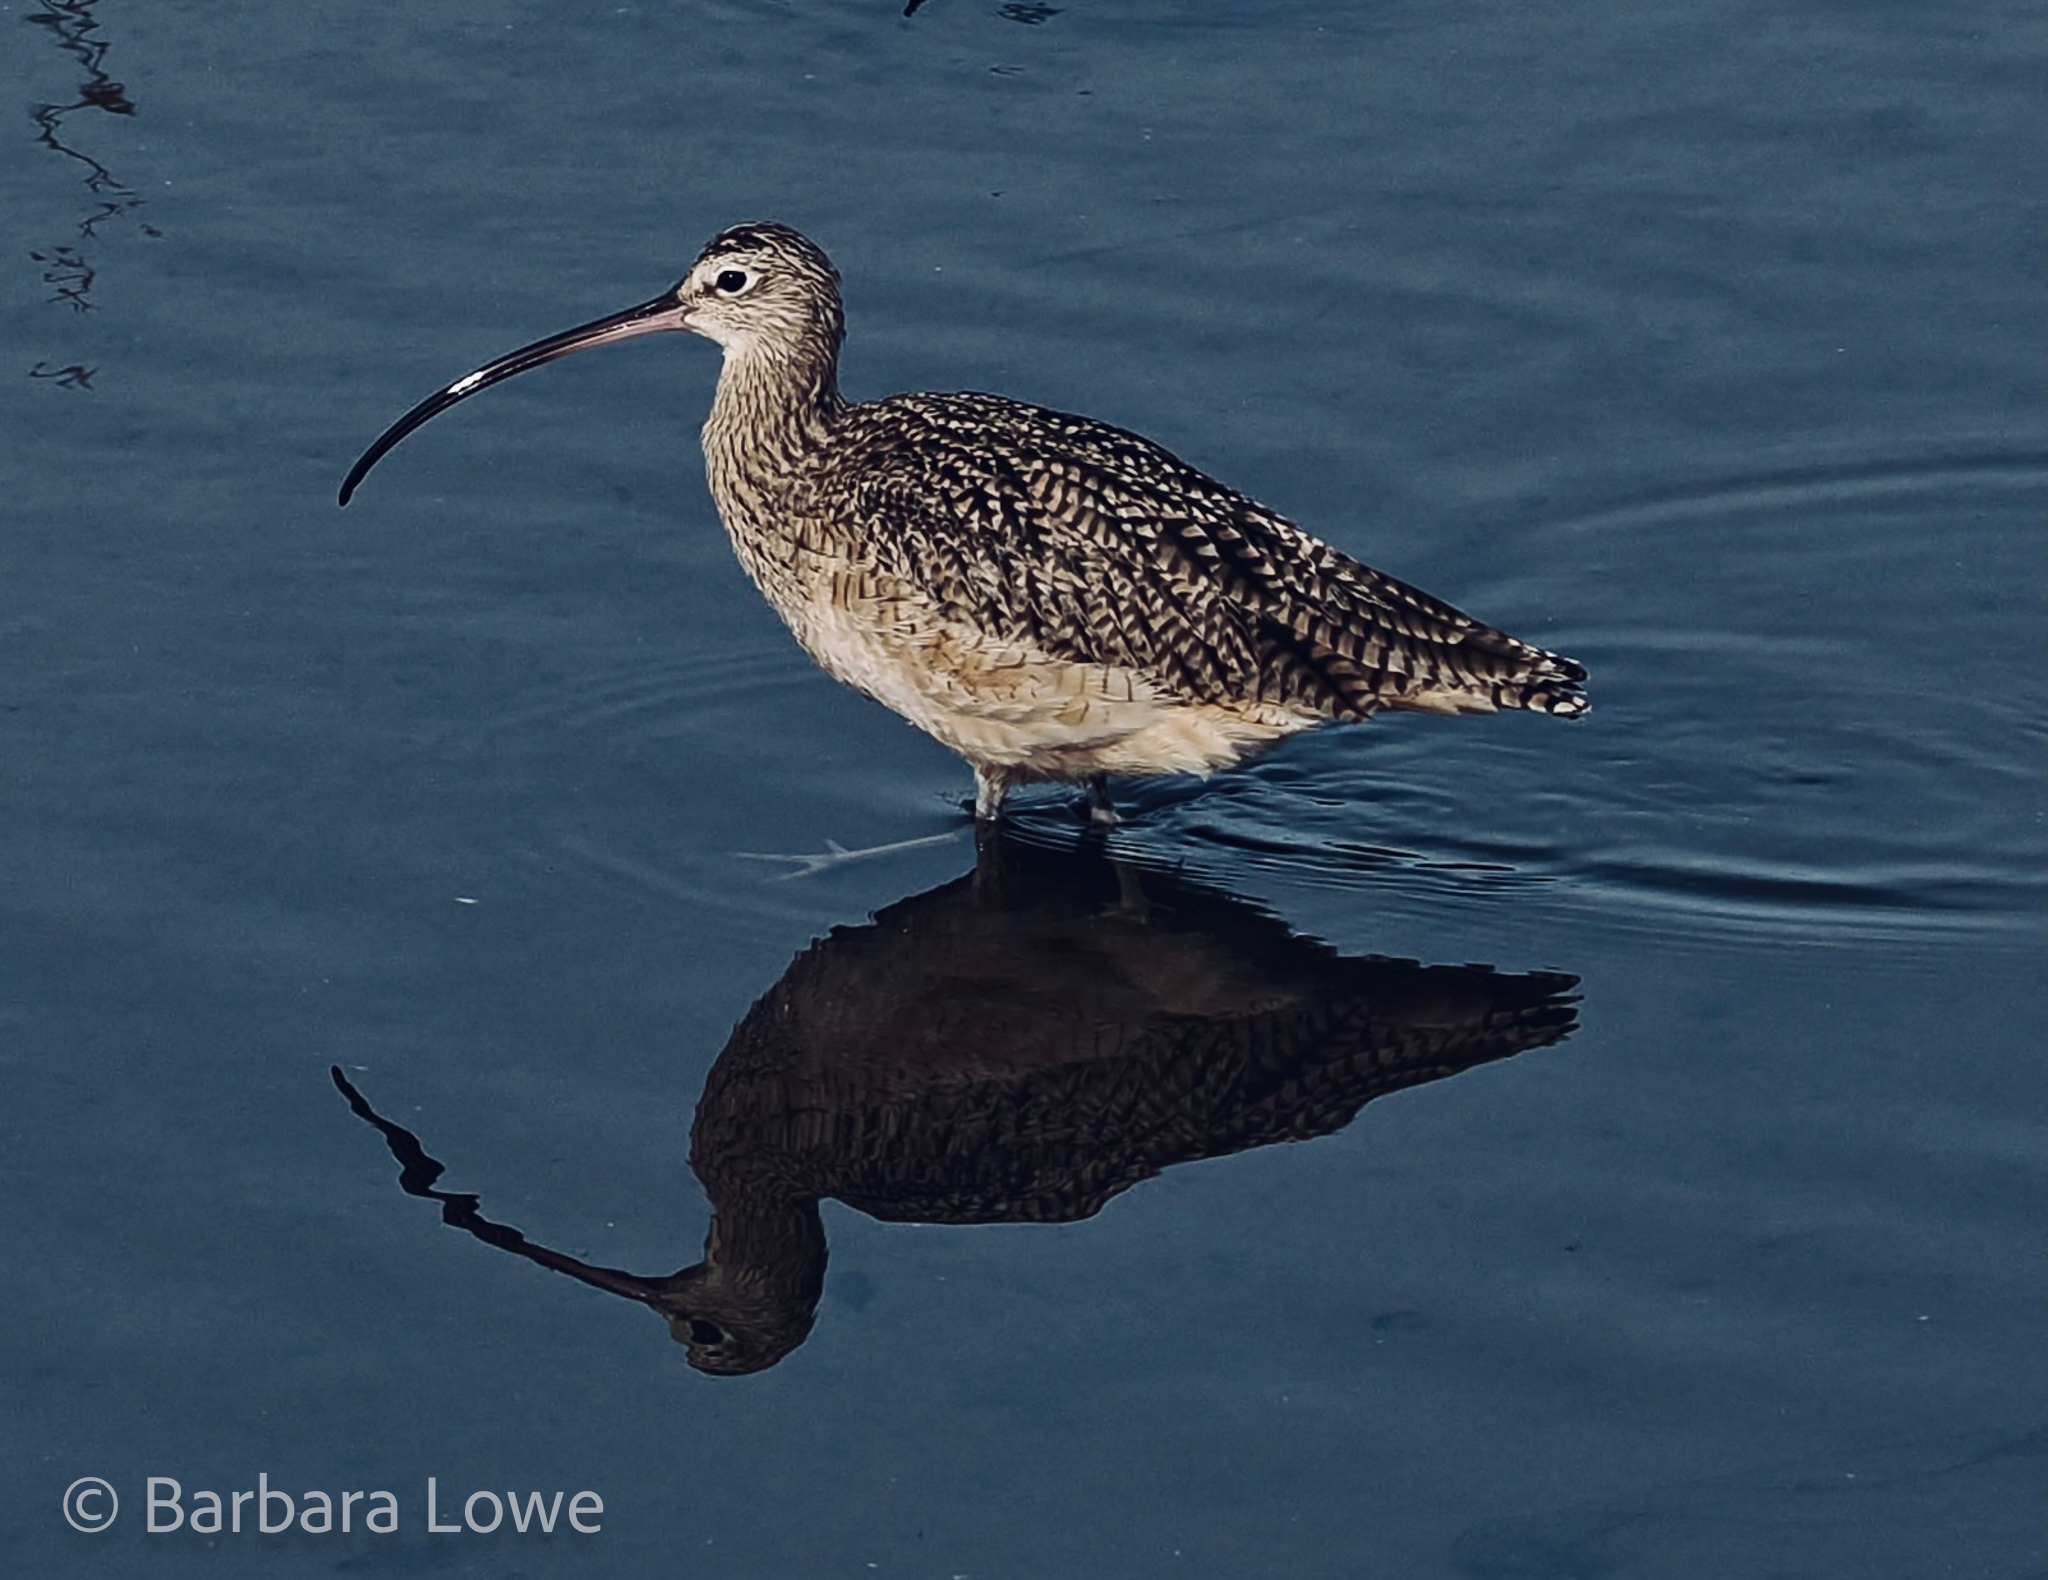
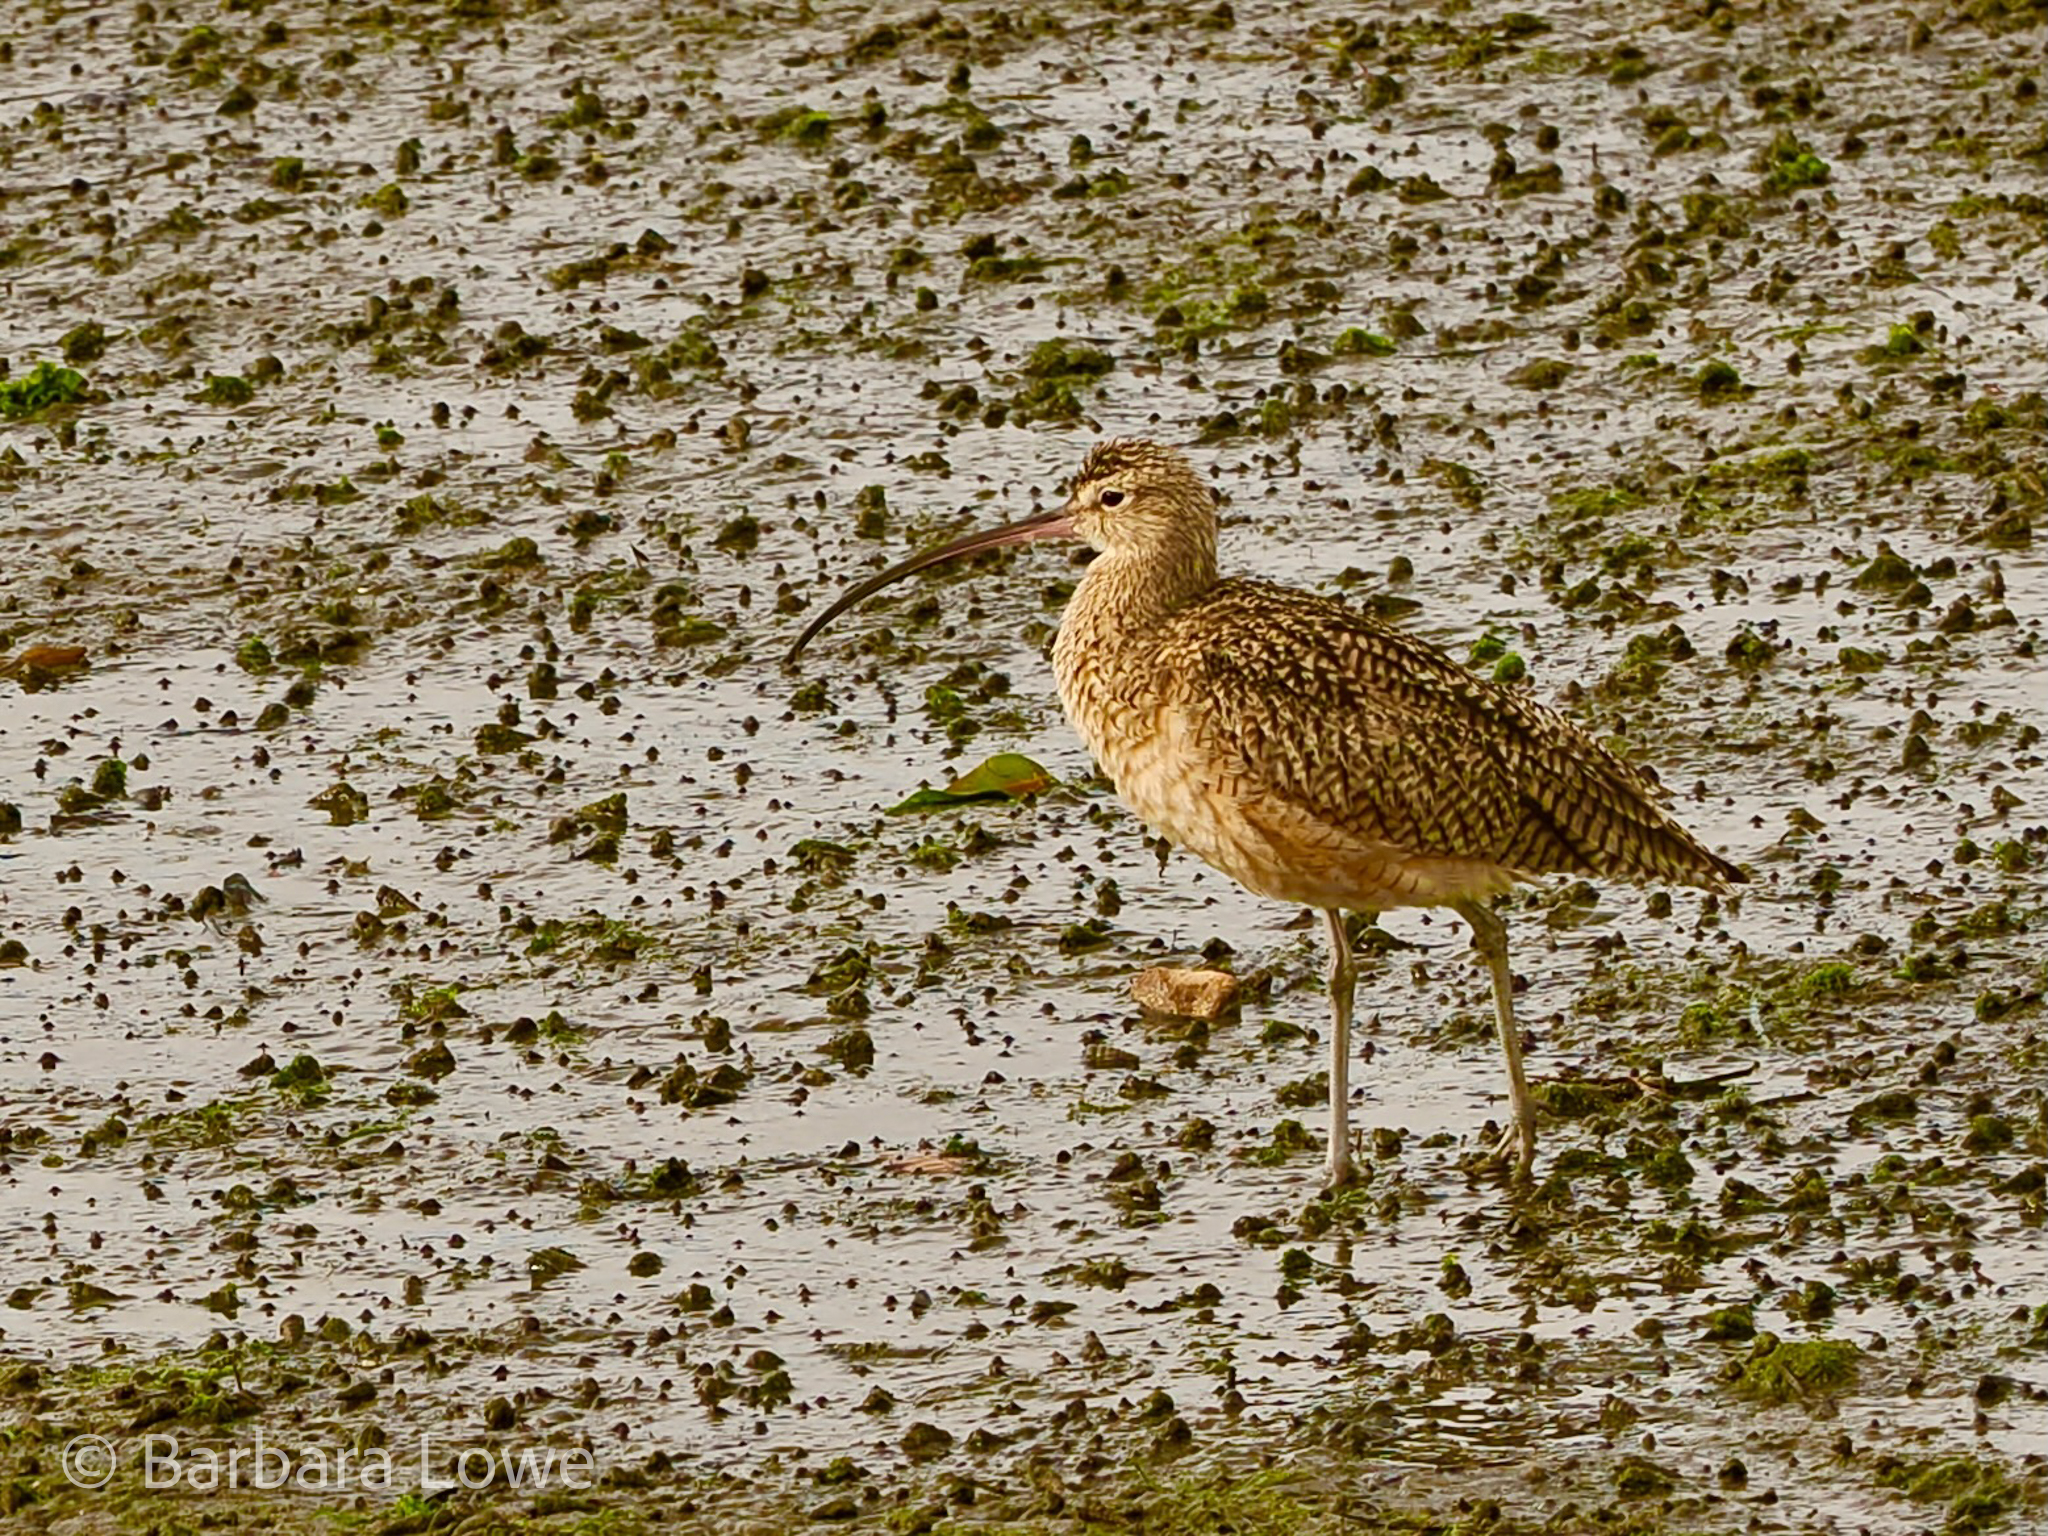
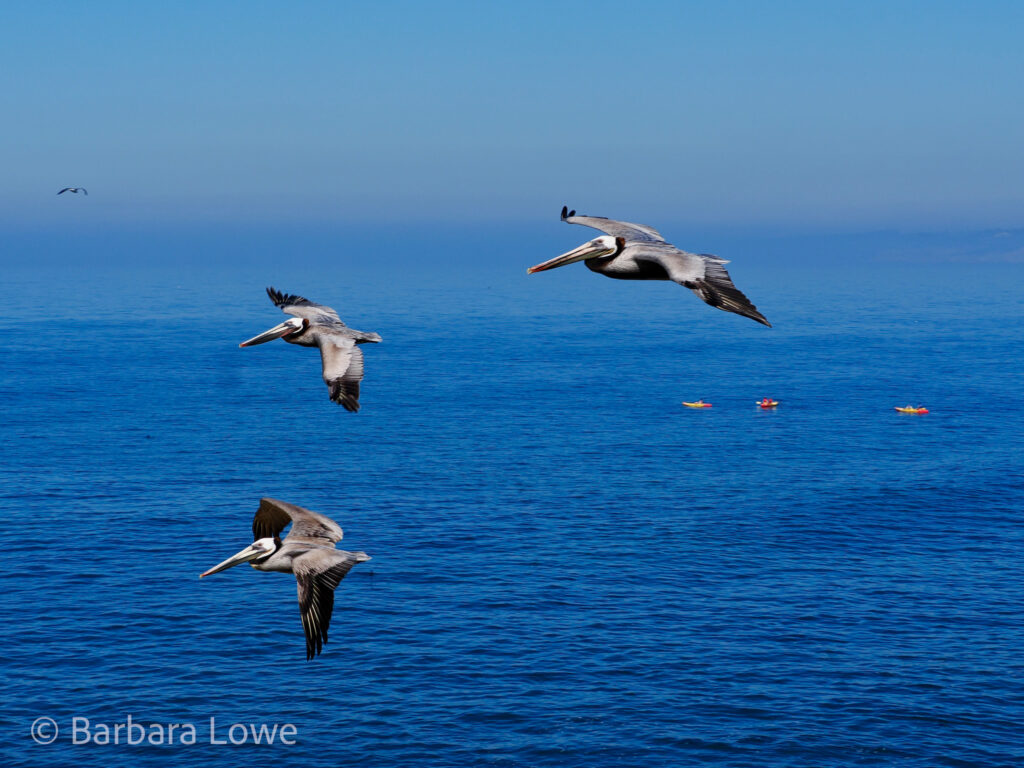
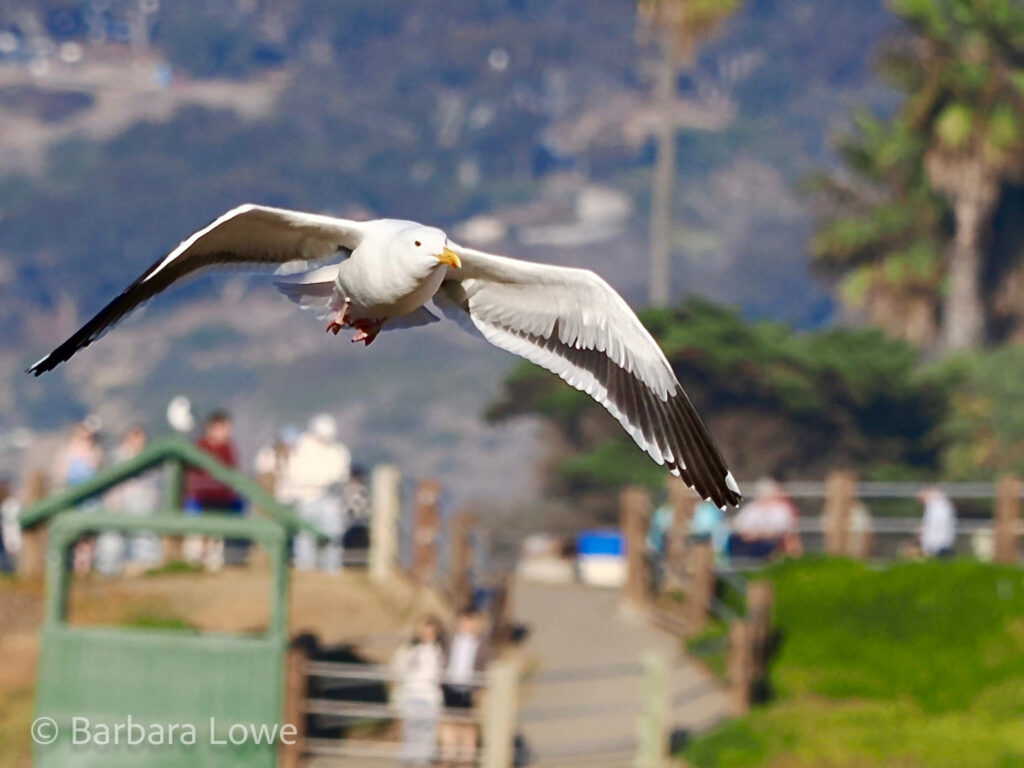
Barbara
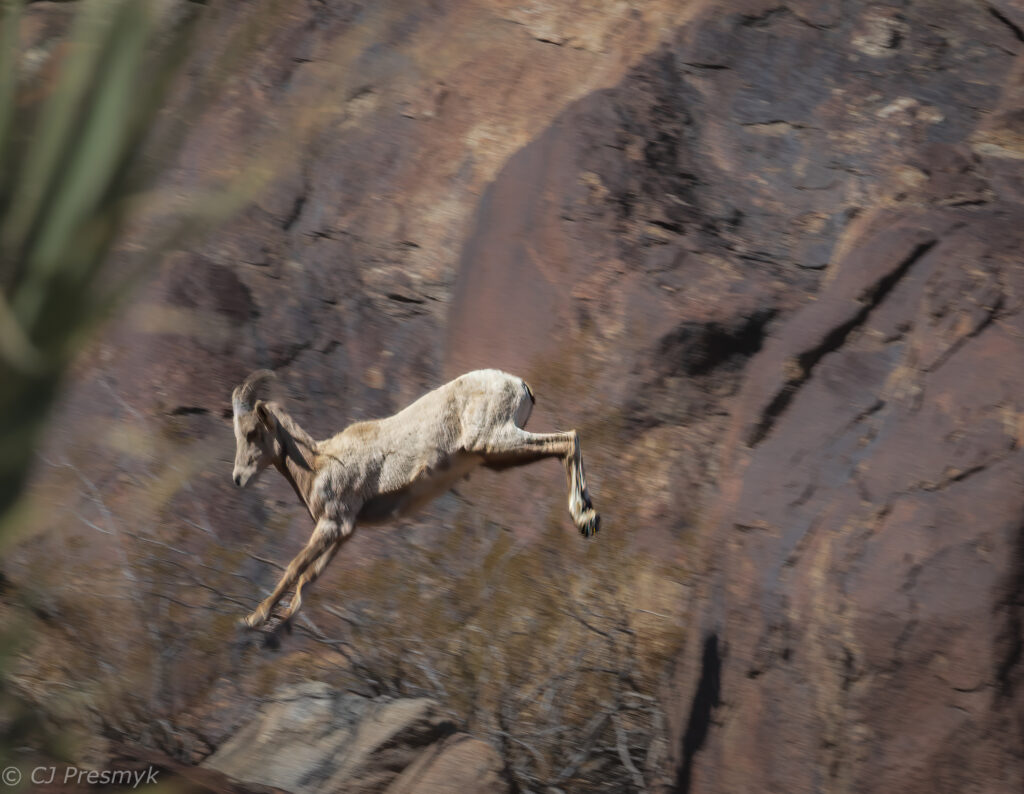
Cathy

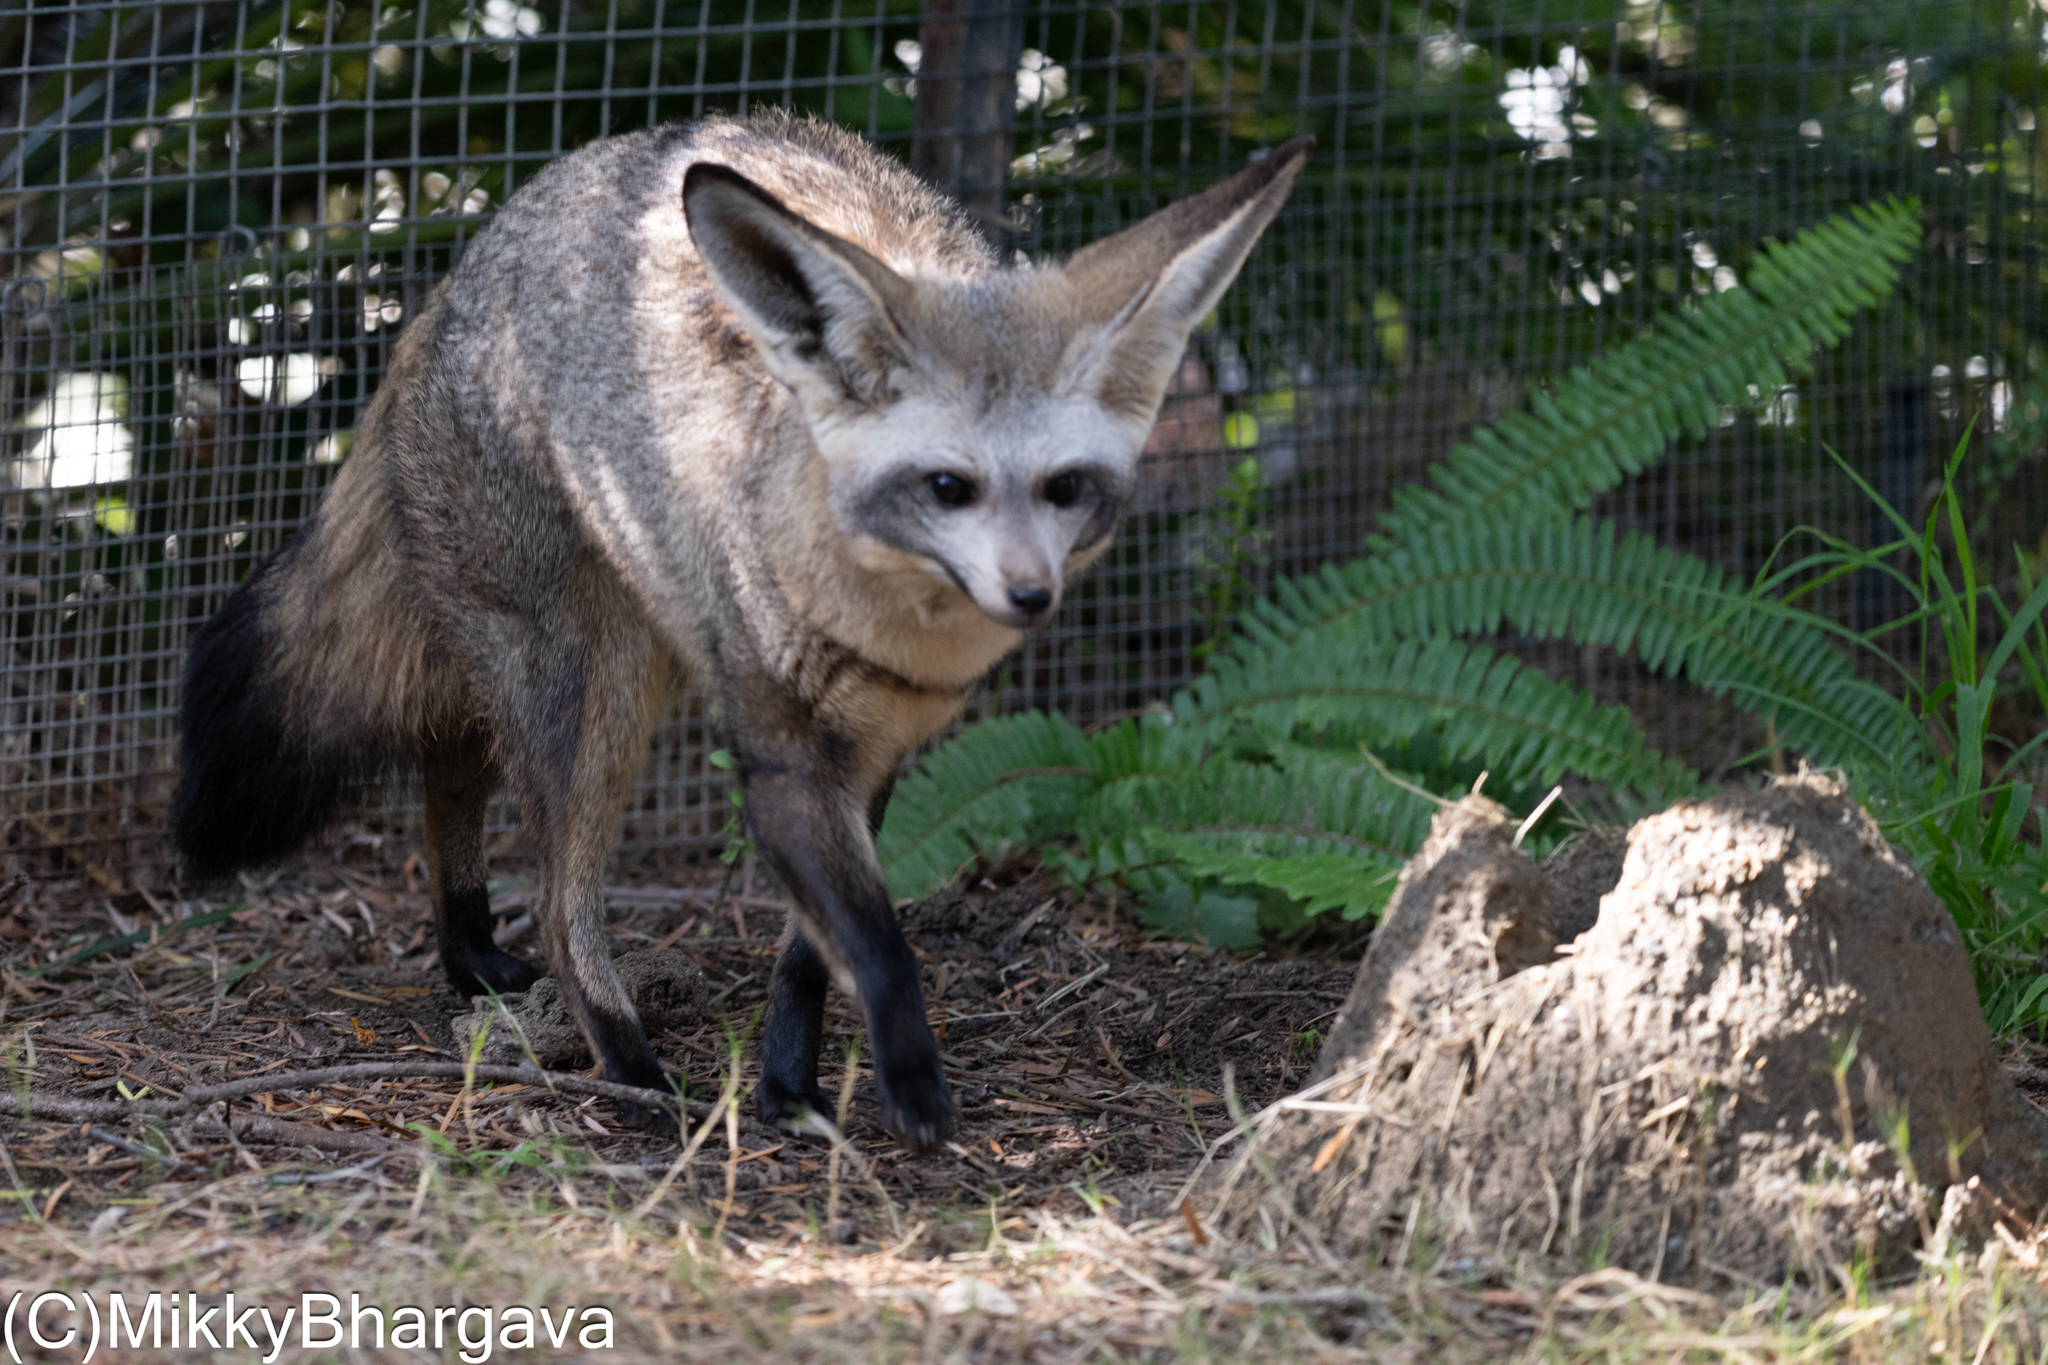
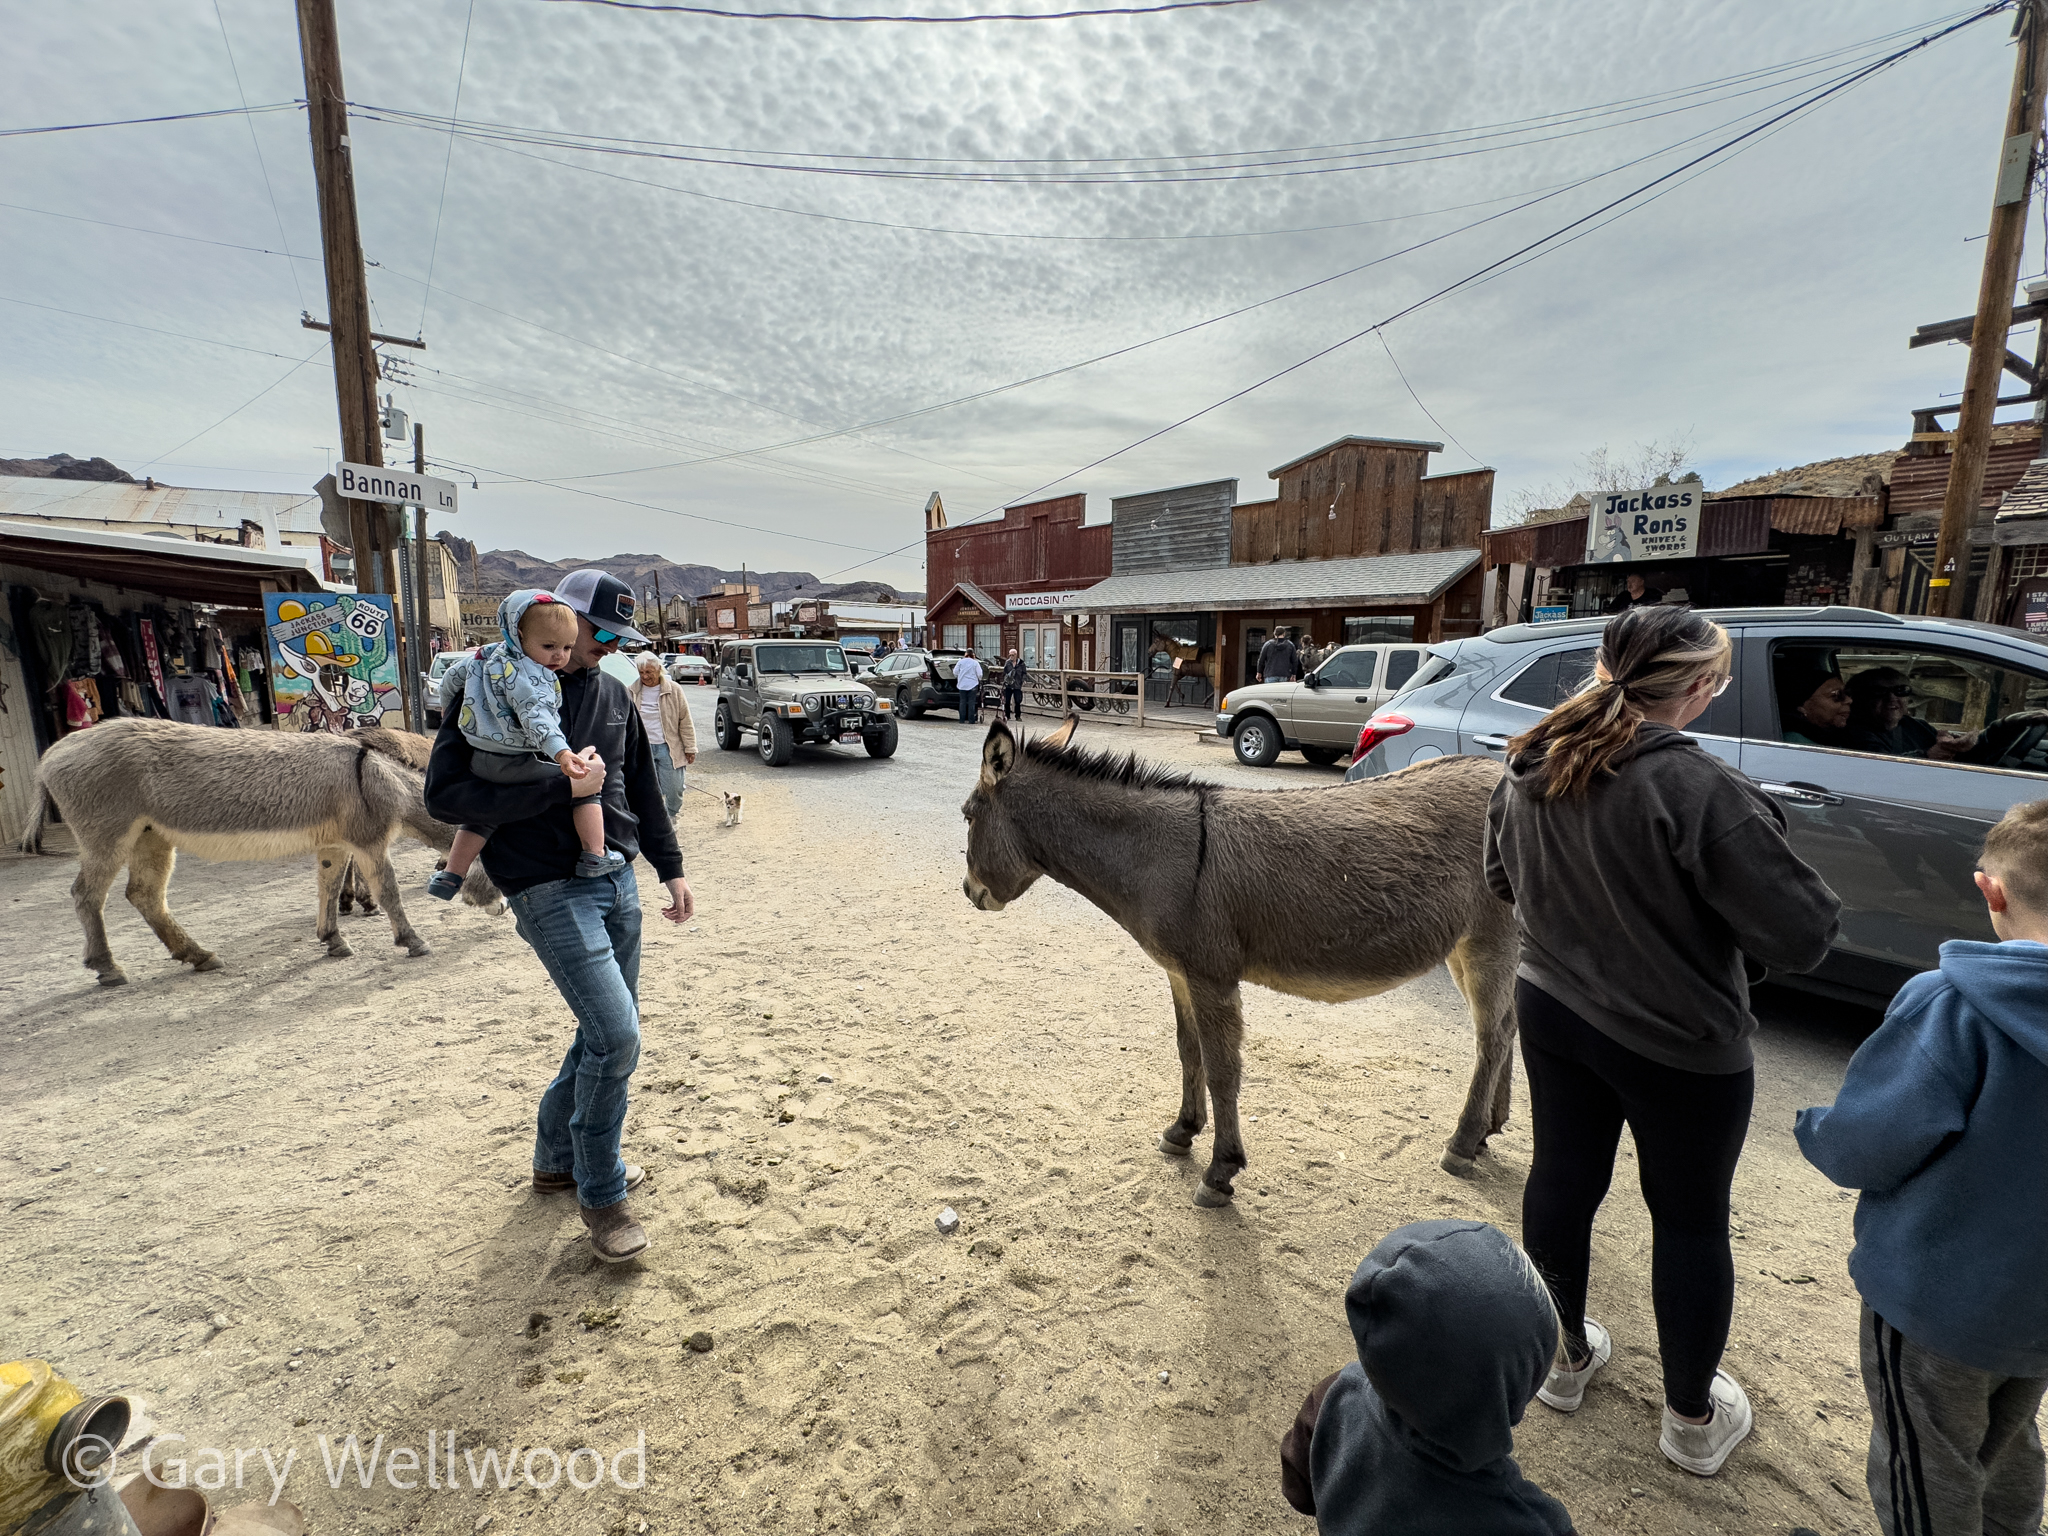
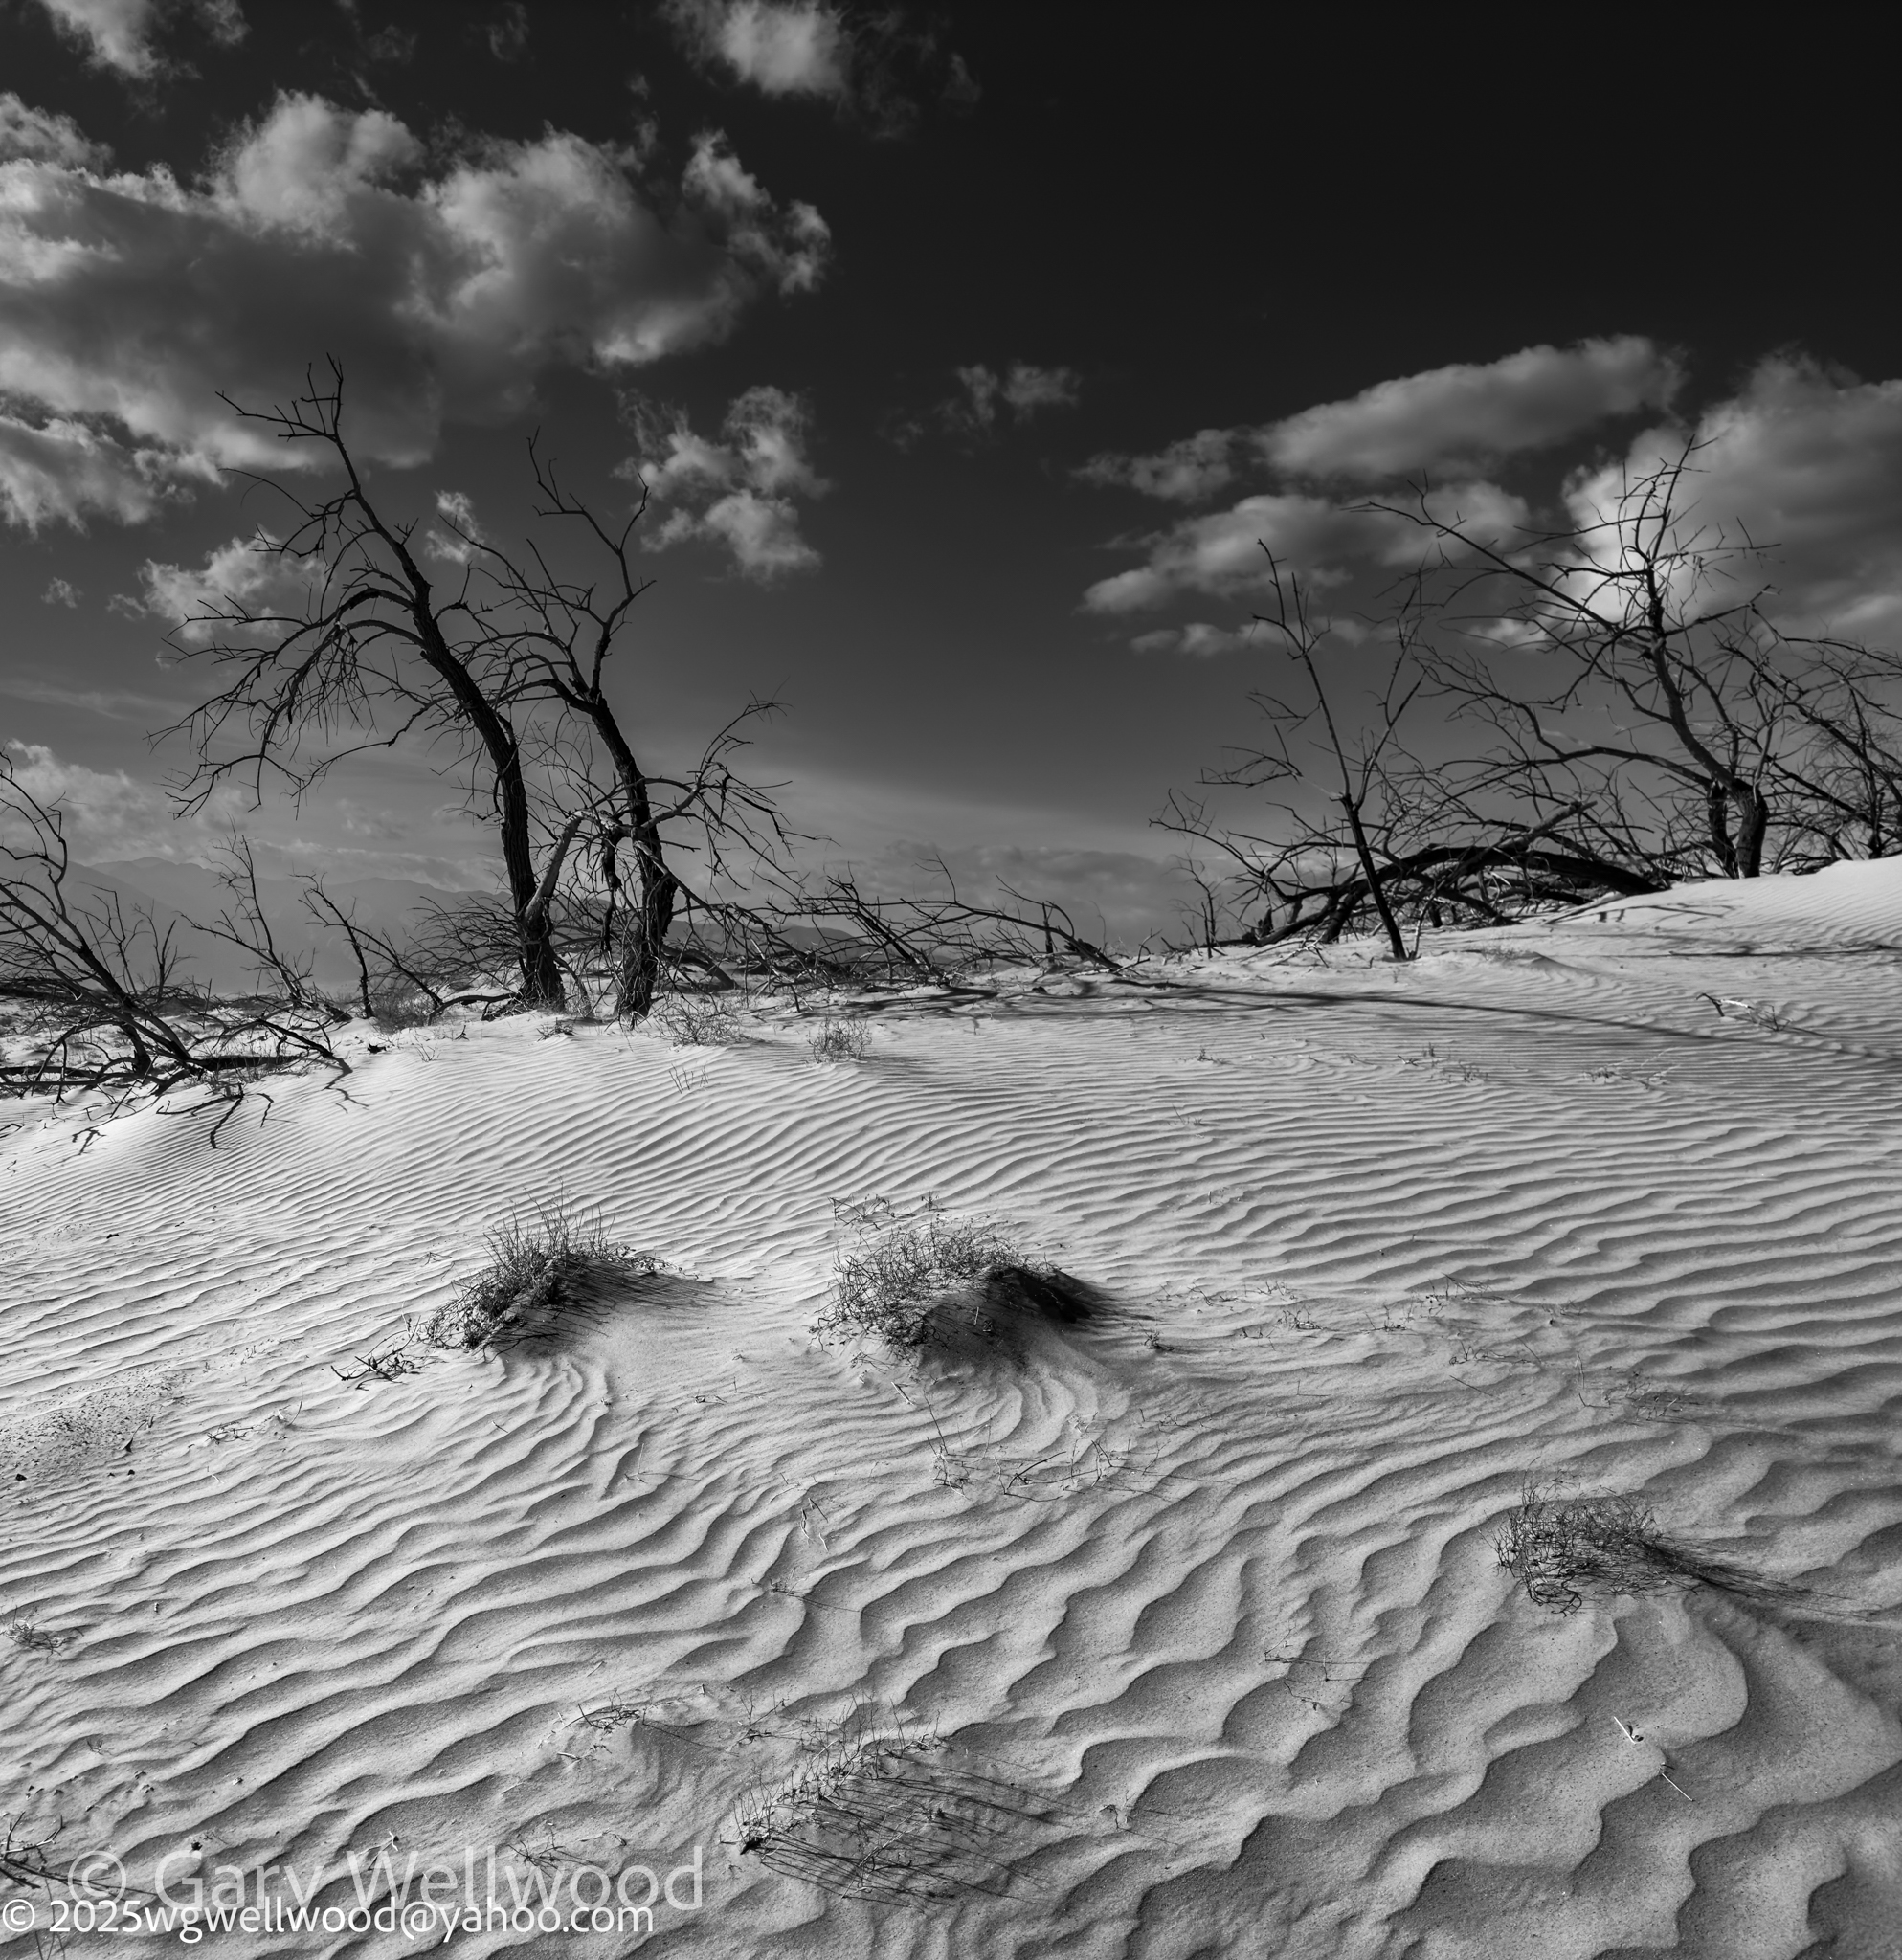
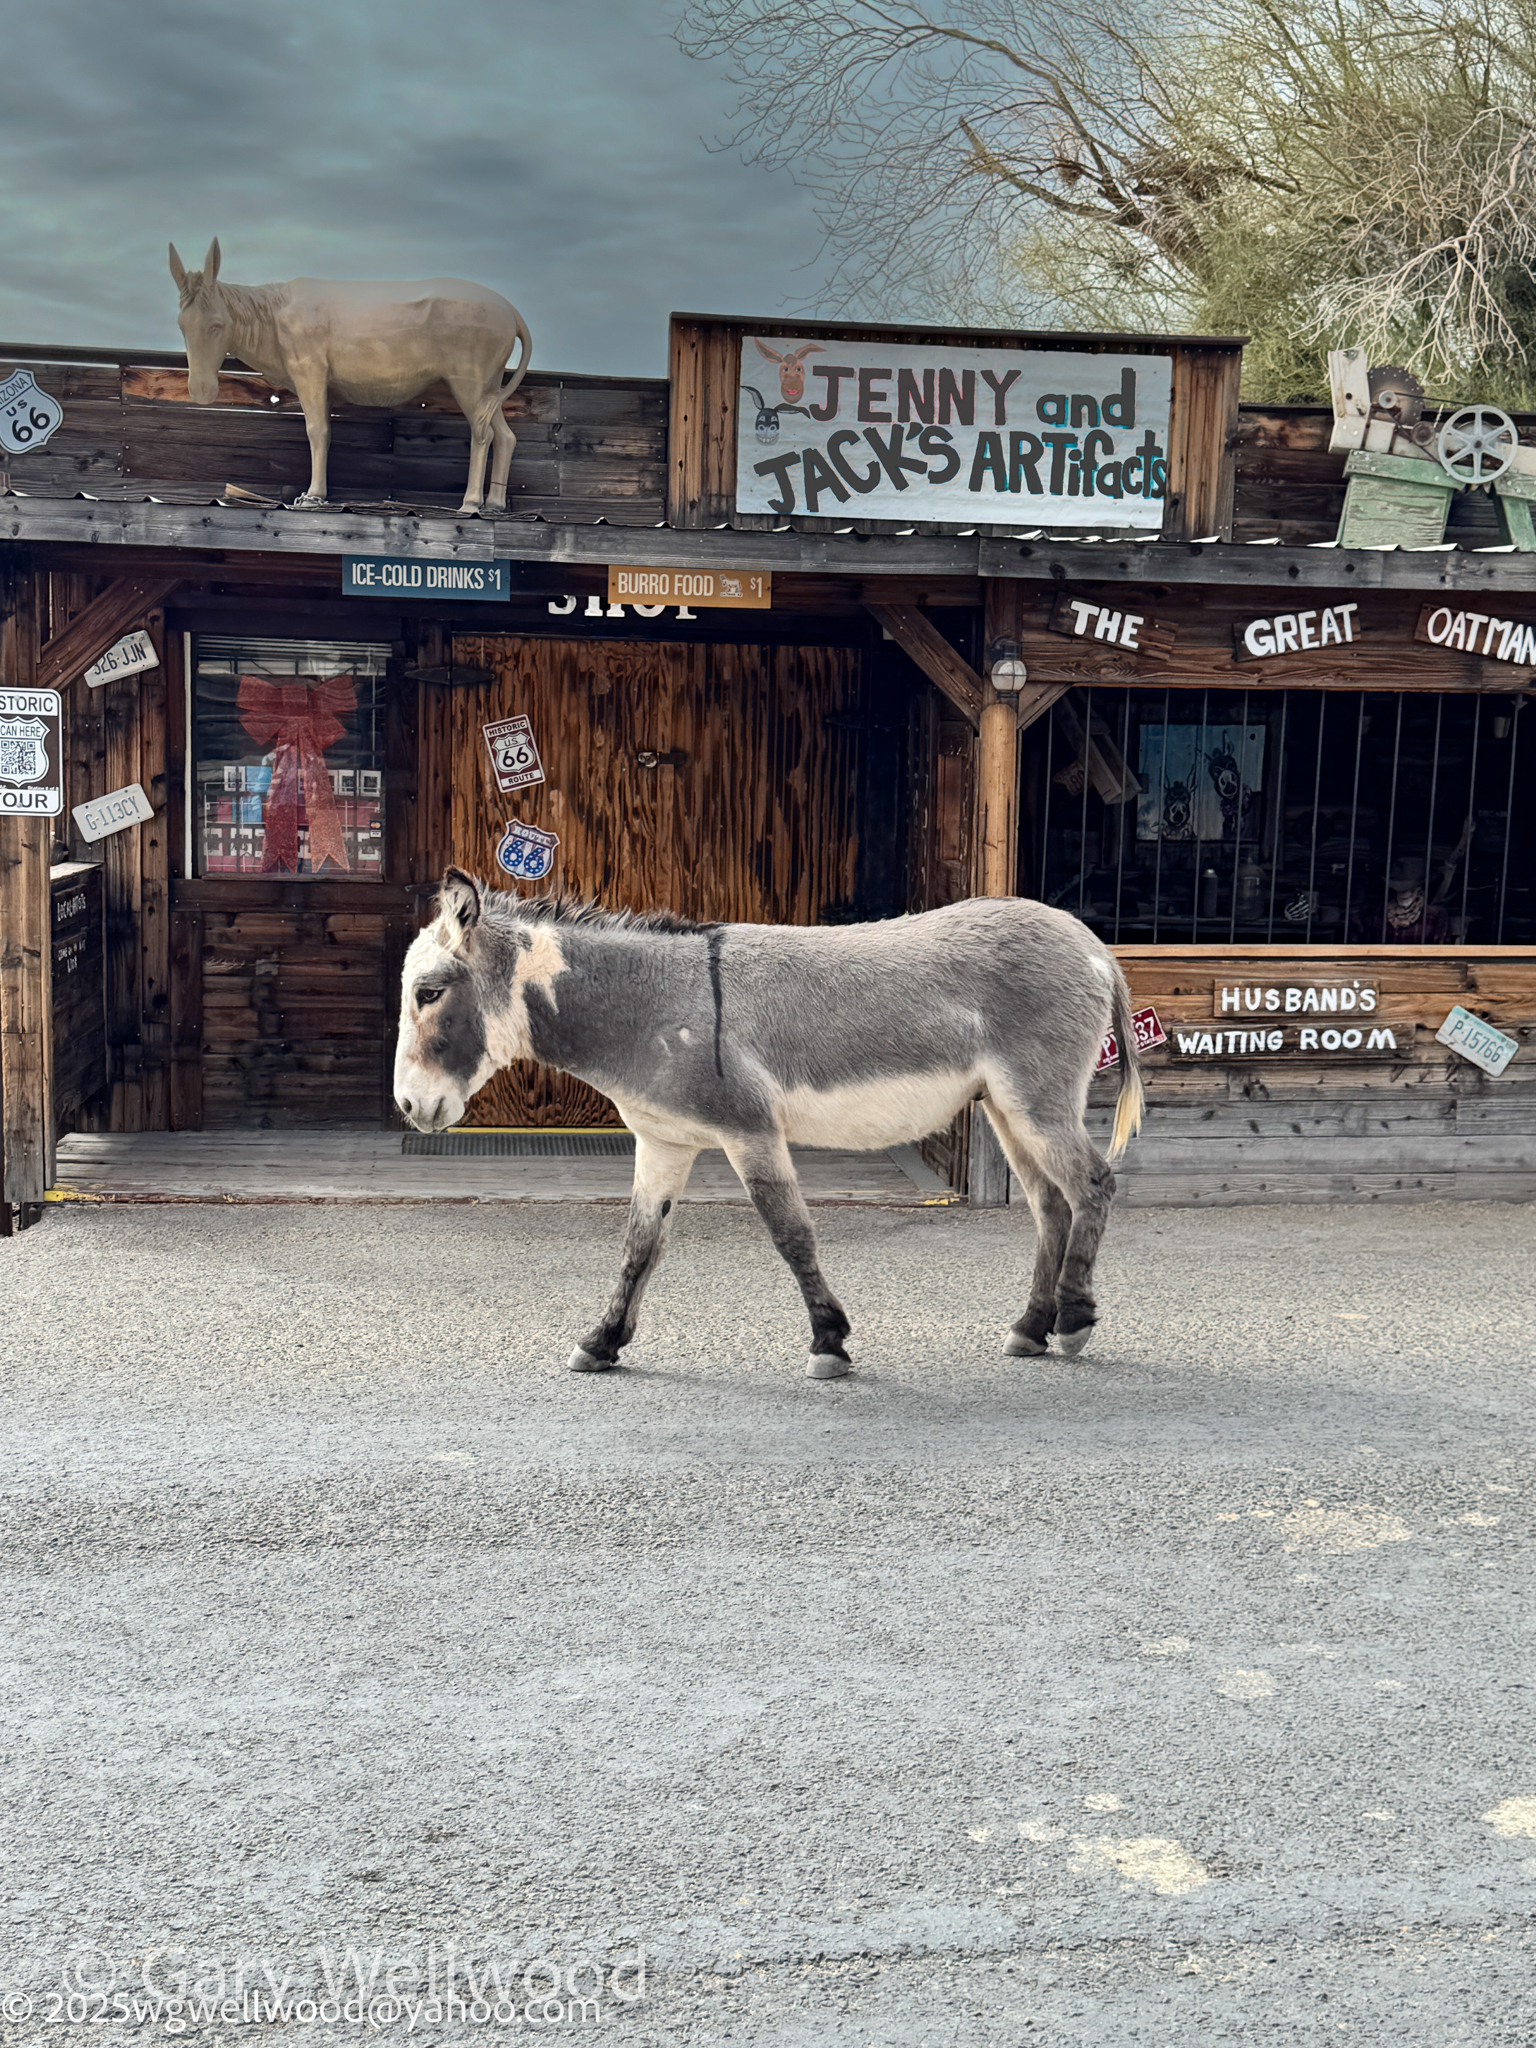
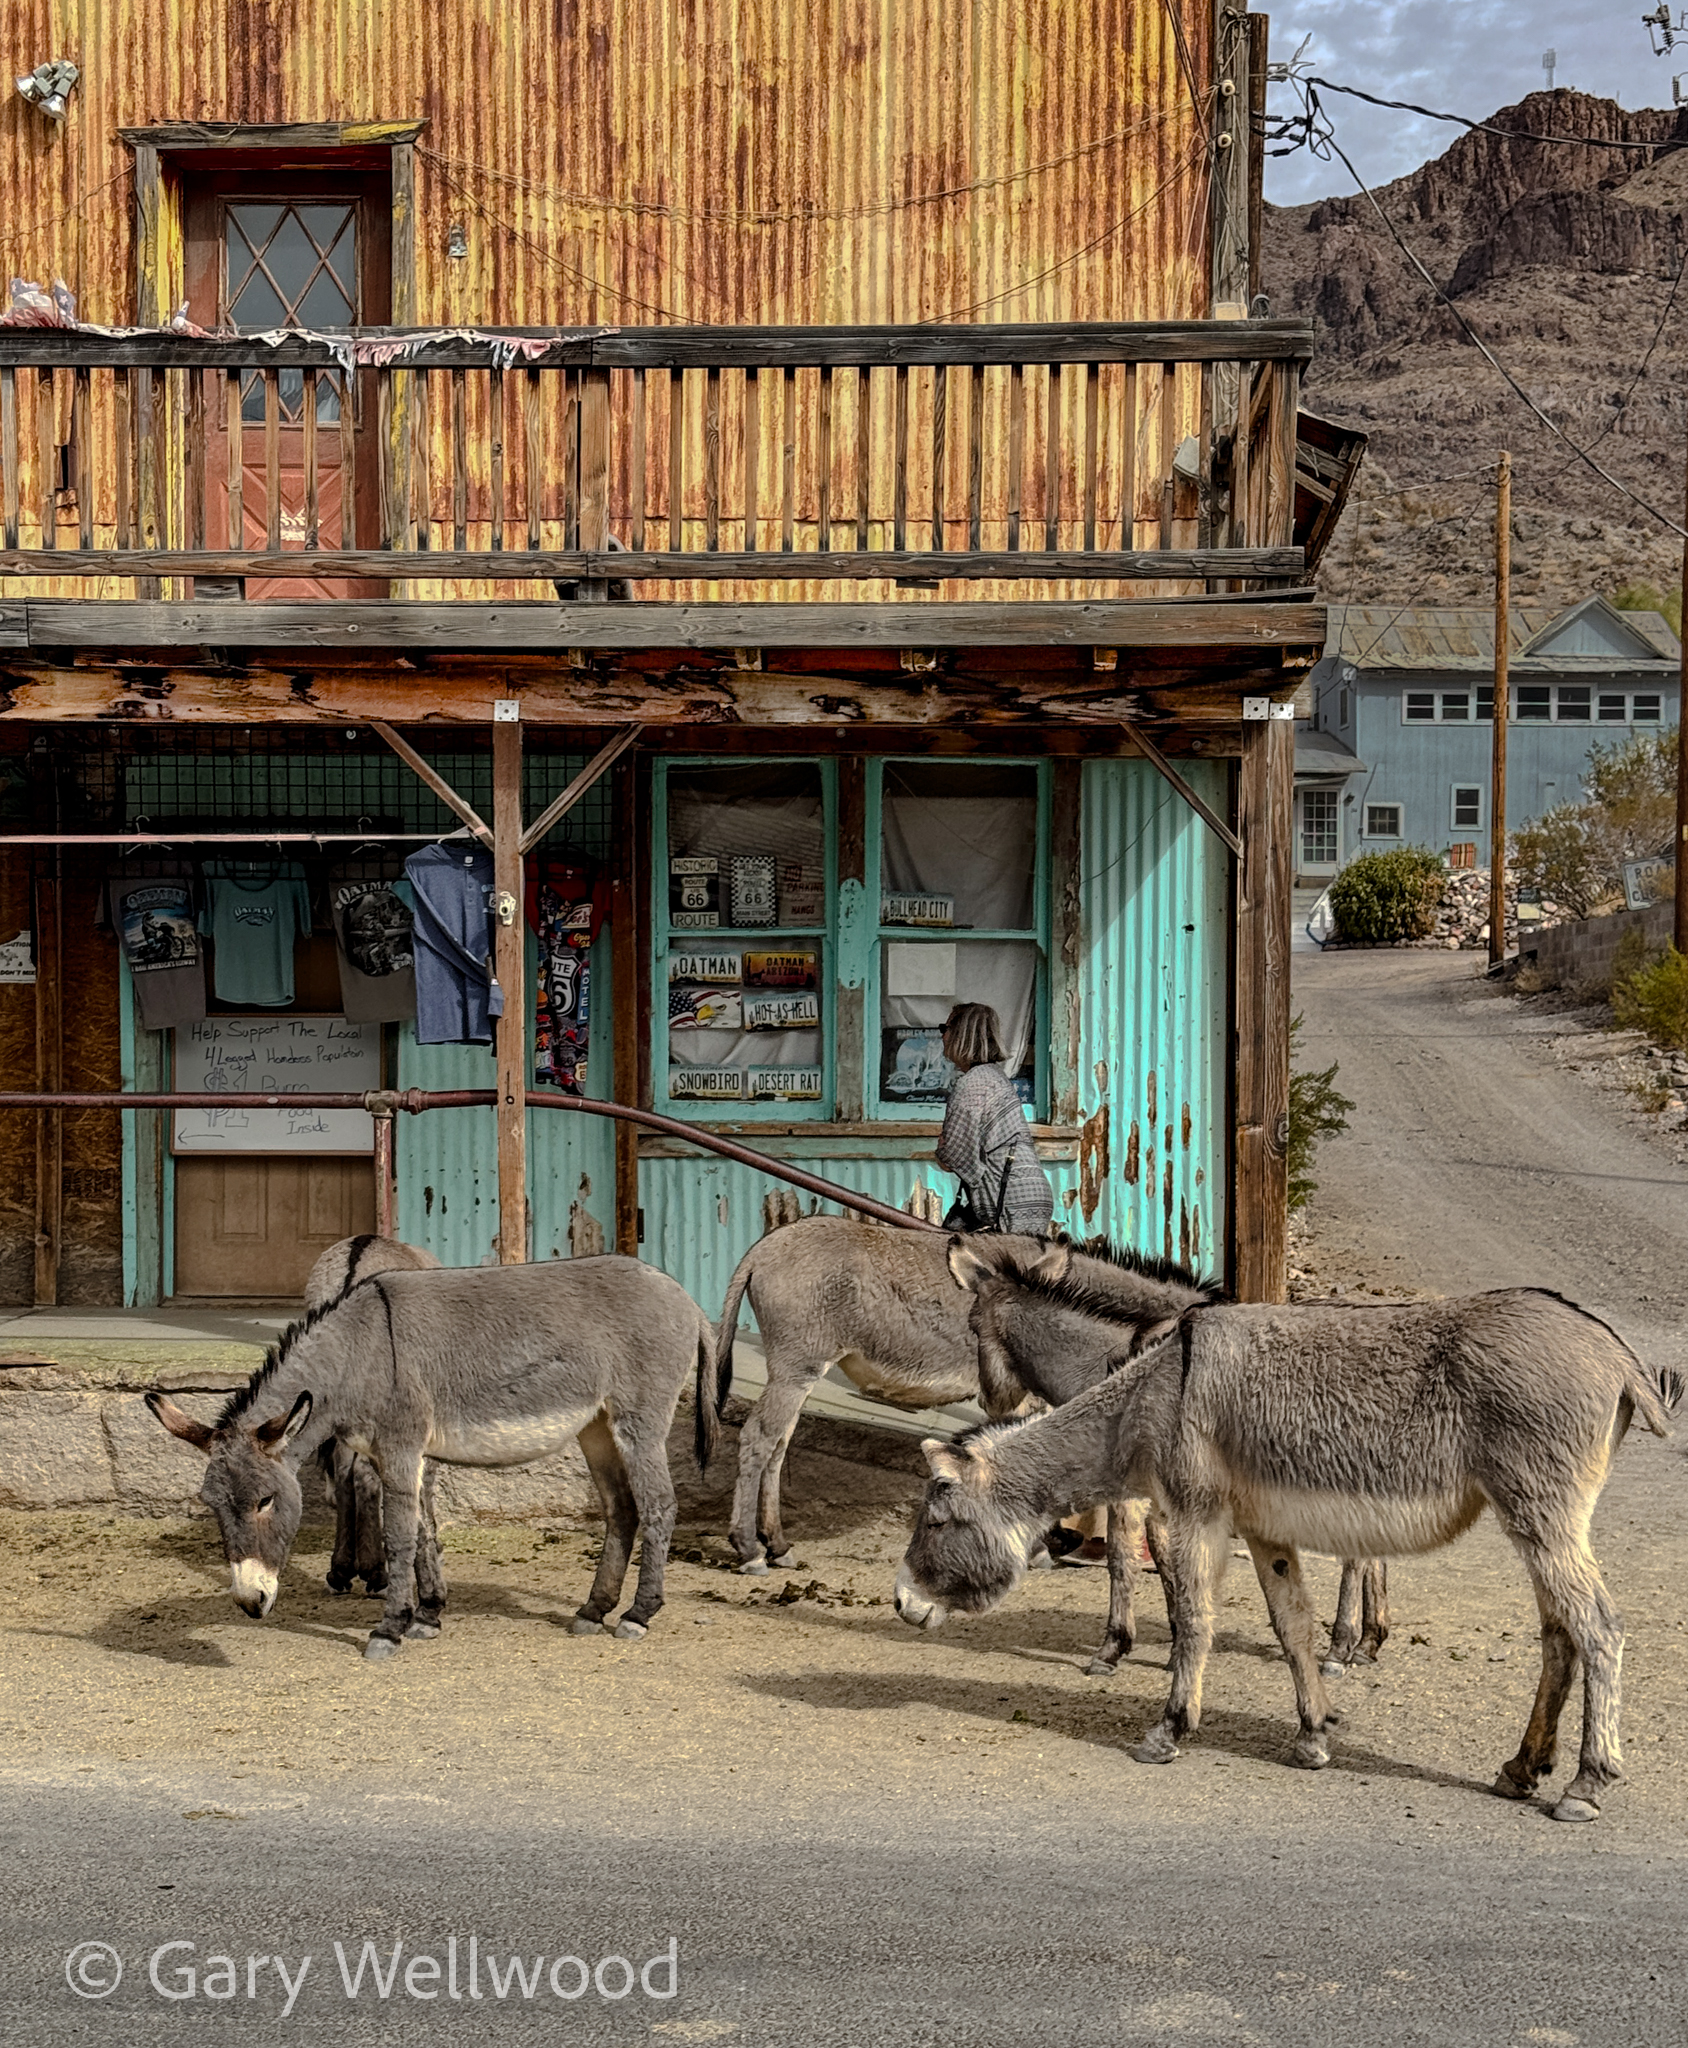
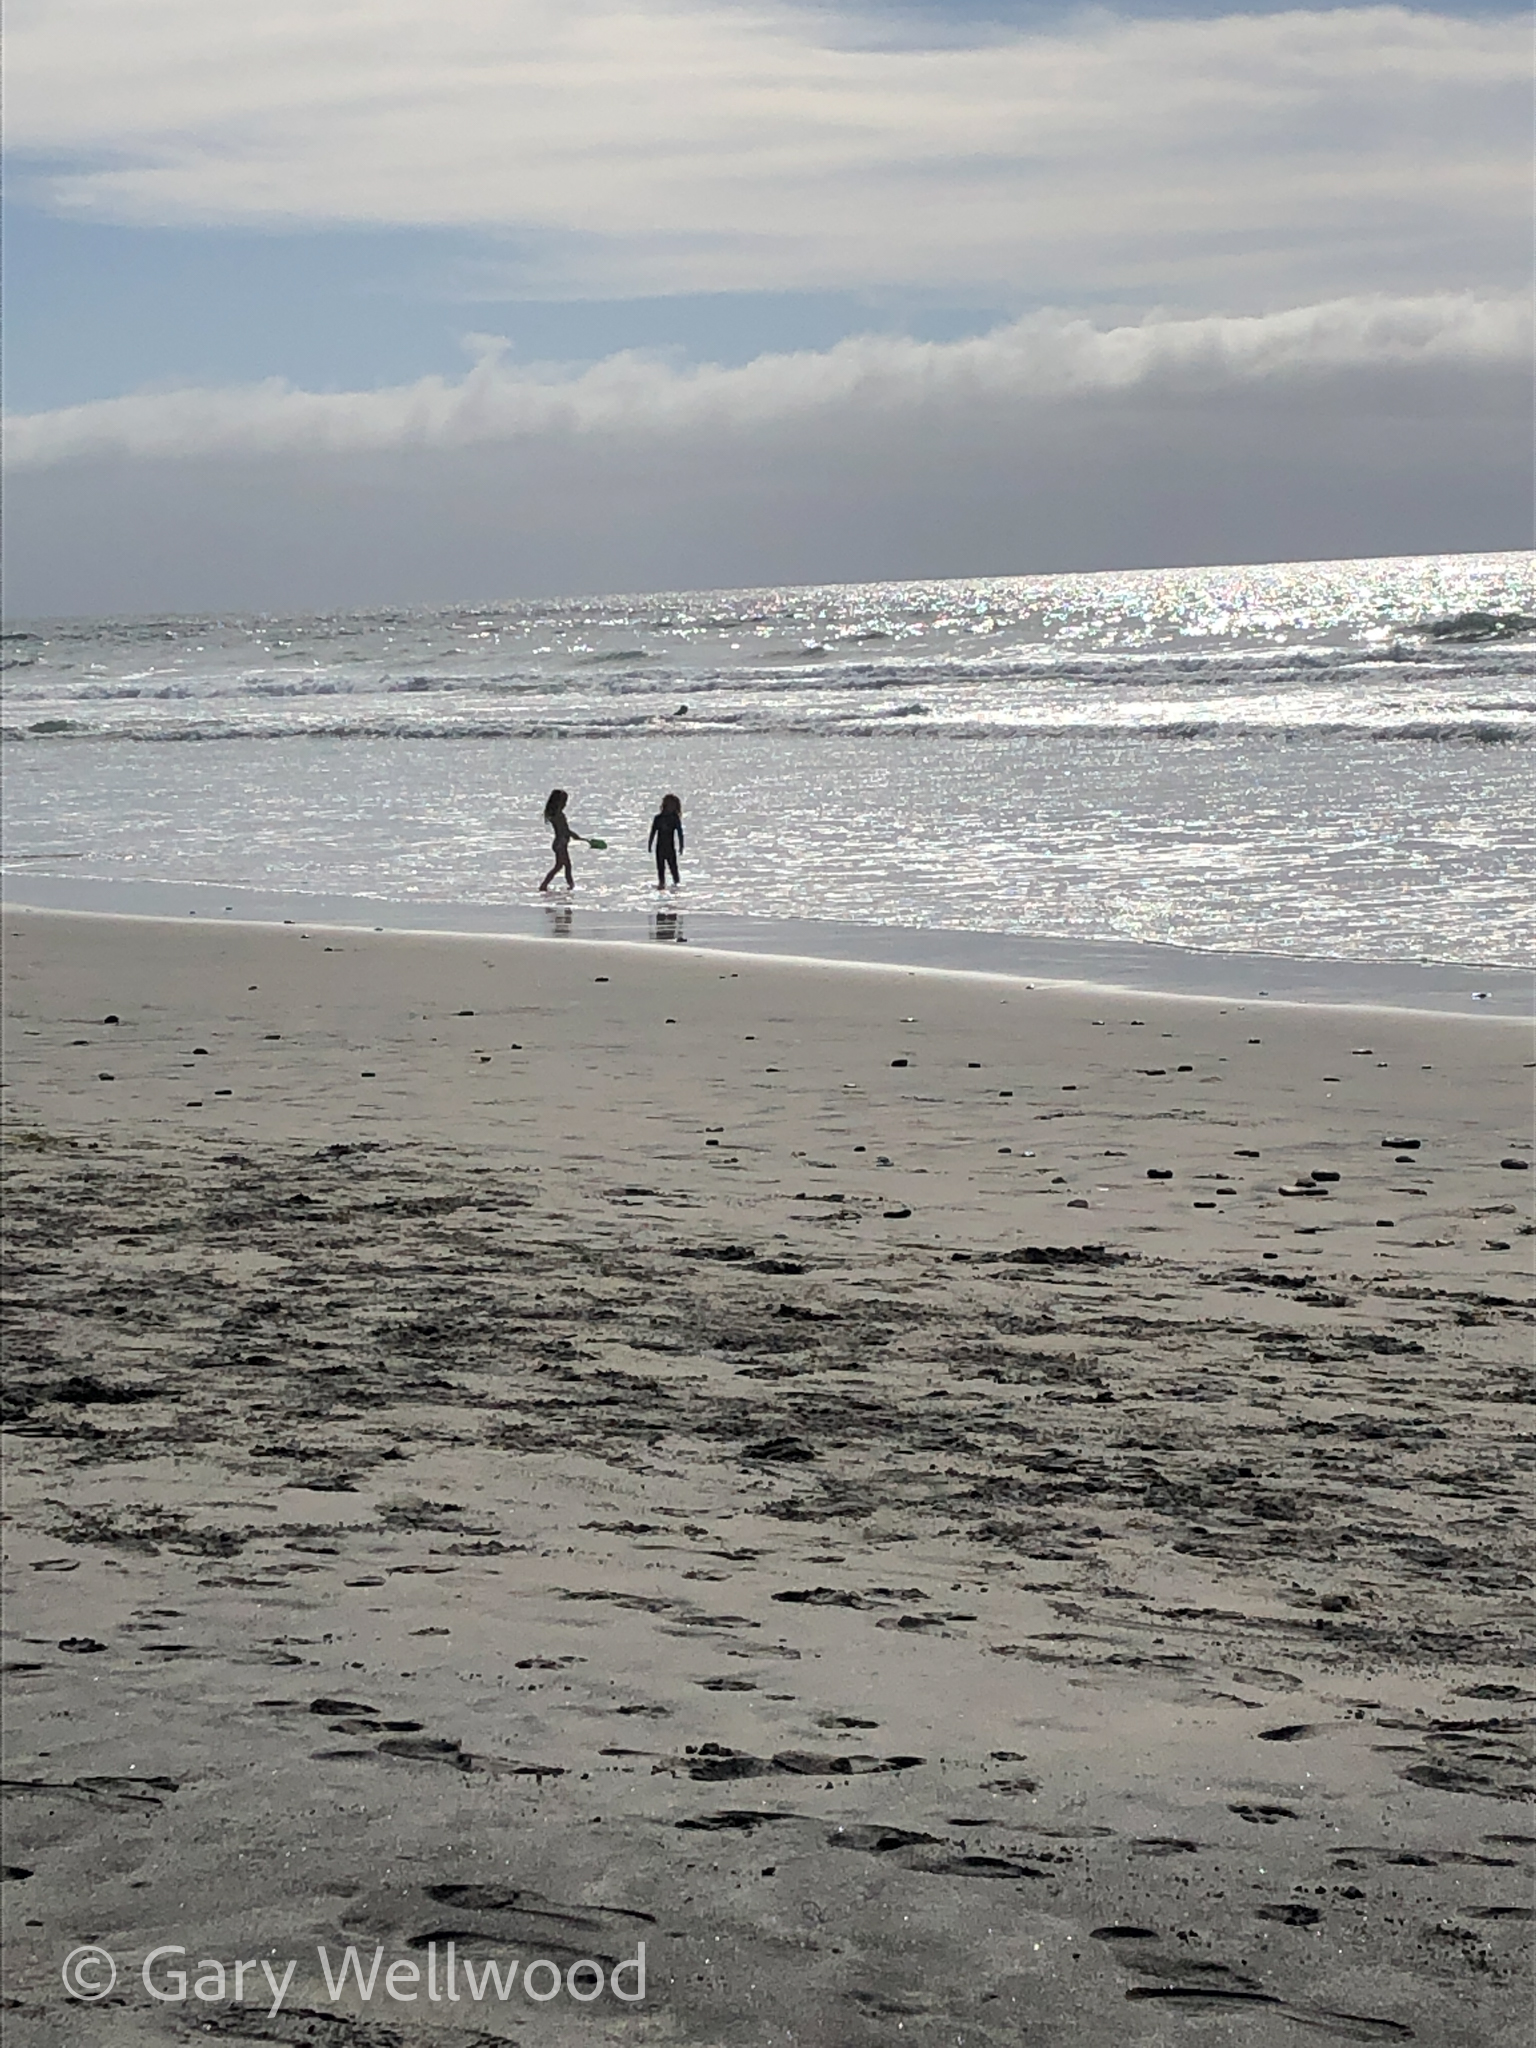
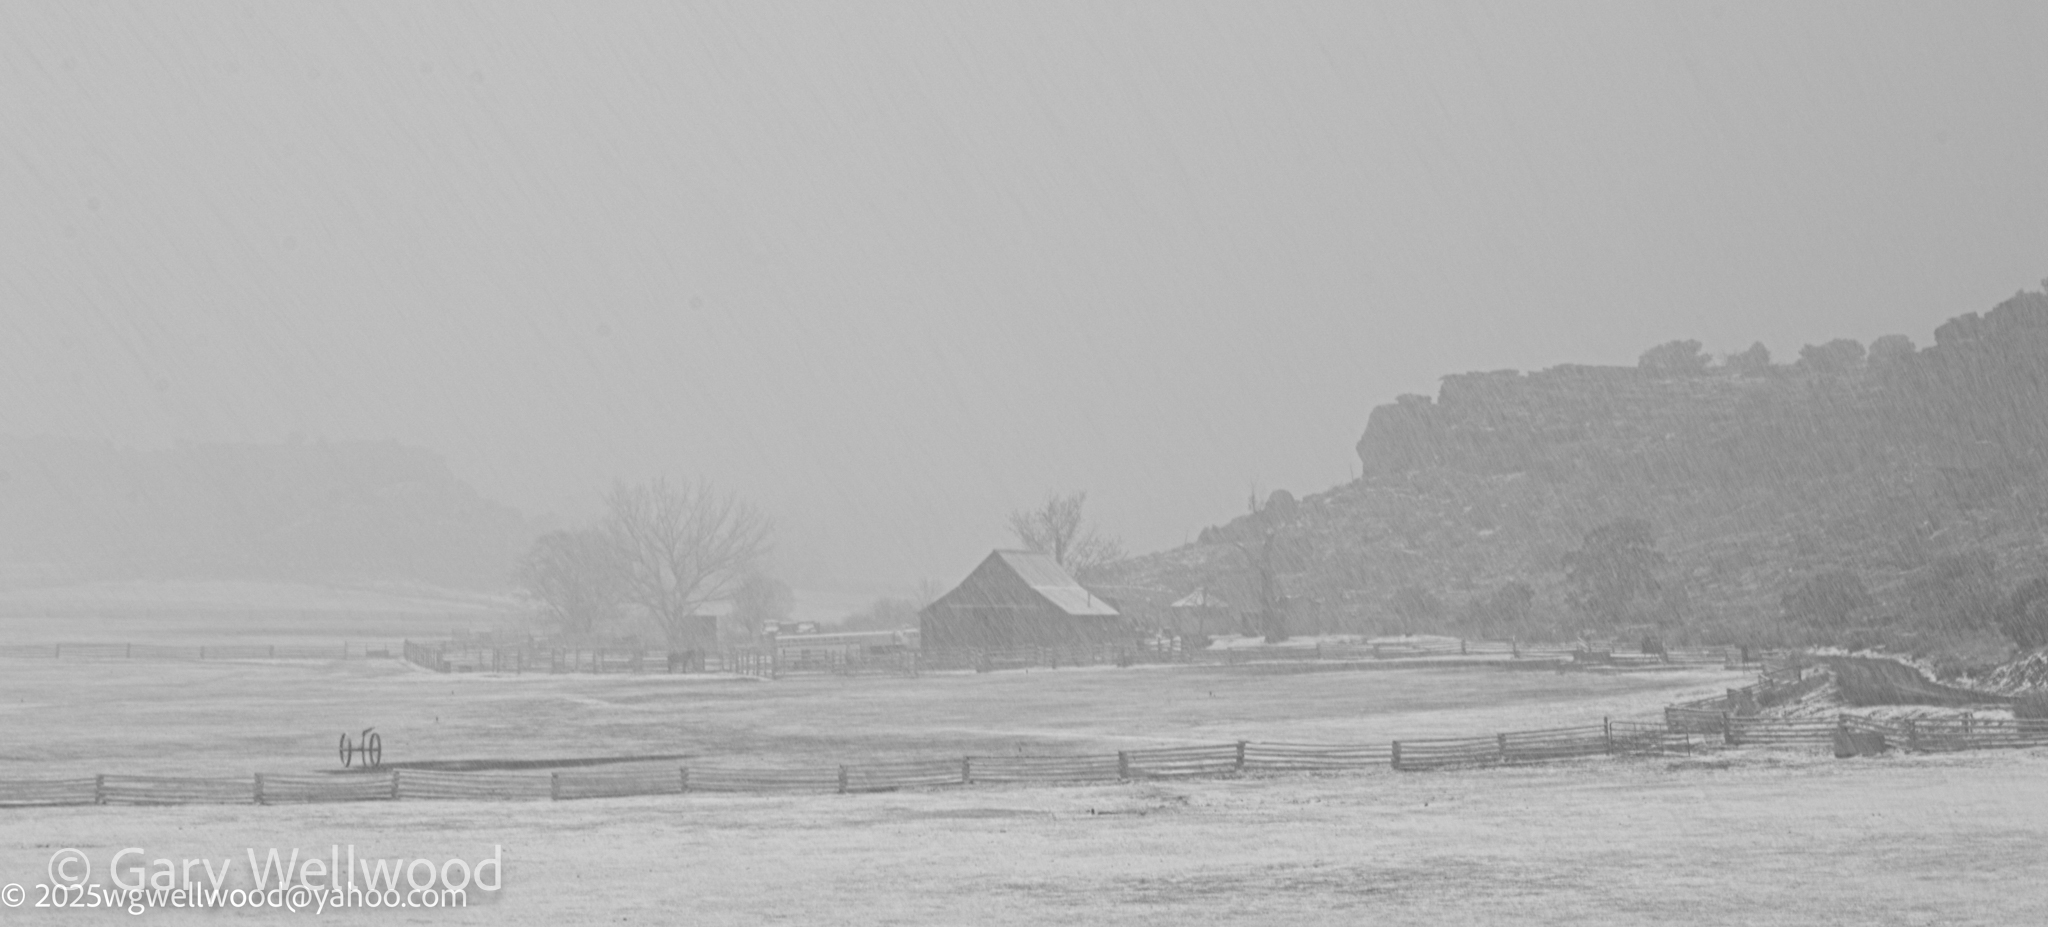
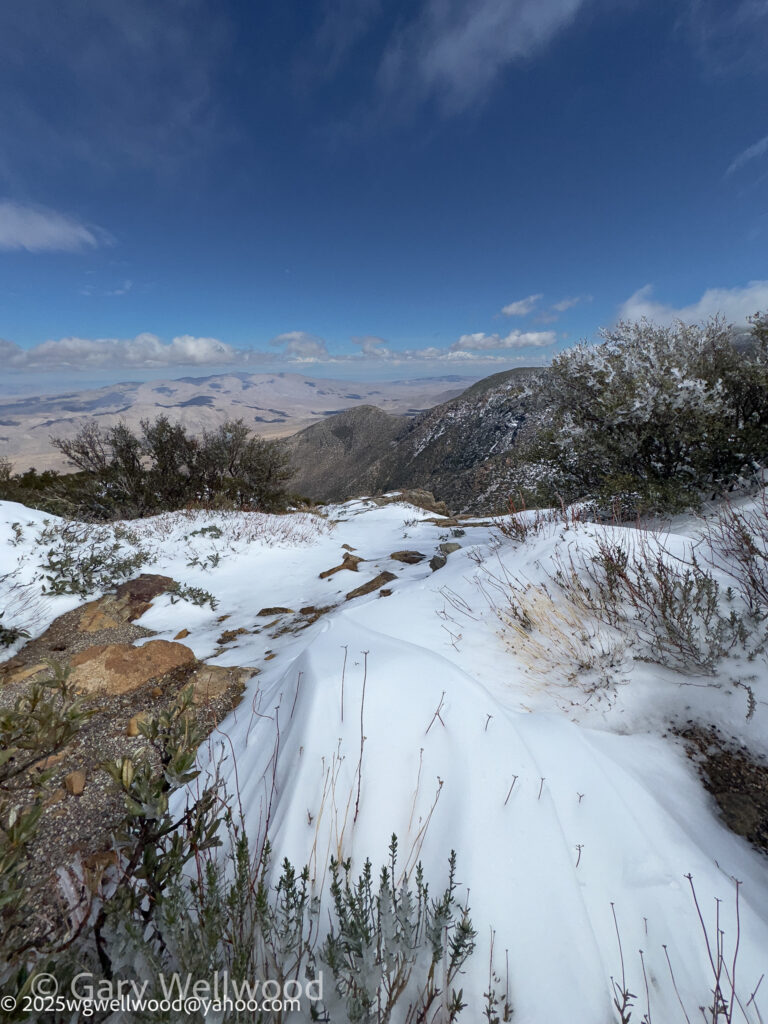
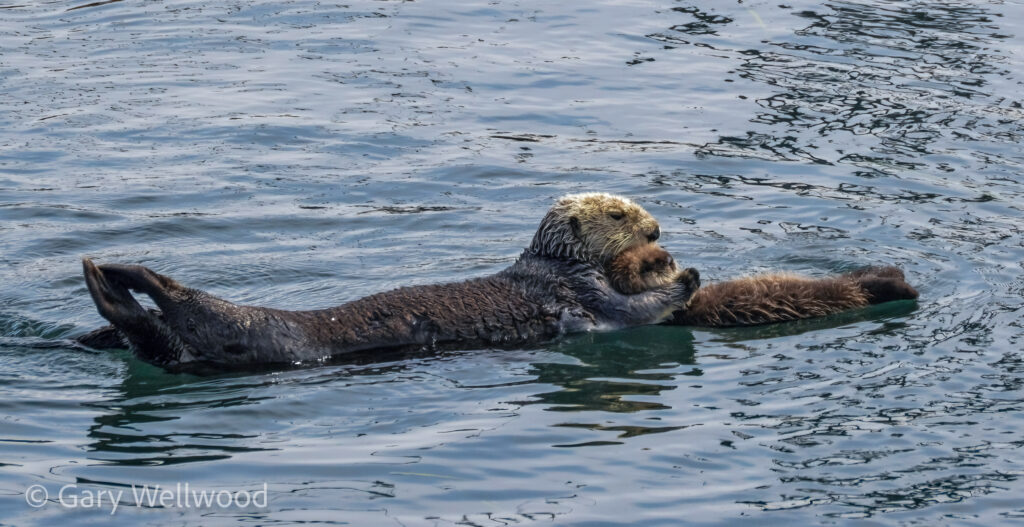
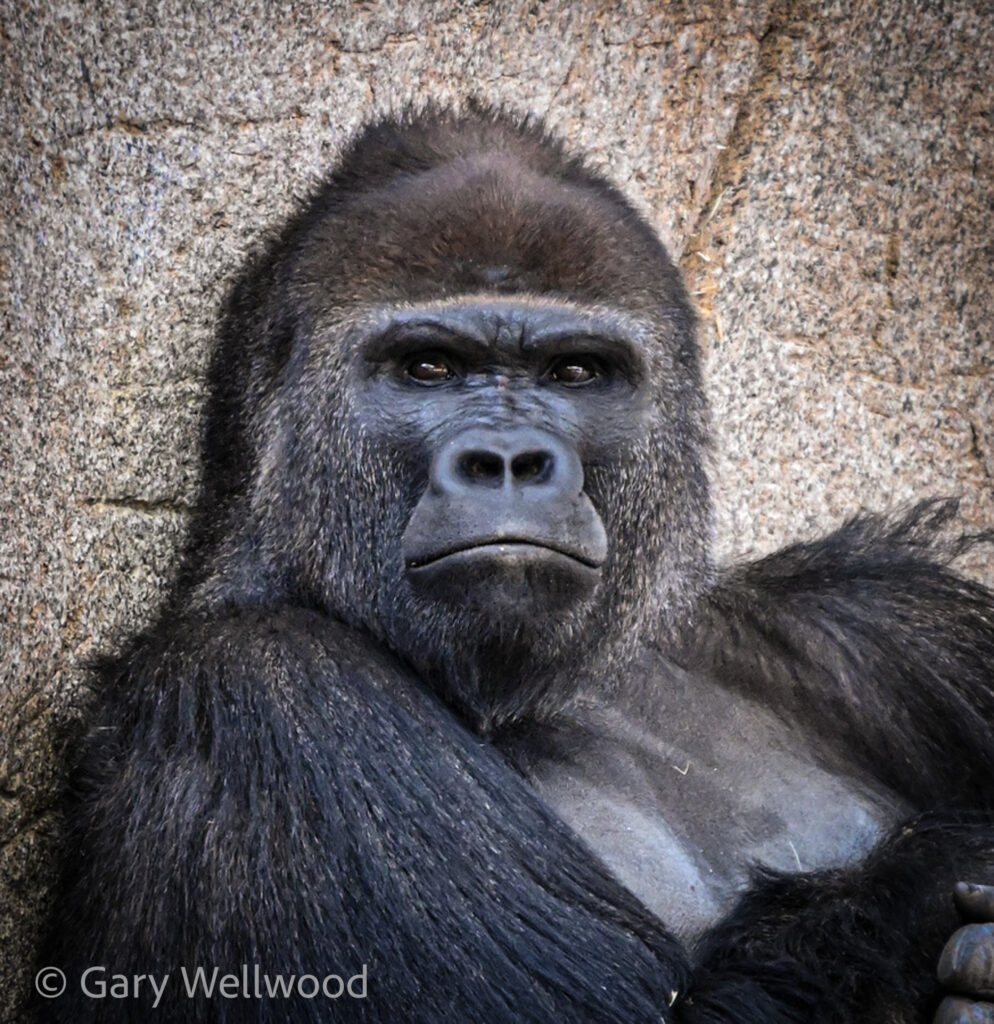
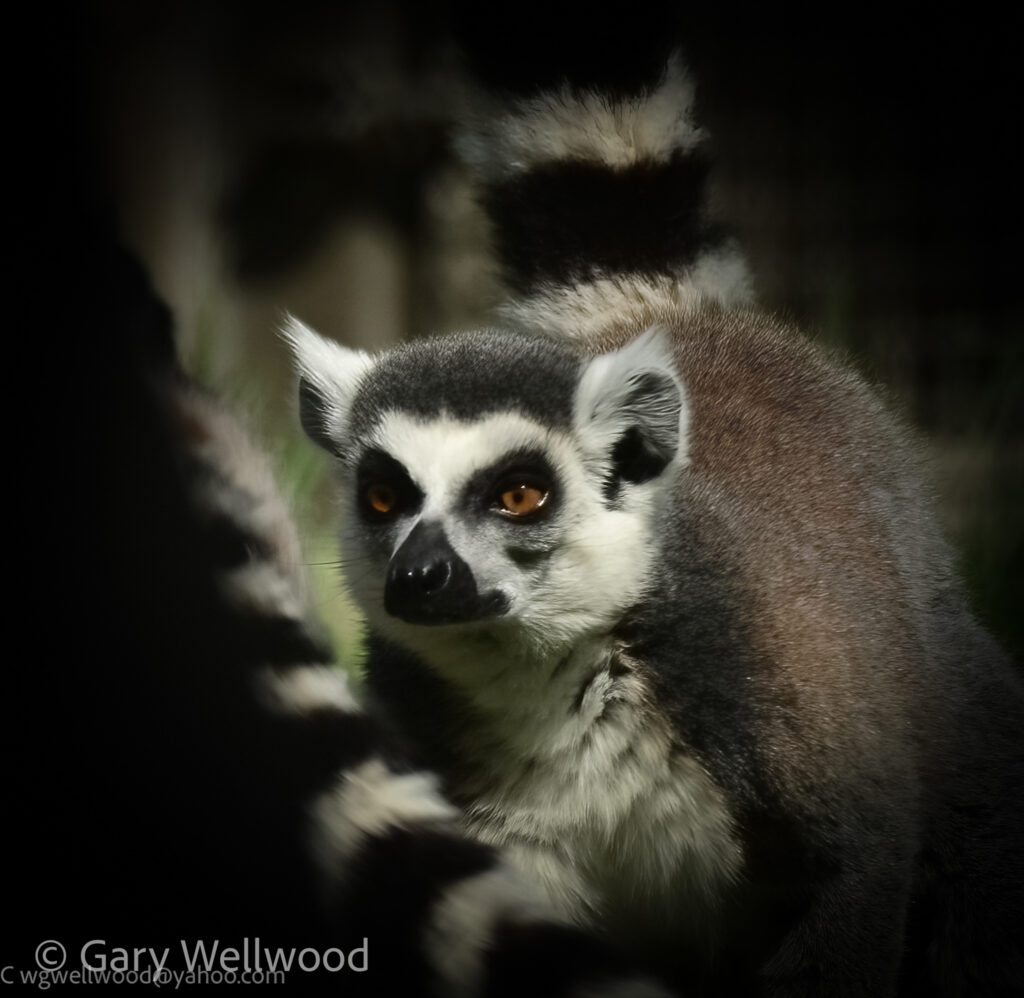
Gary


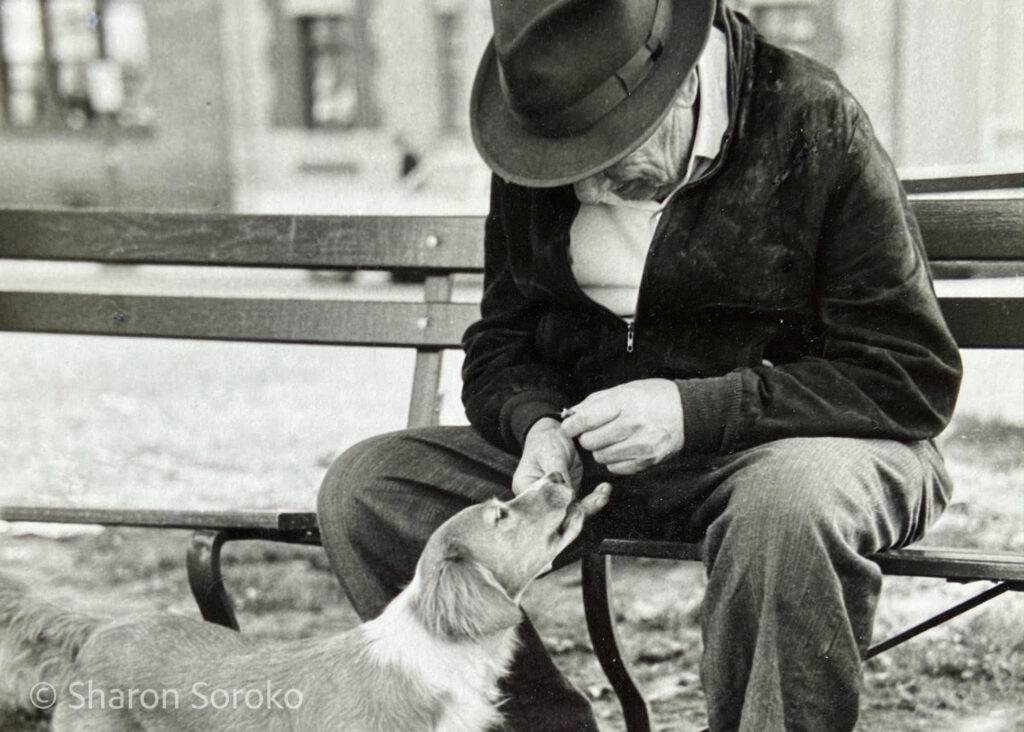
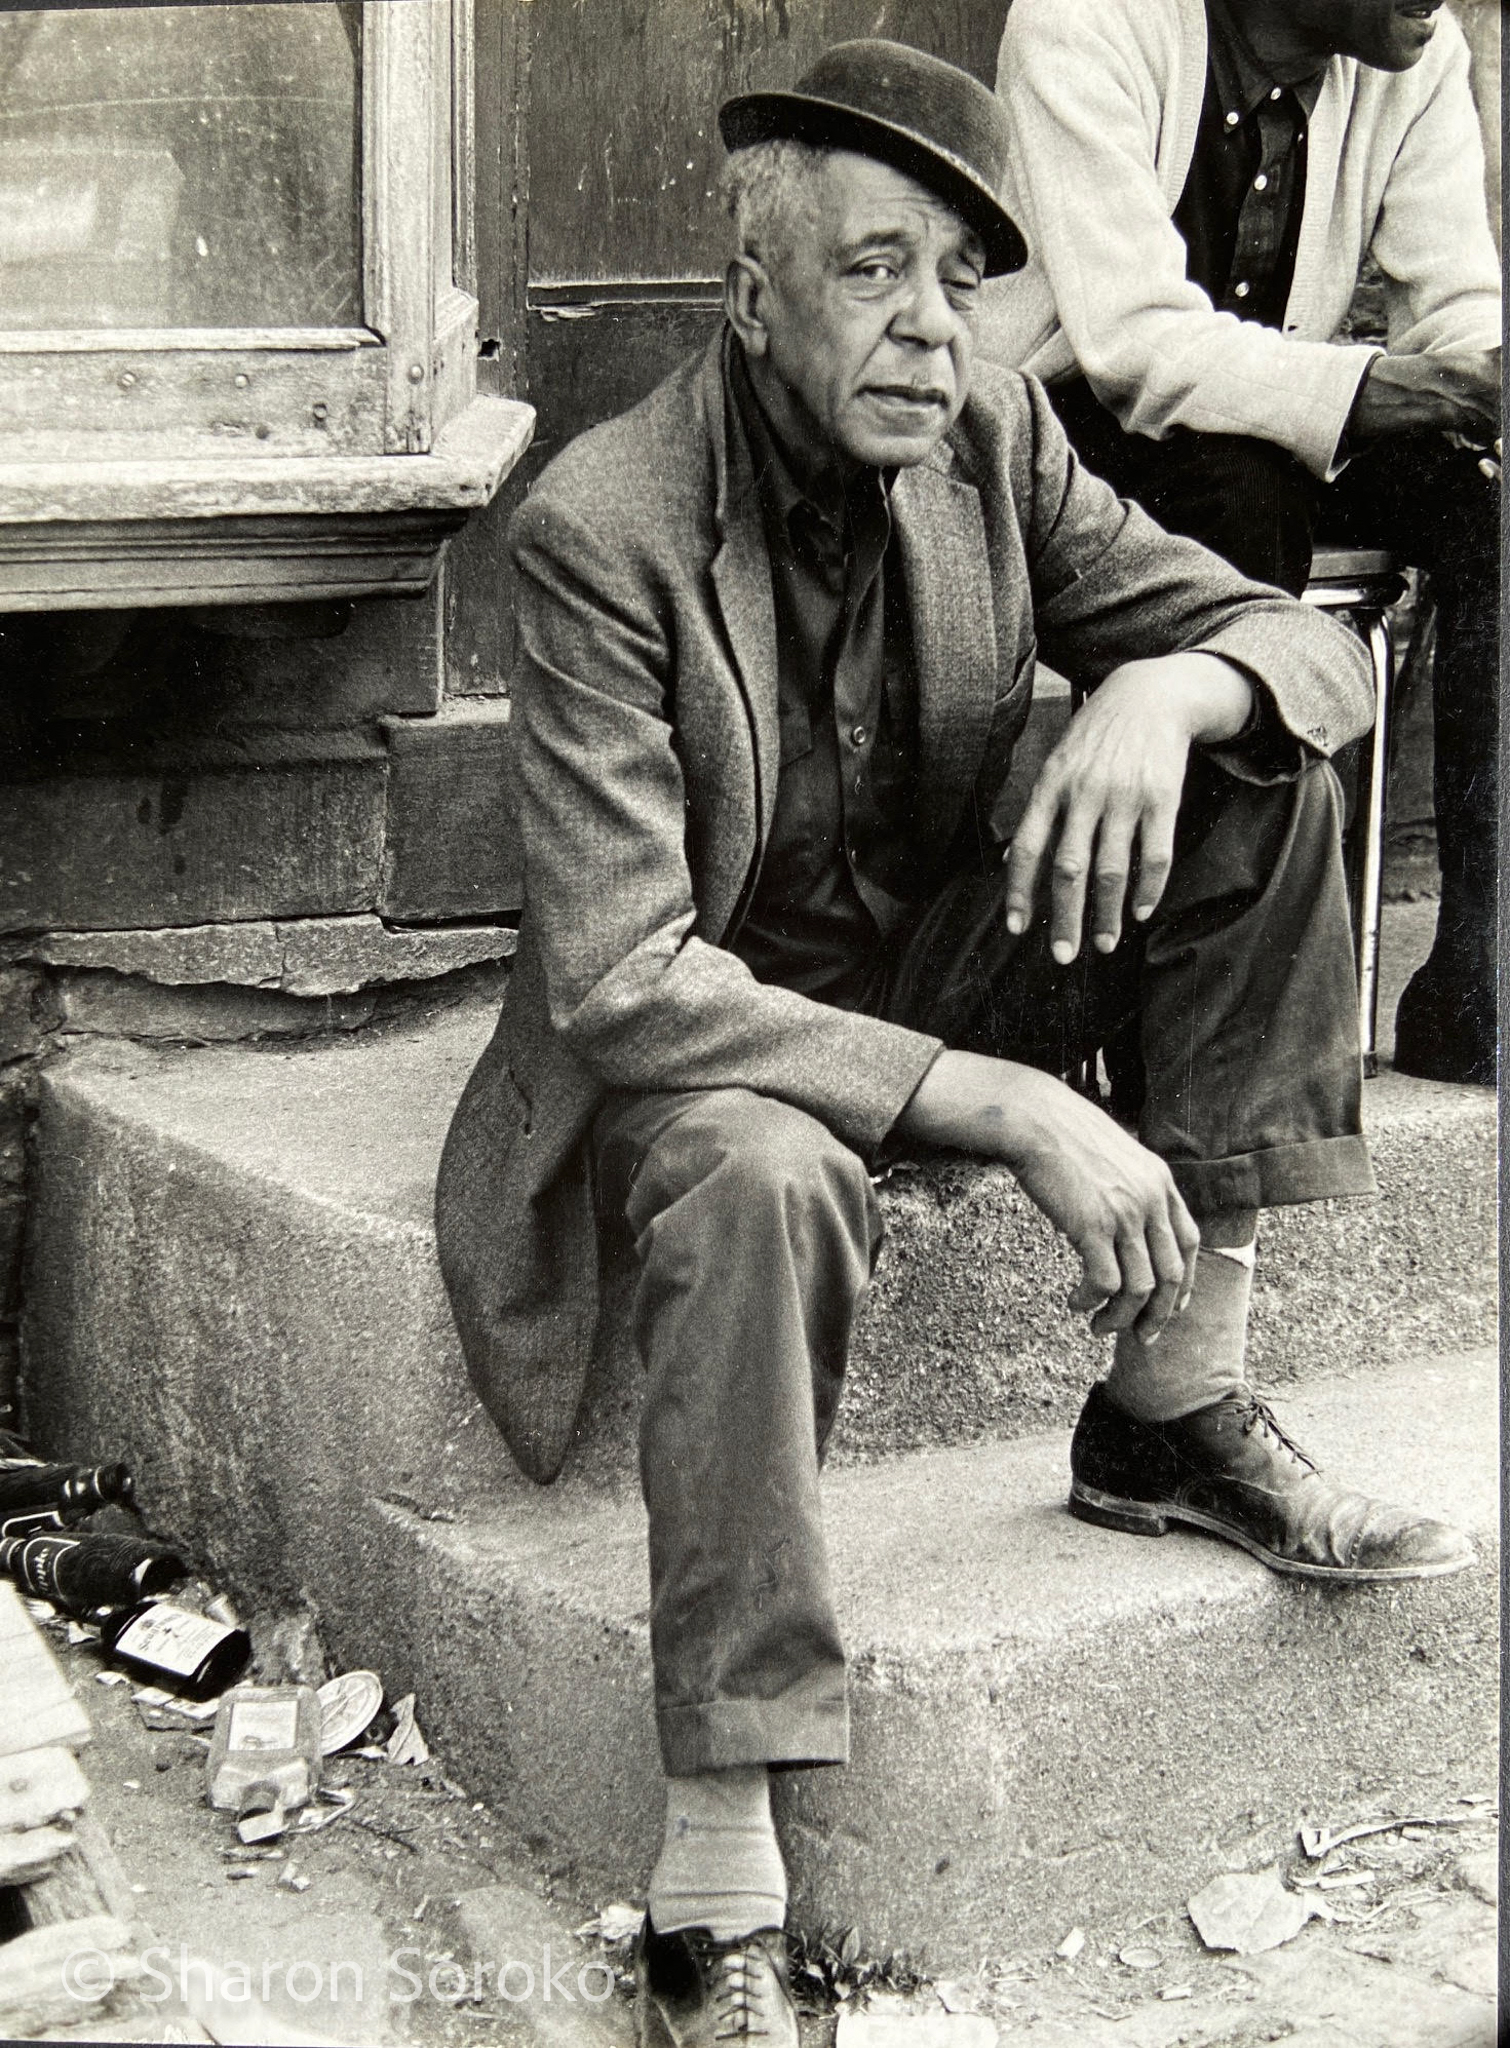
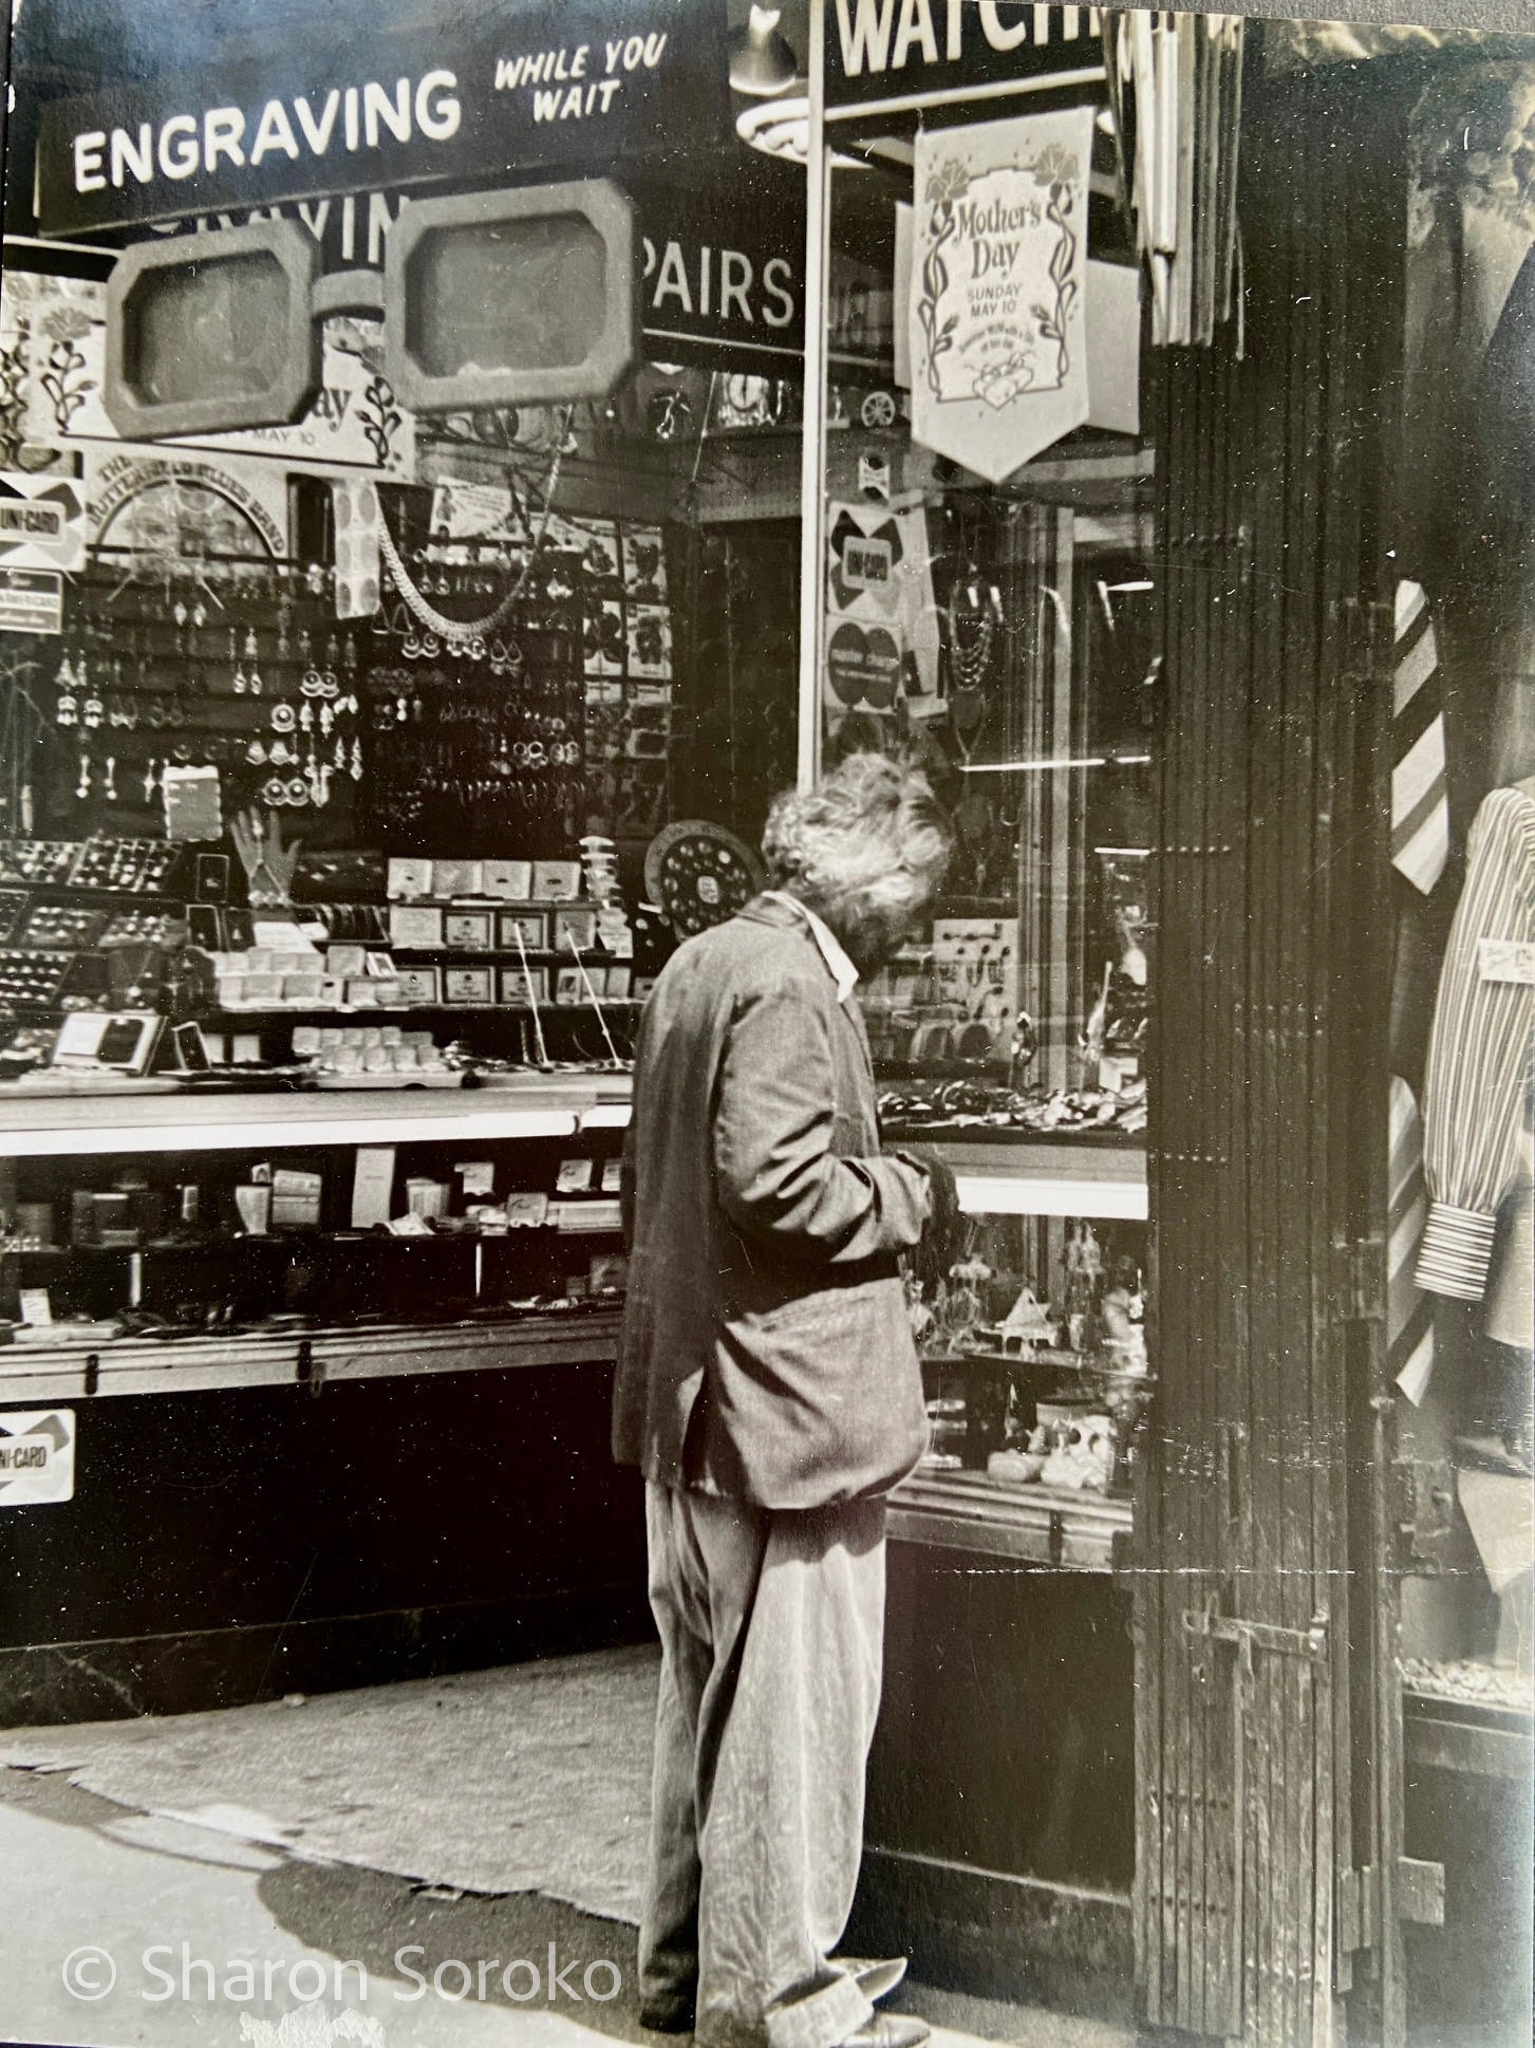
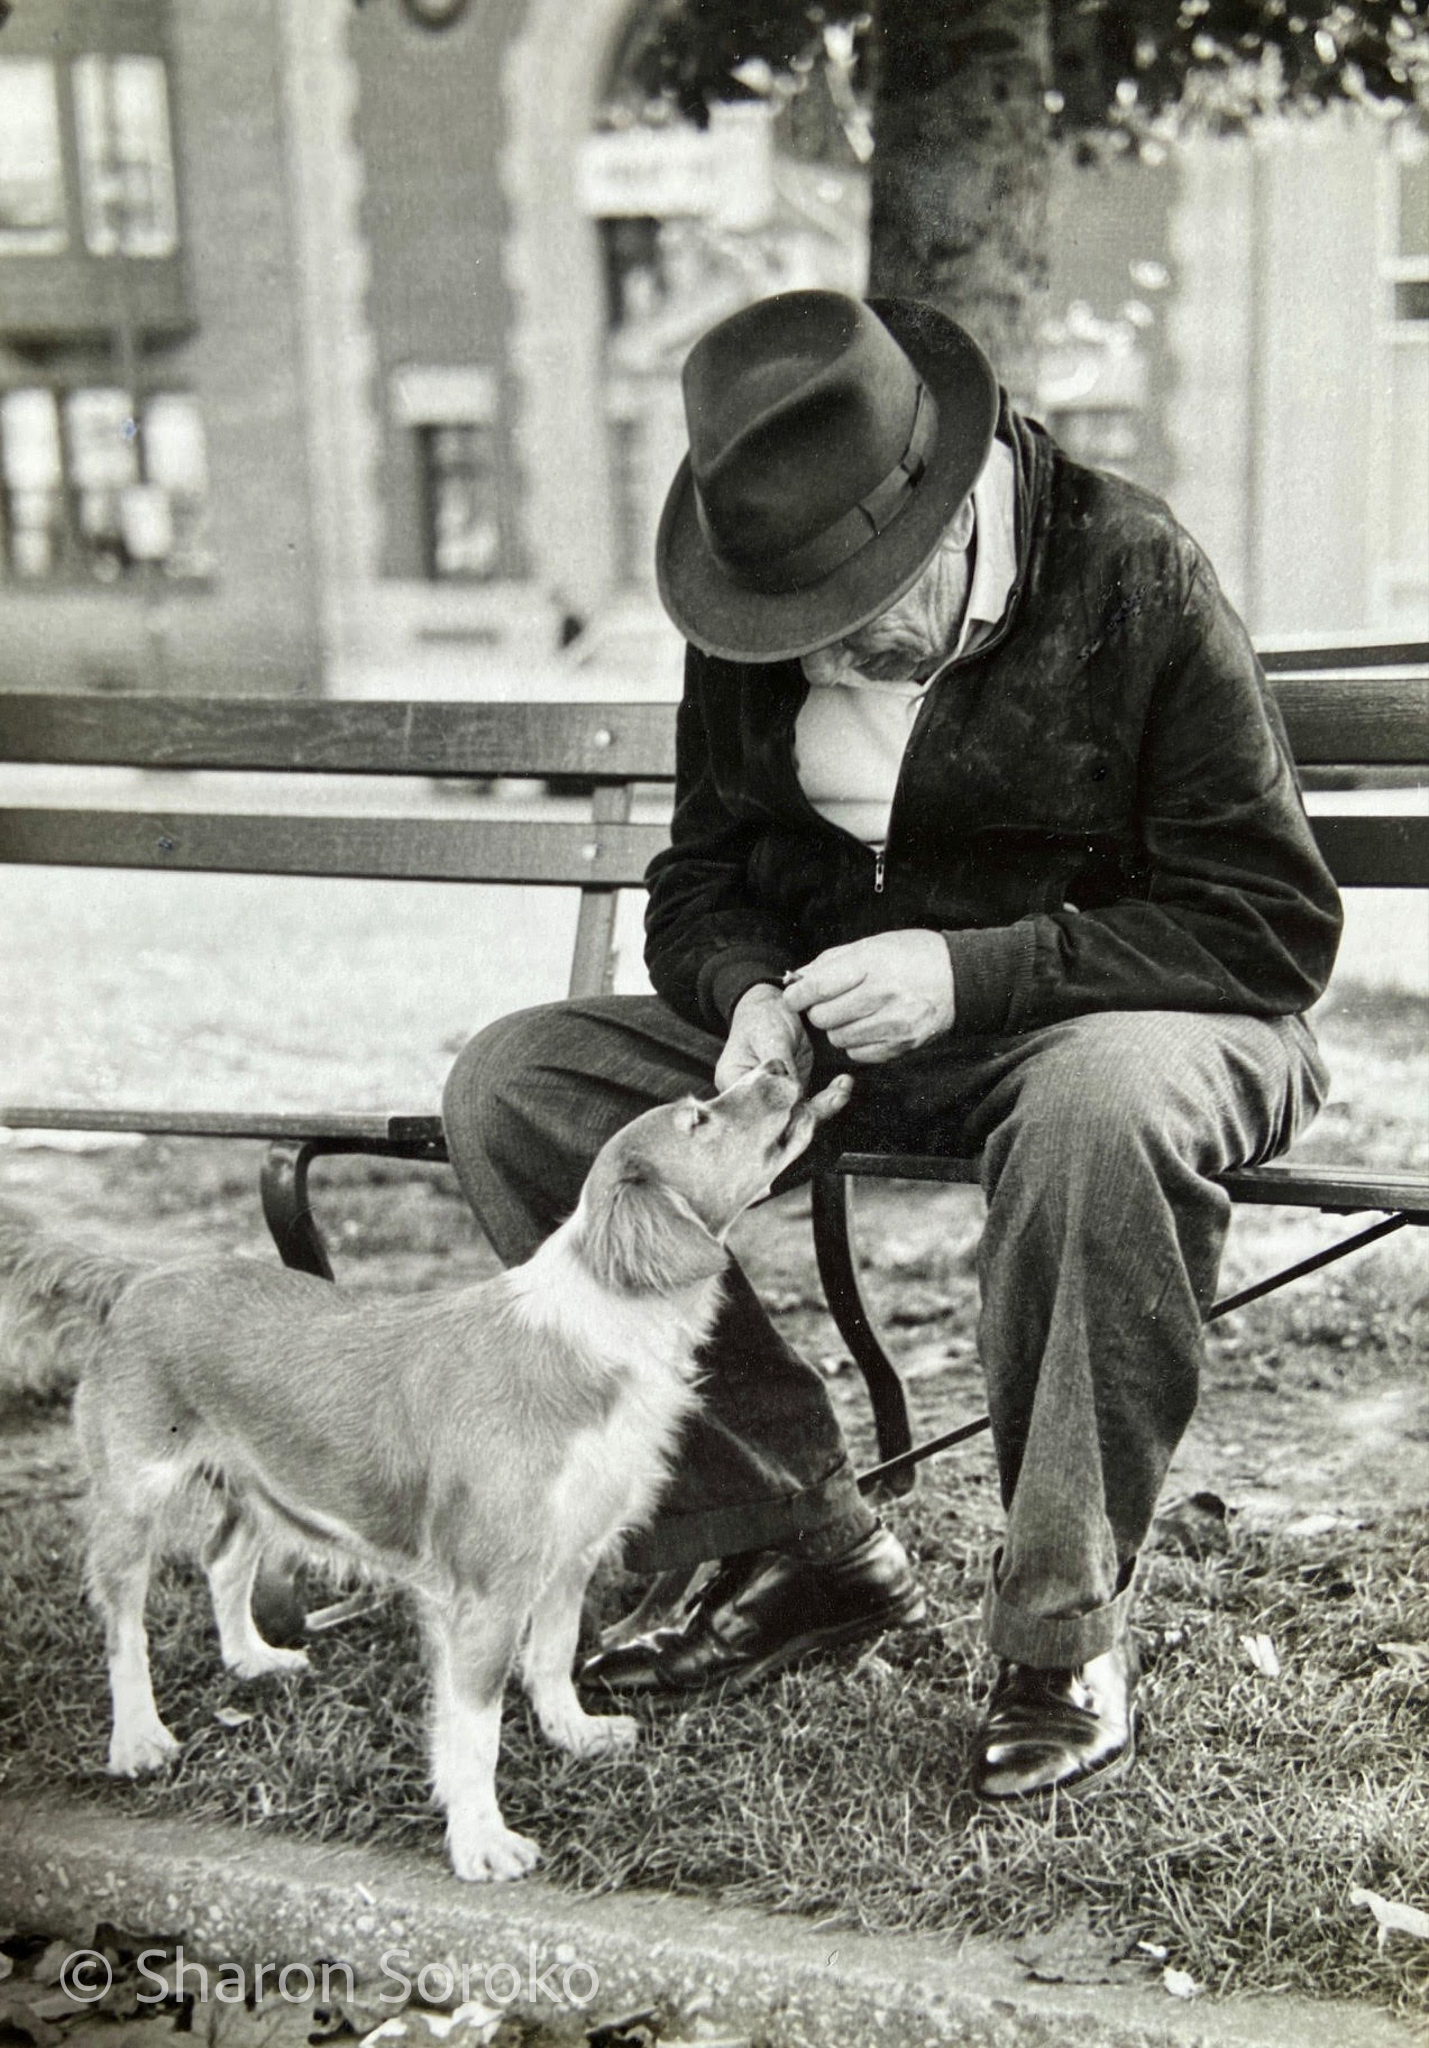
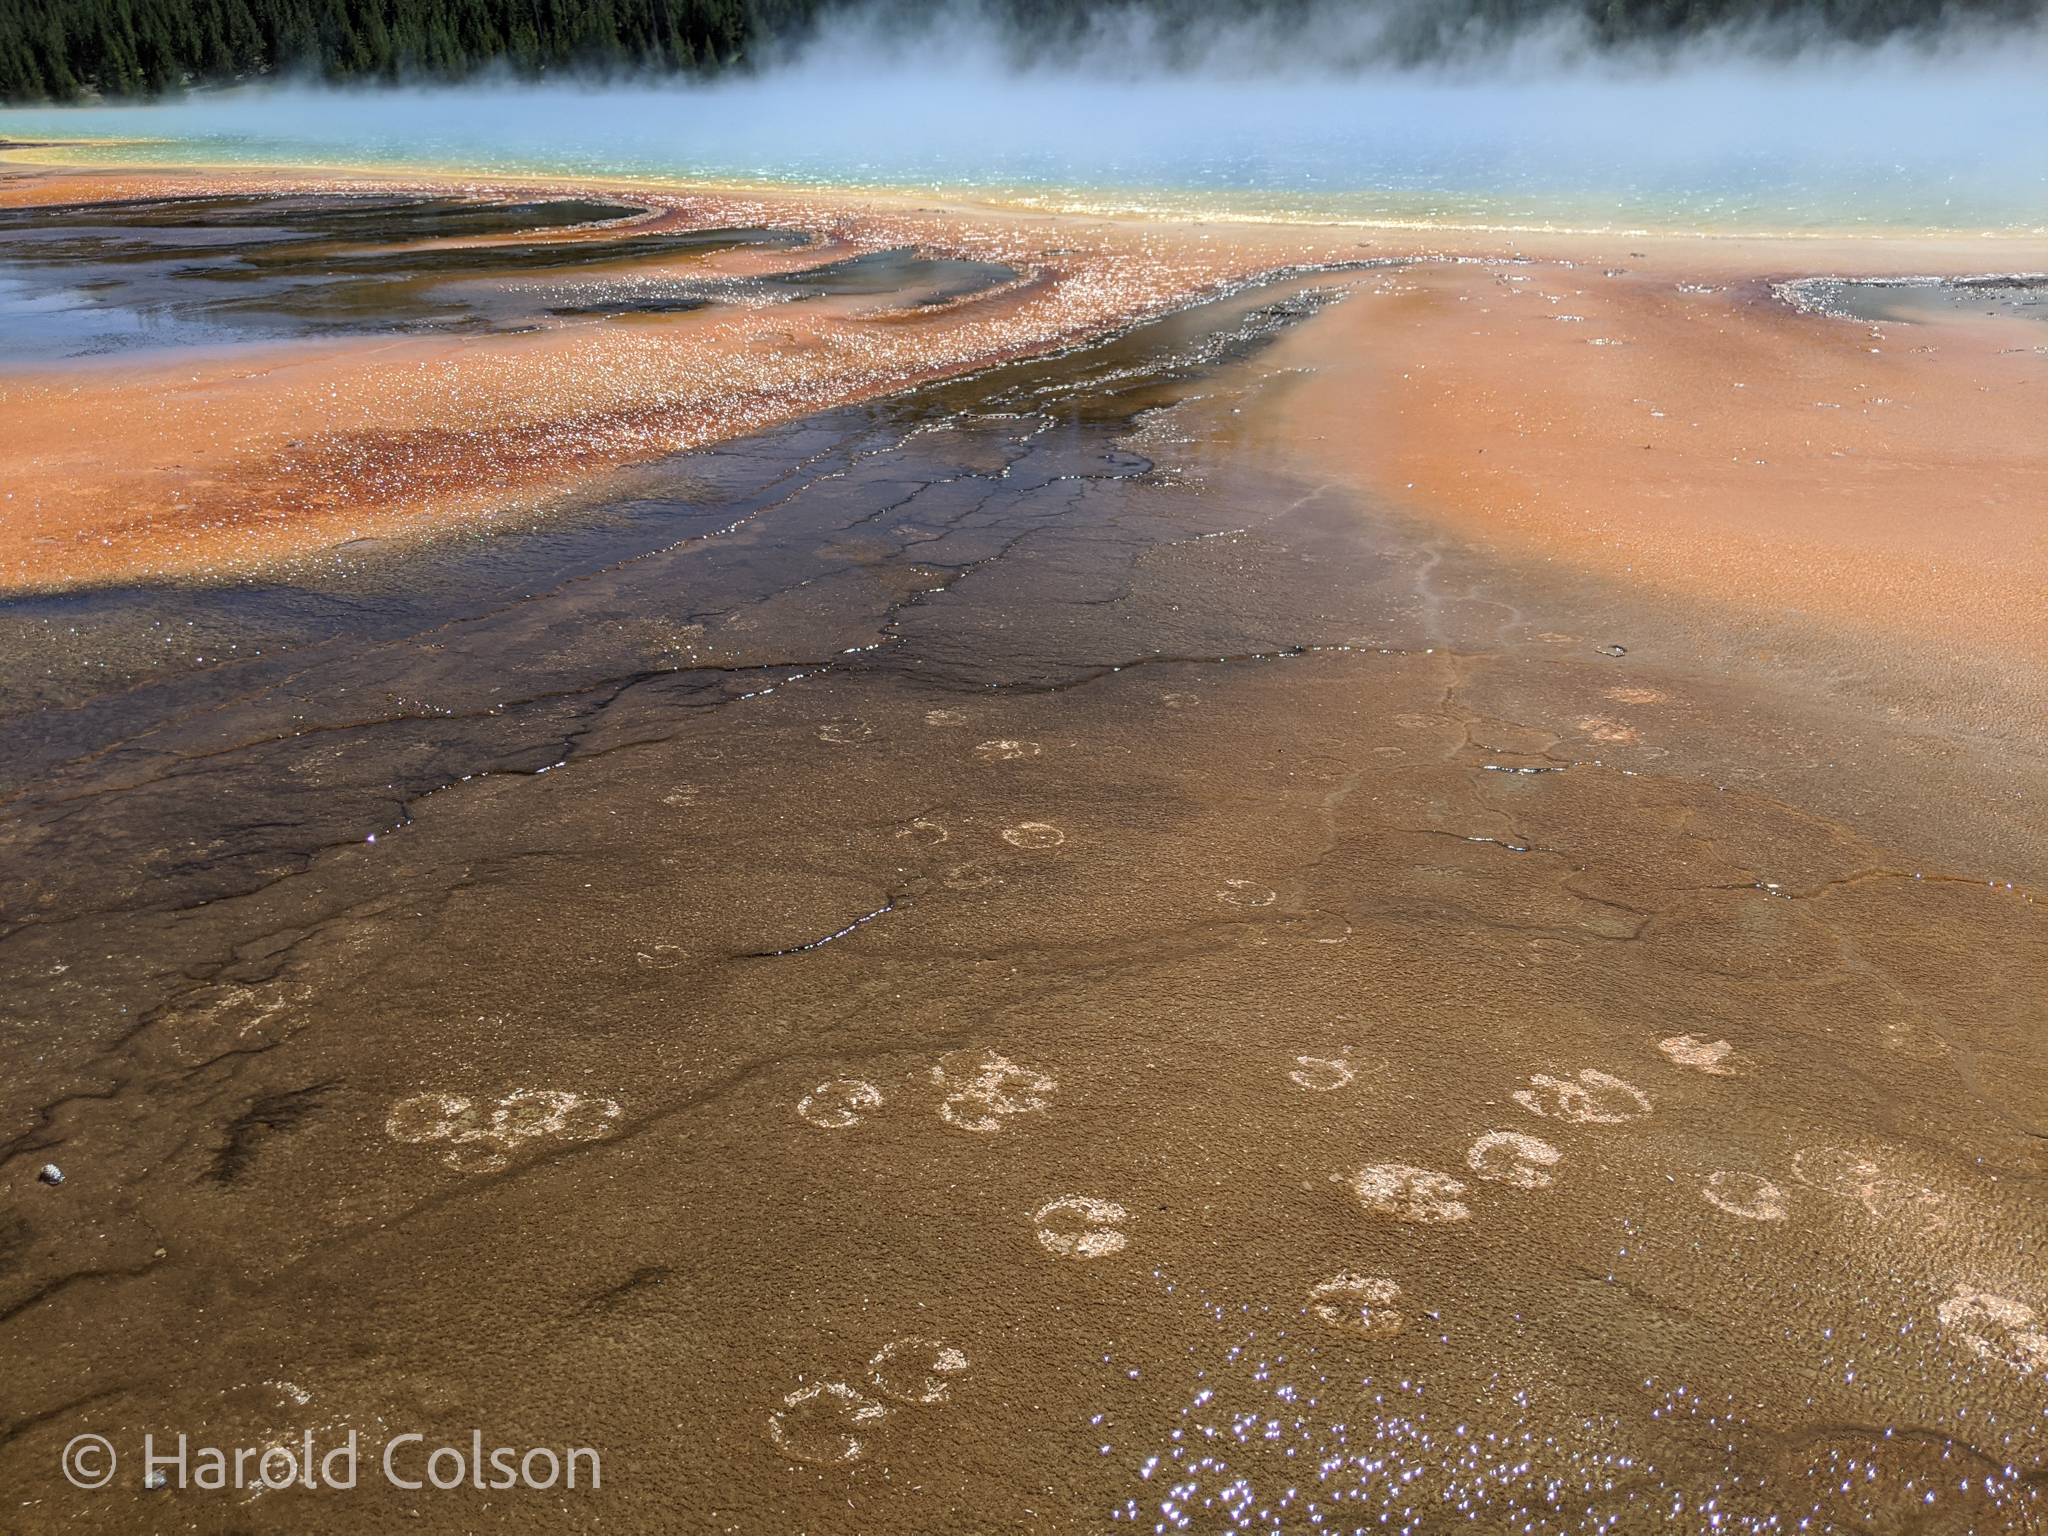
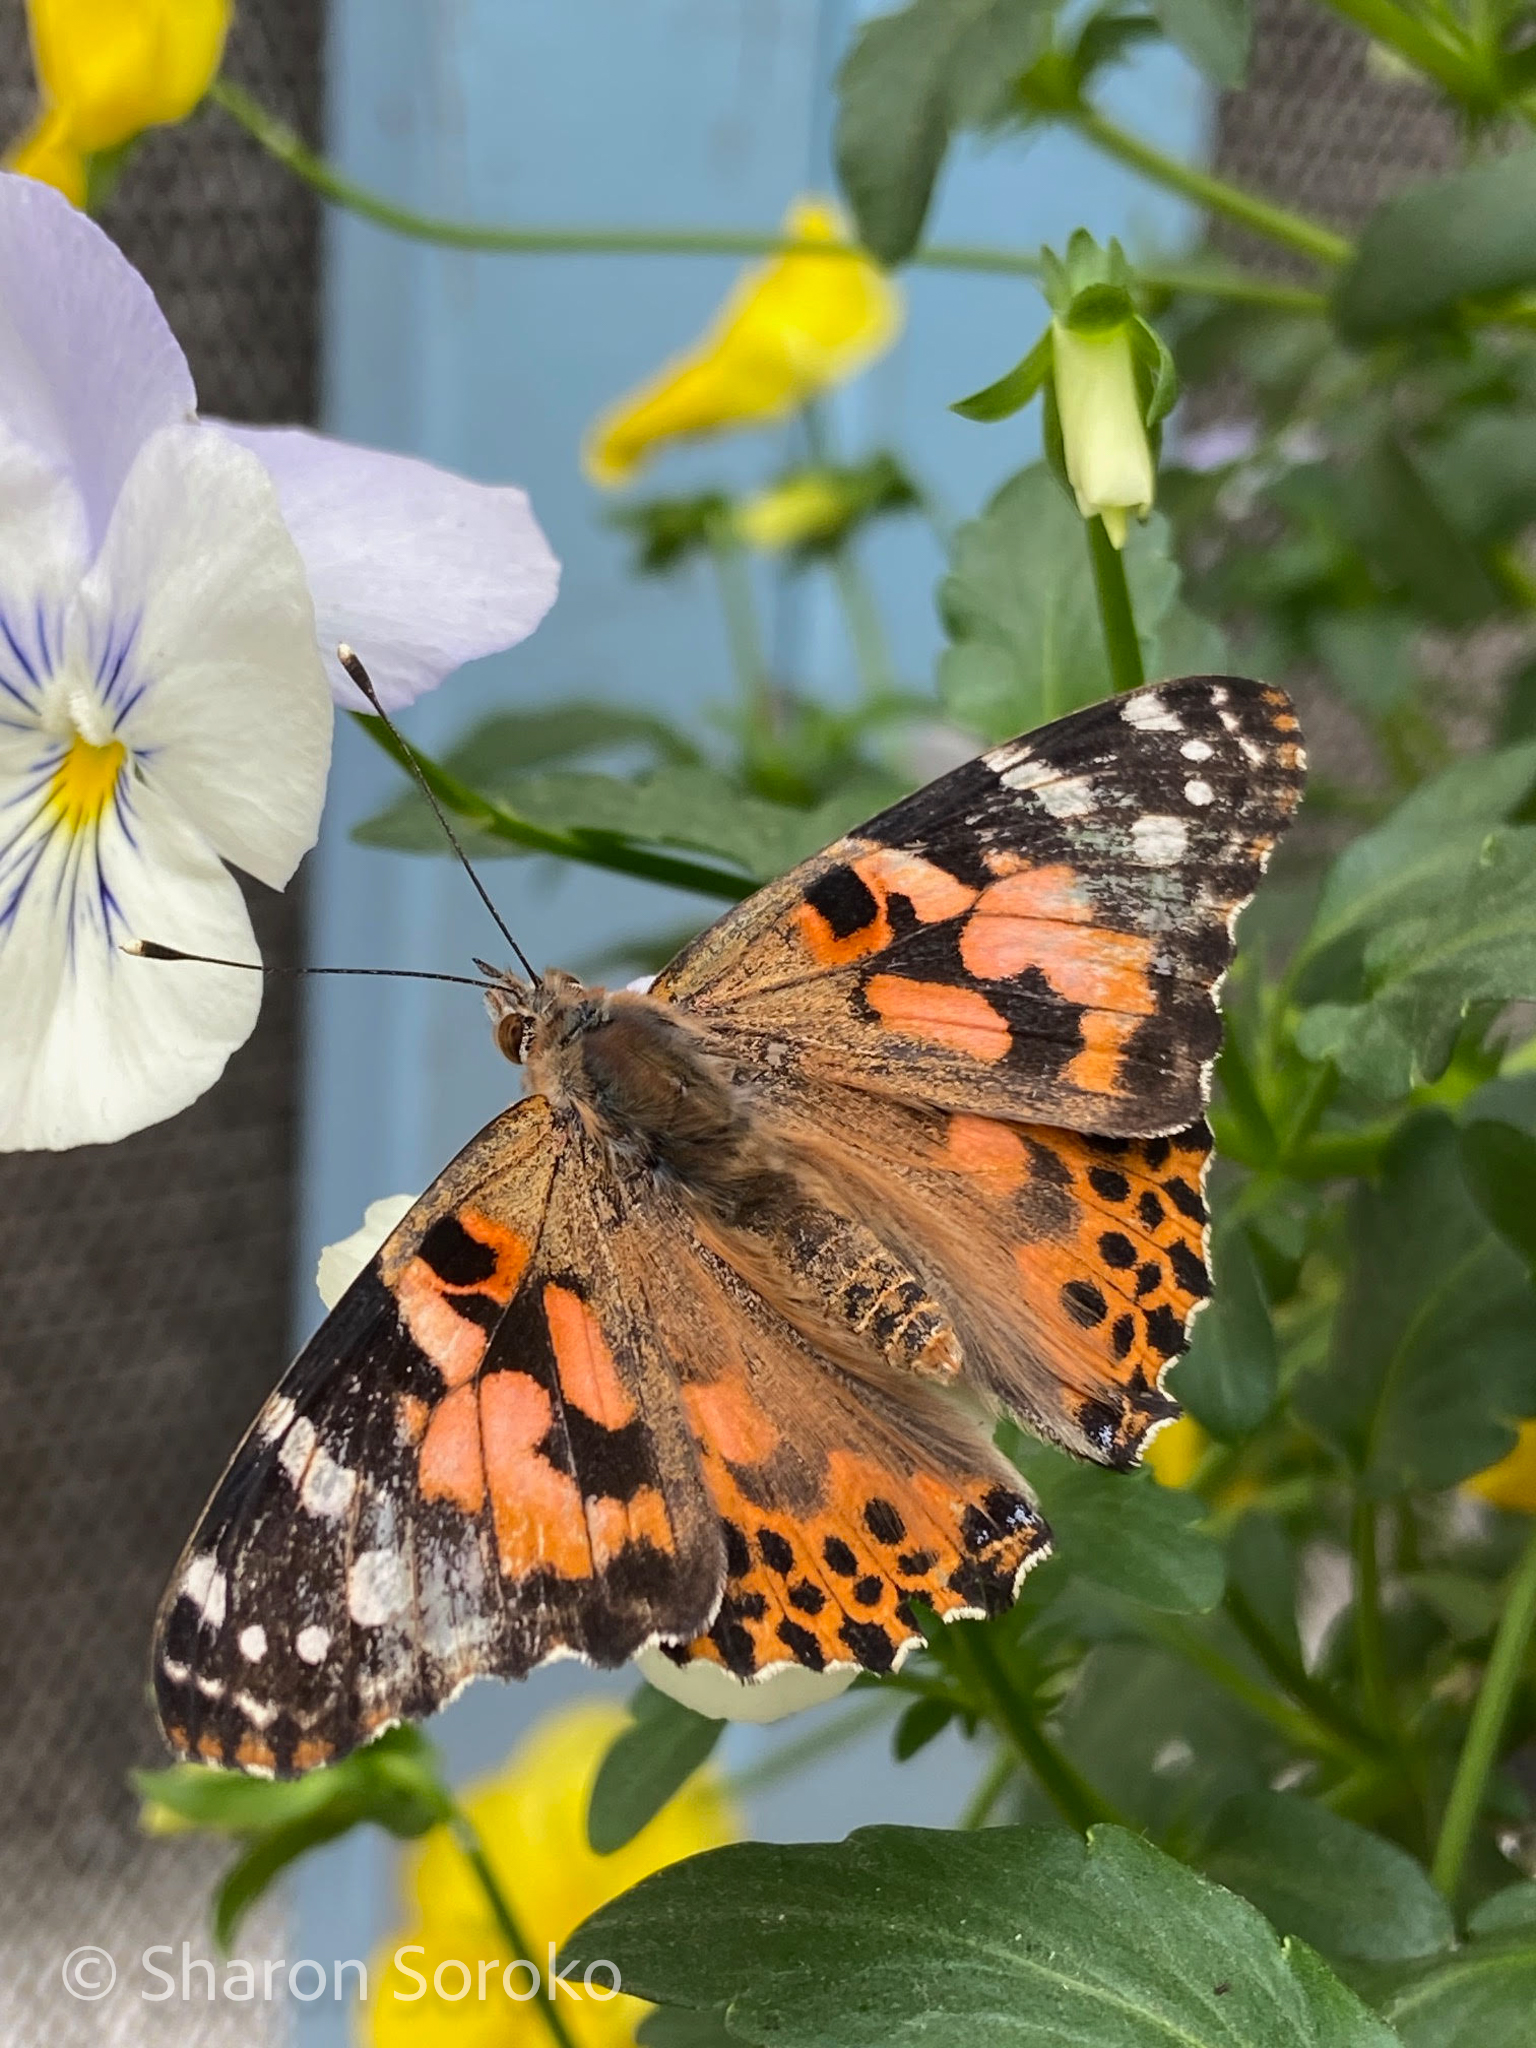
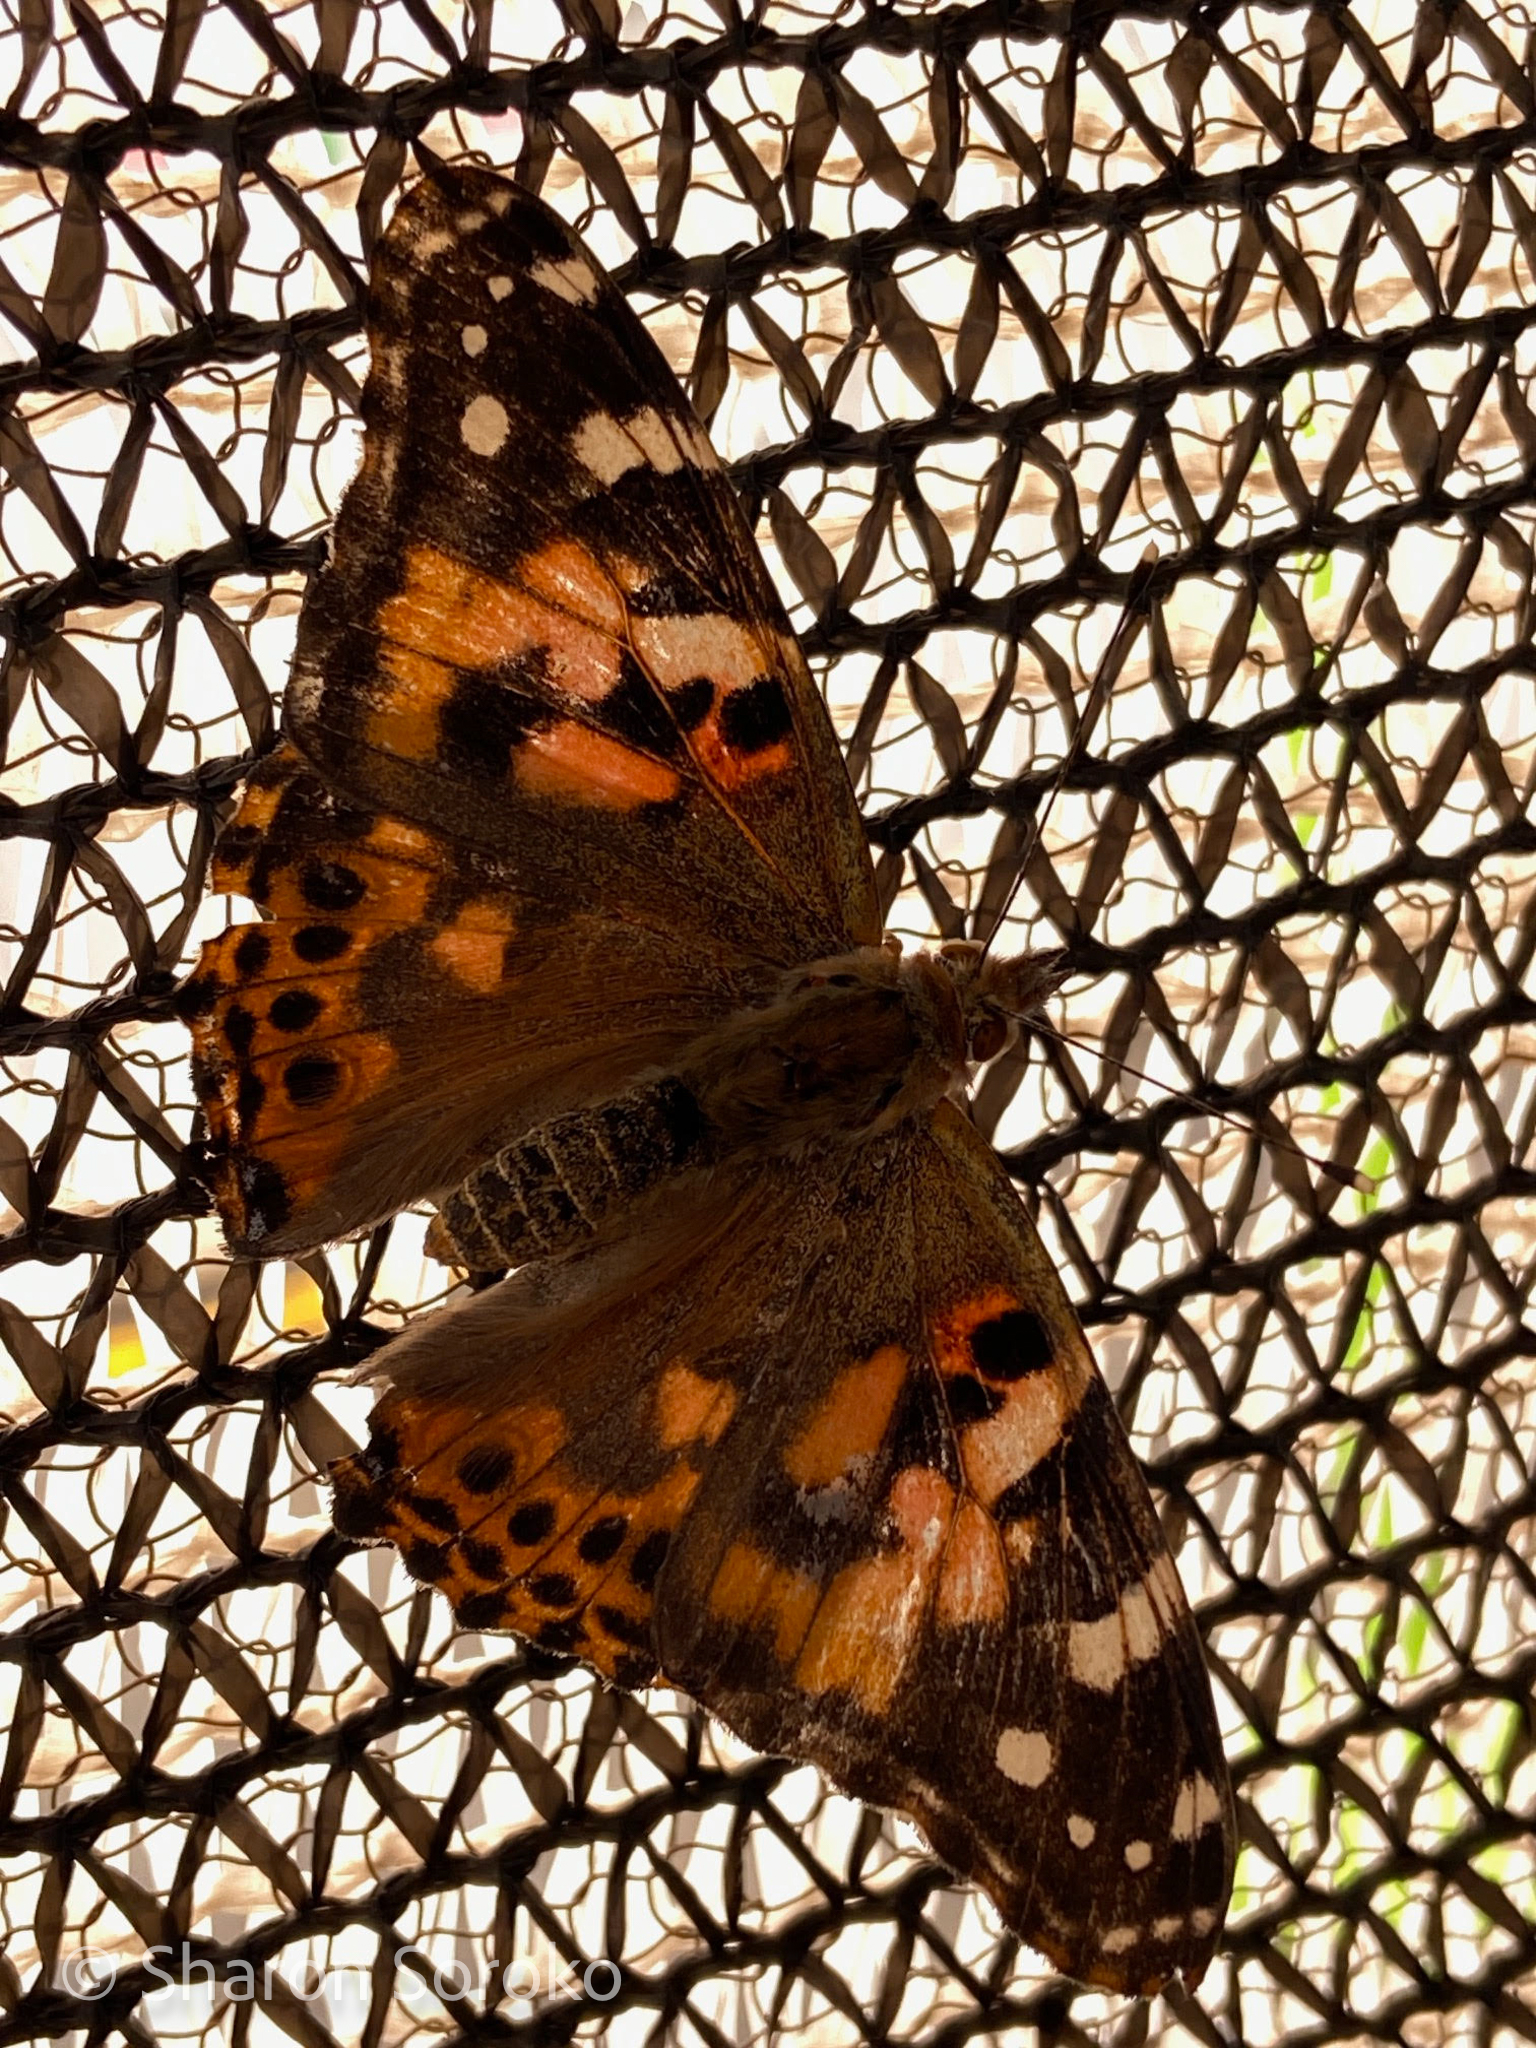
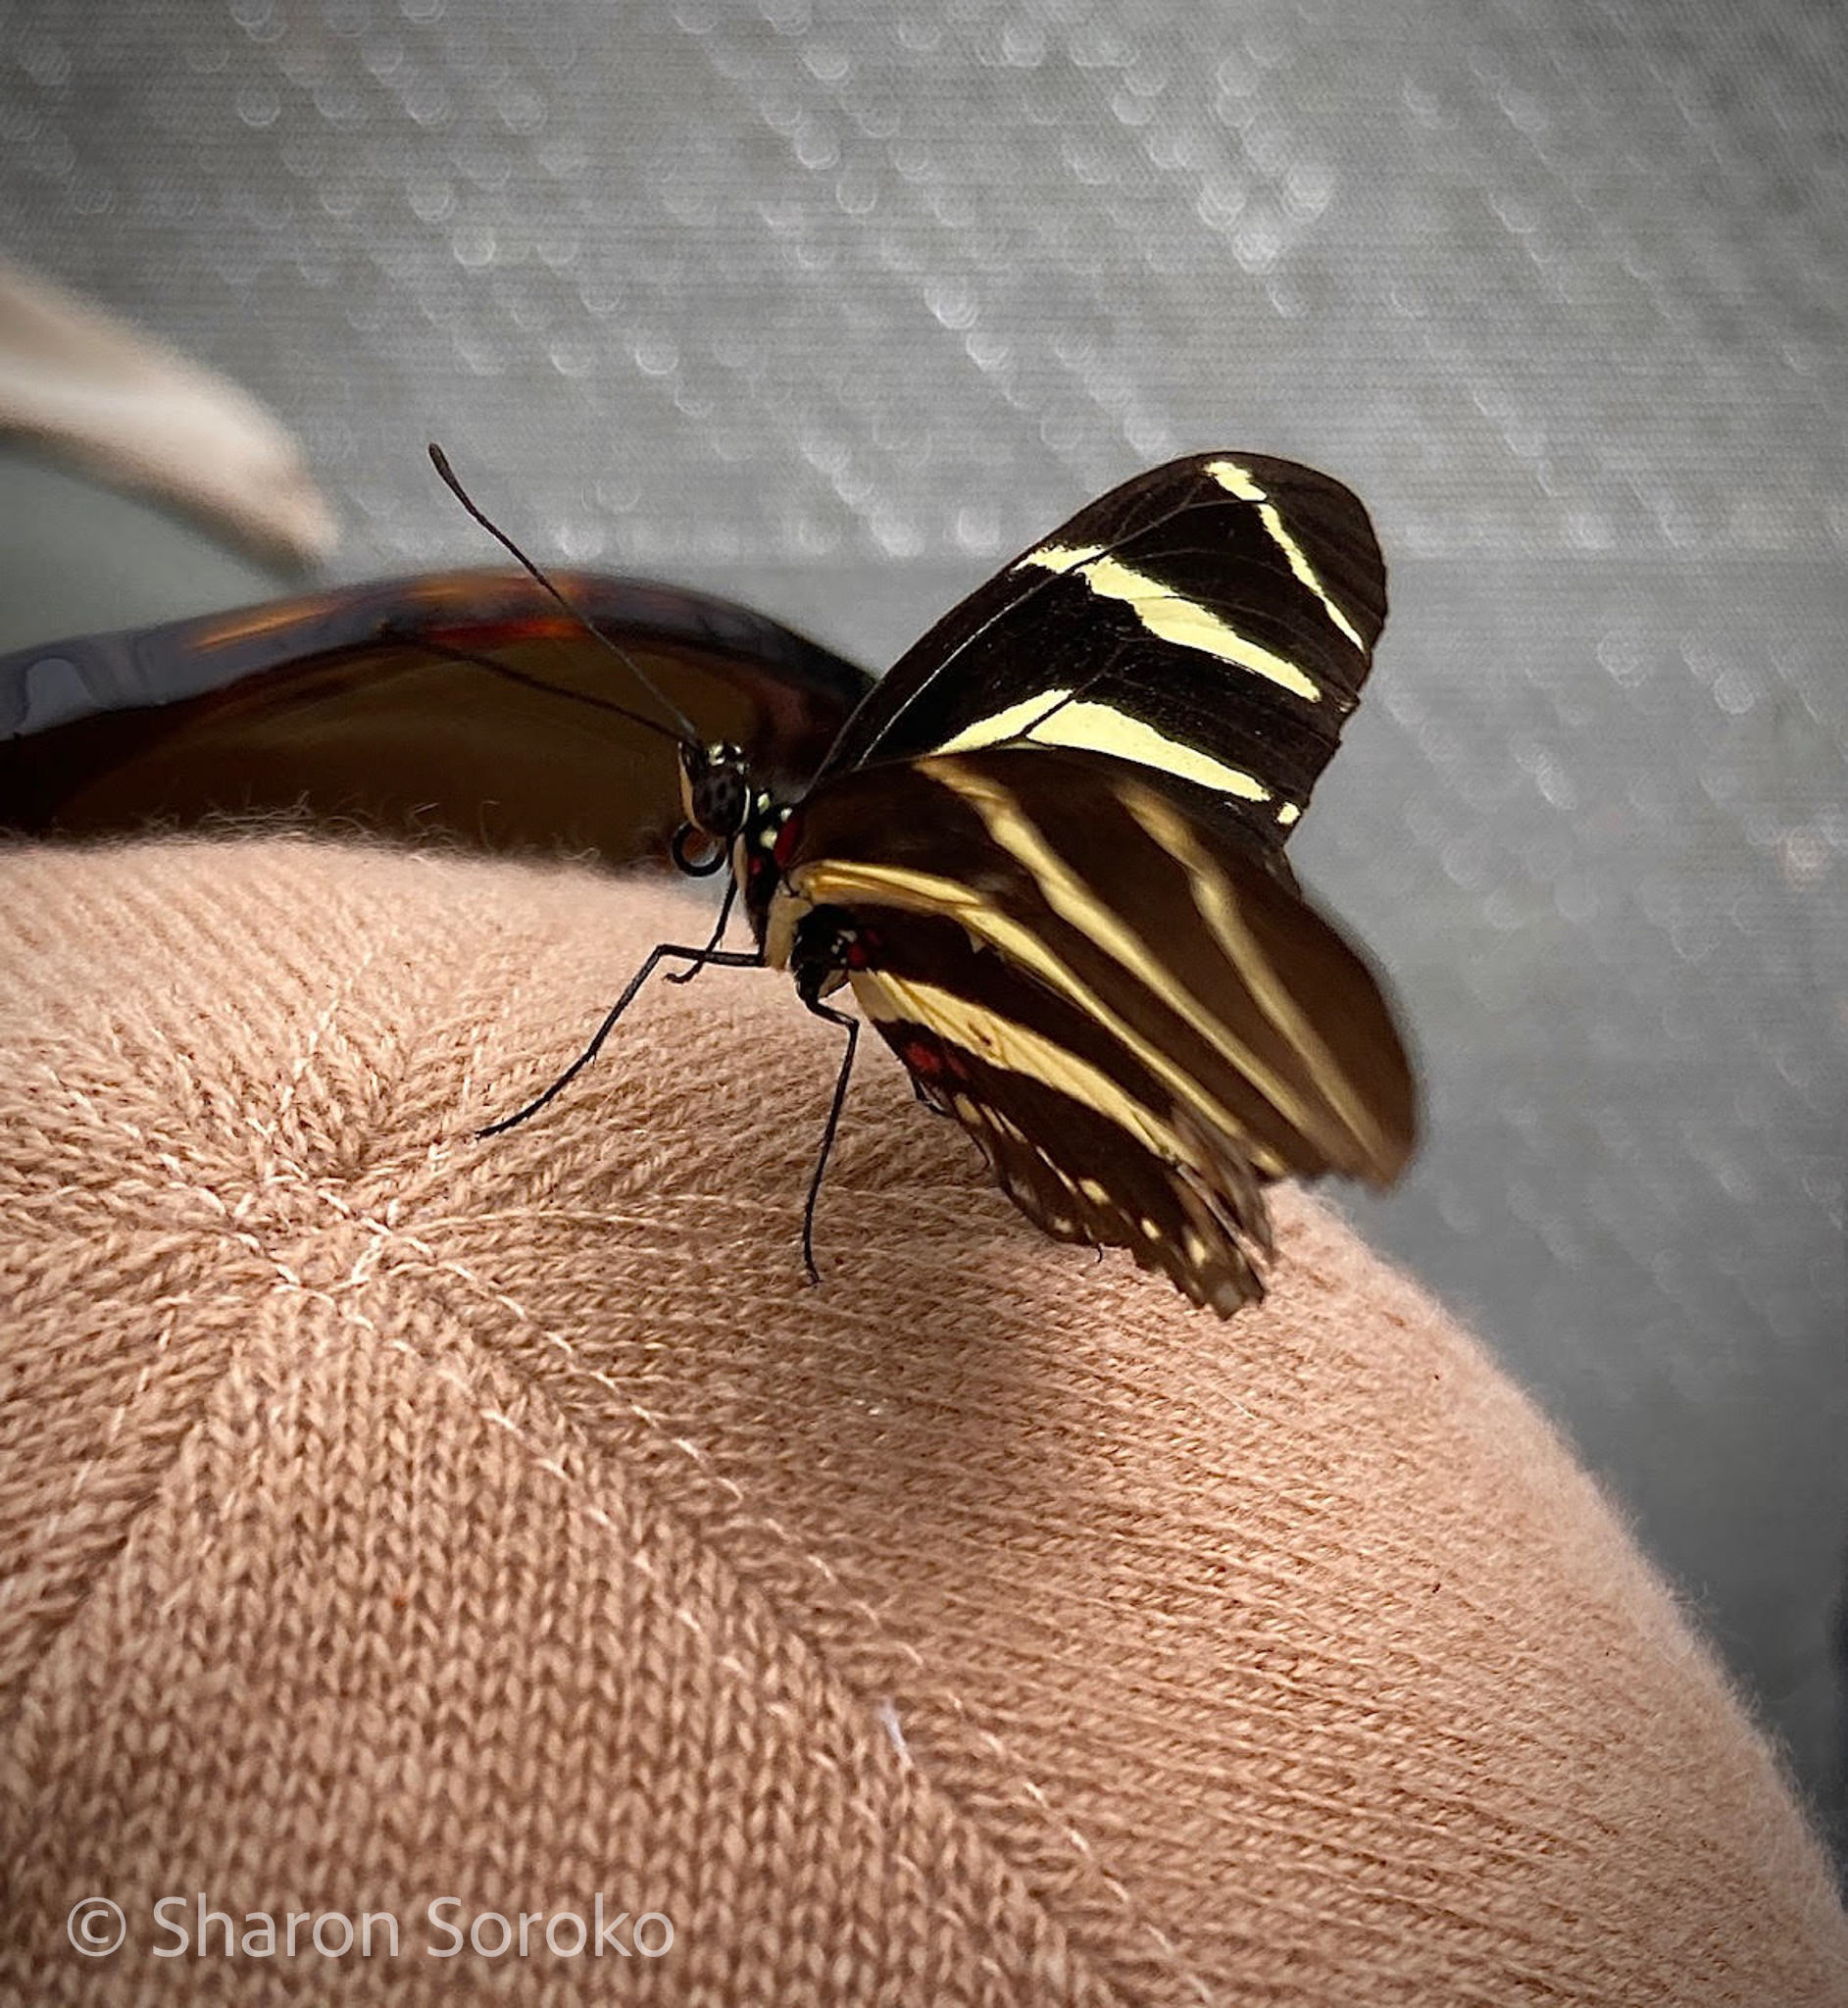
Sharon

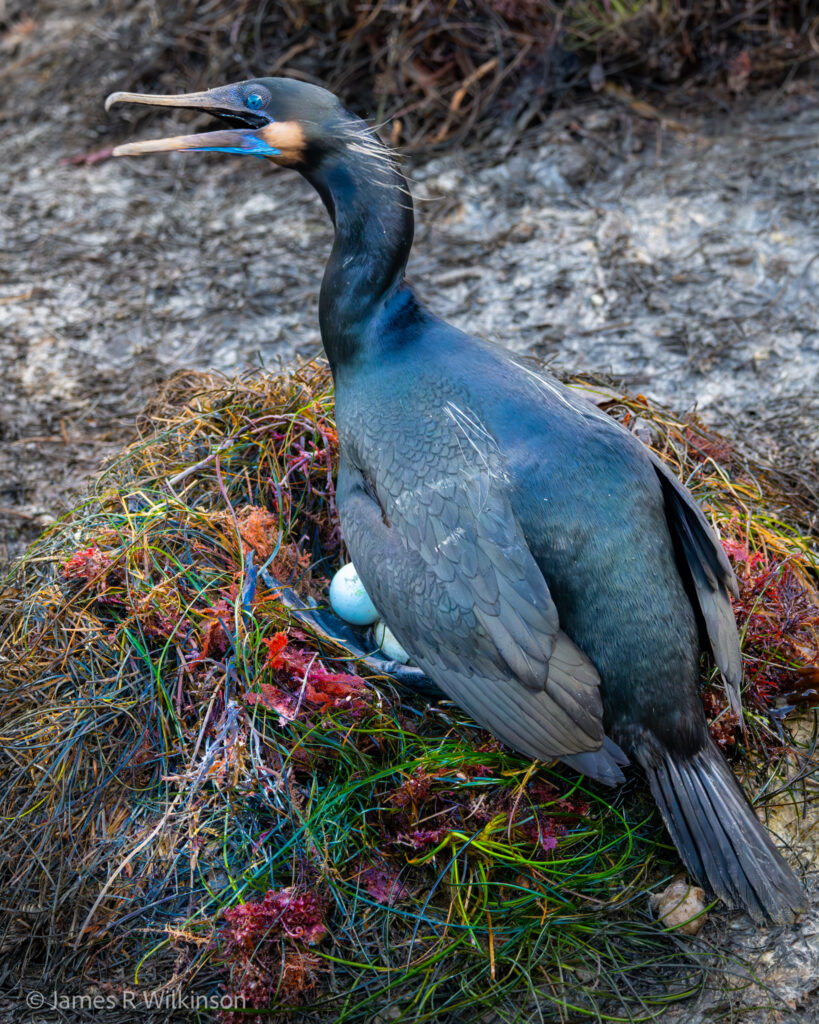
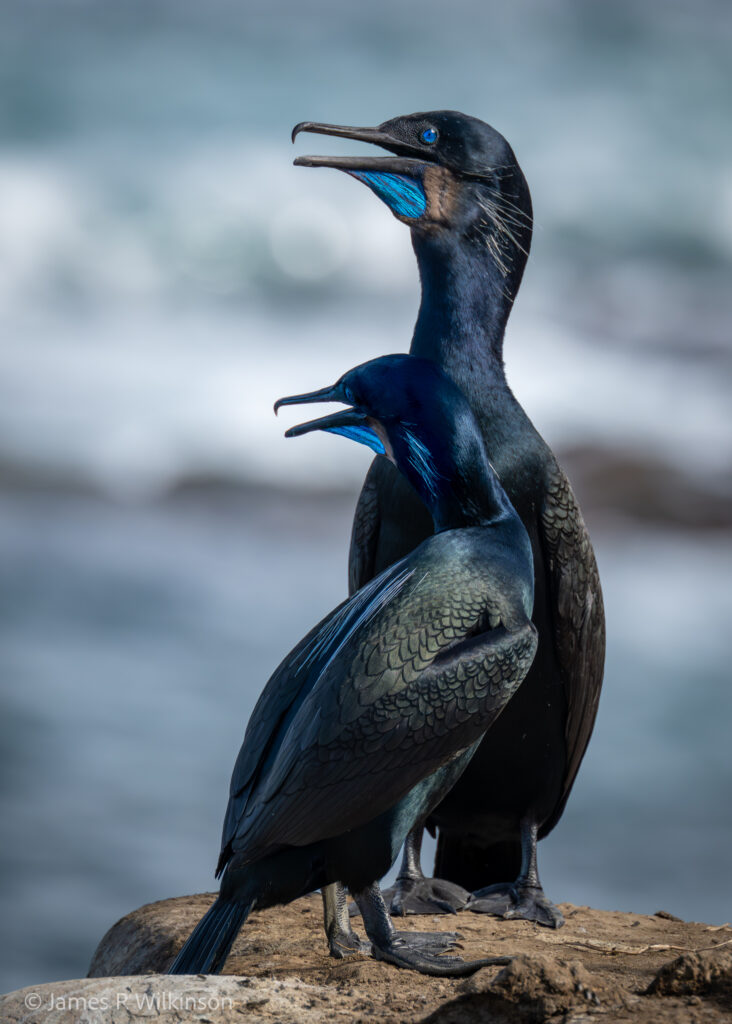
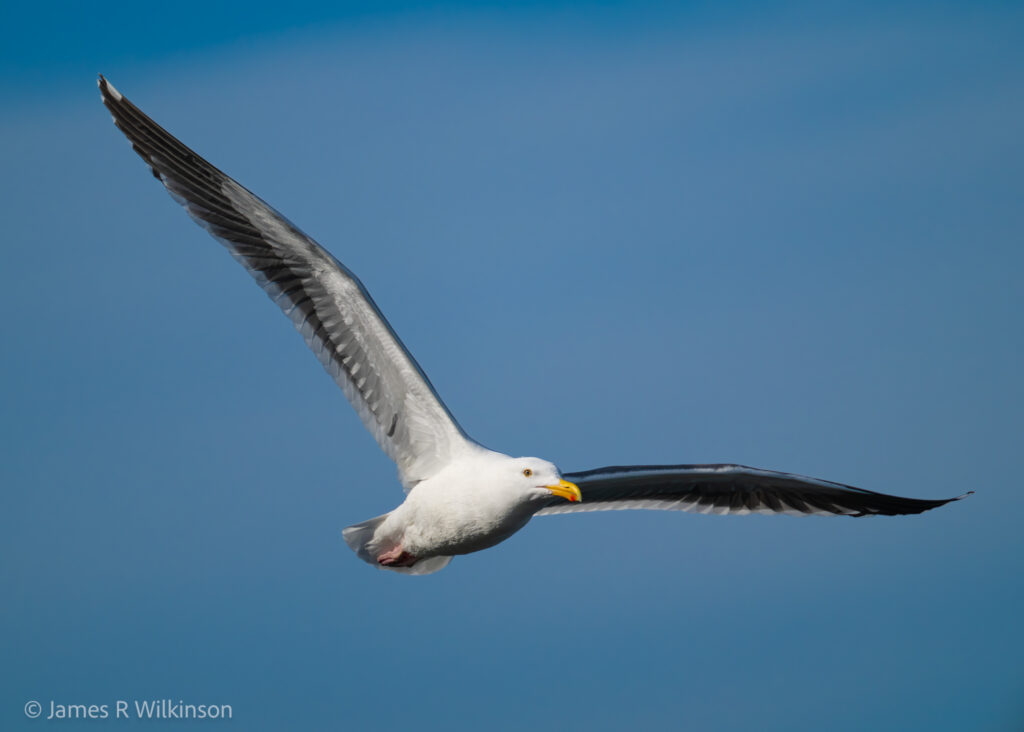
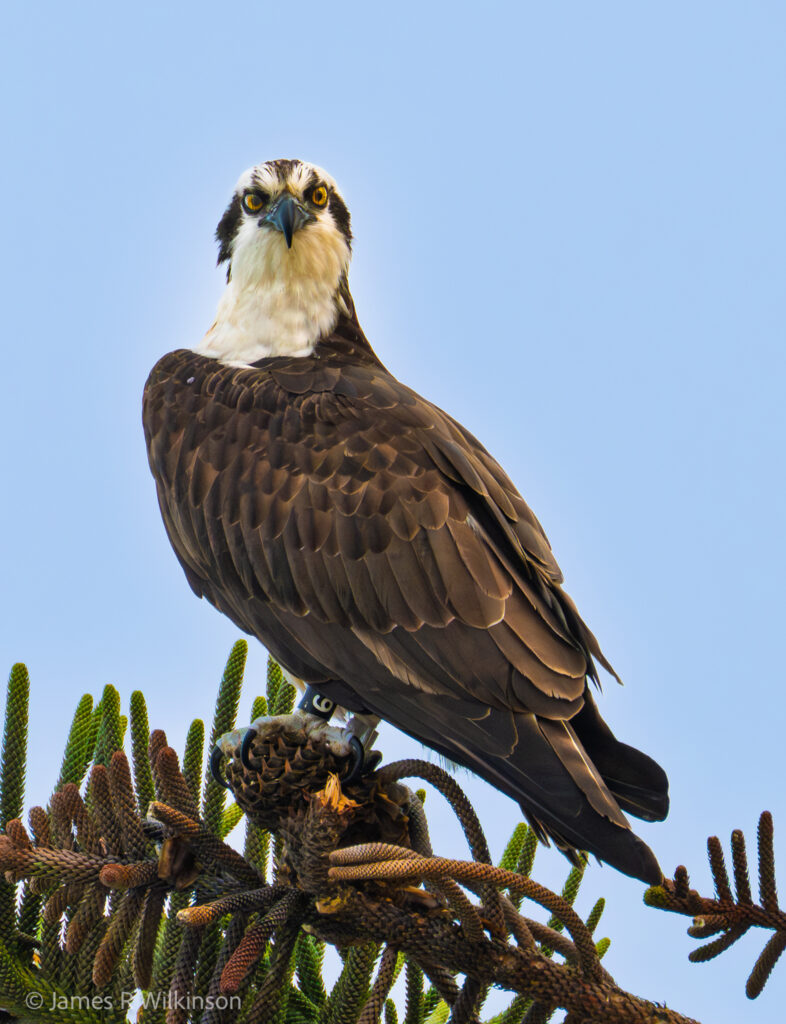
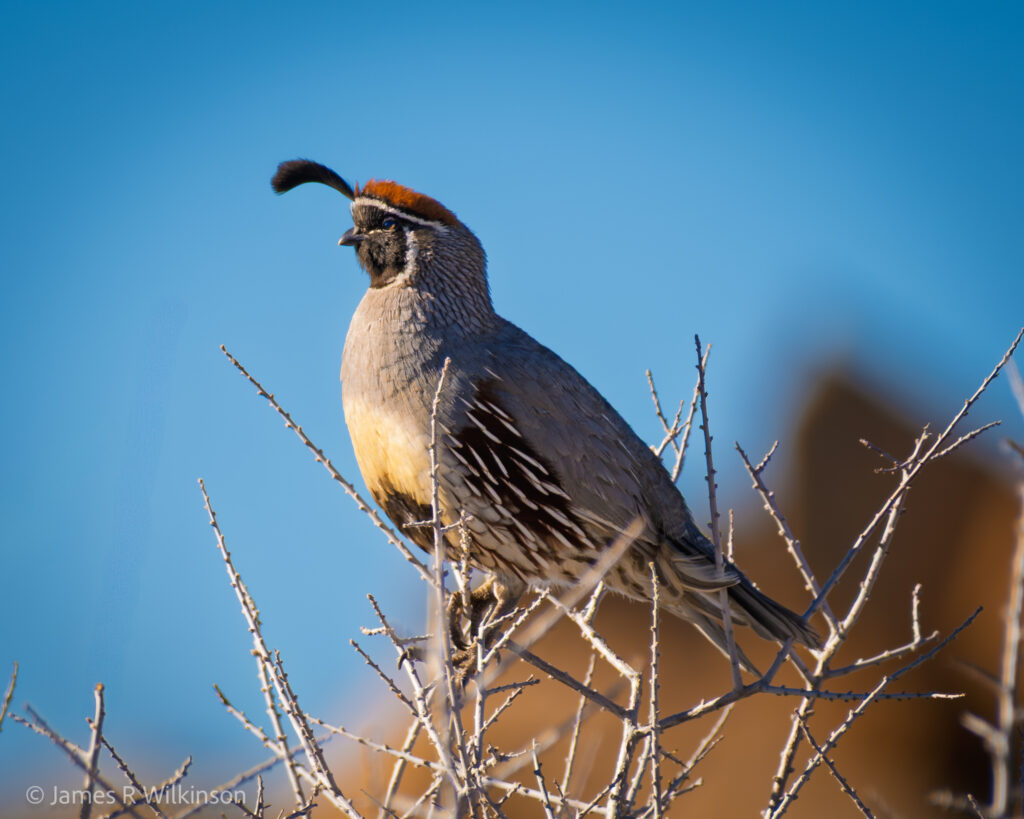
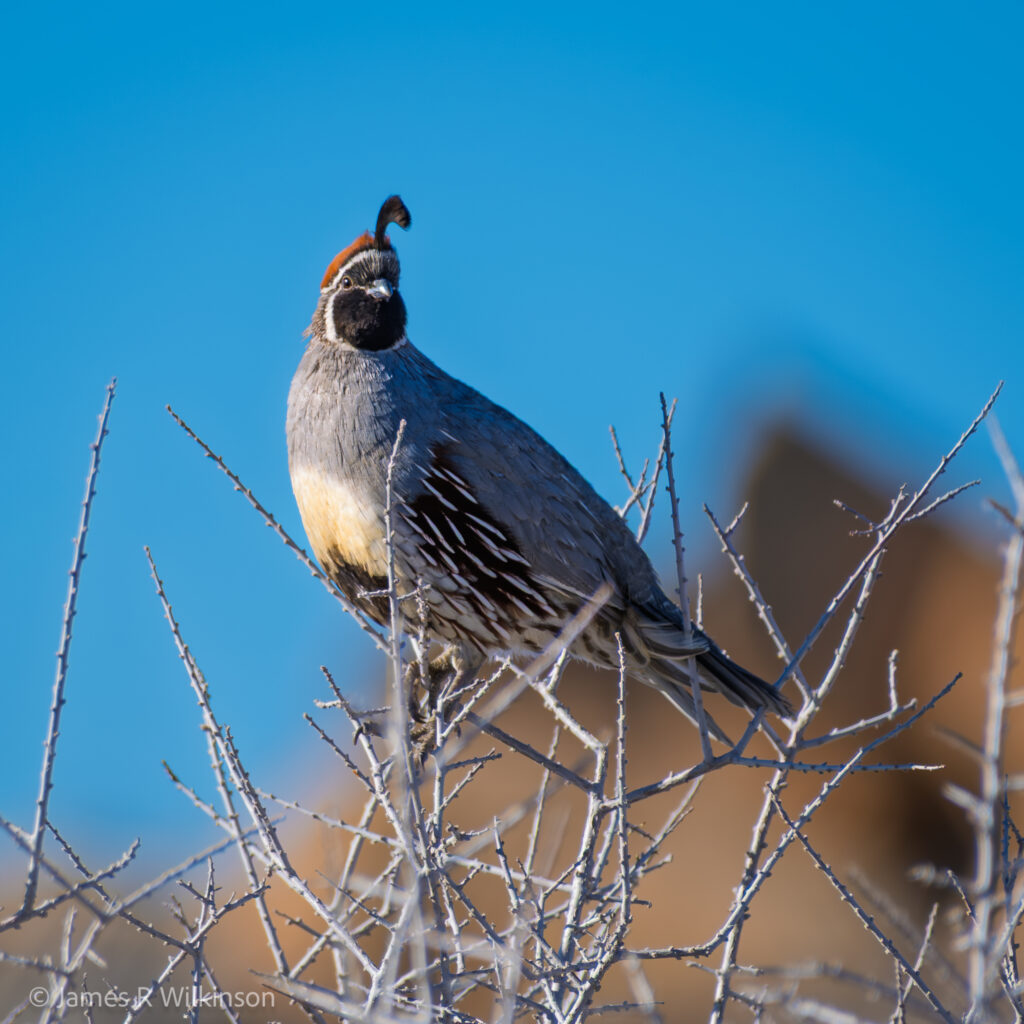
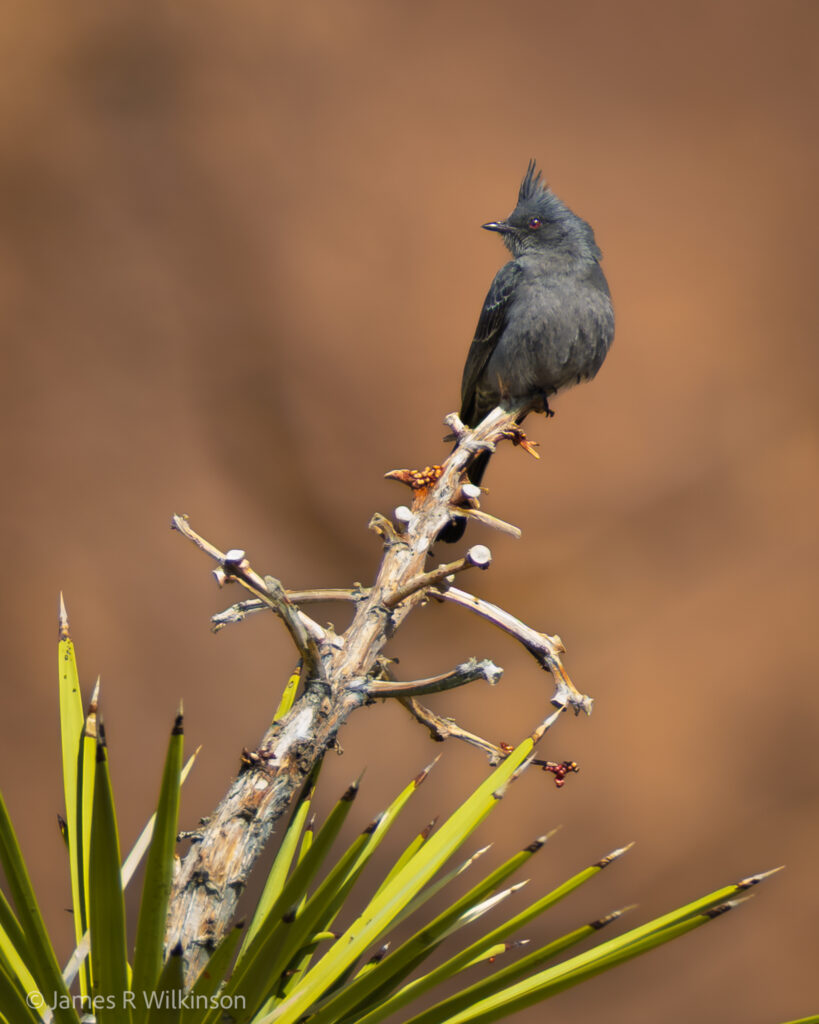
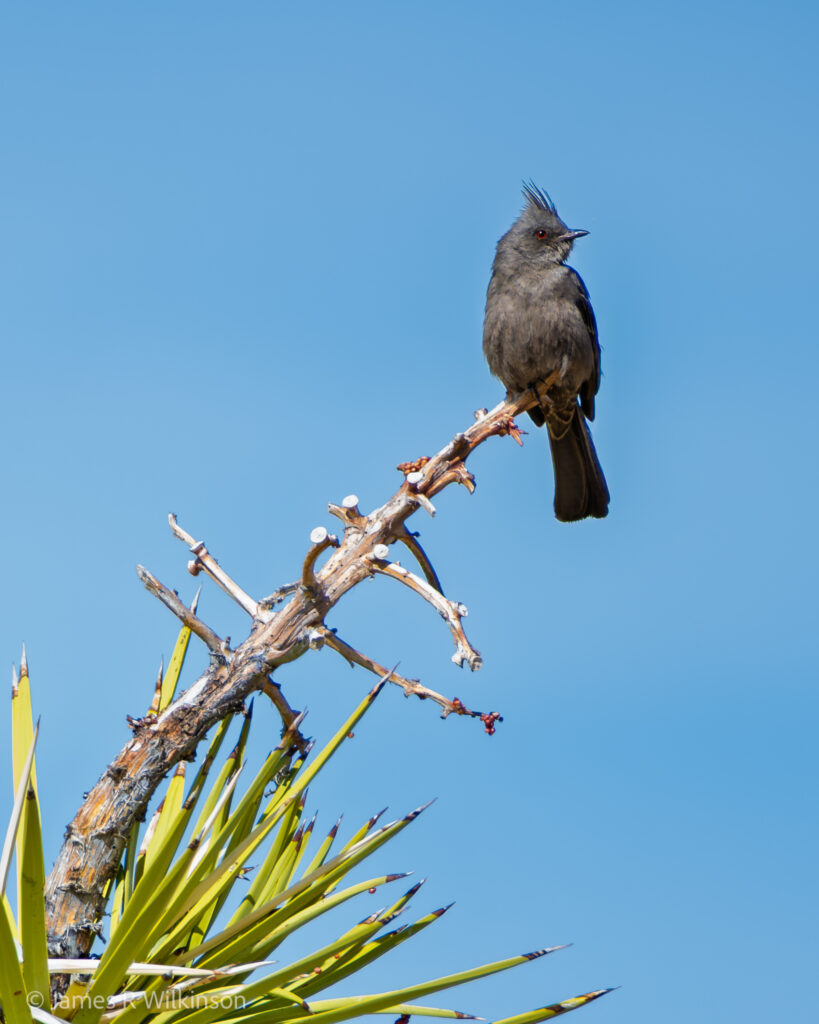
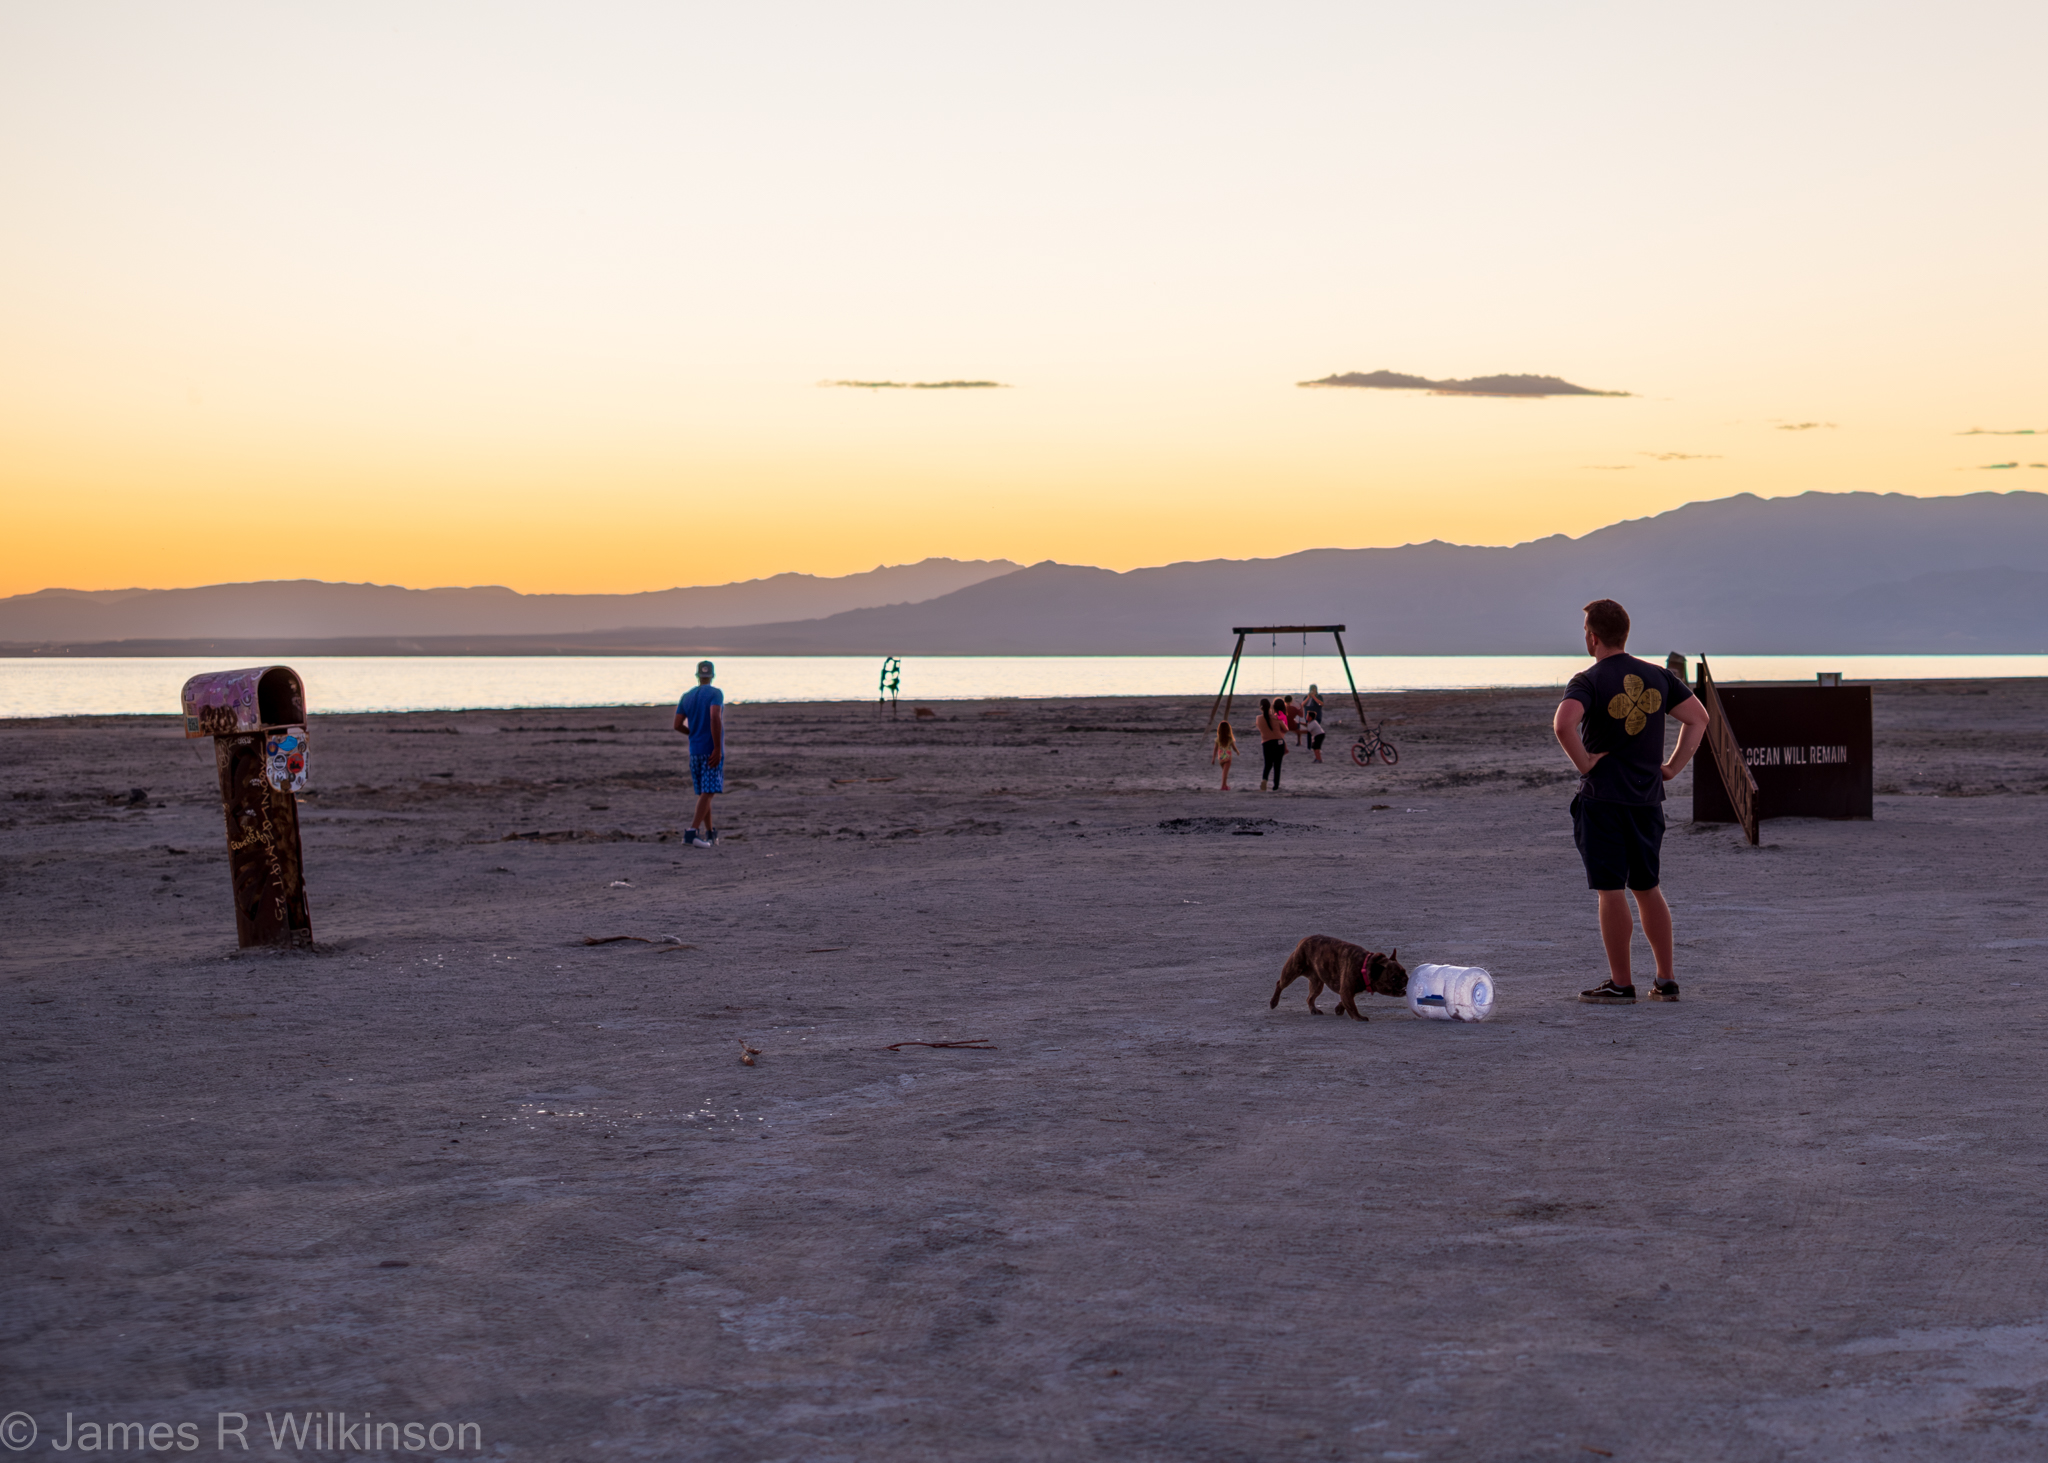
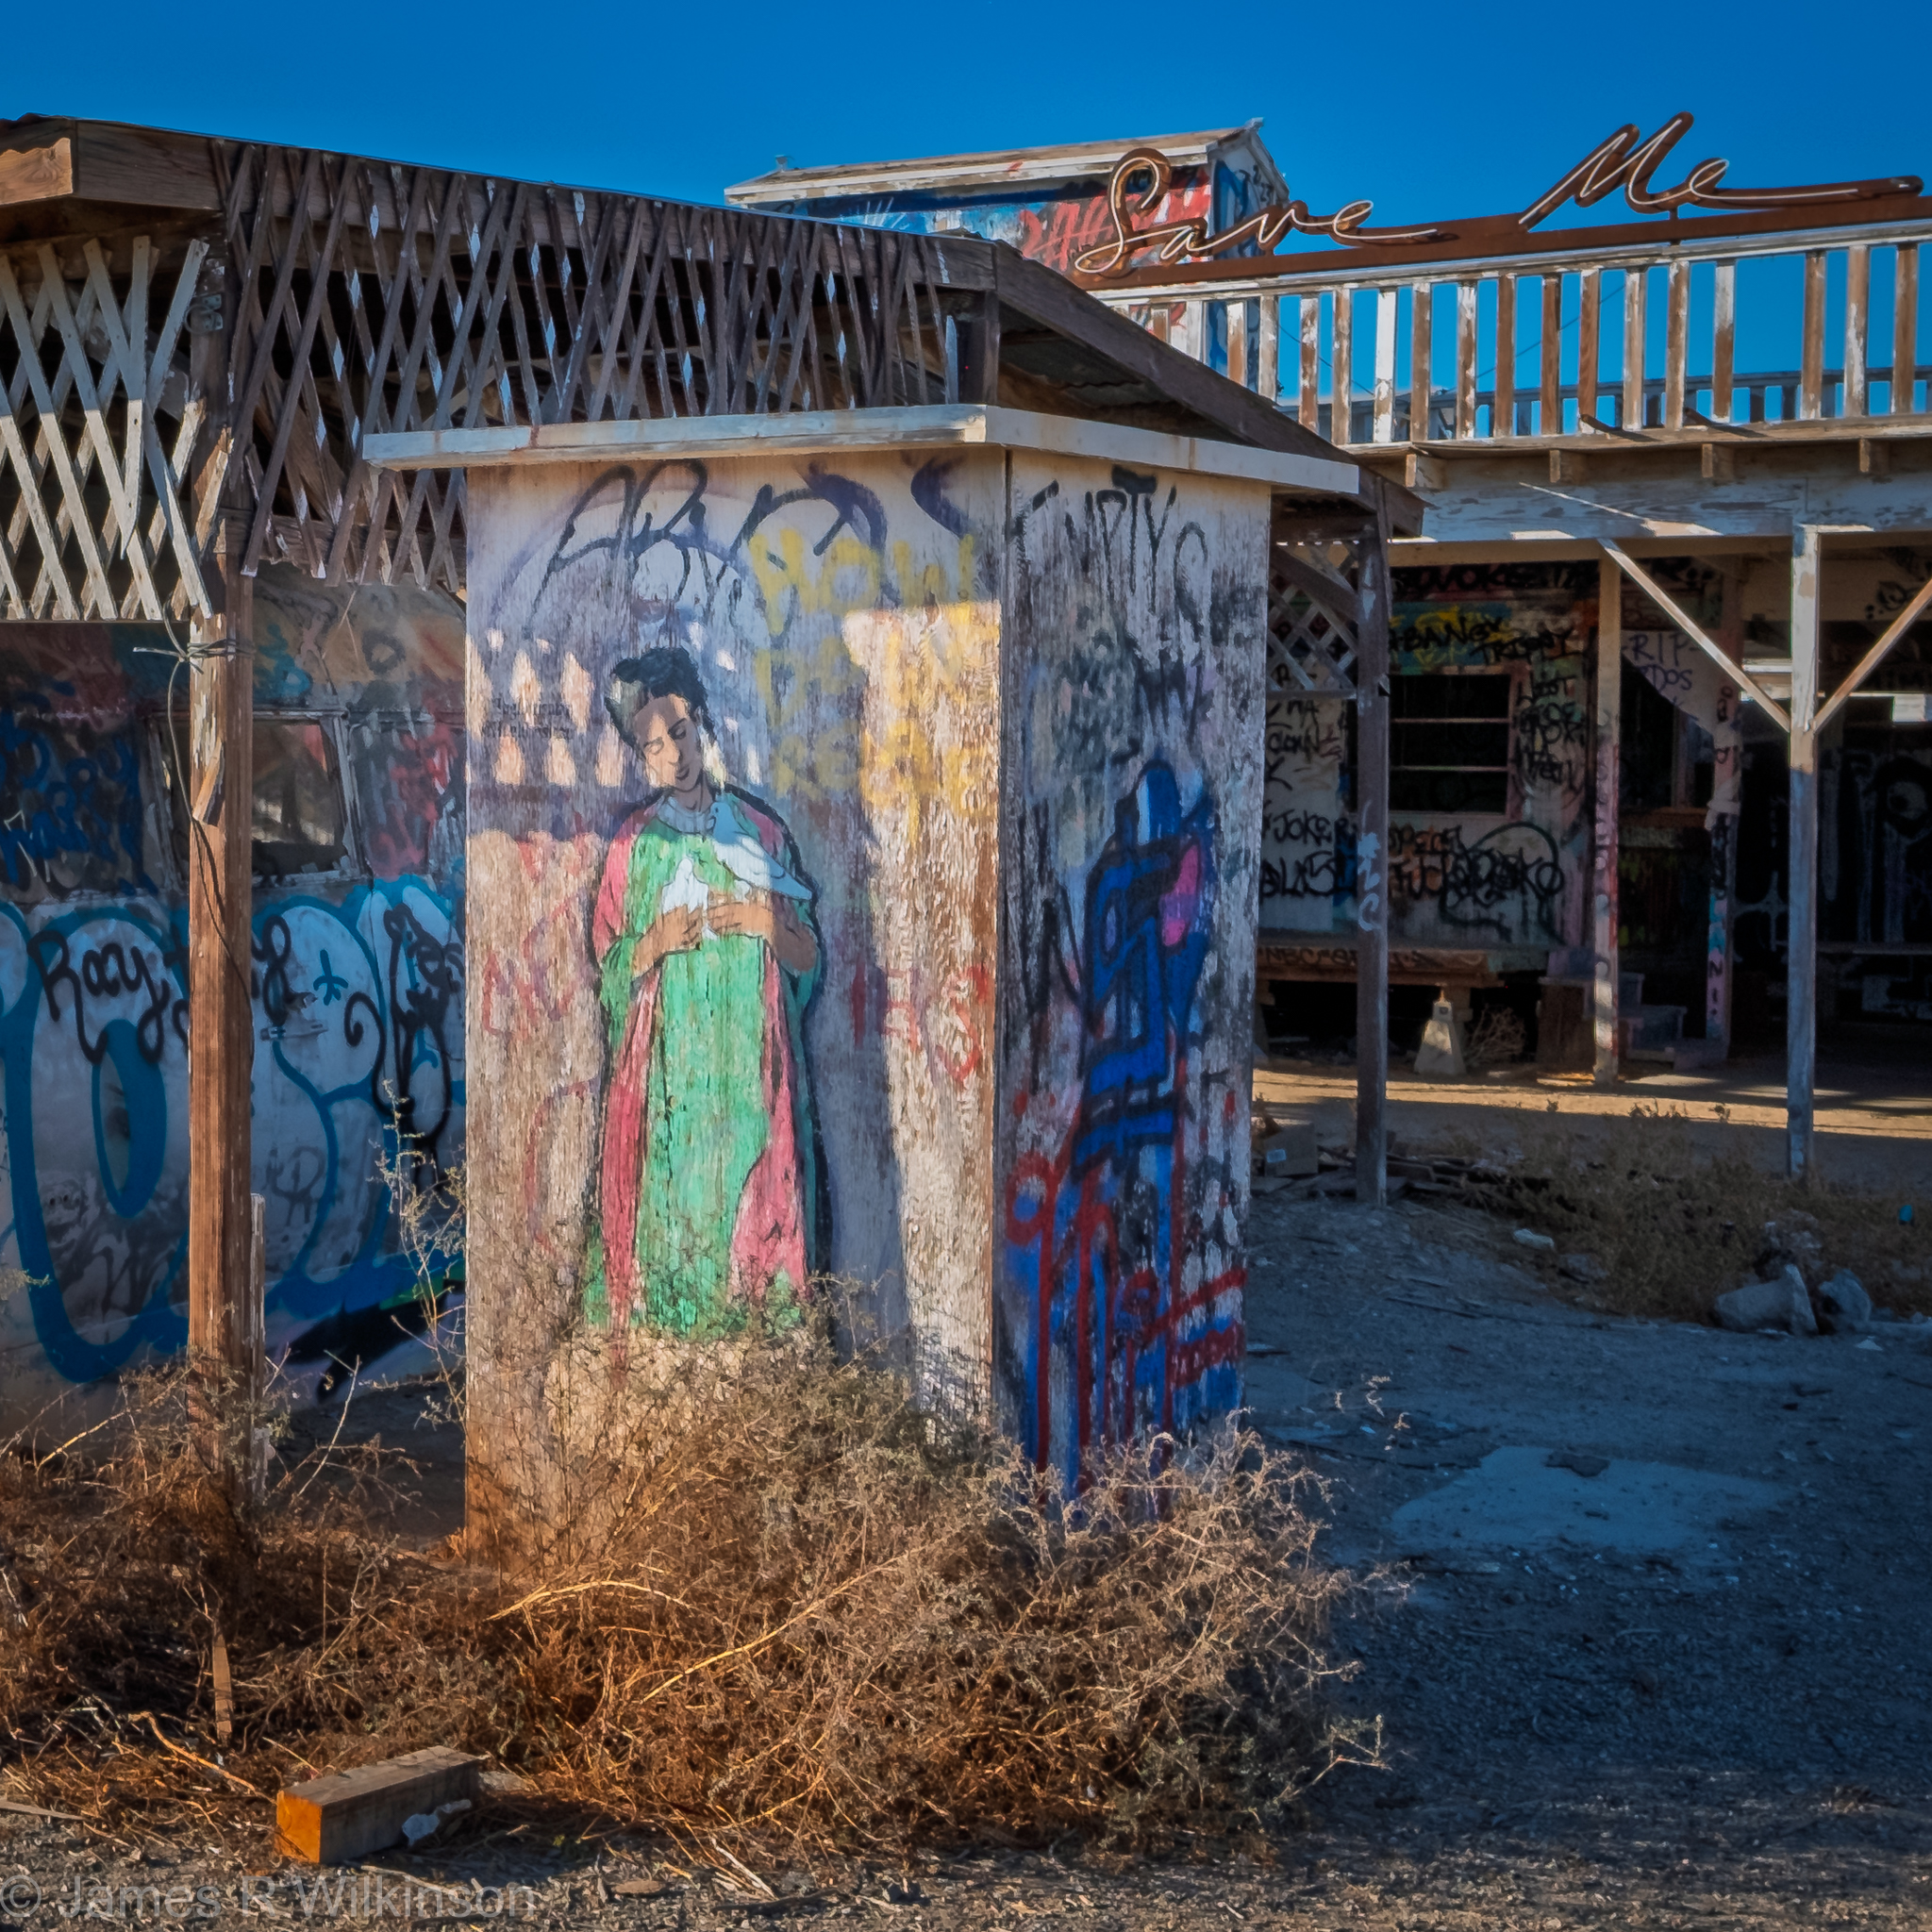
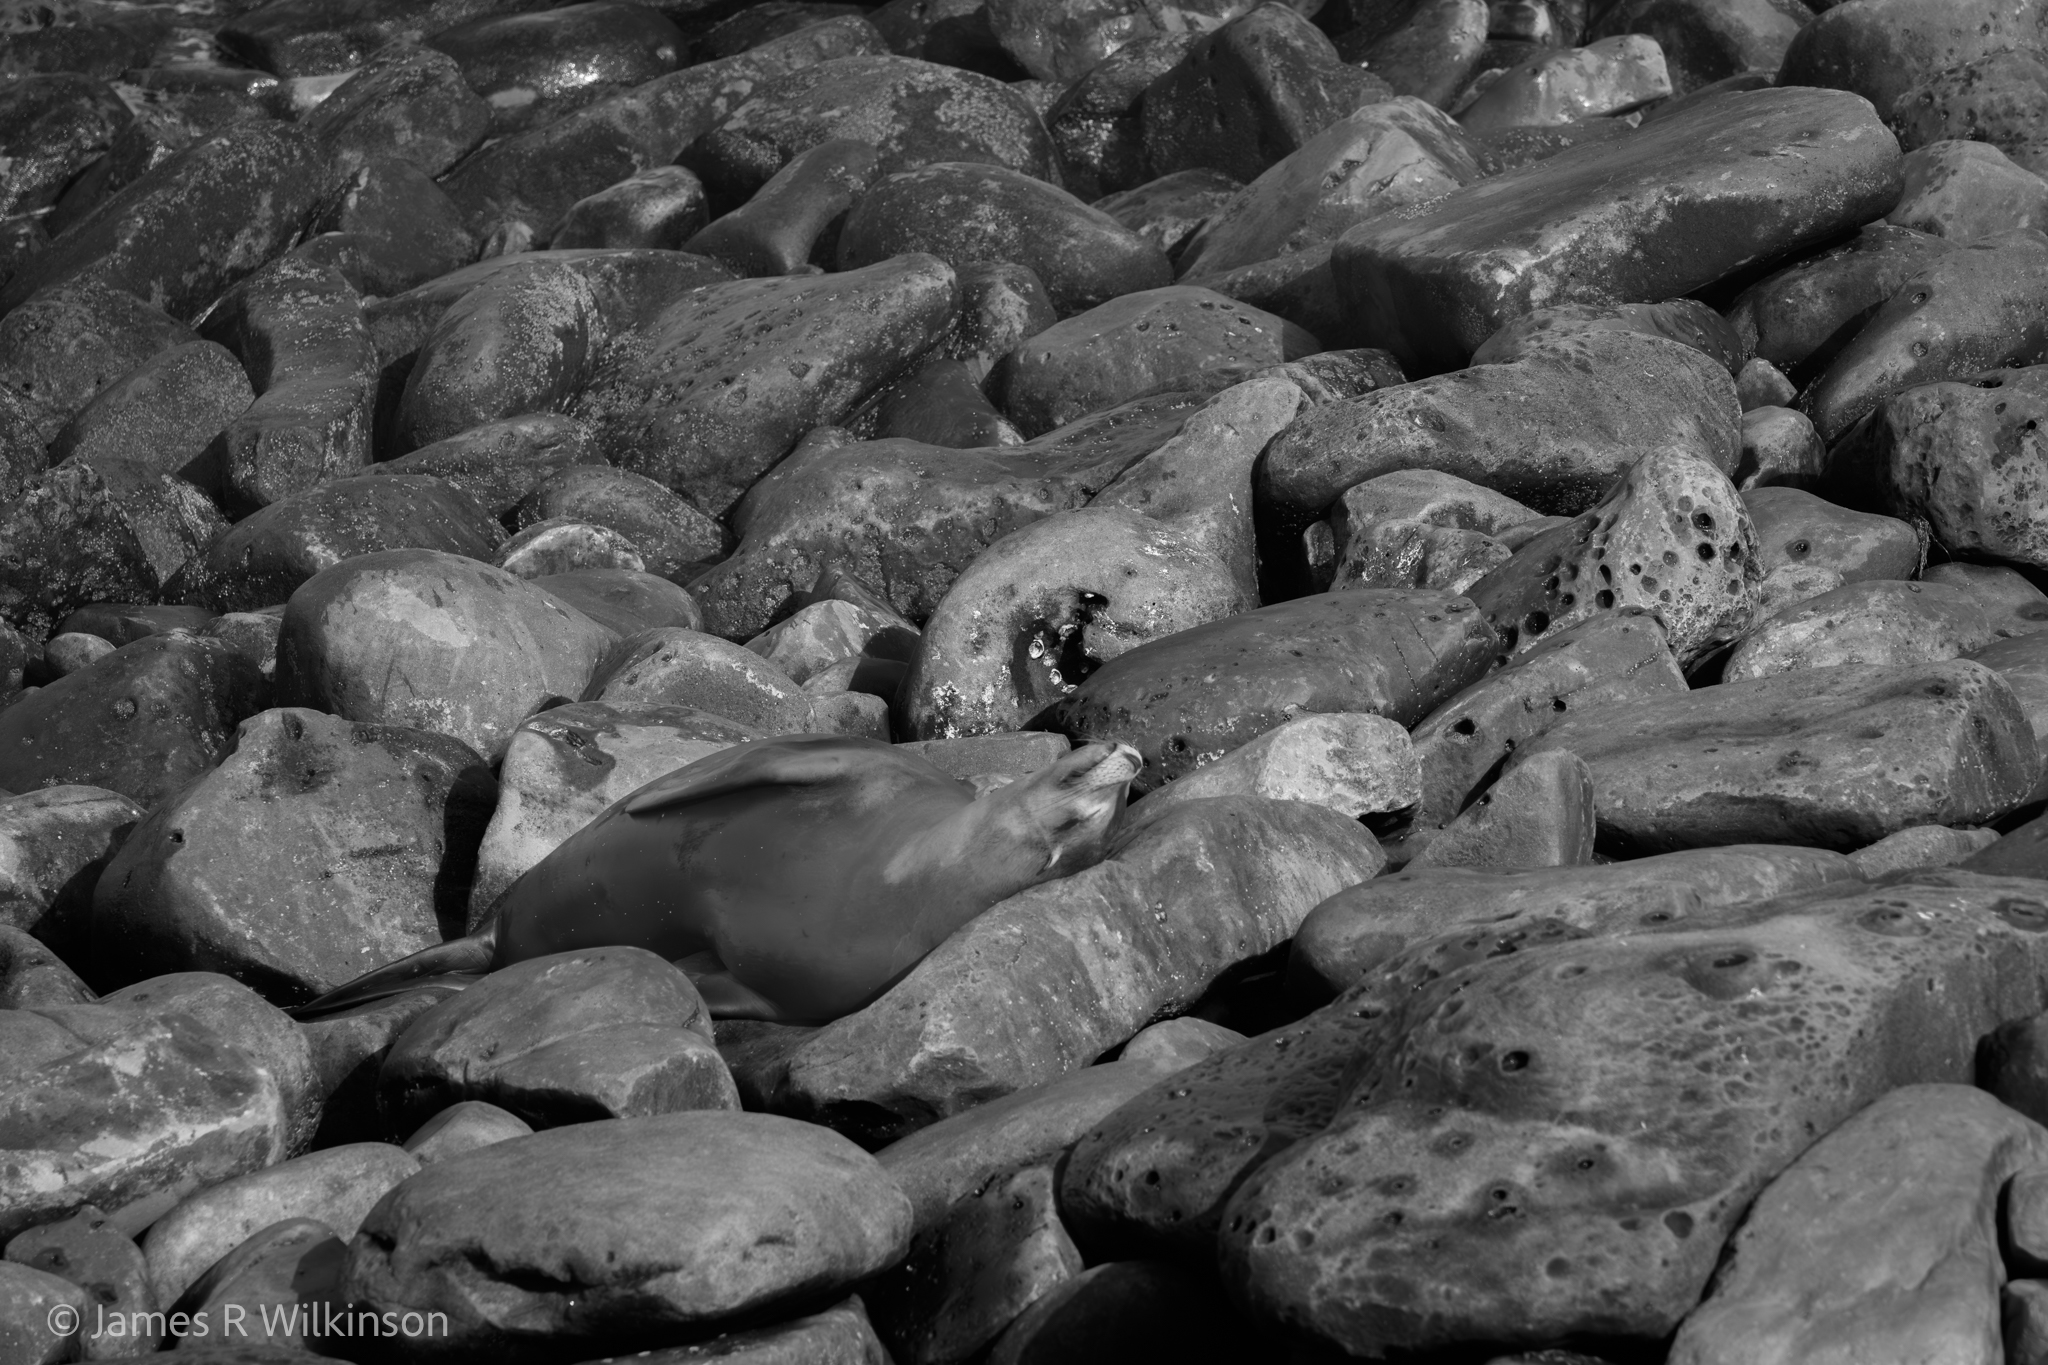
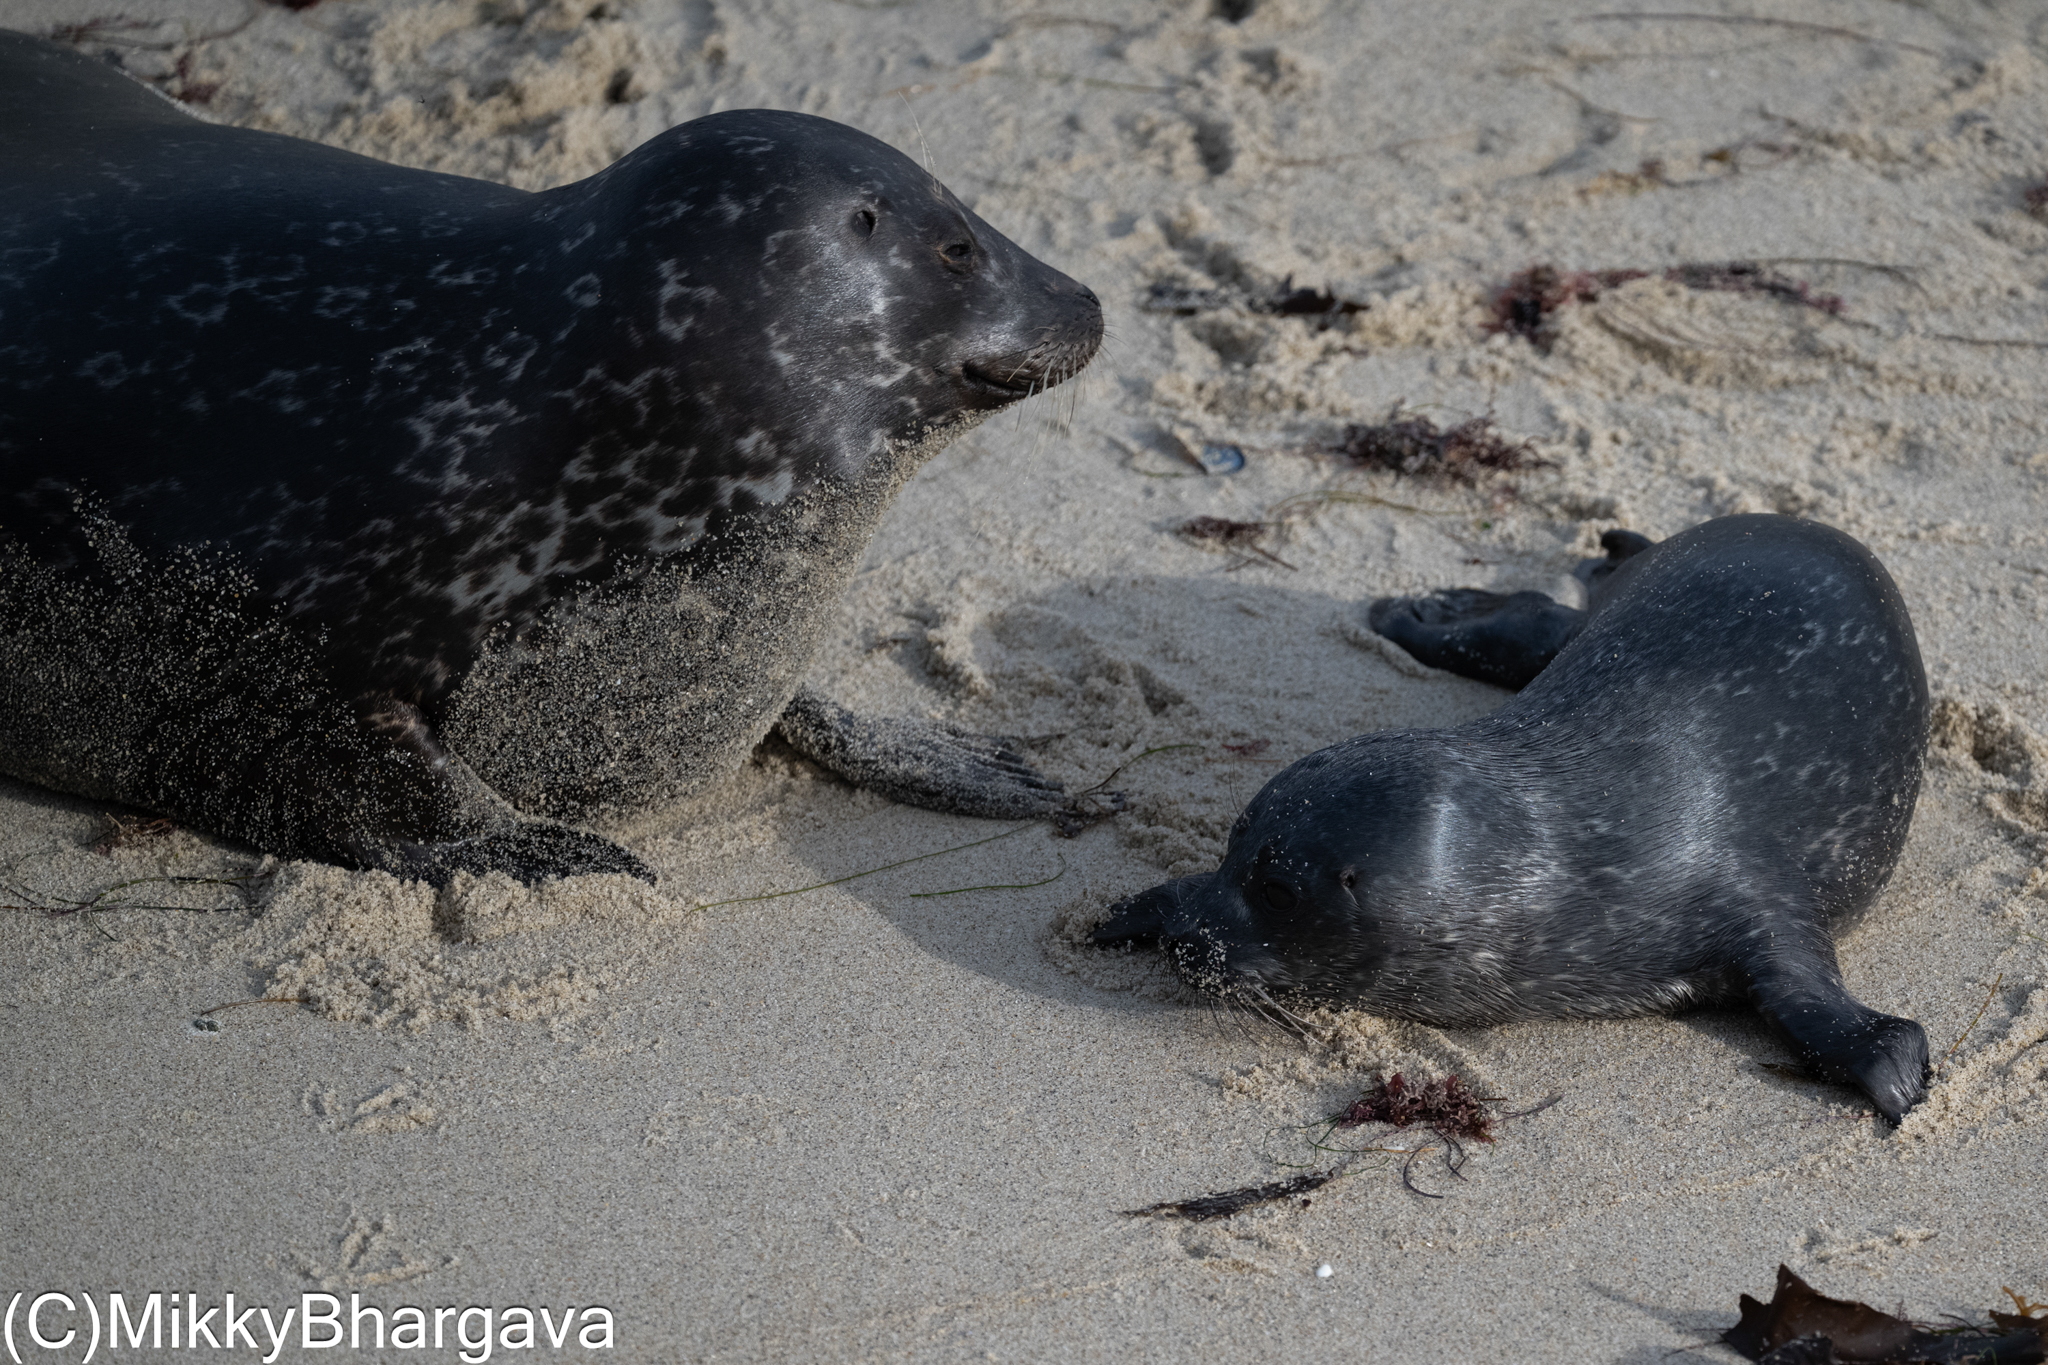
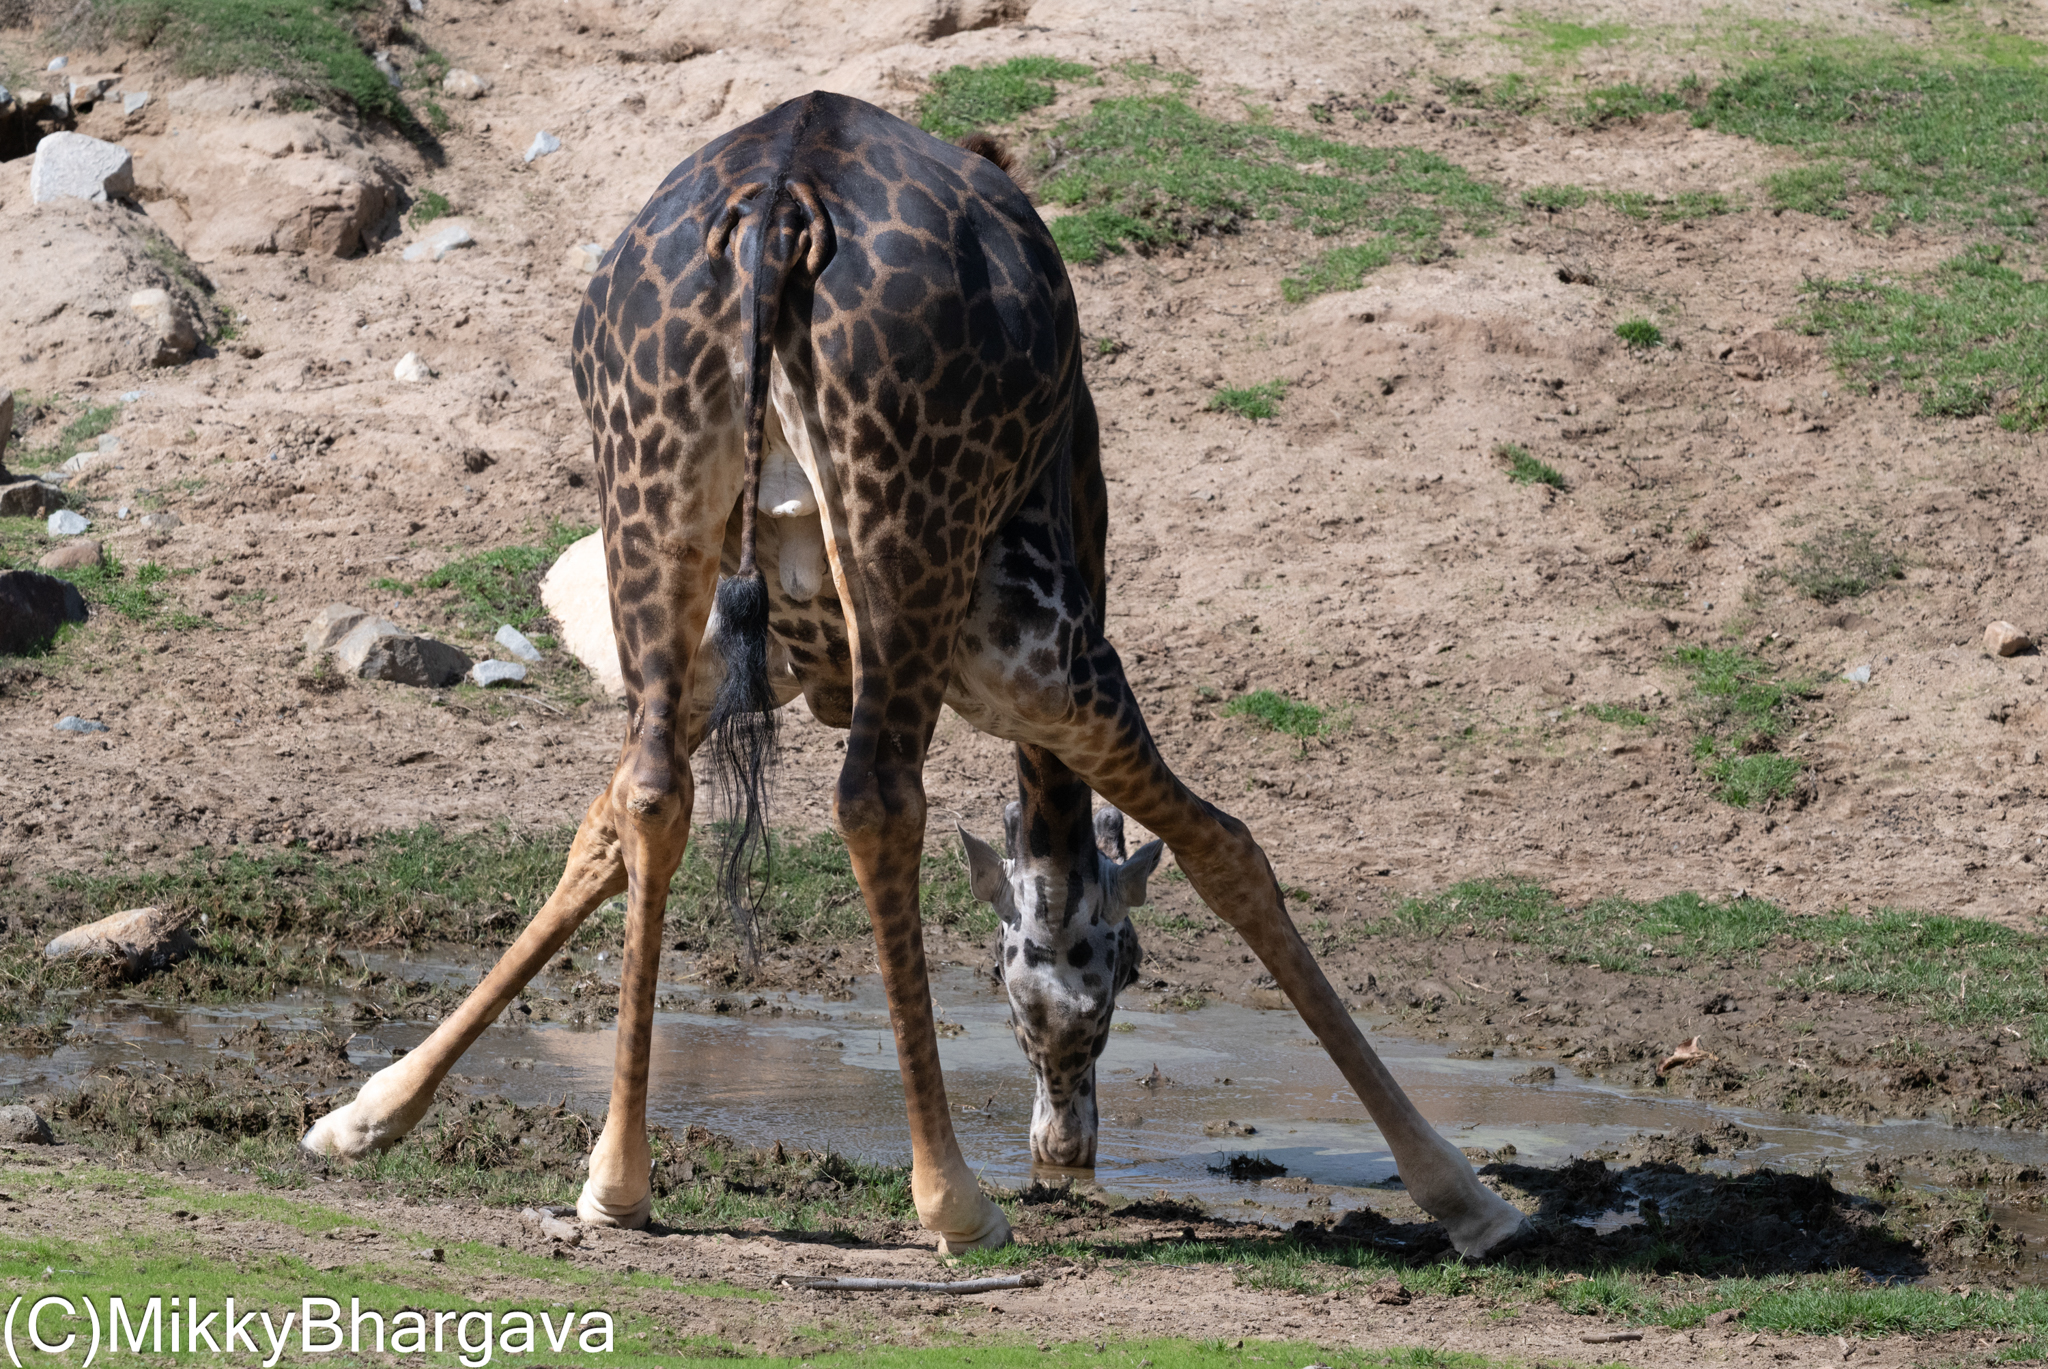
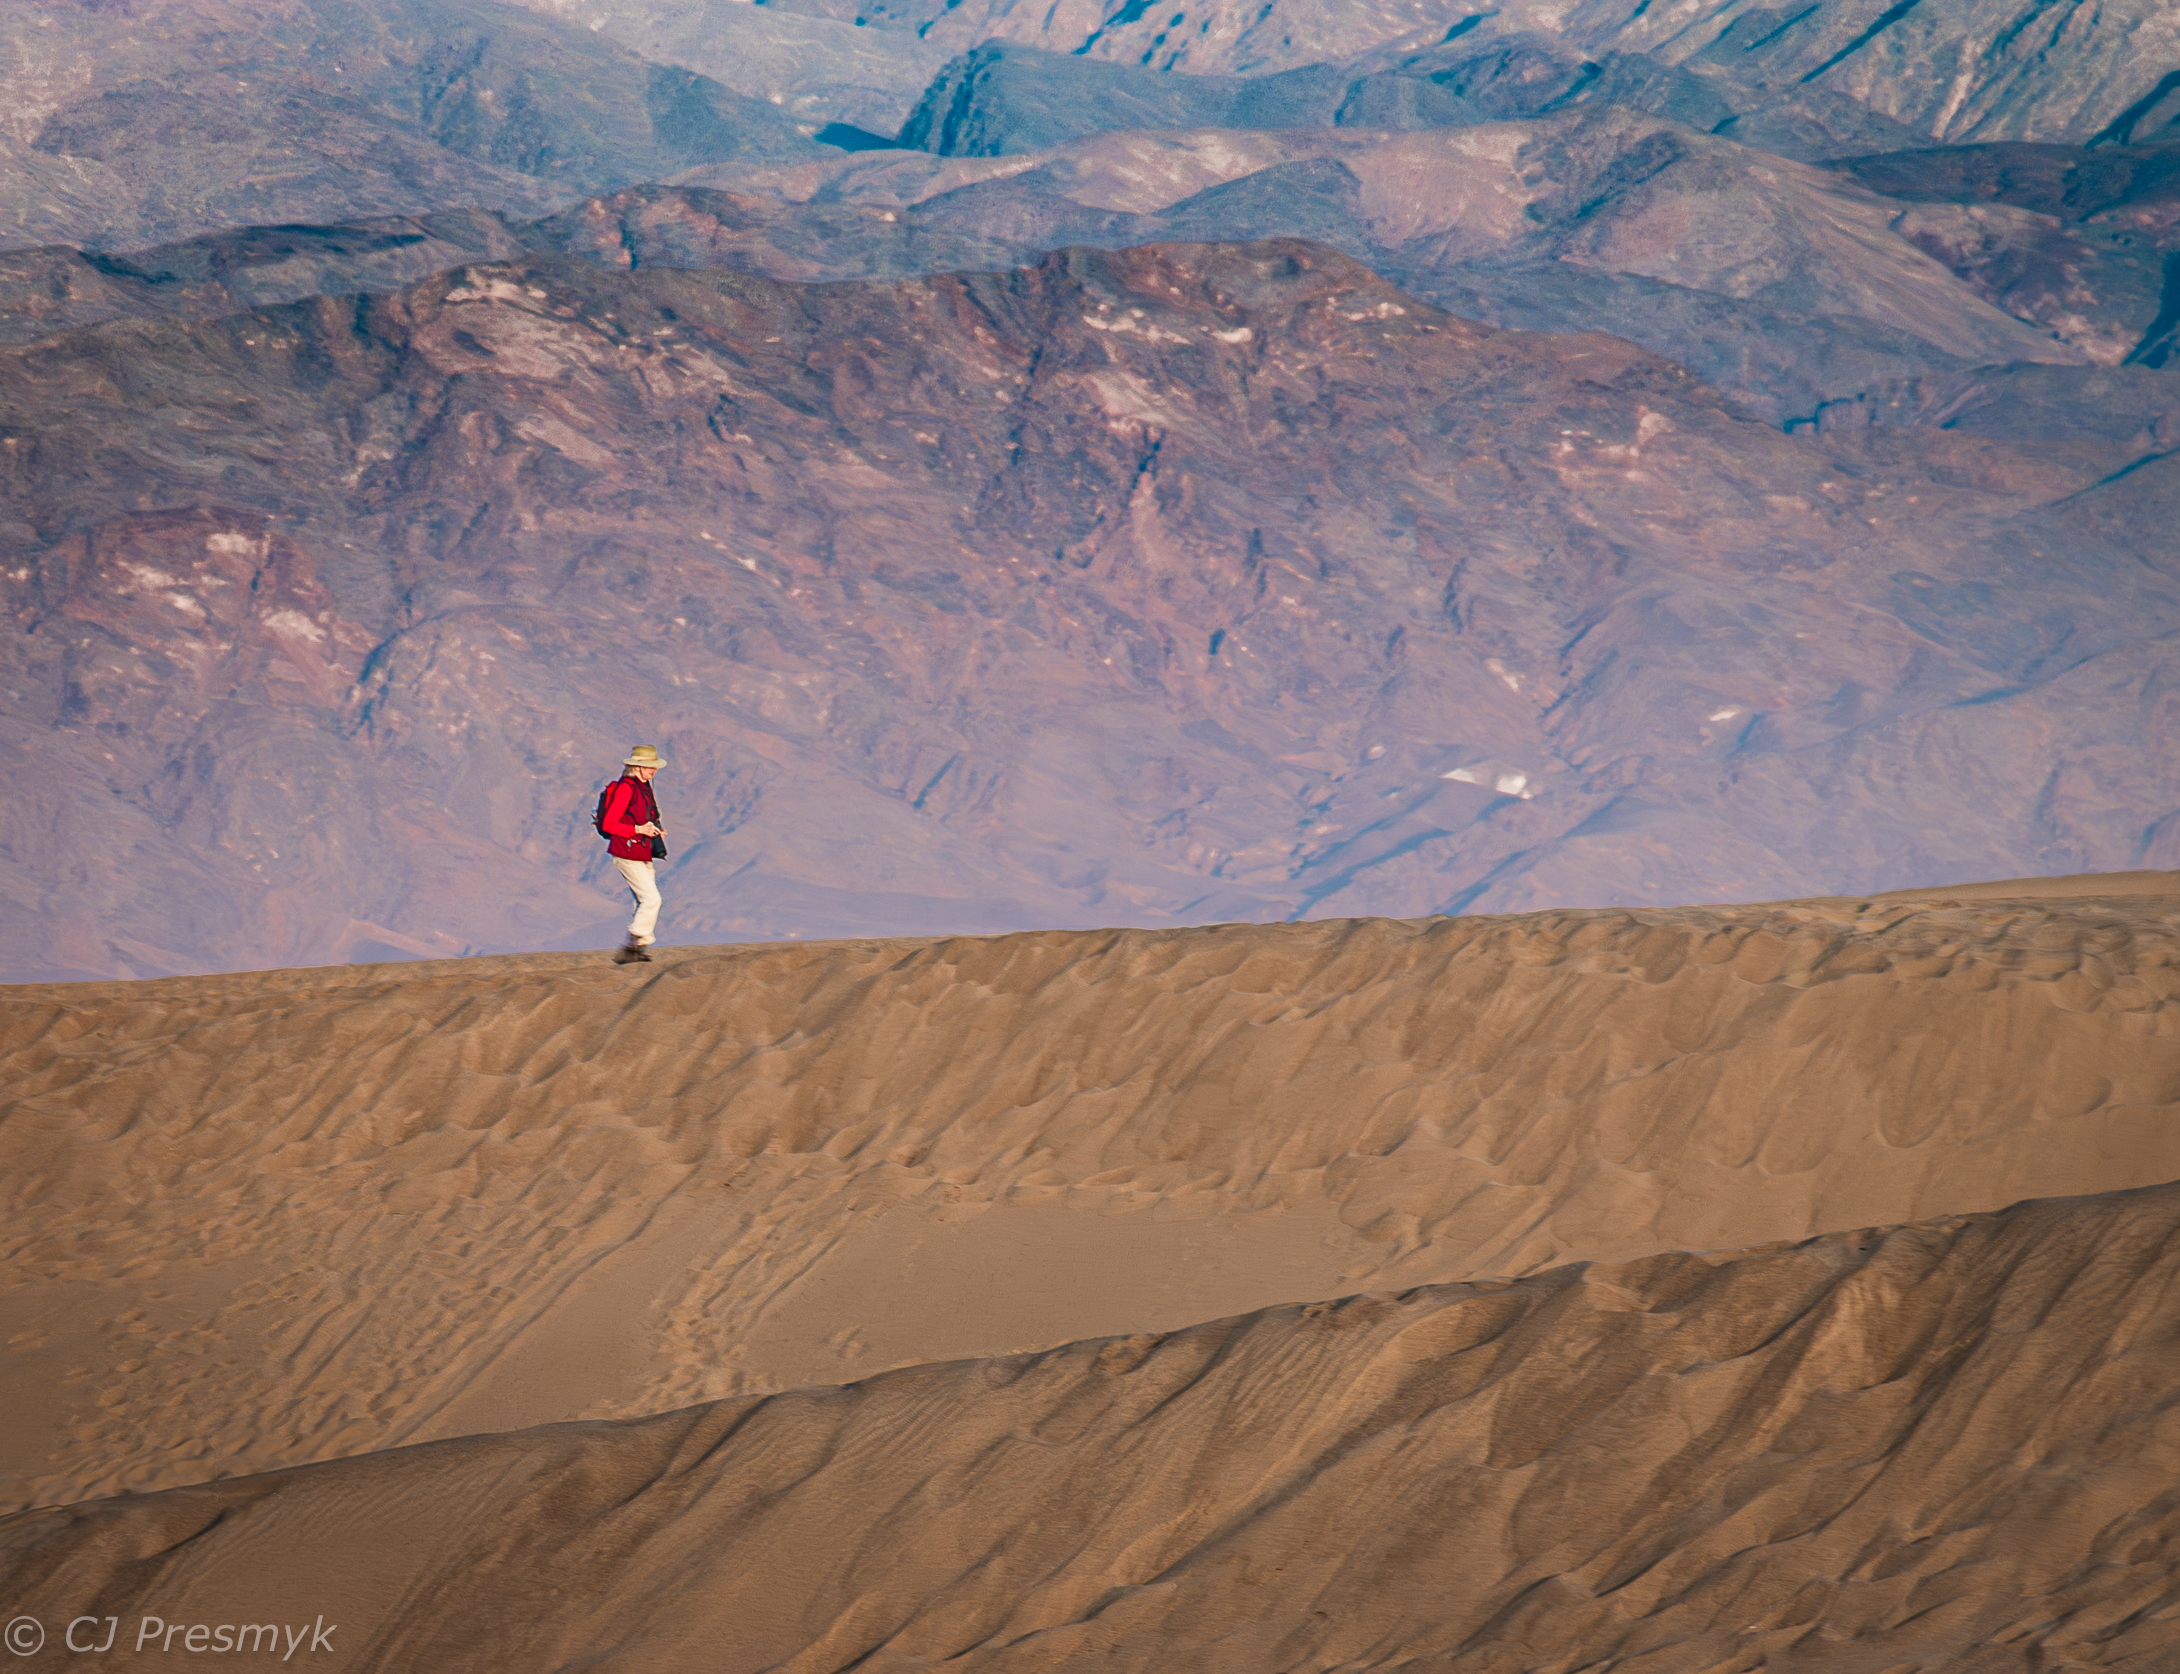
Jim