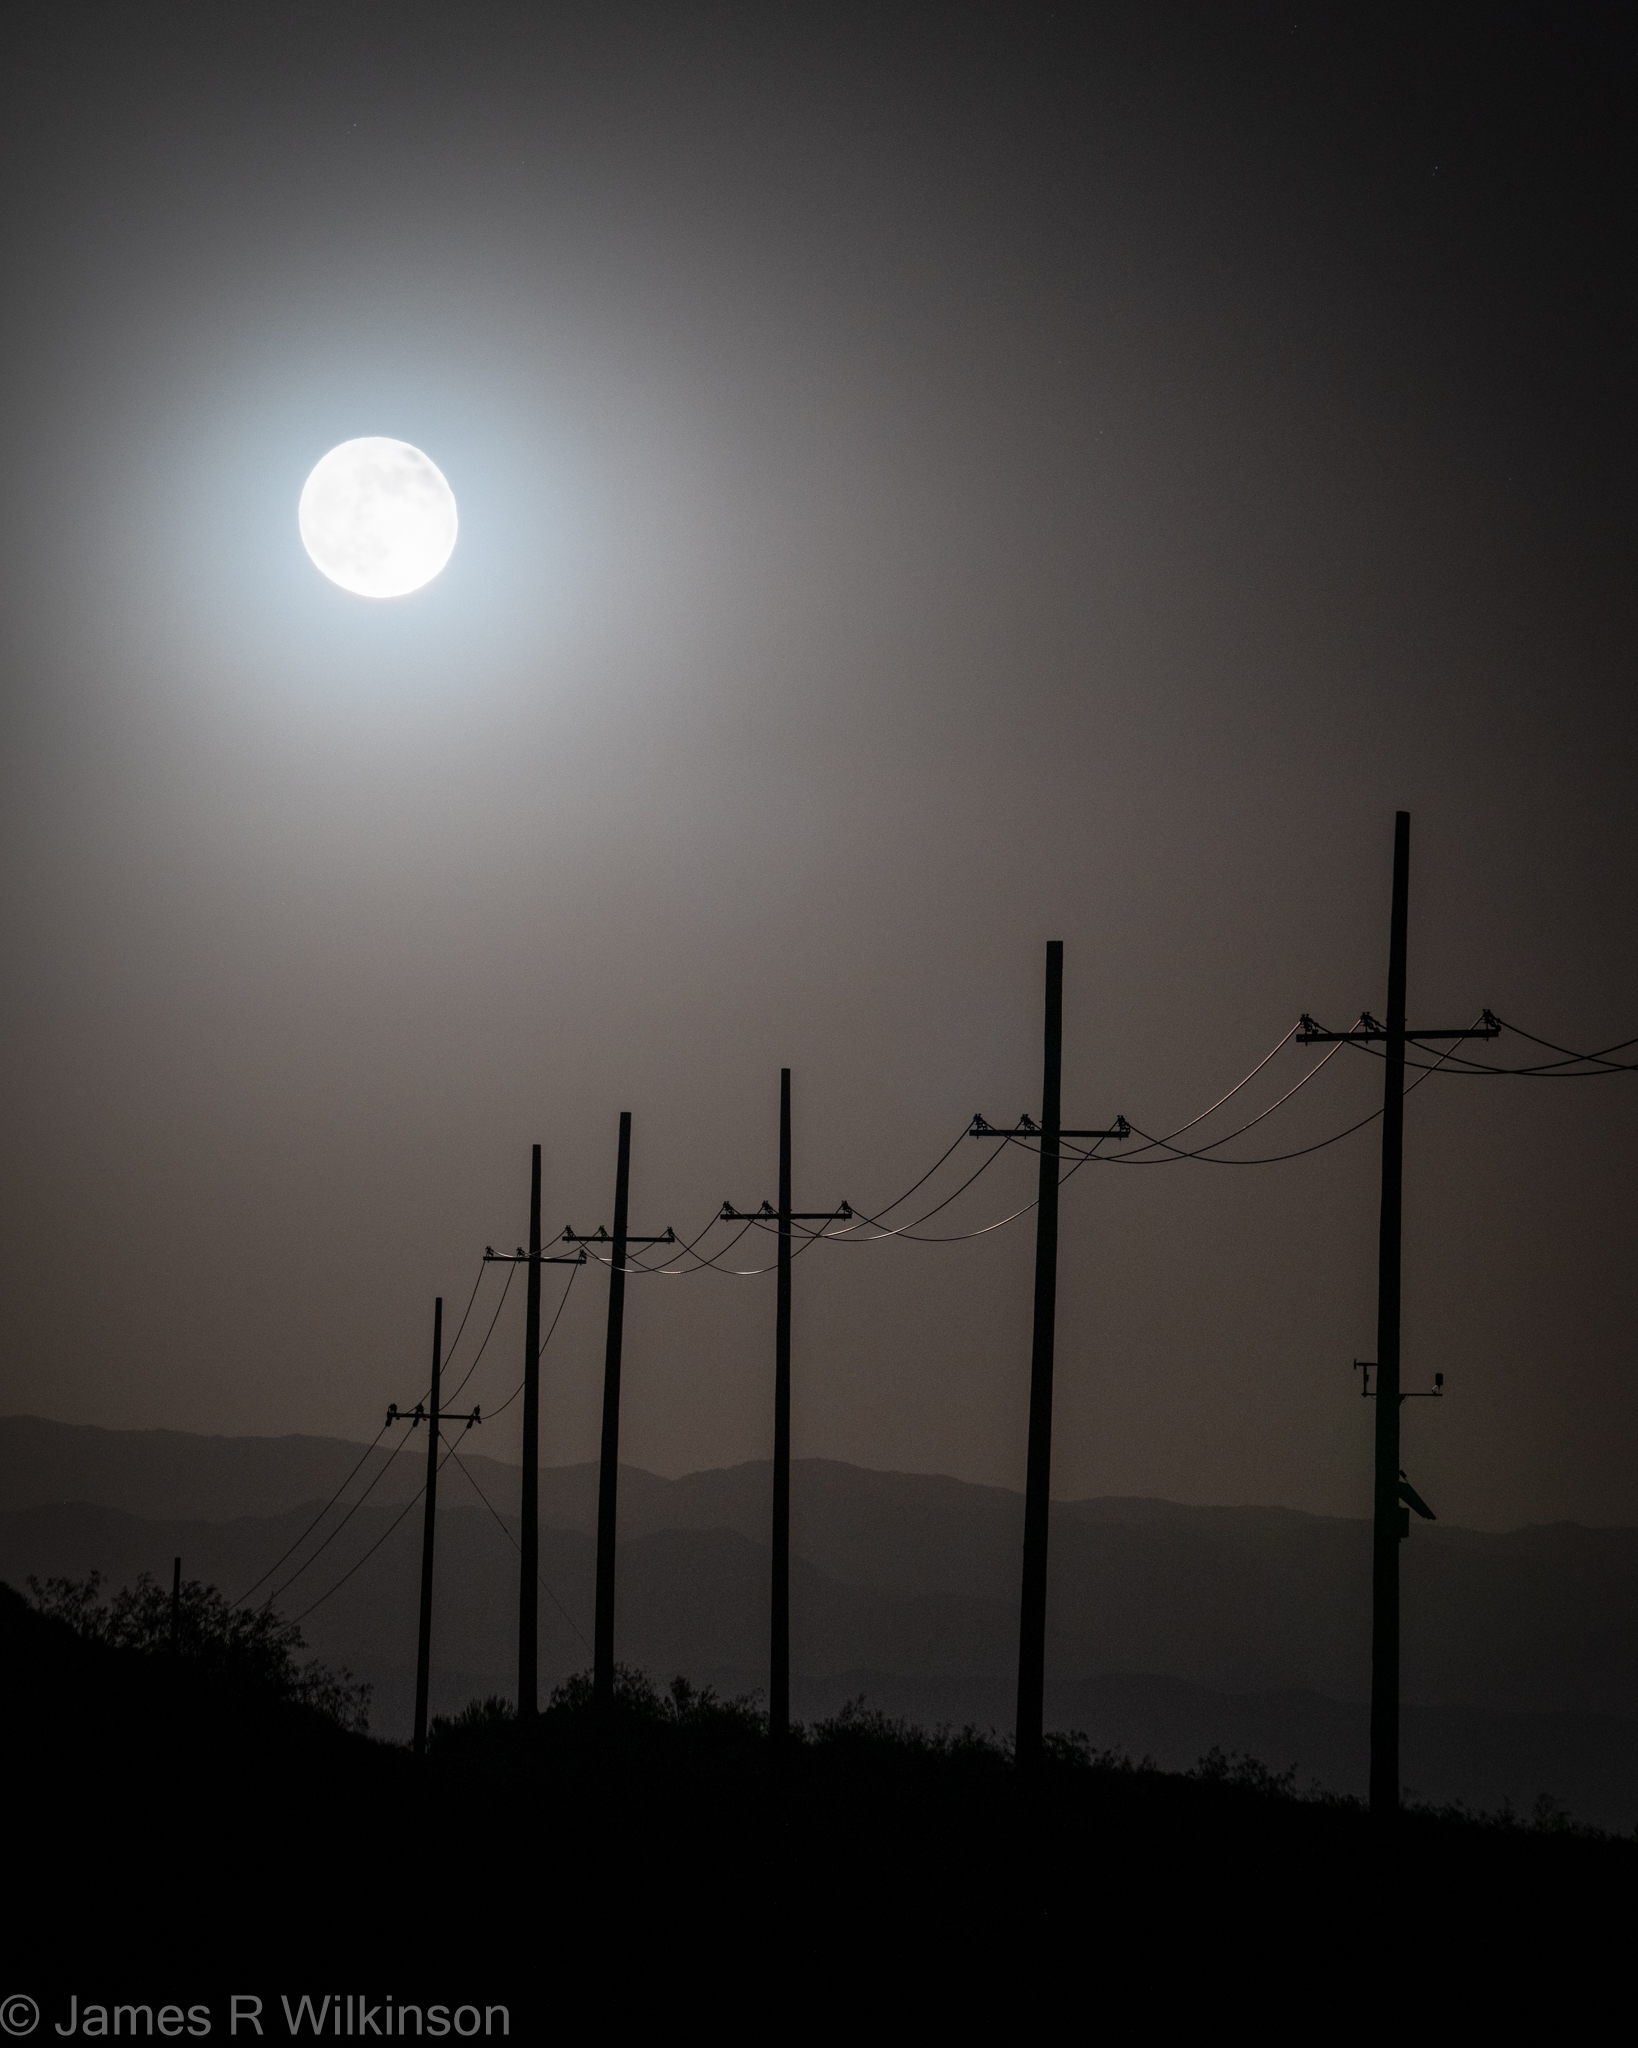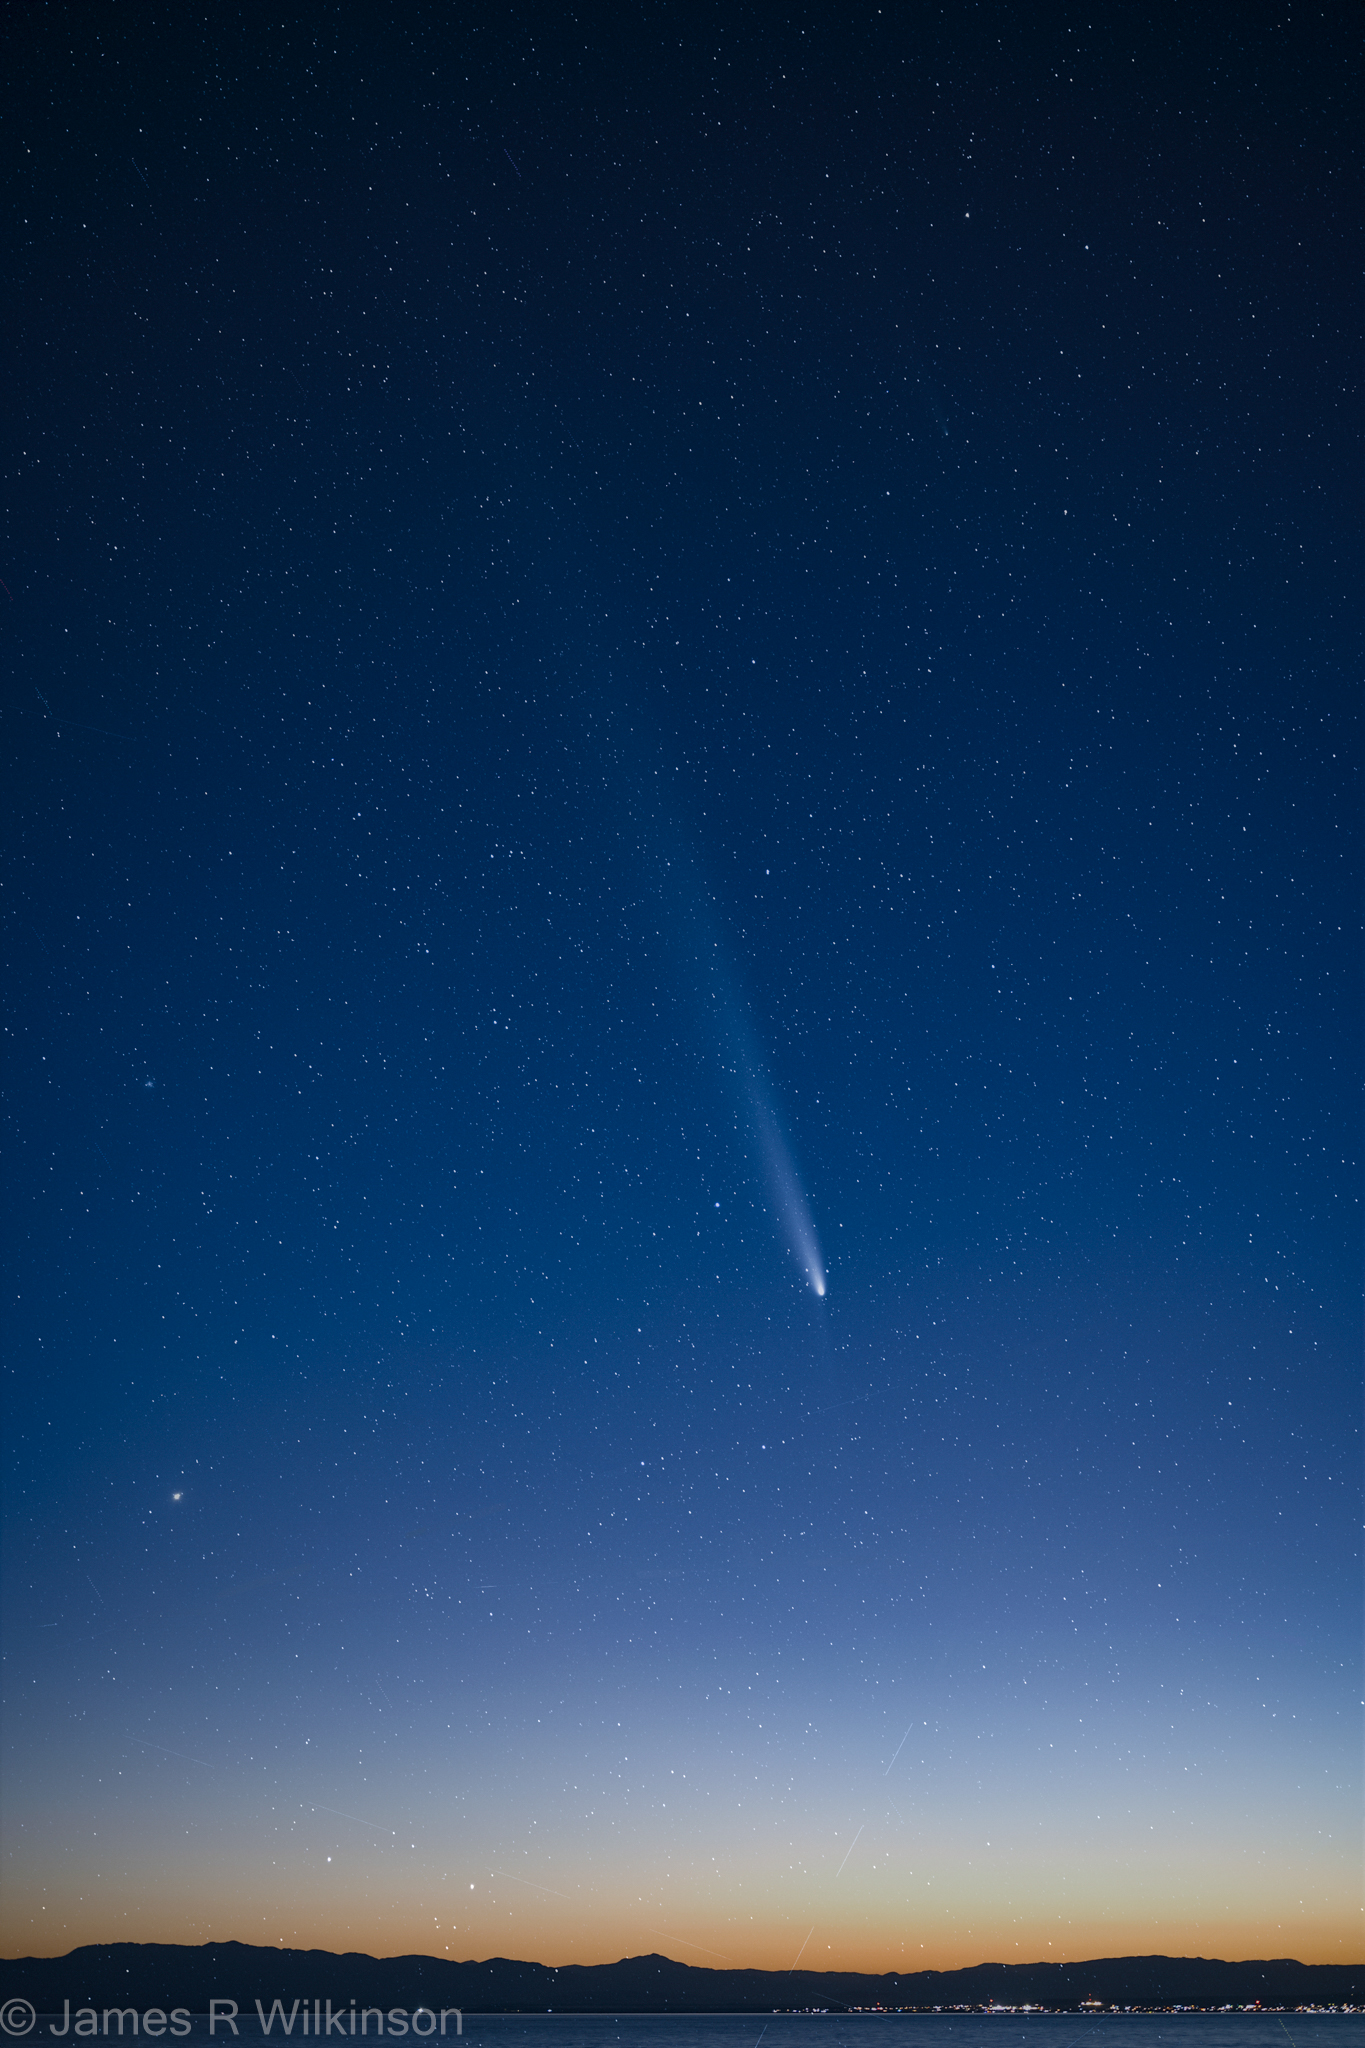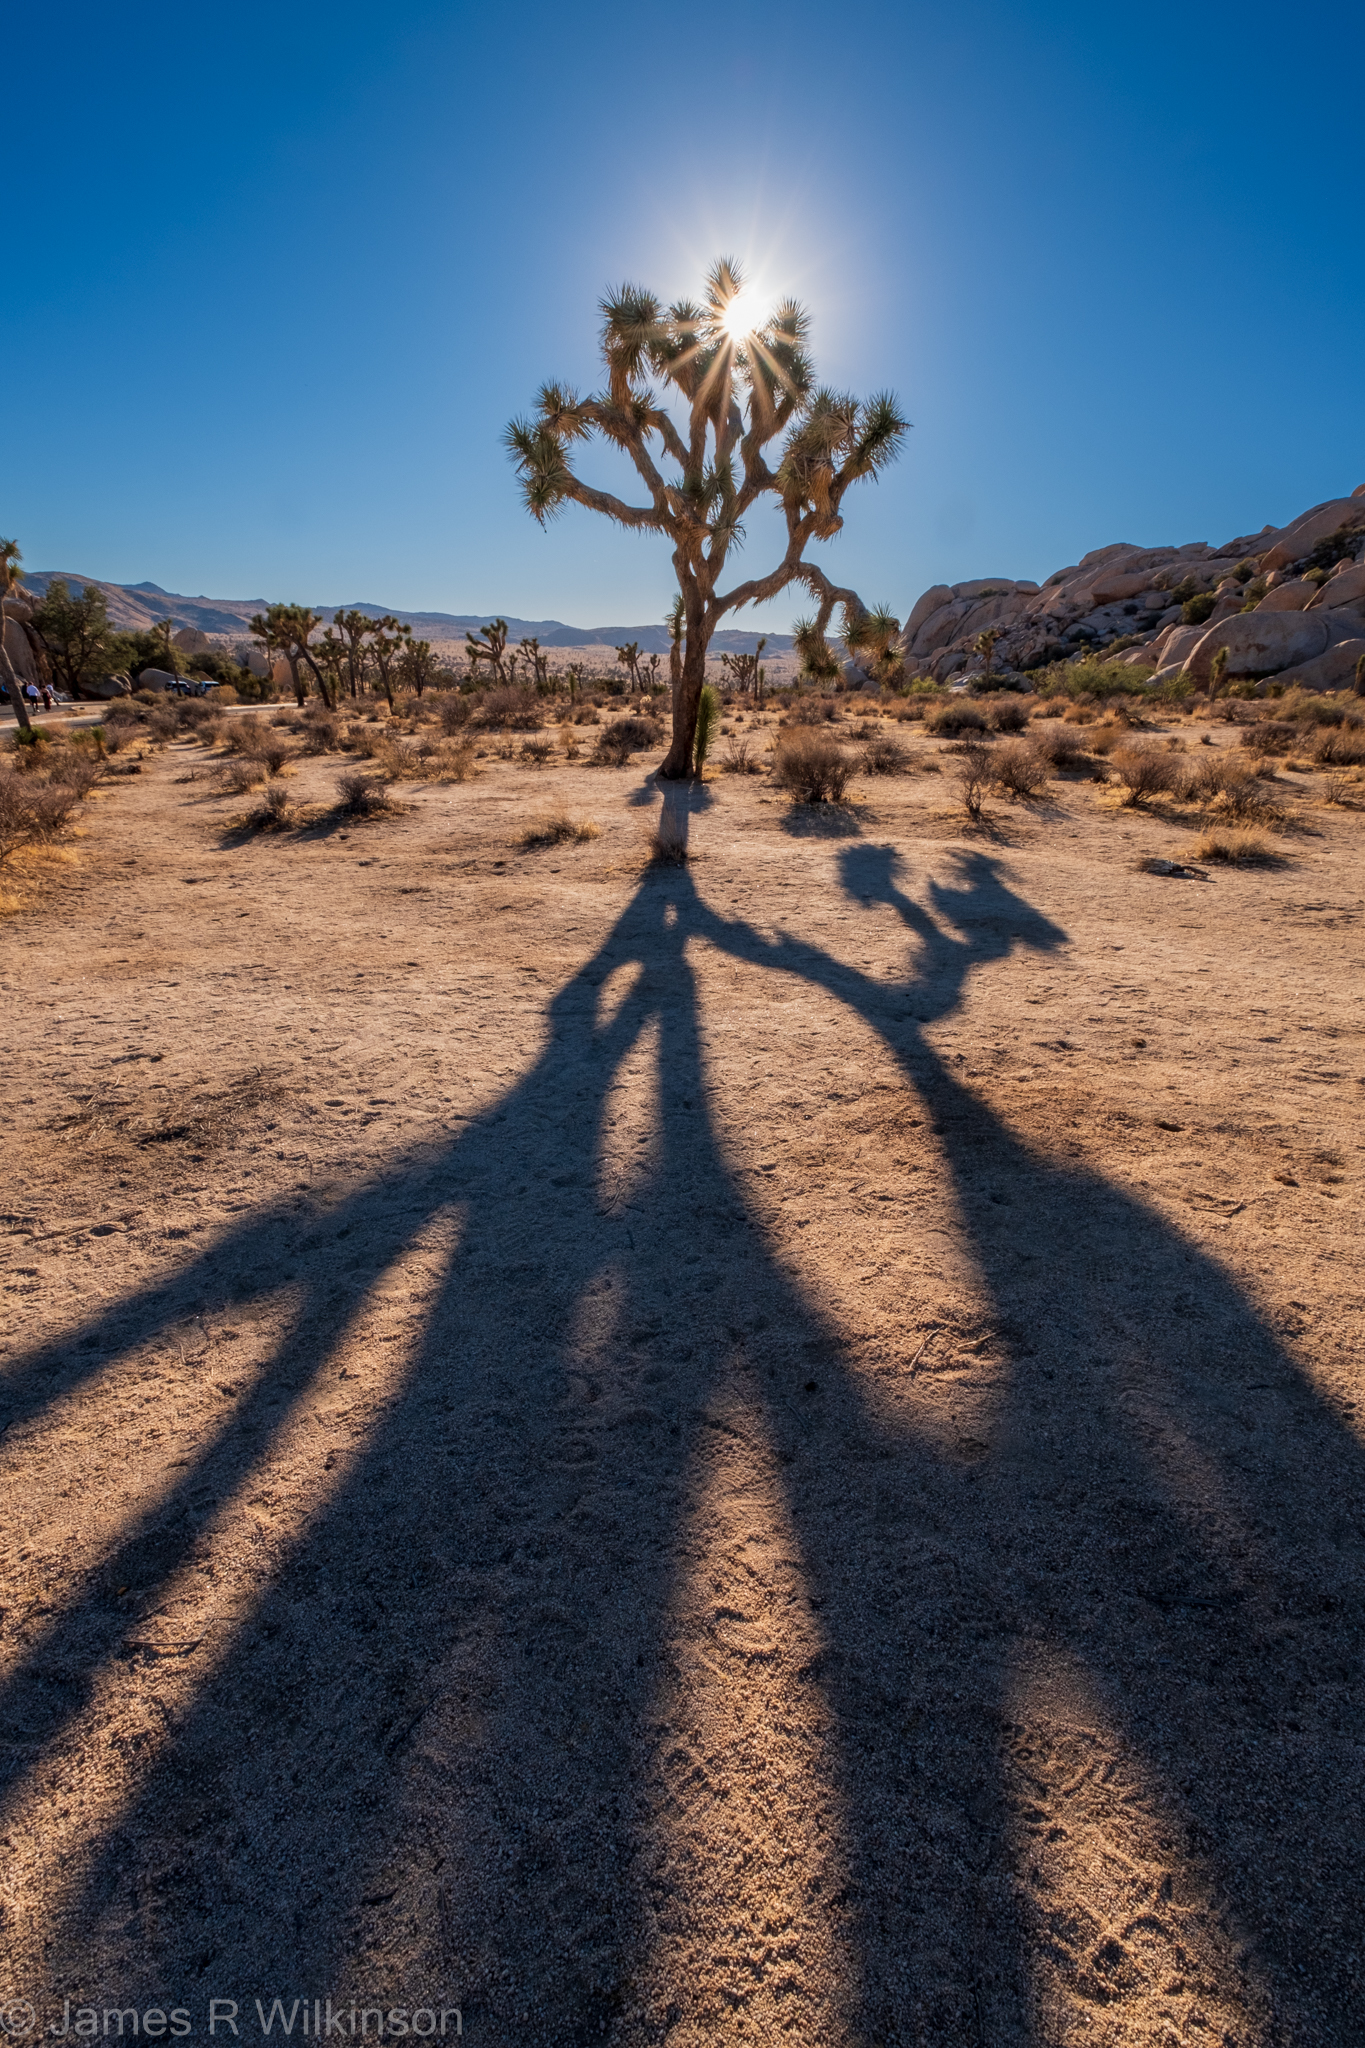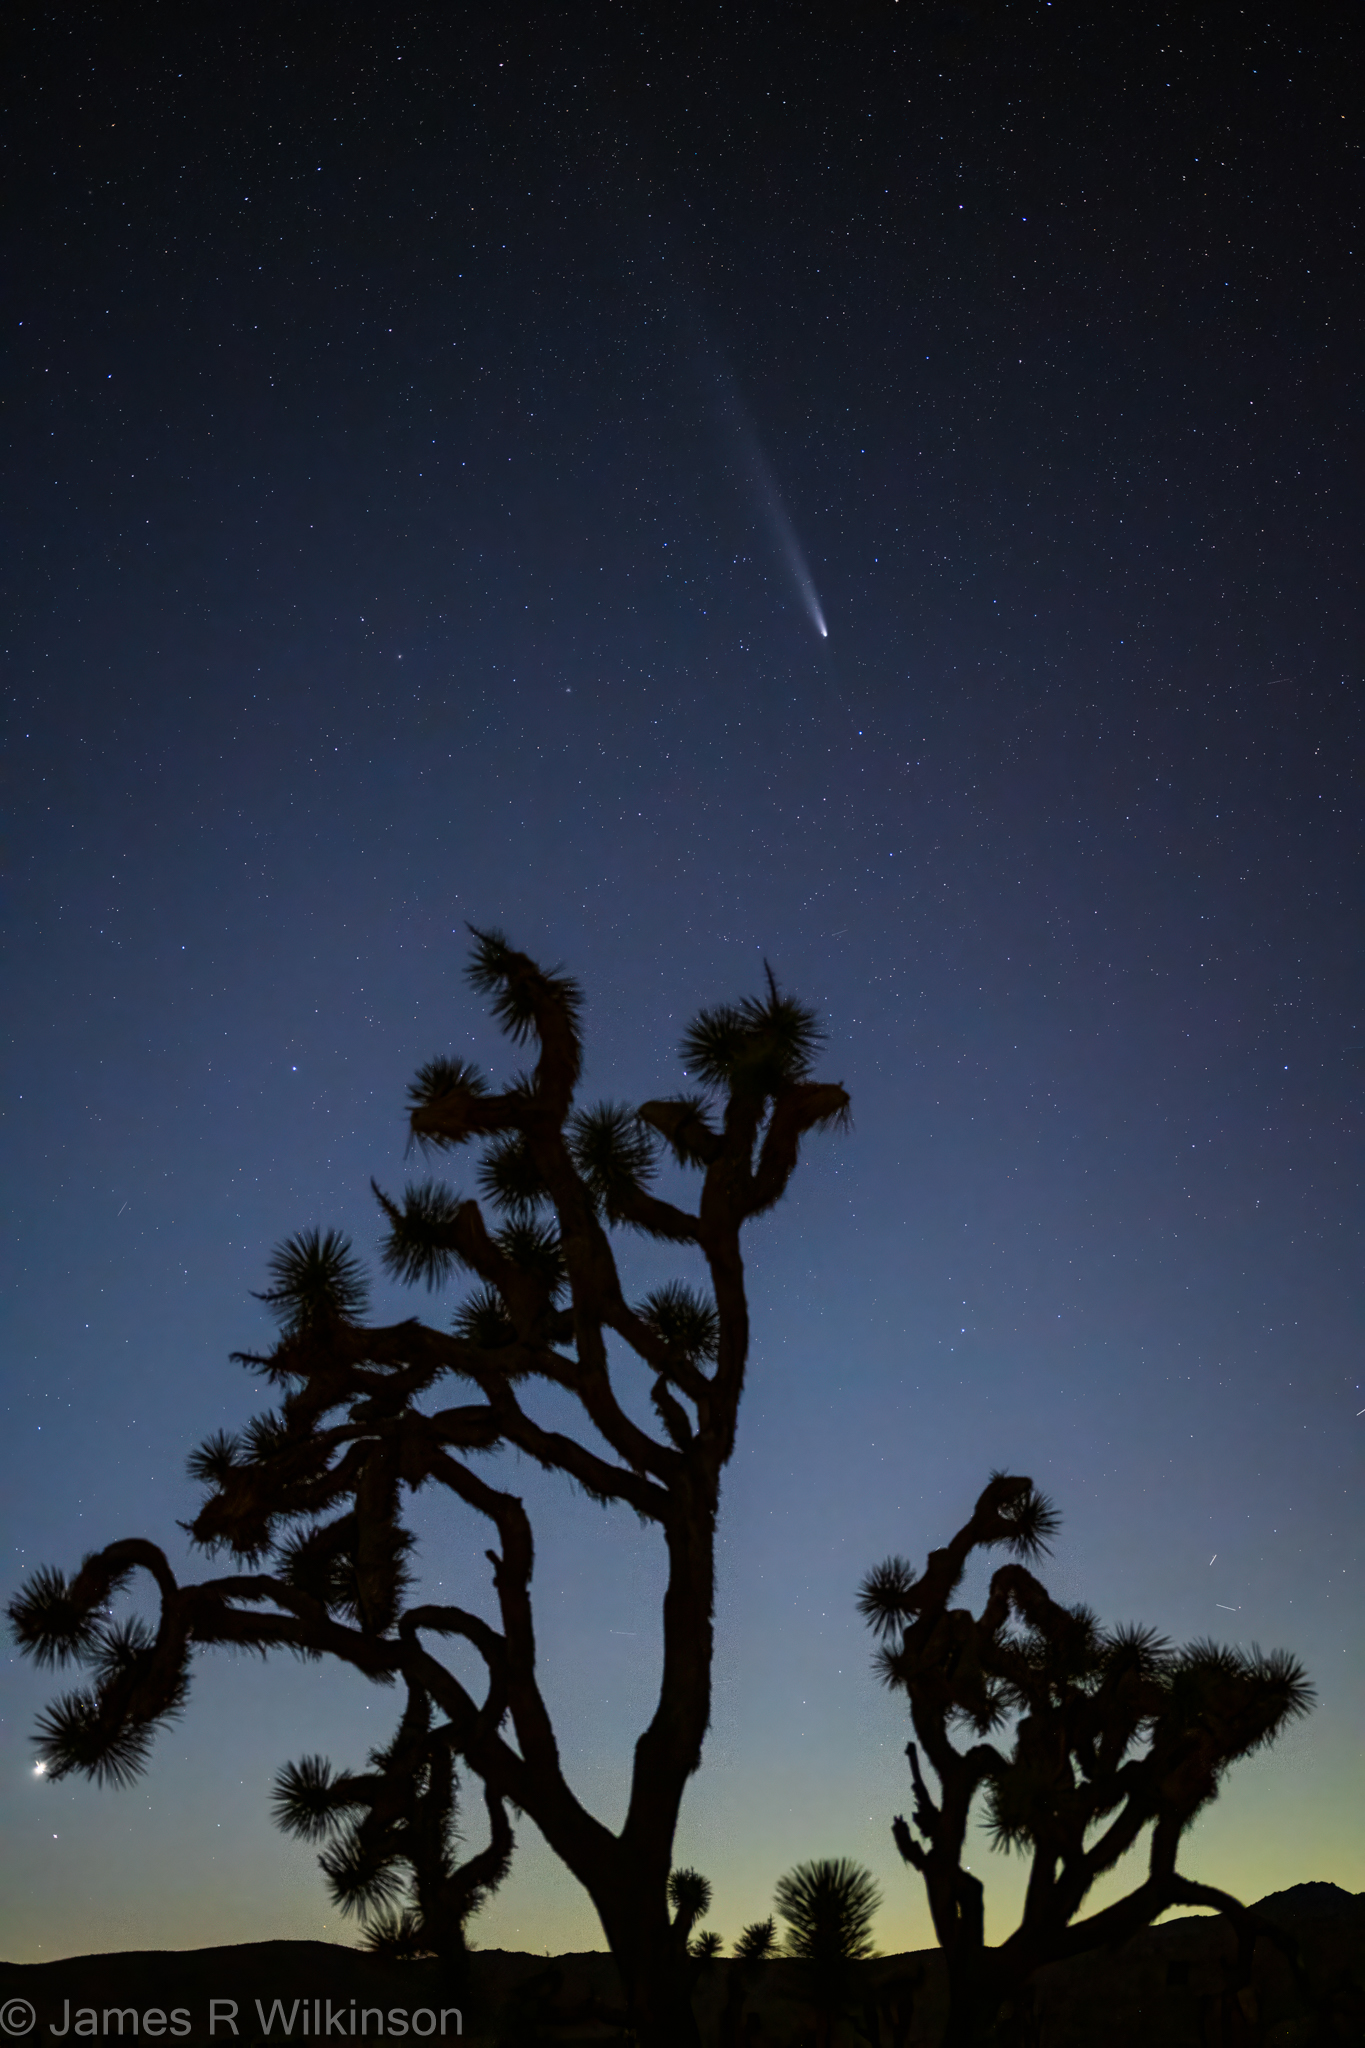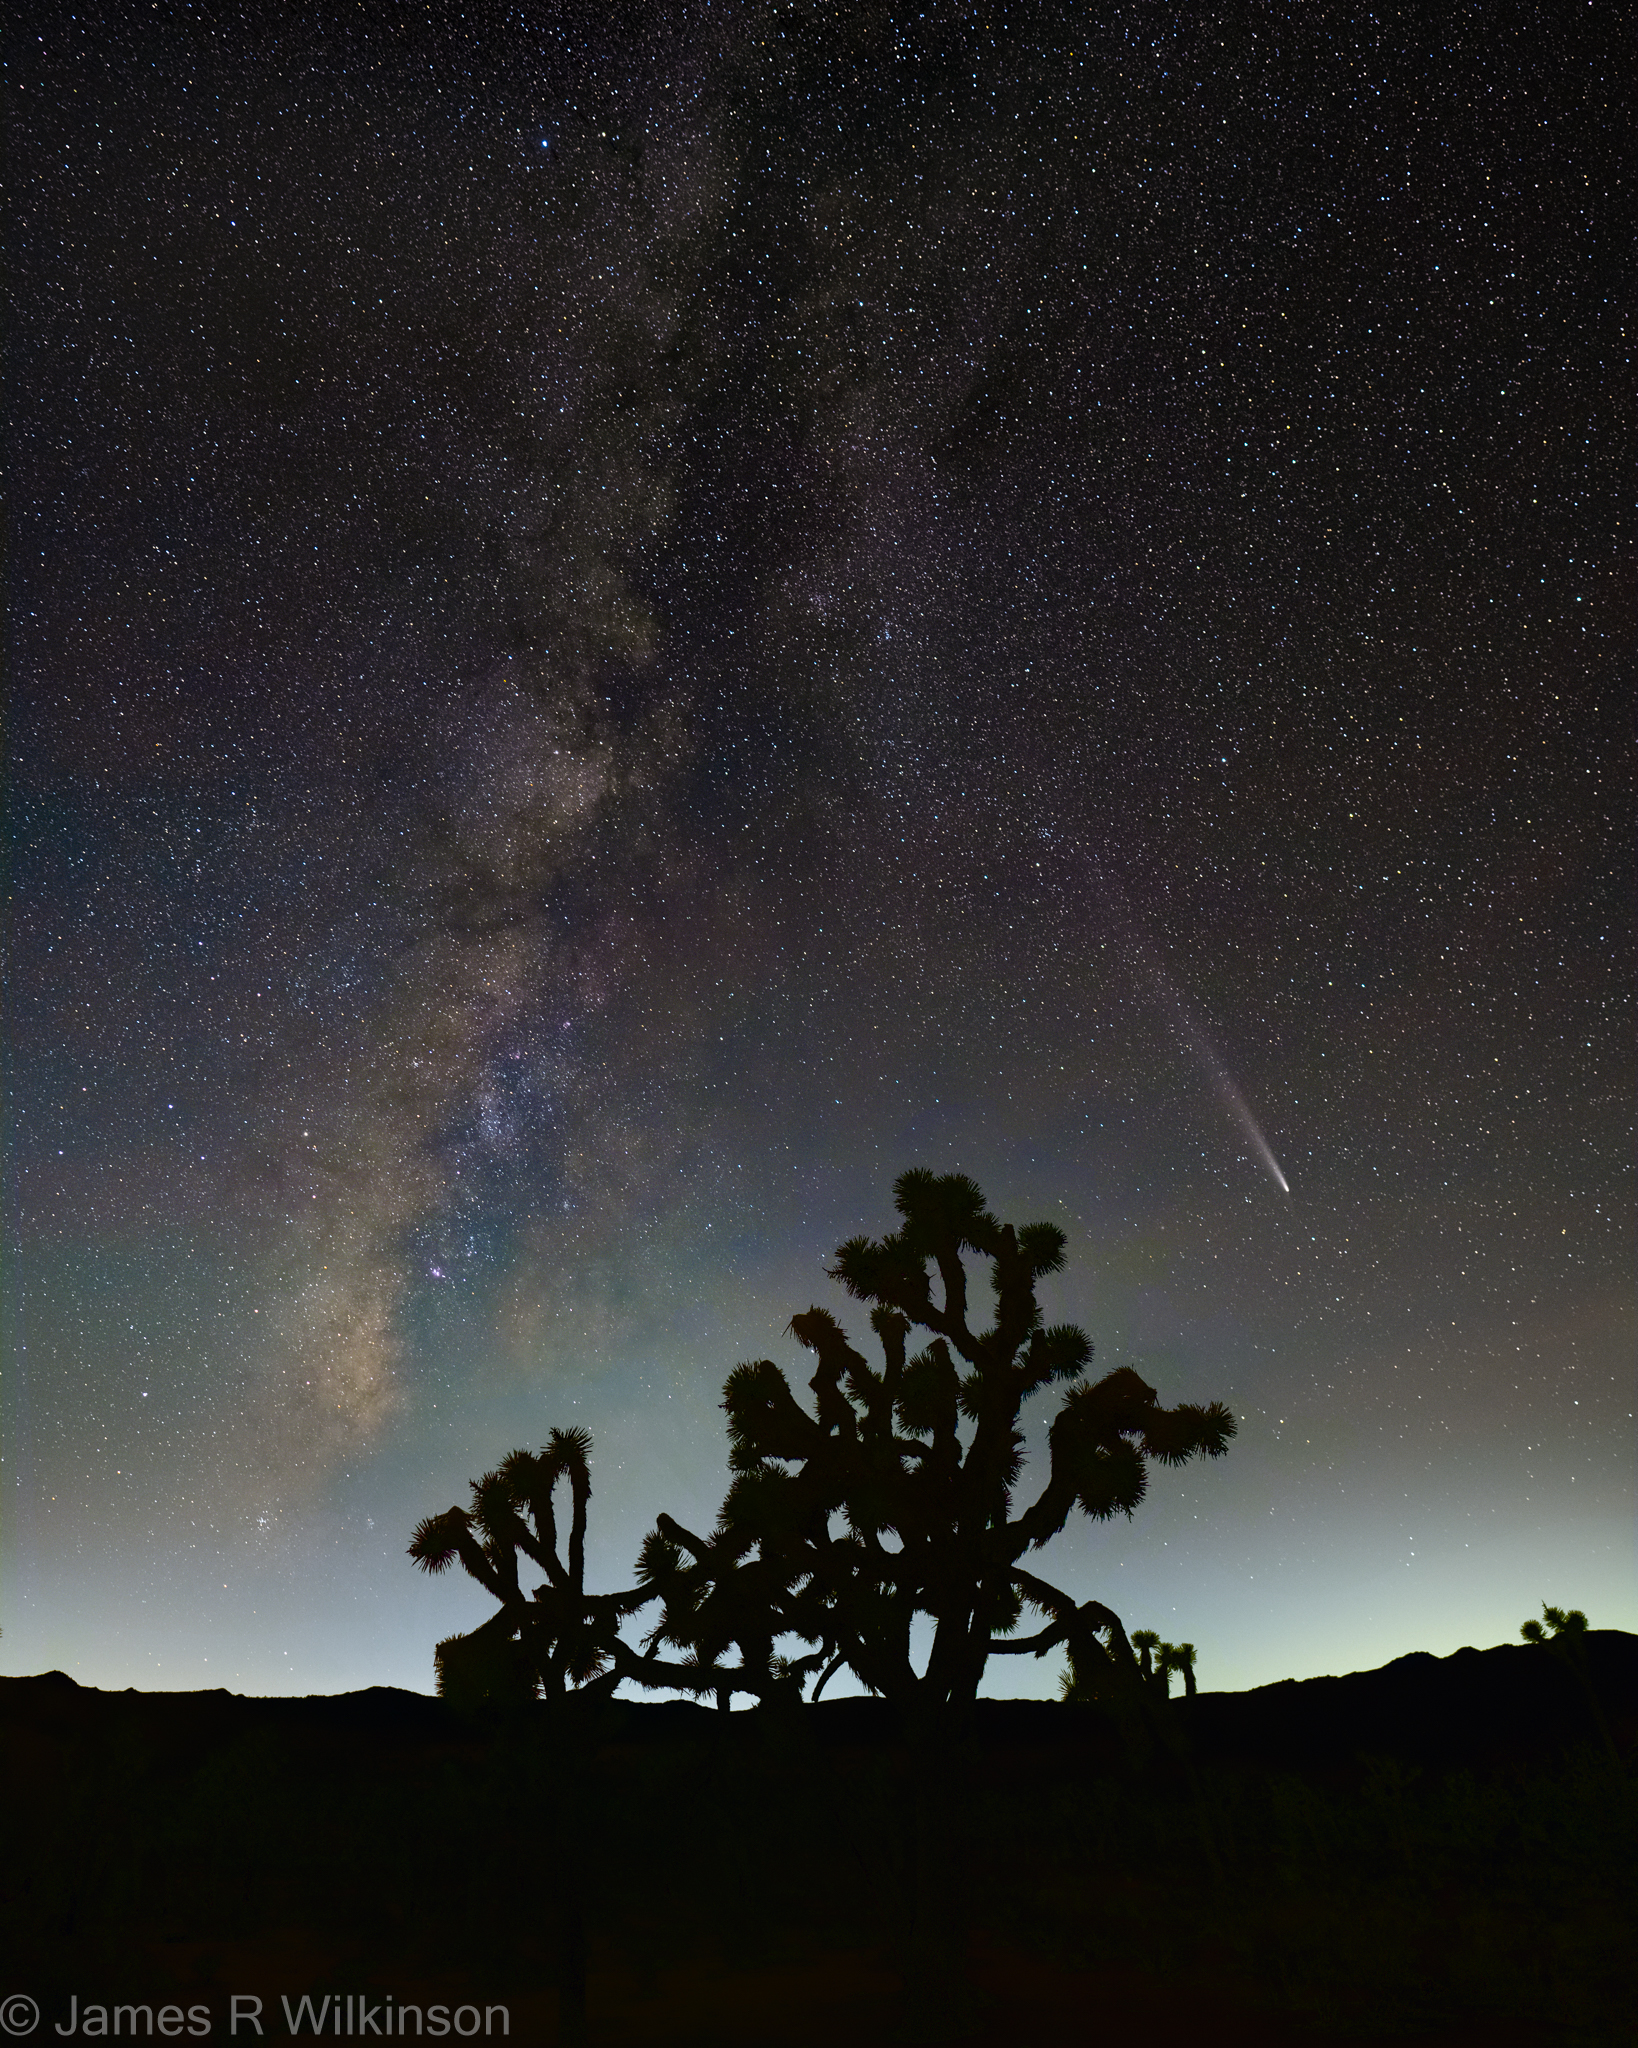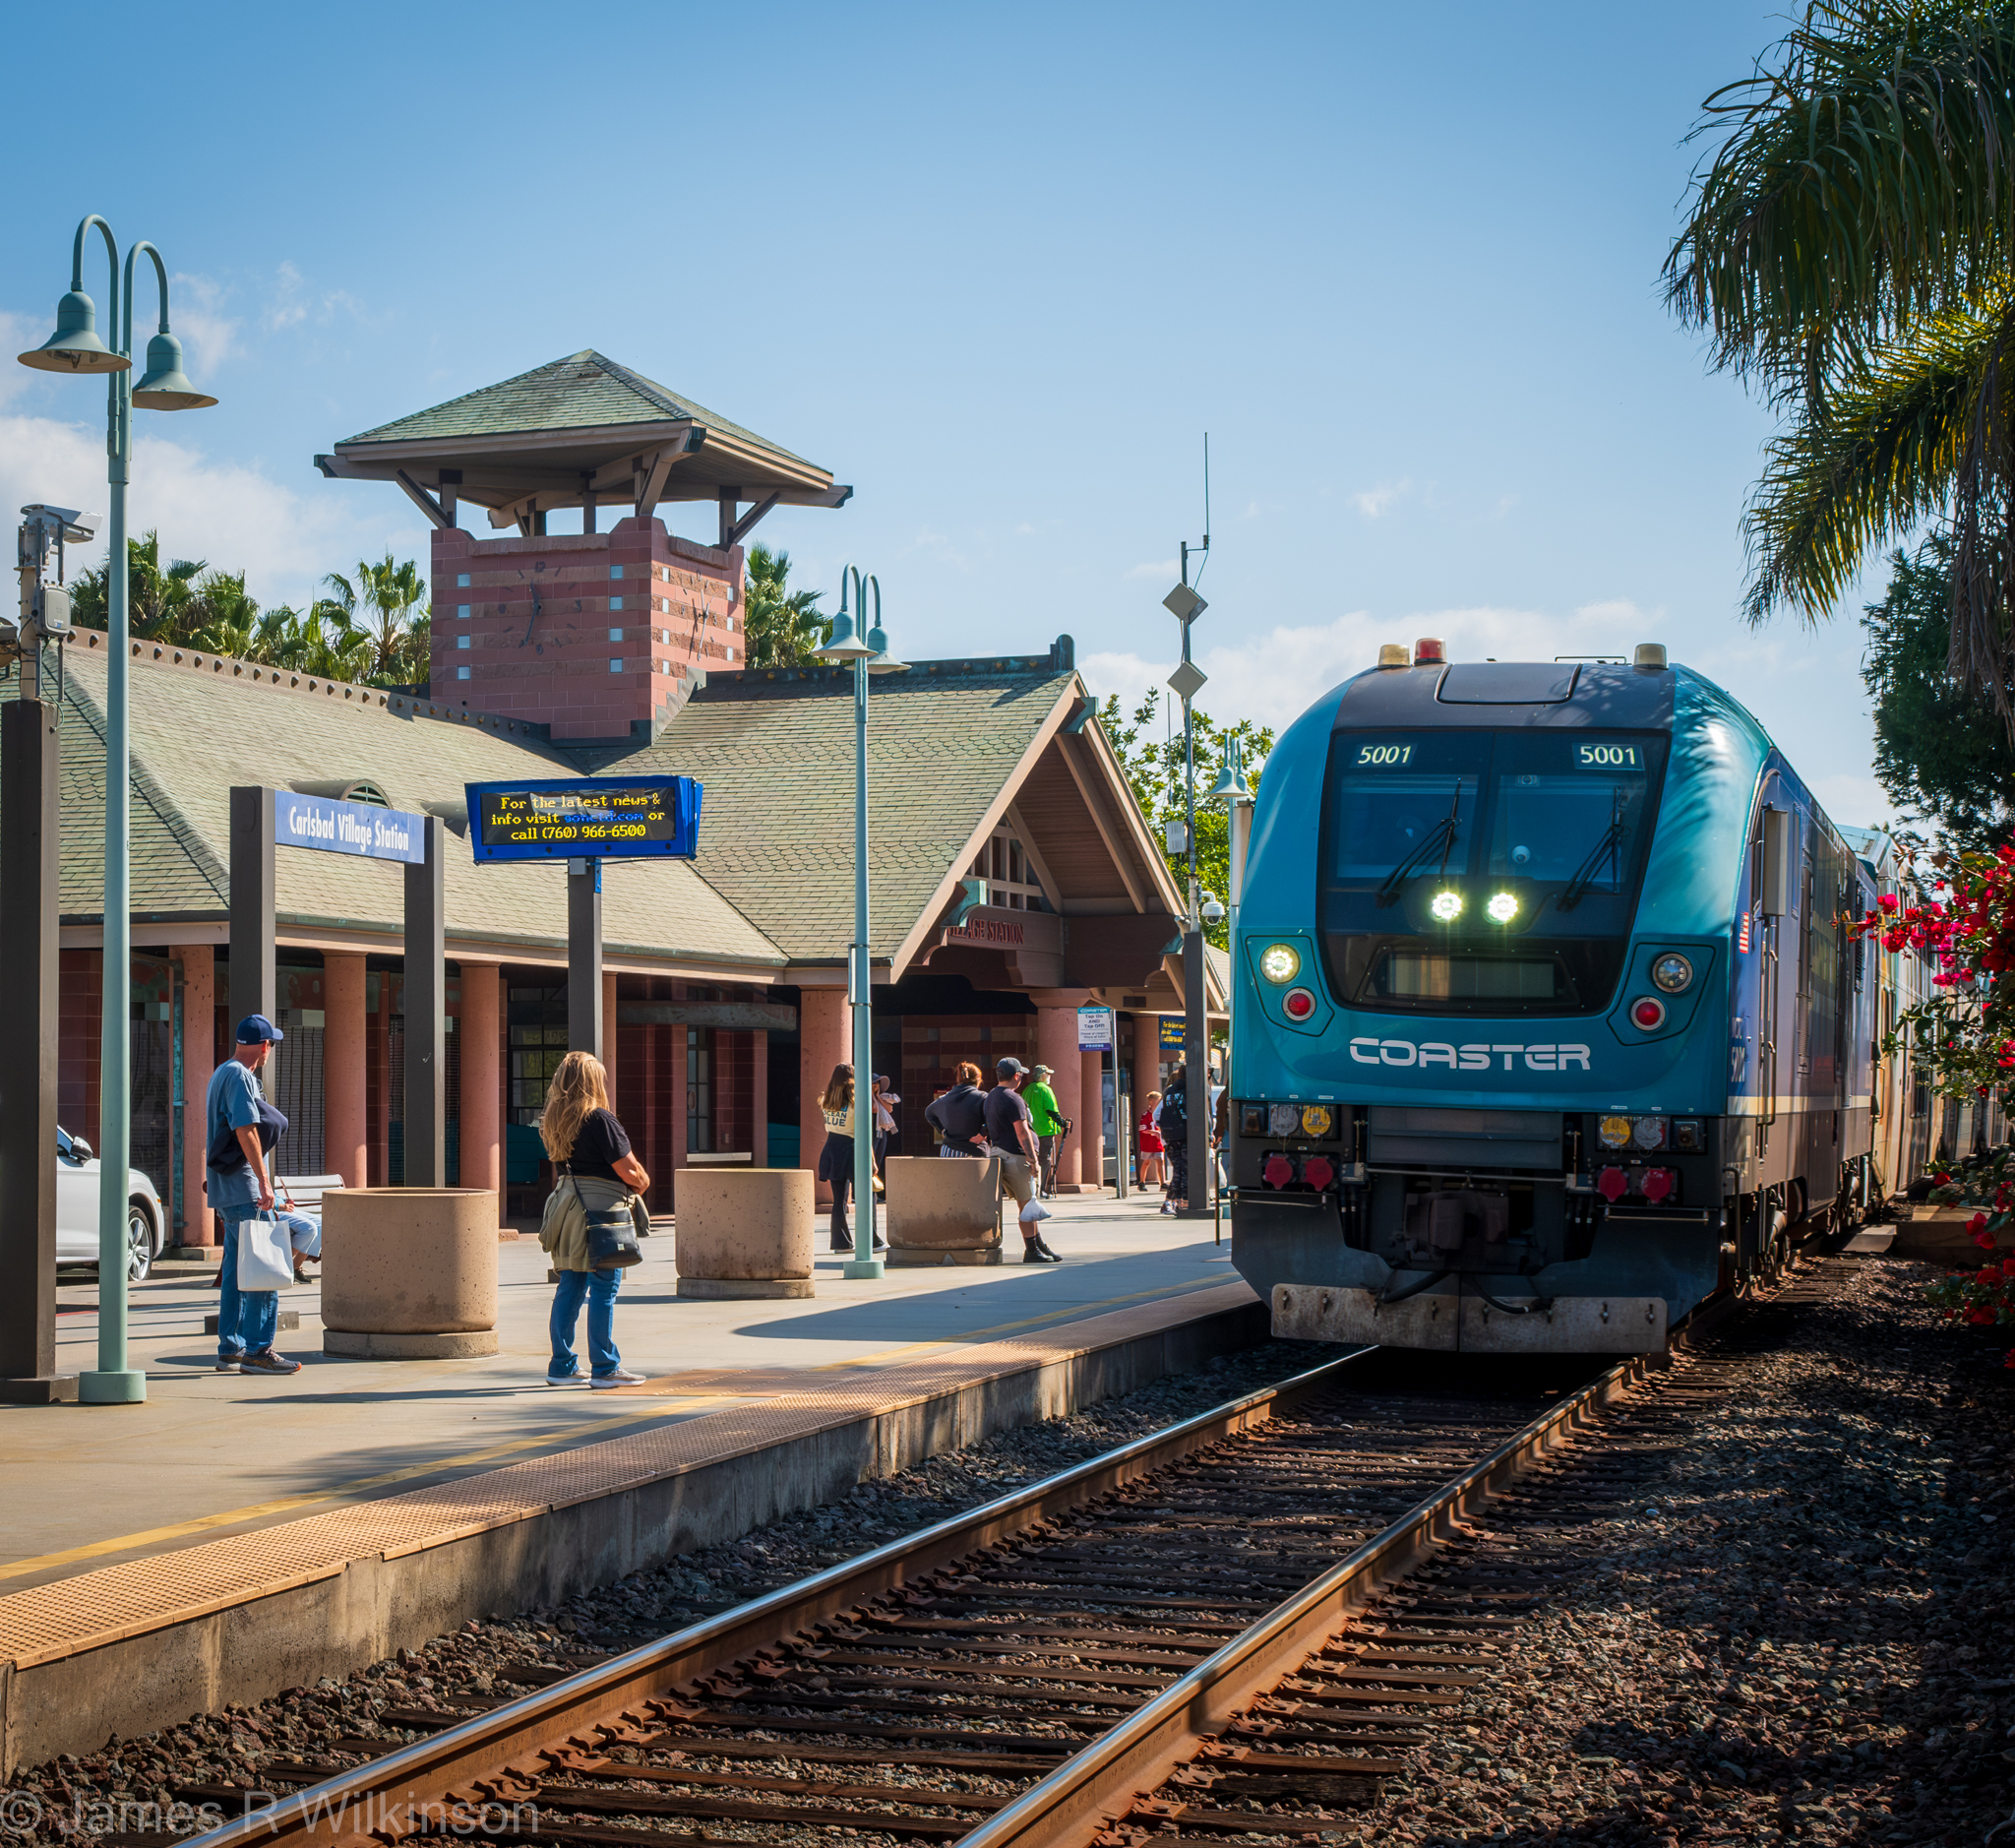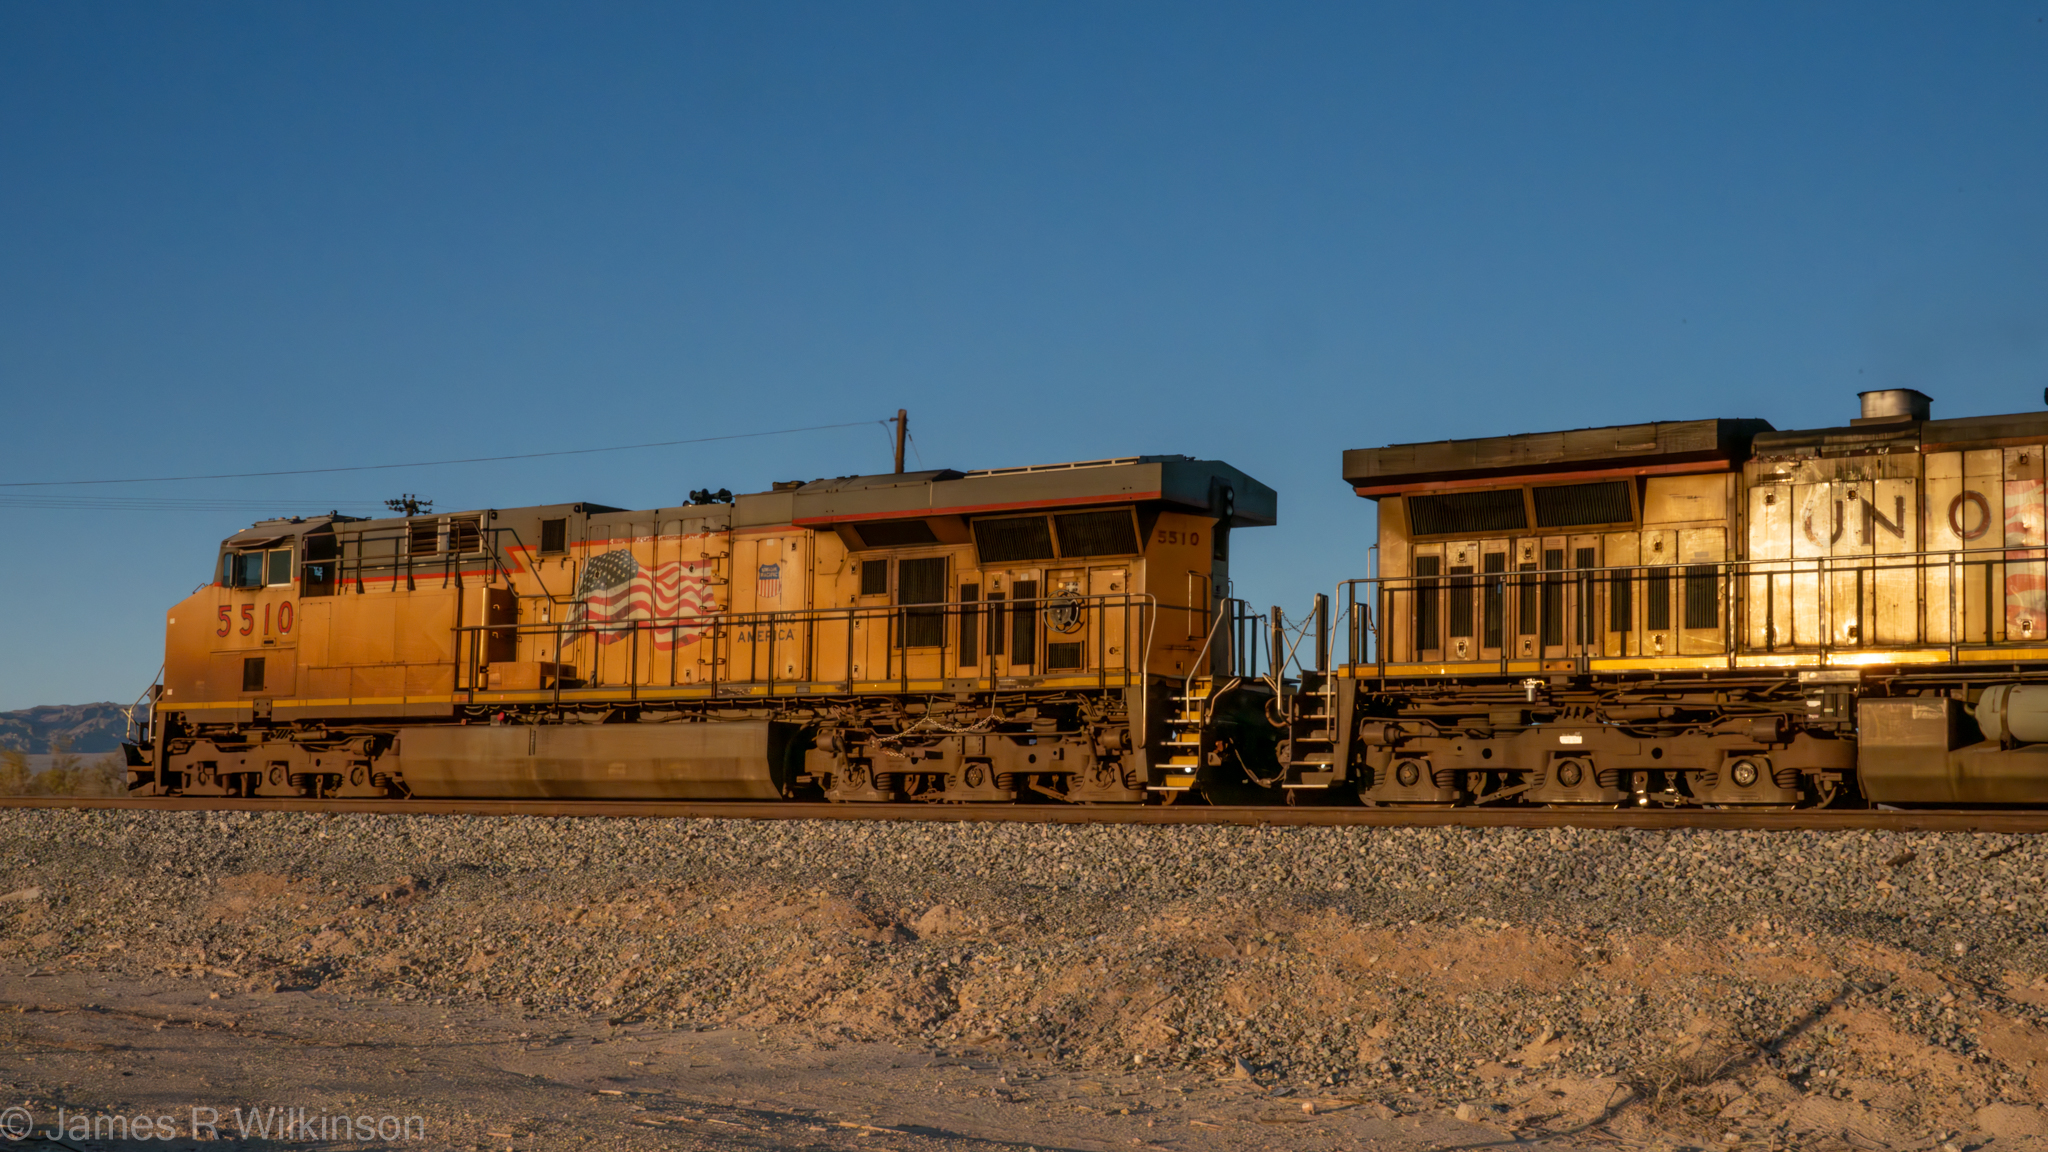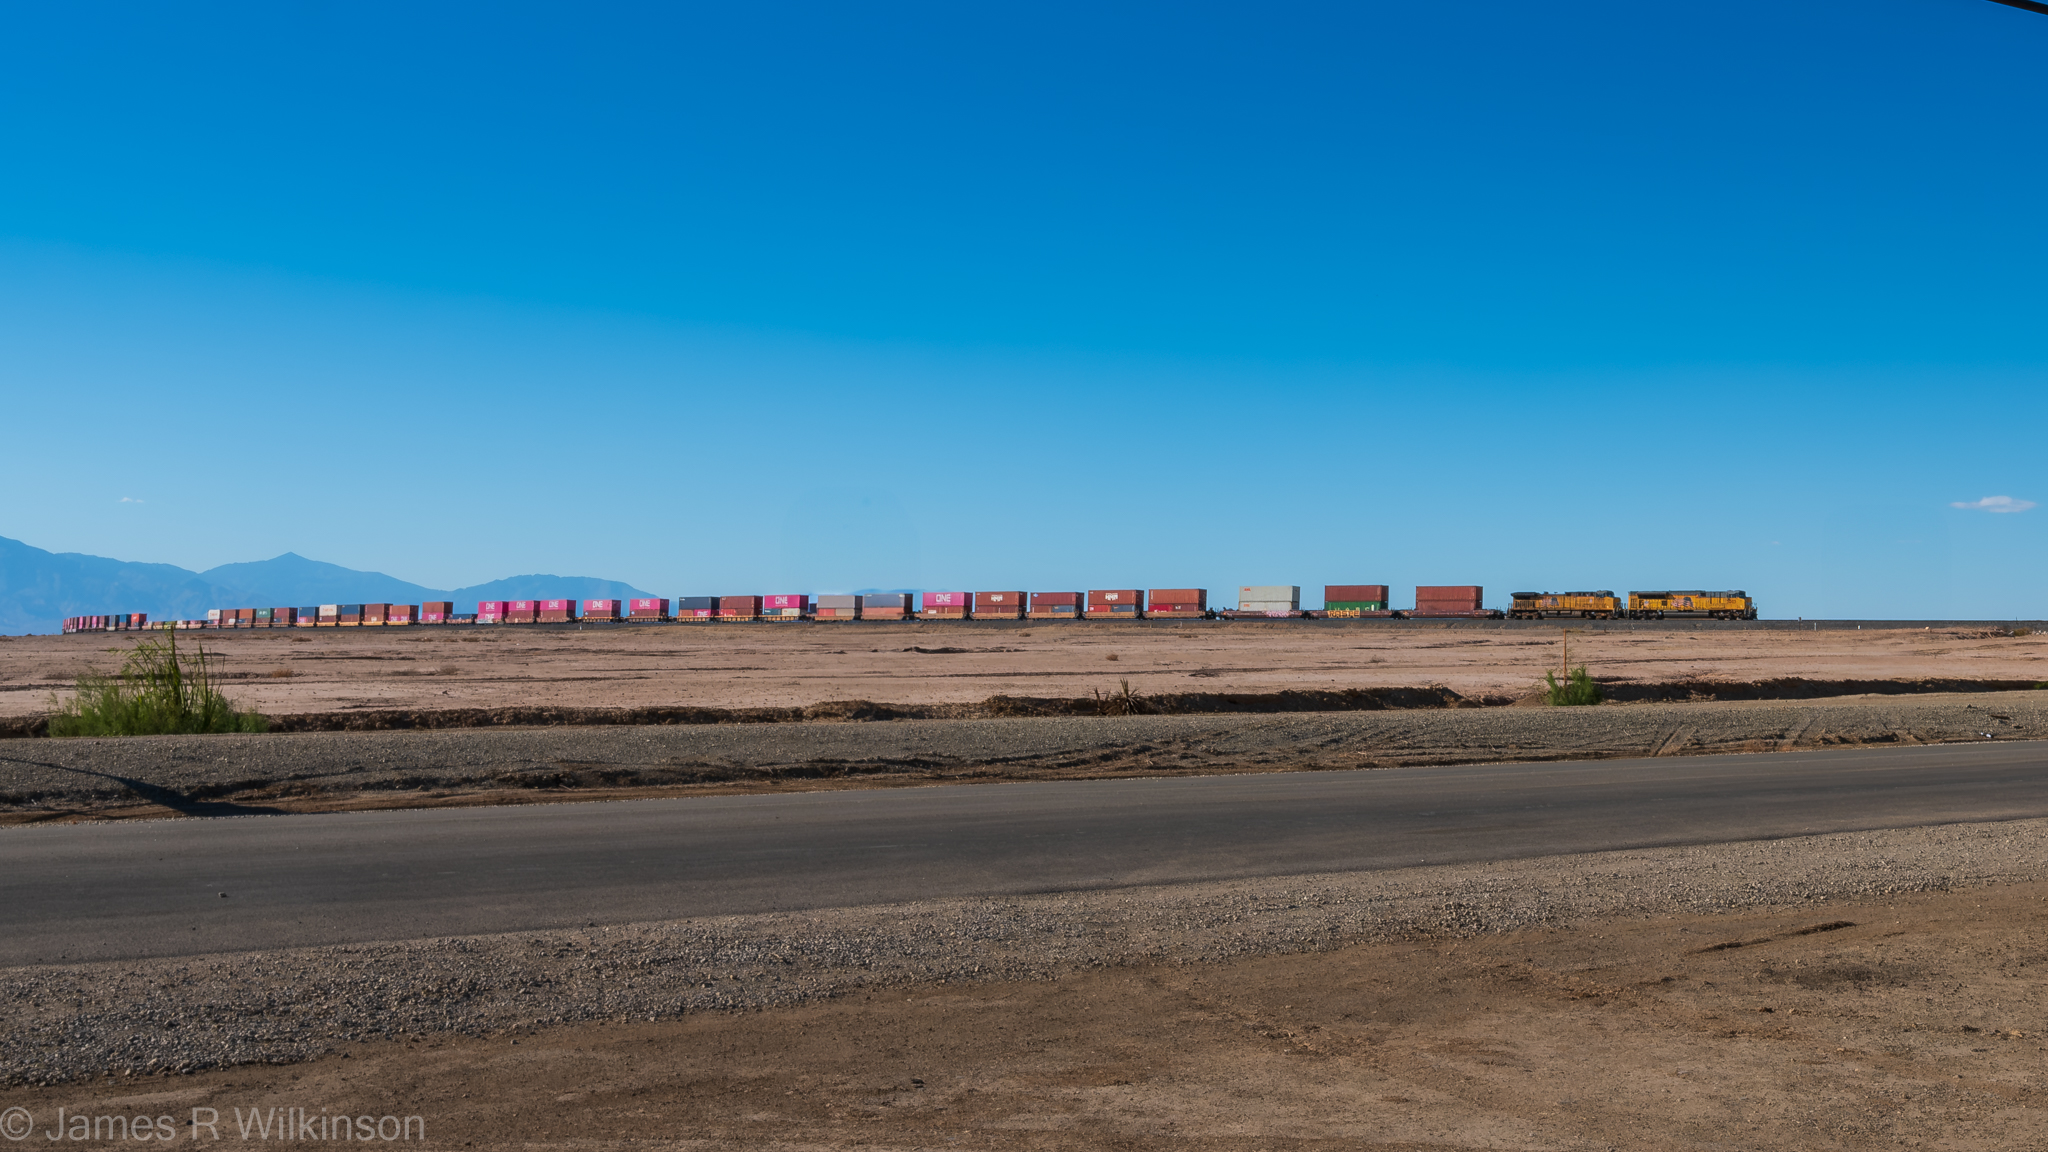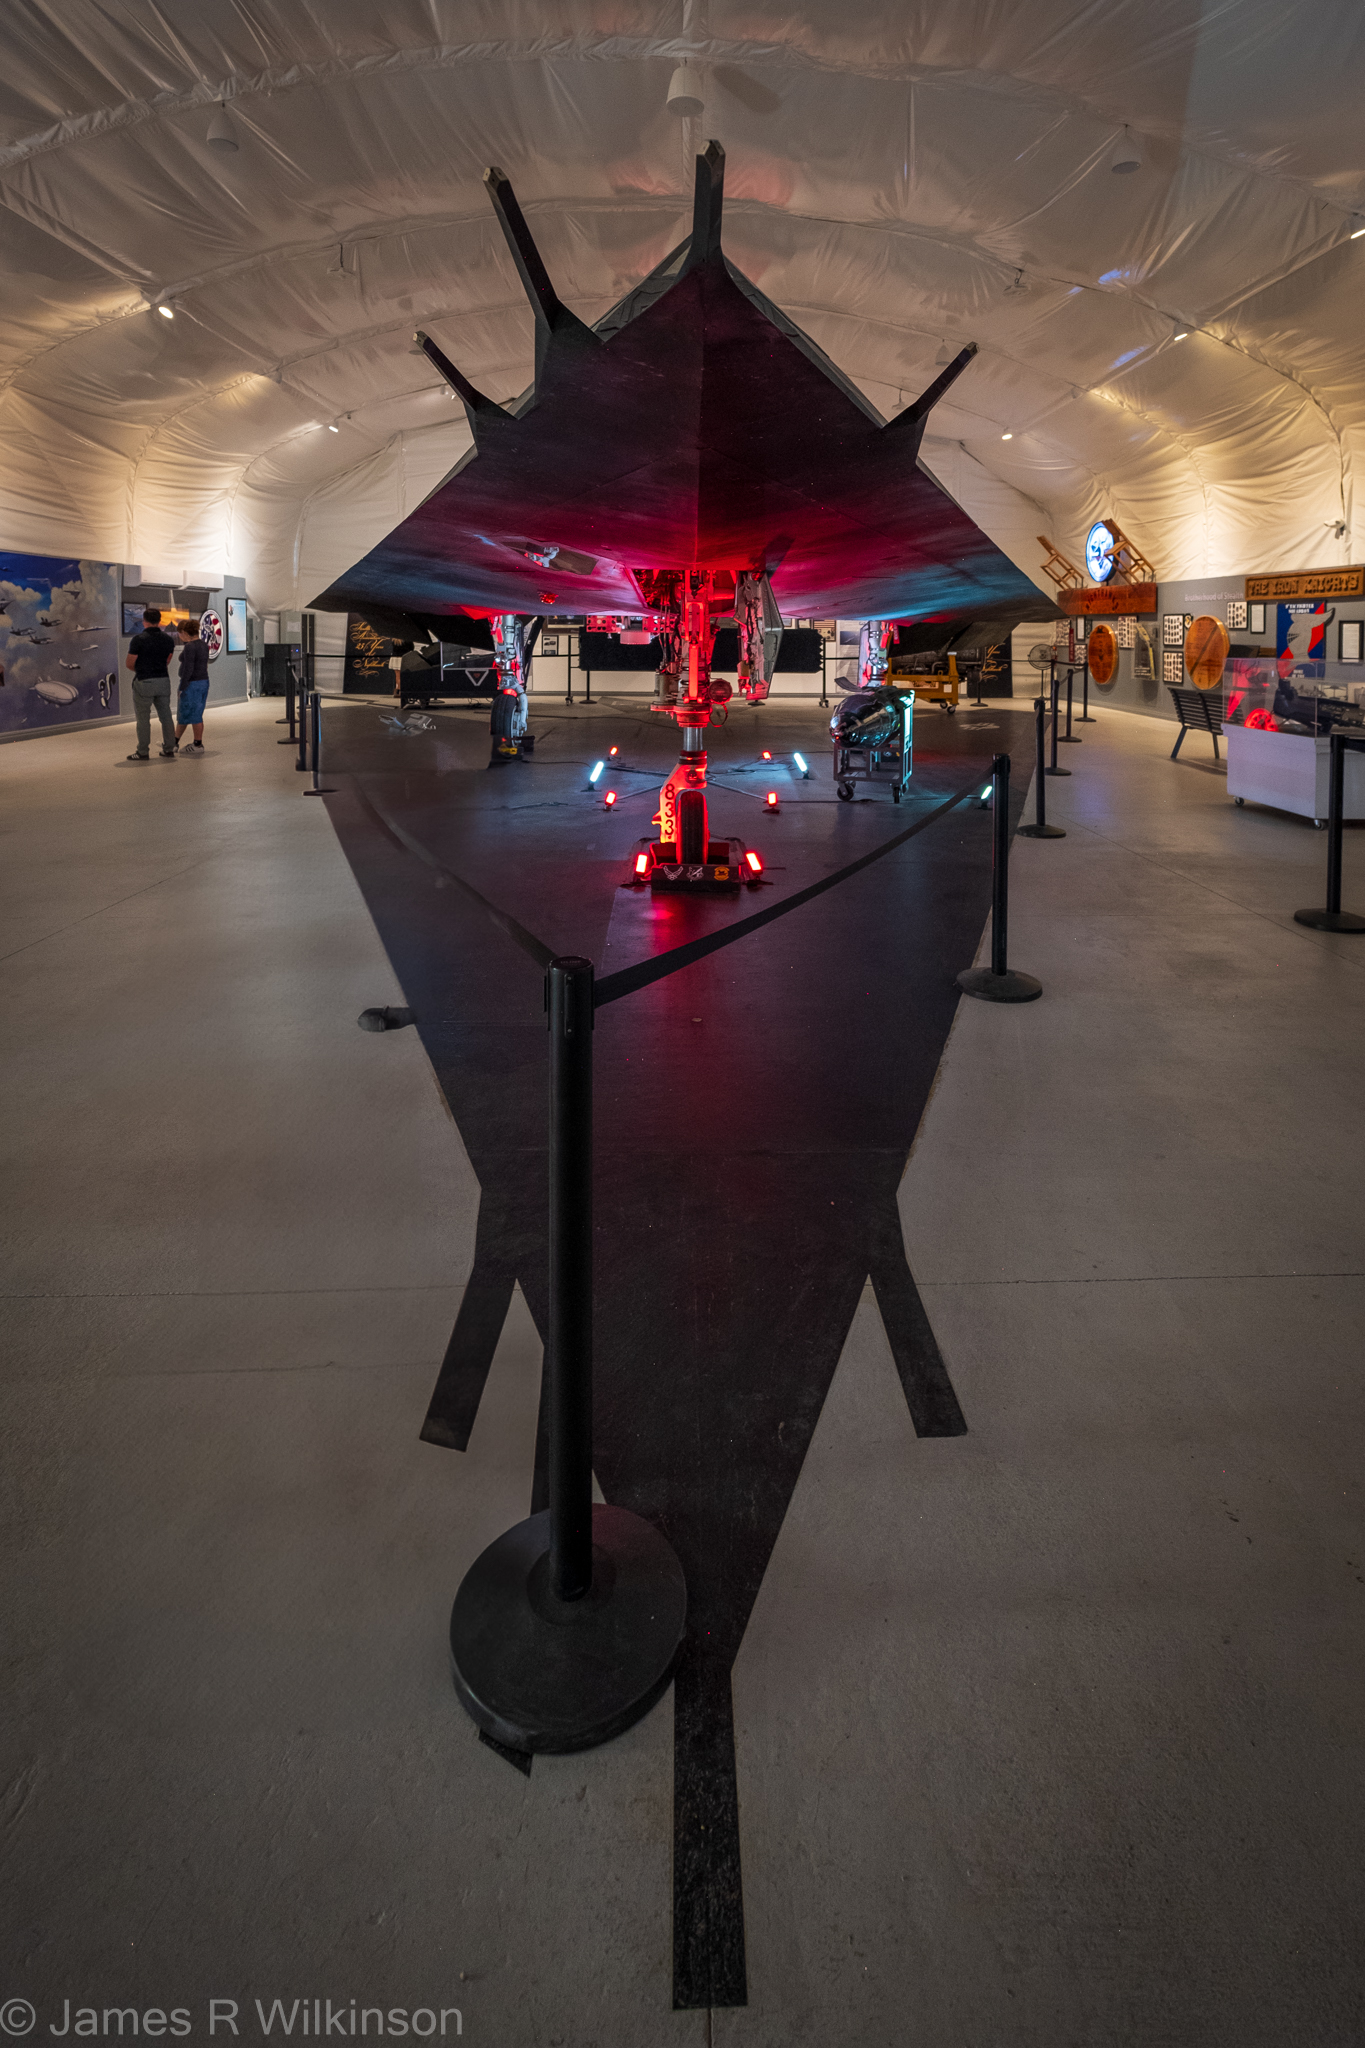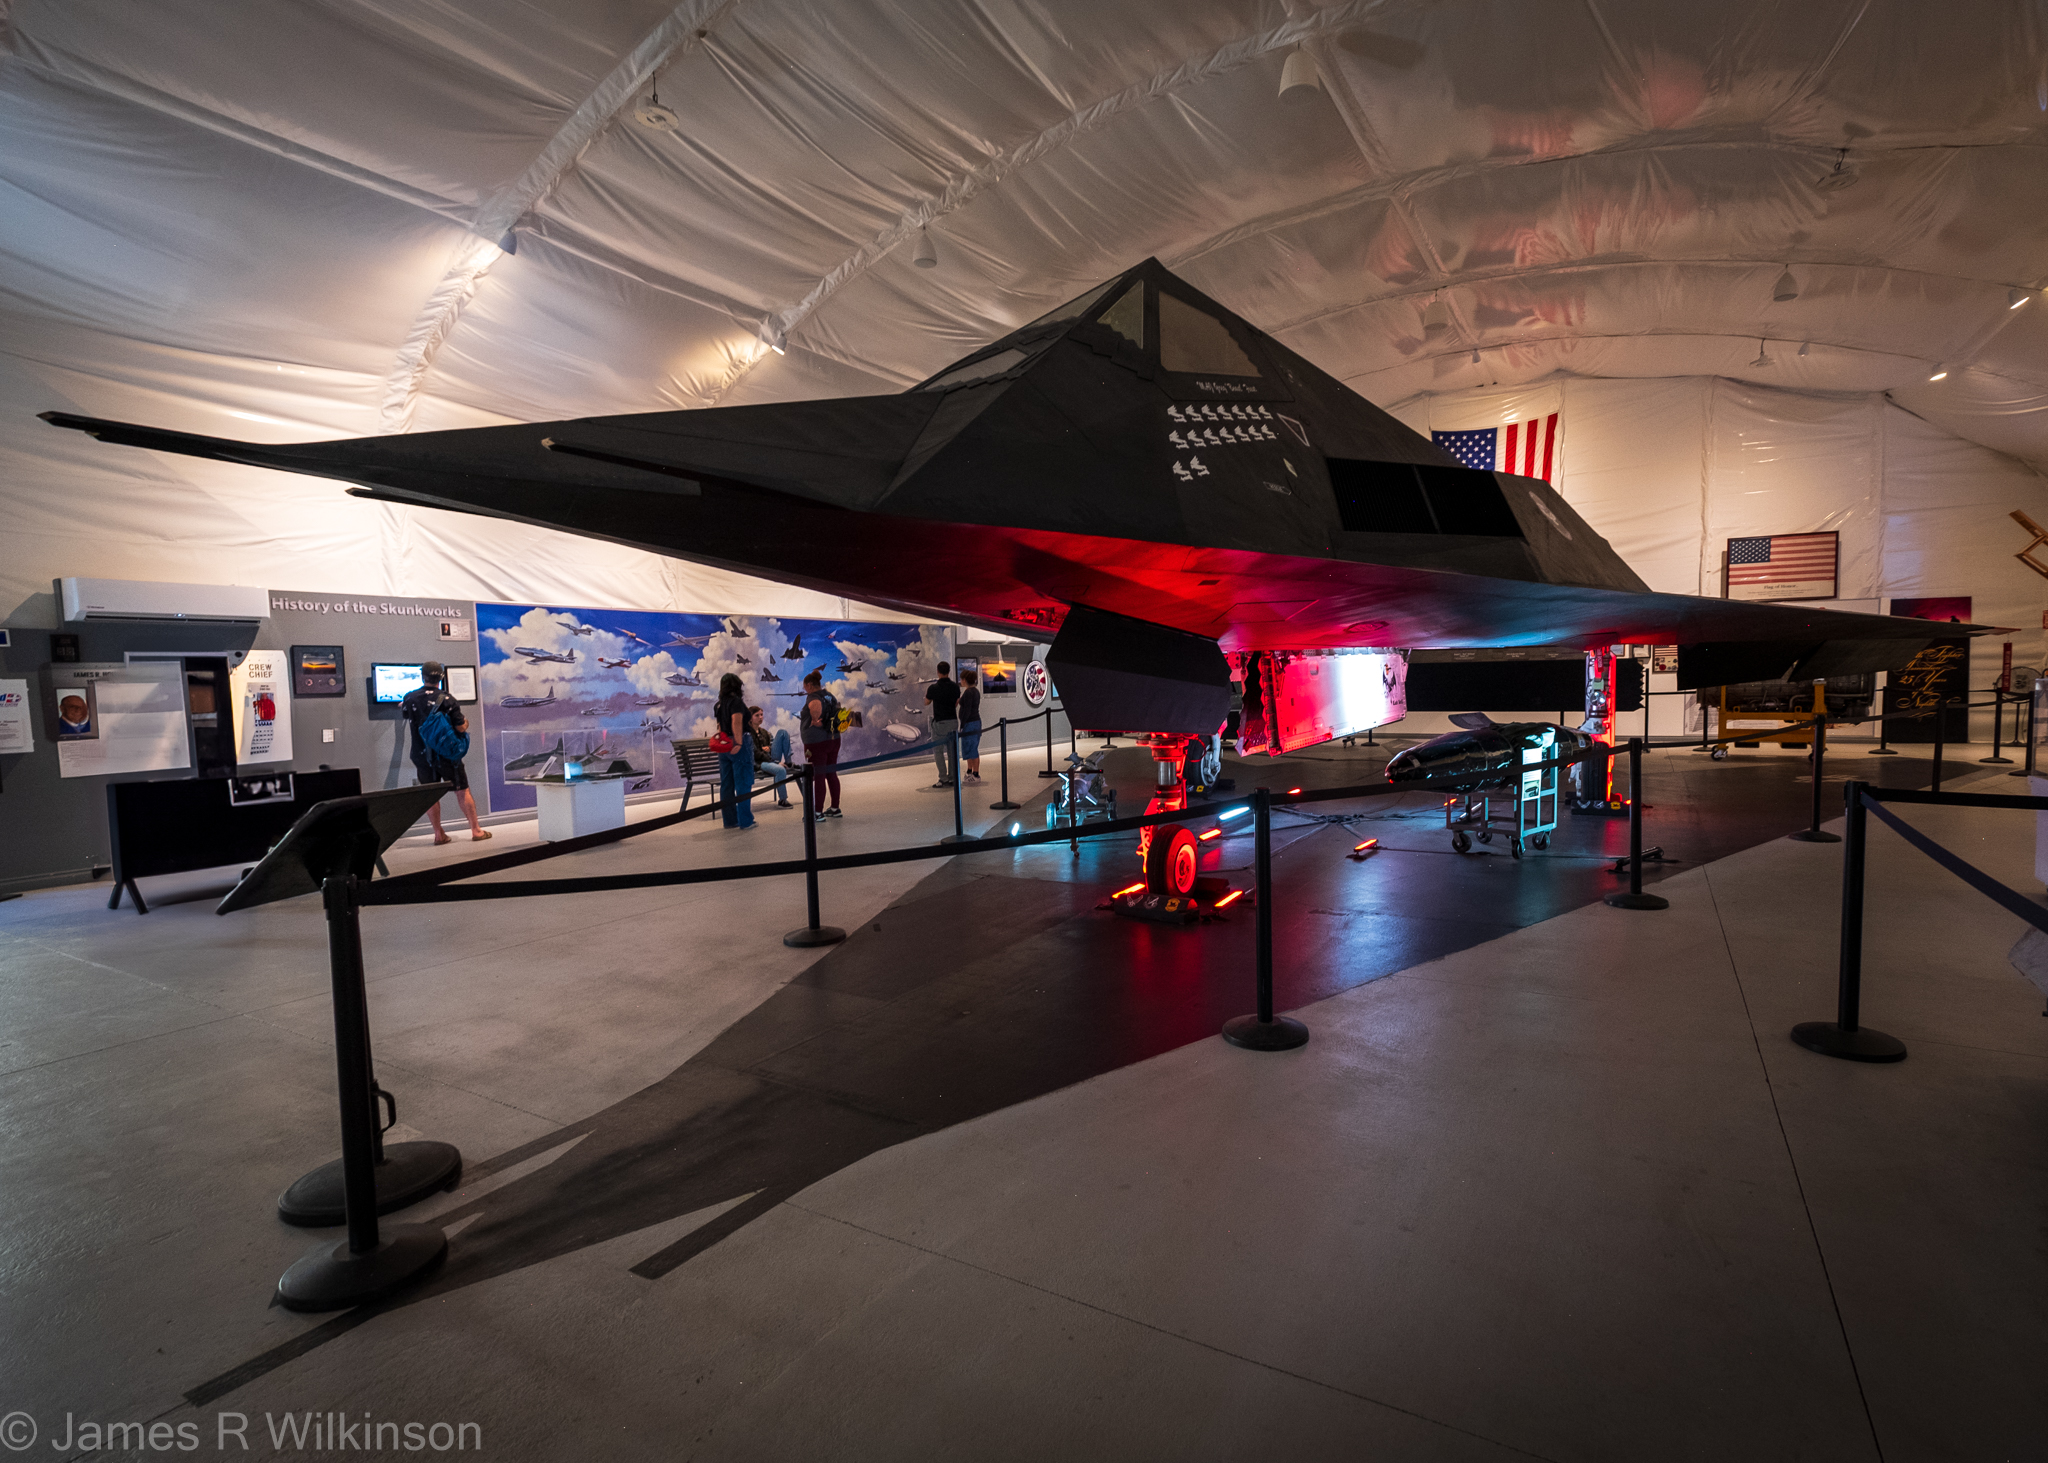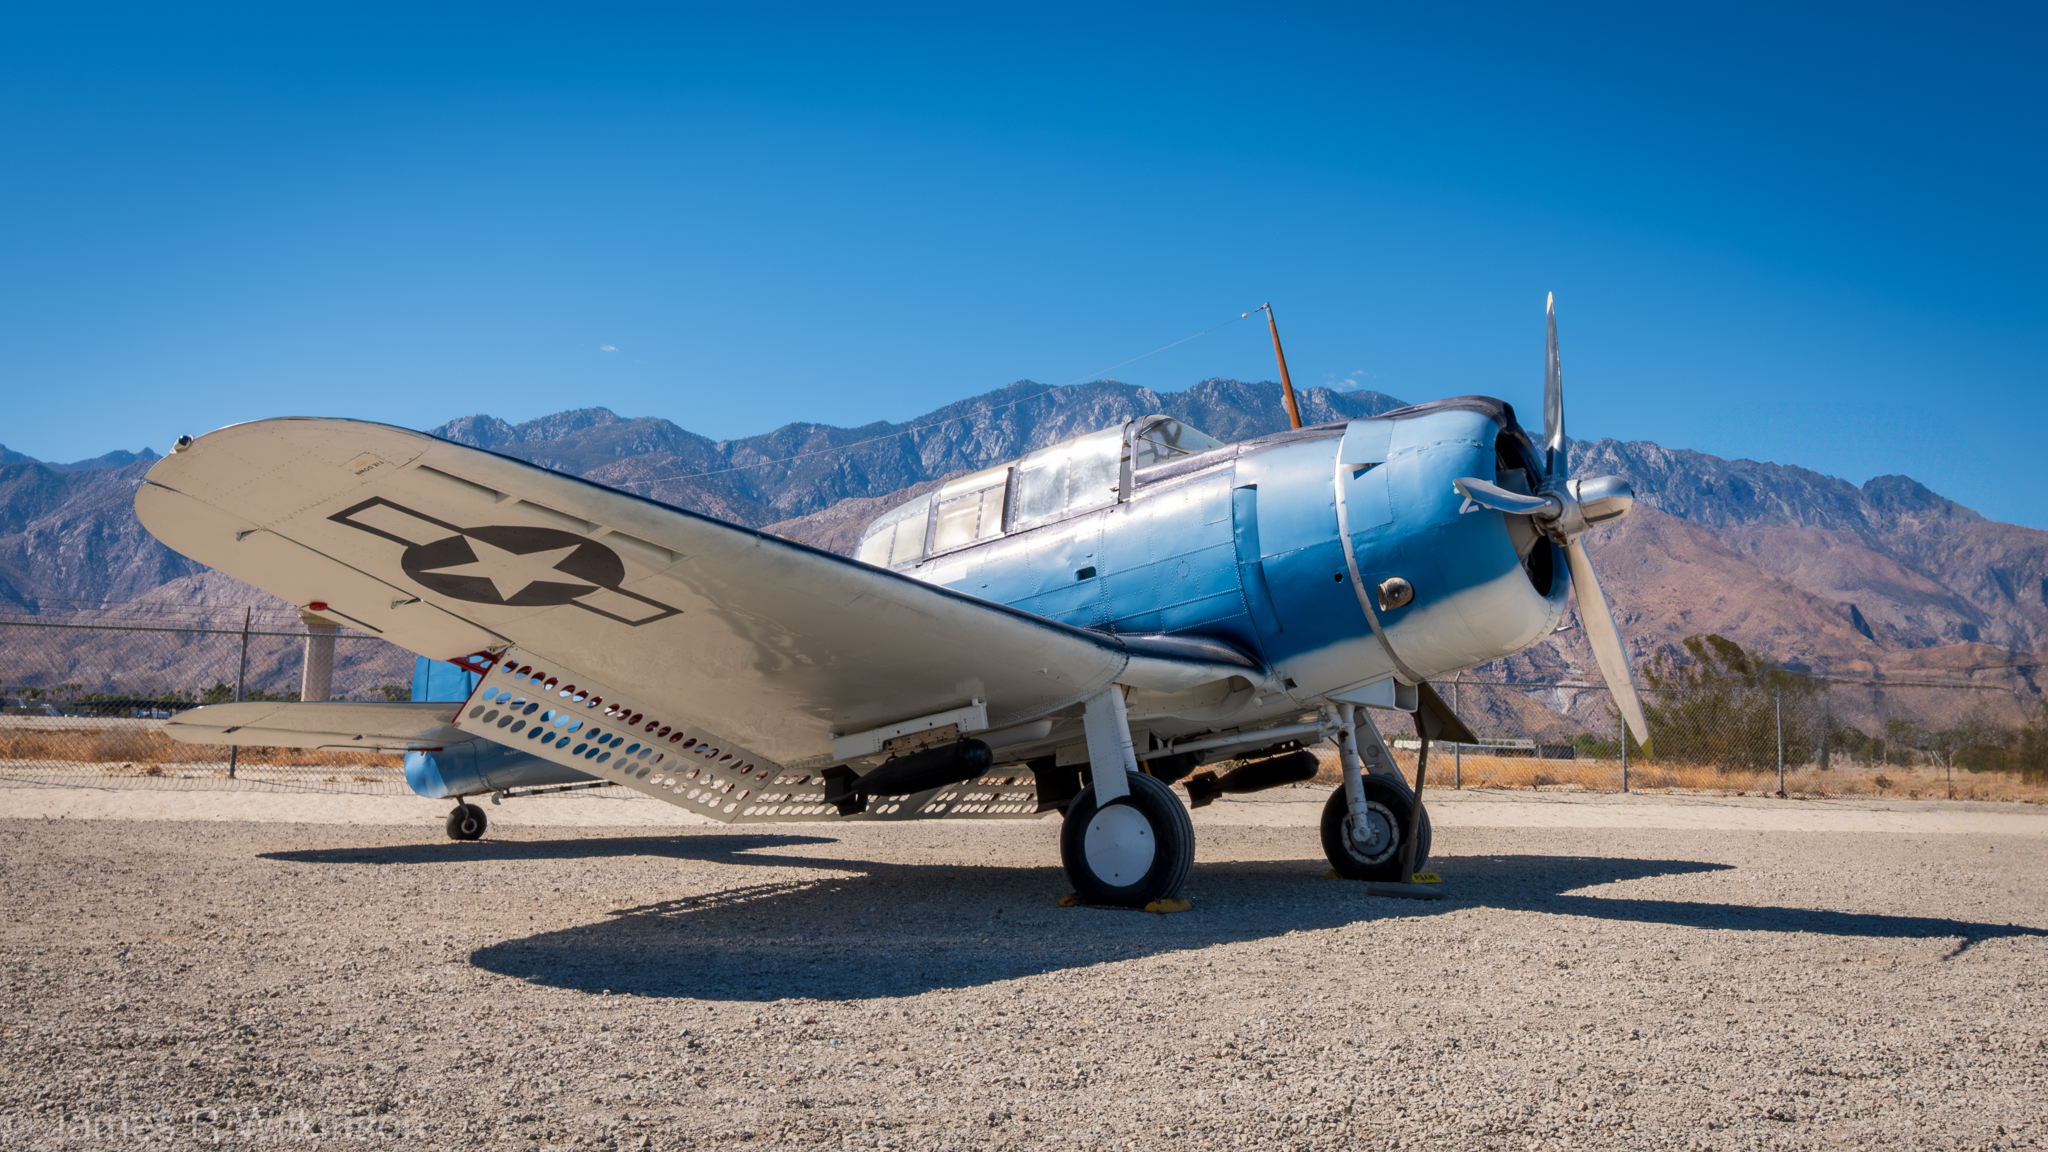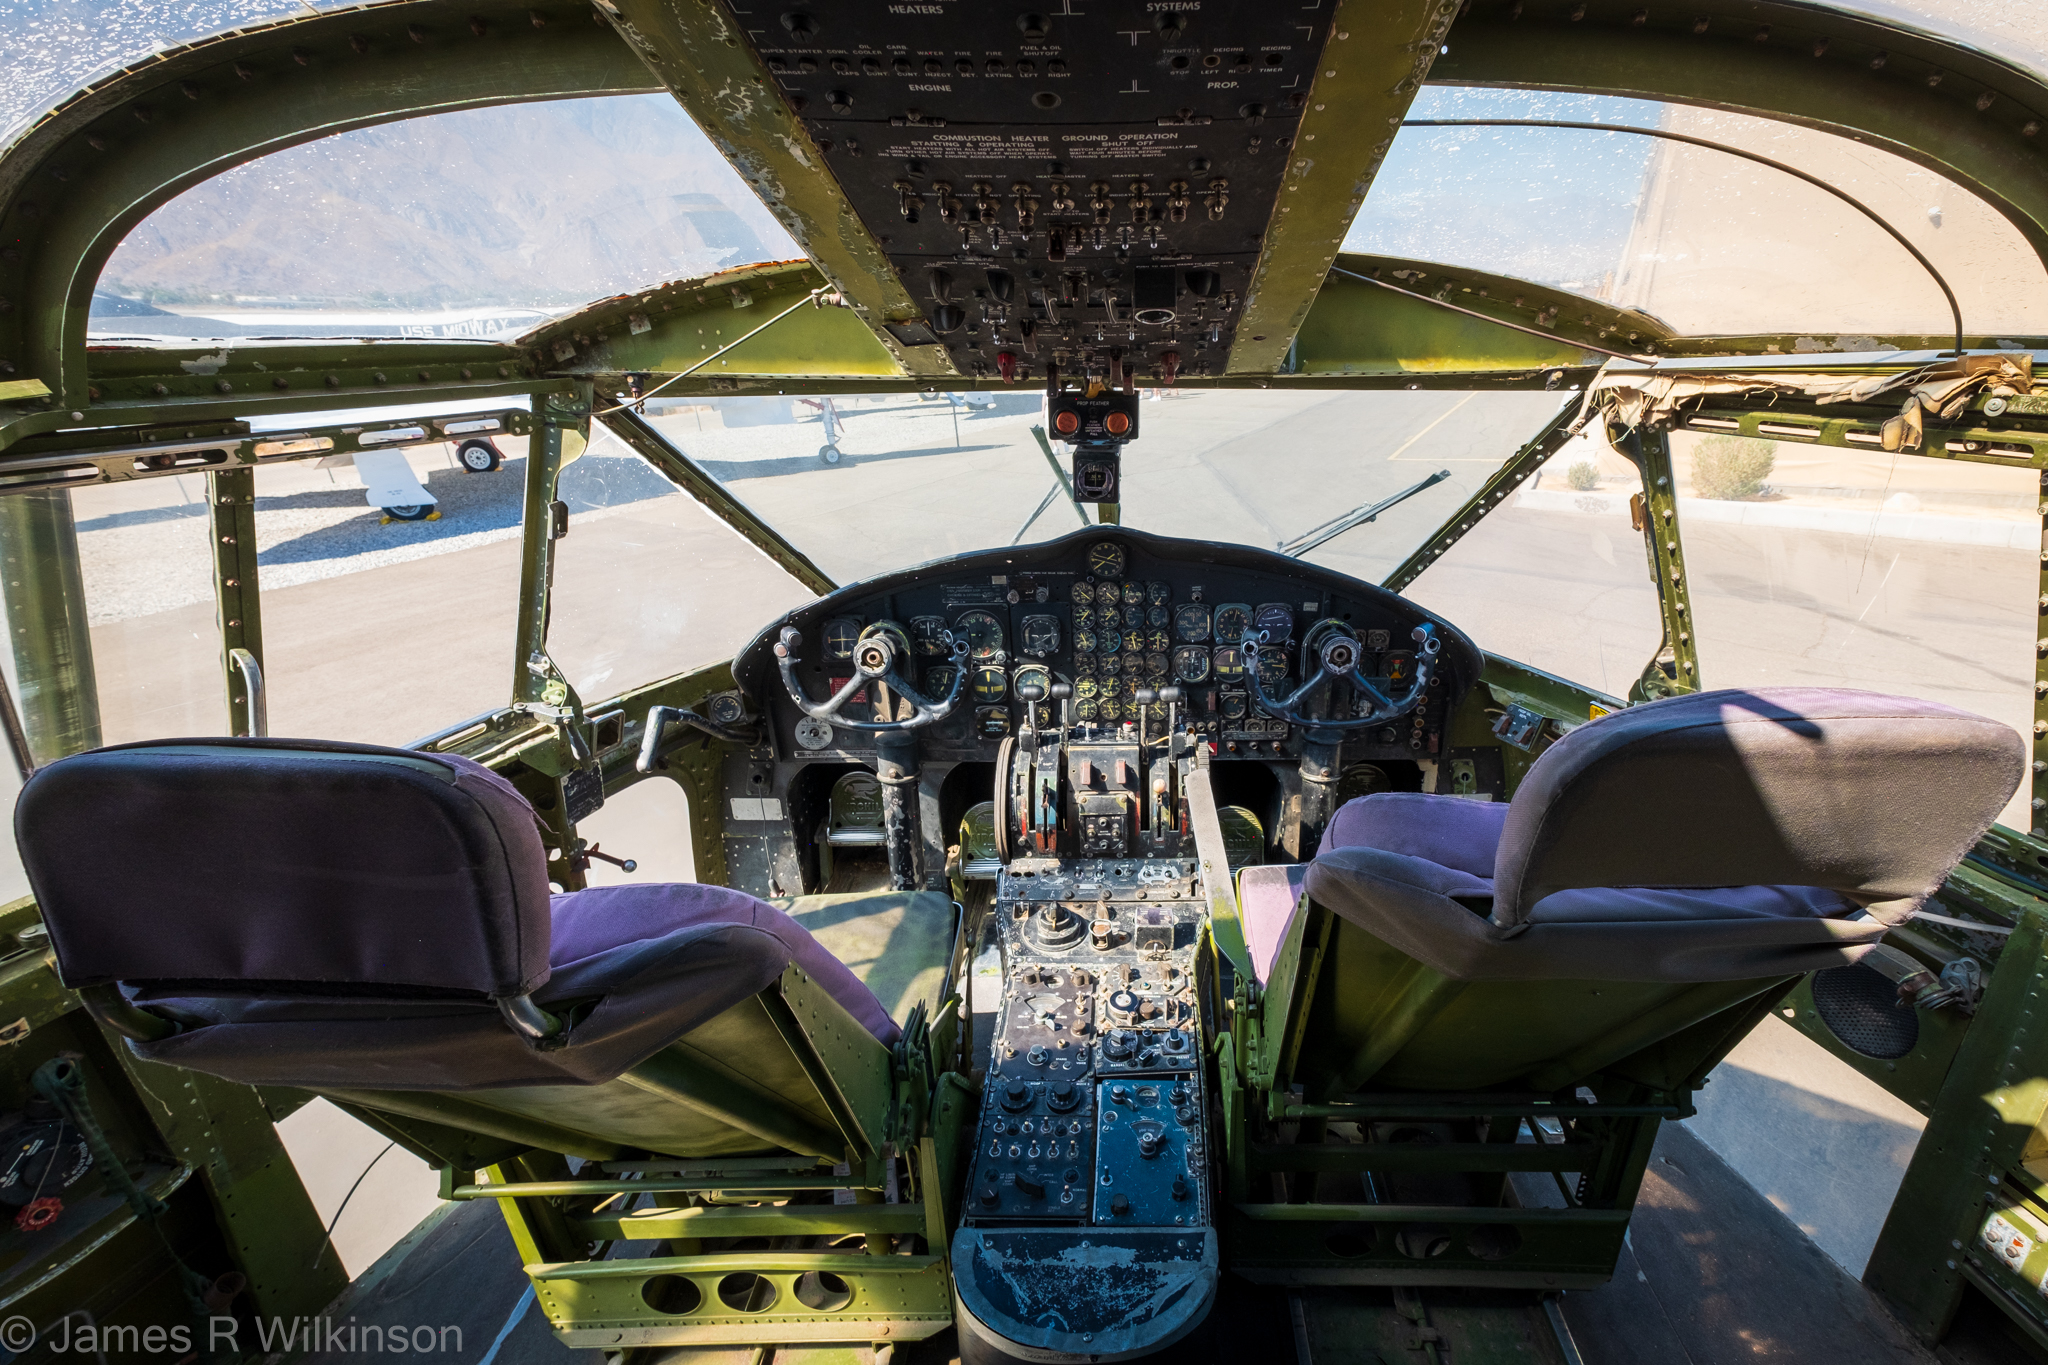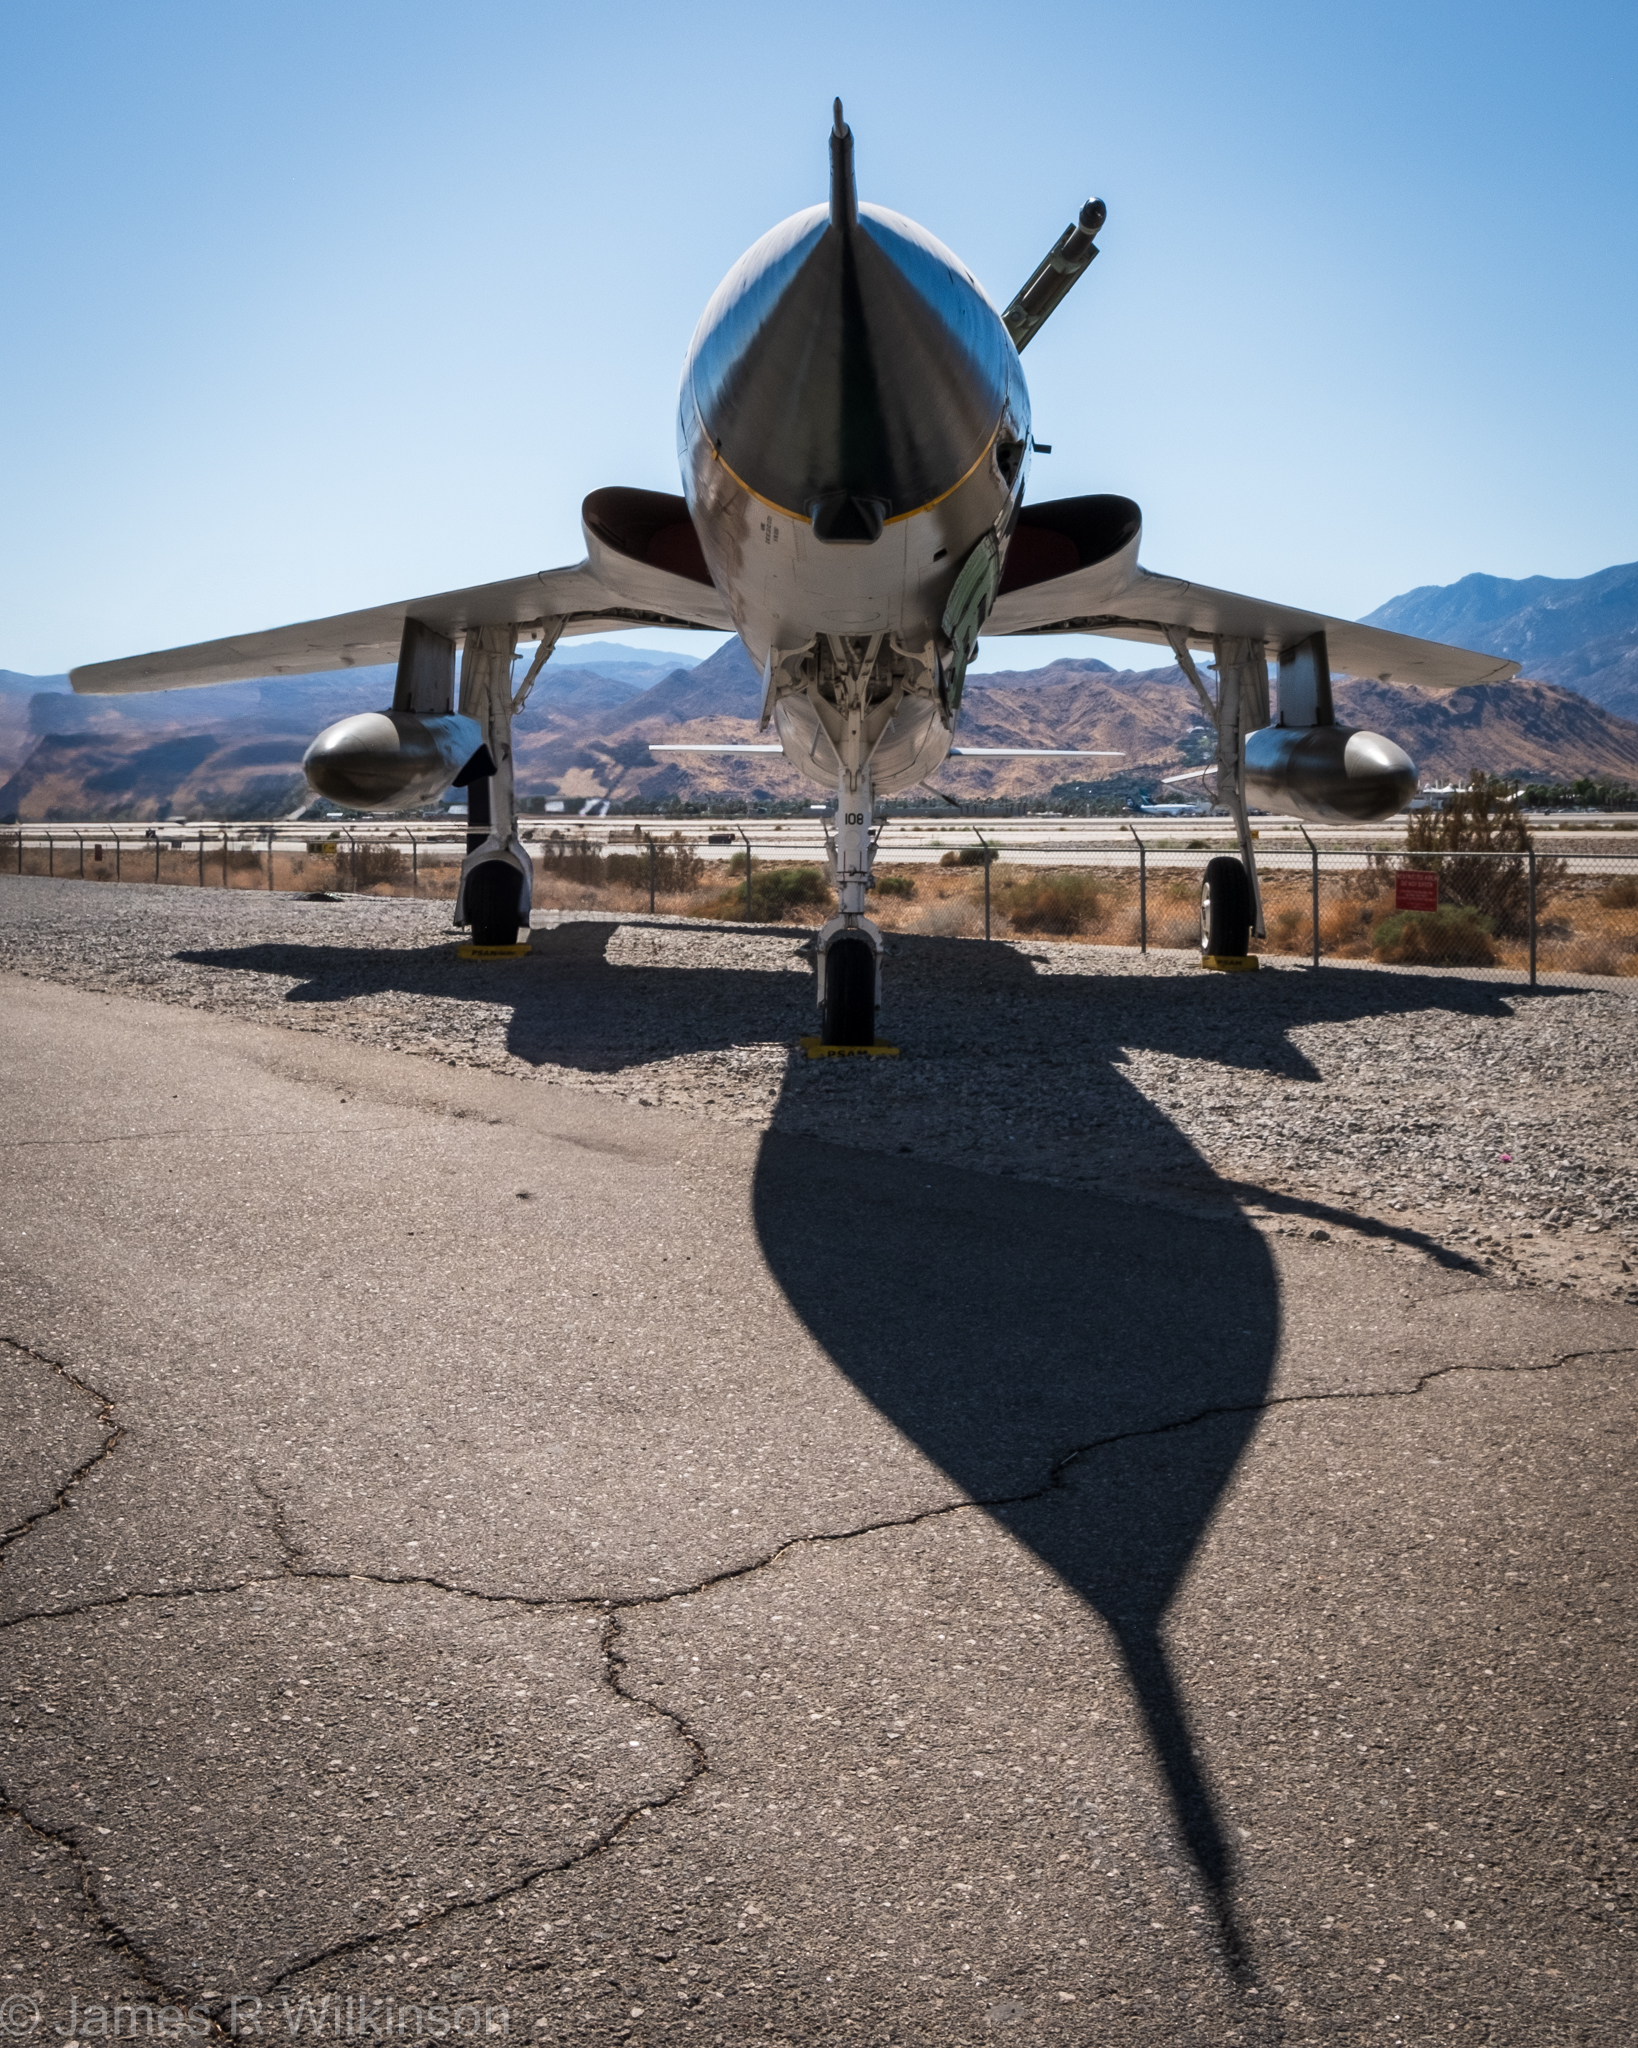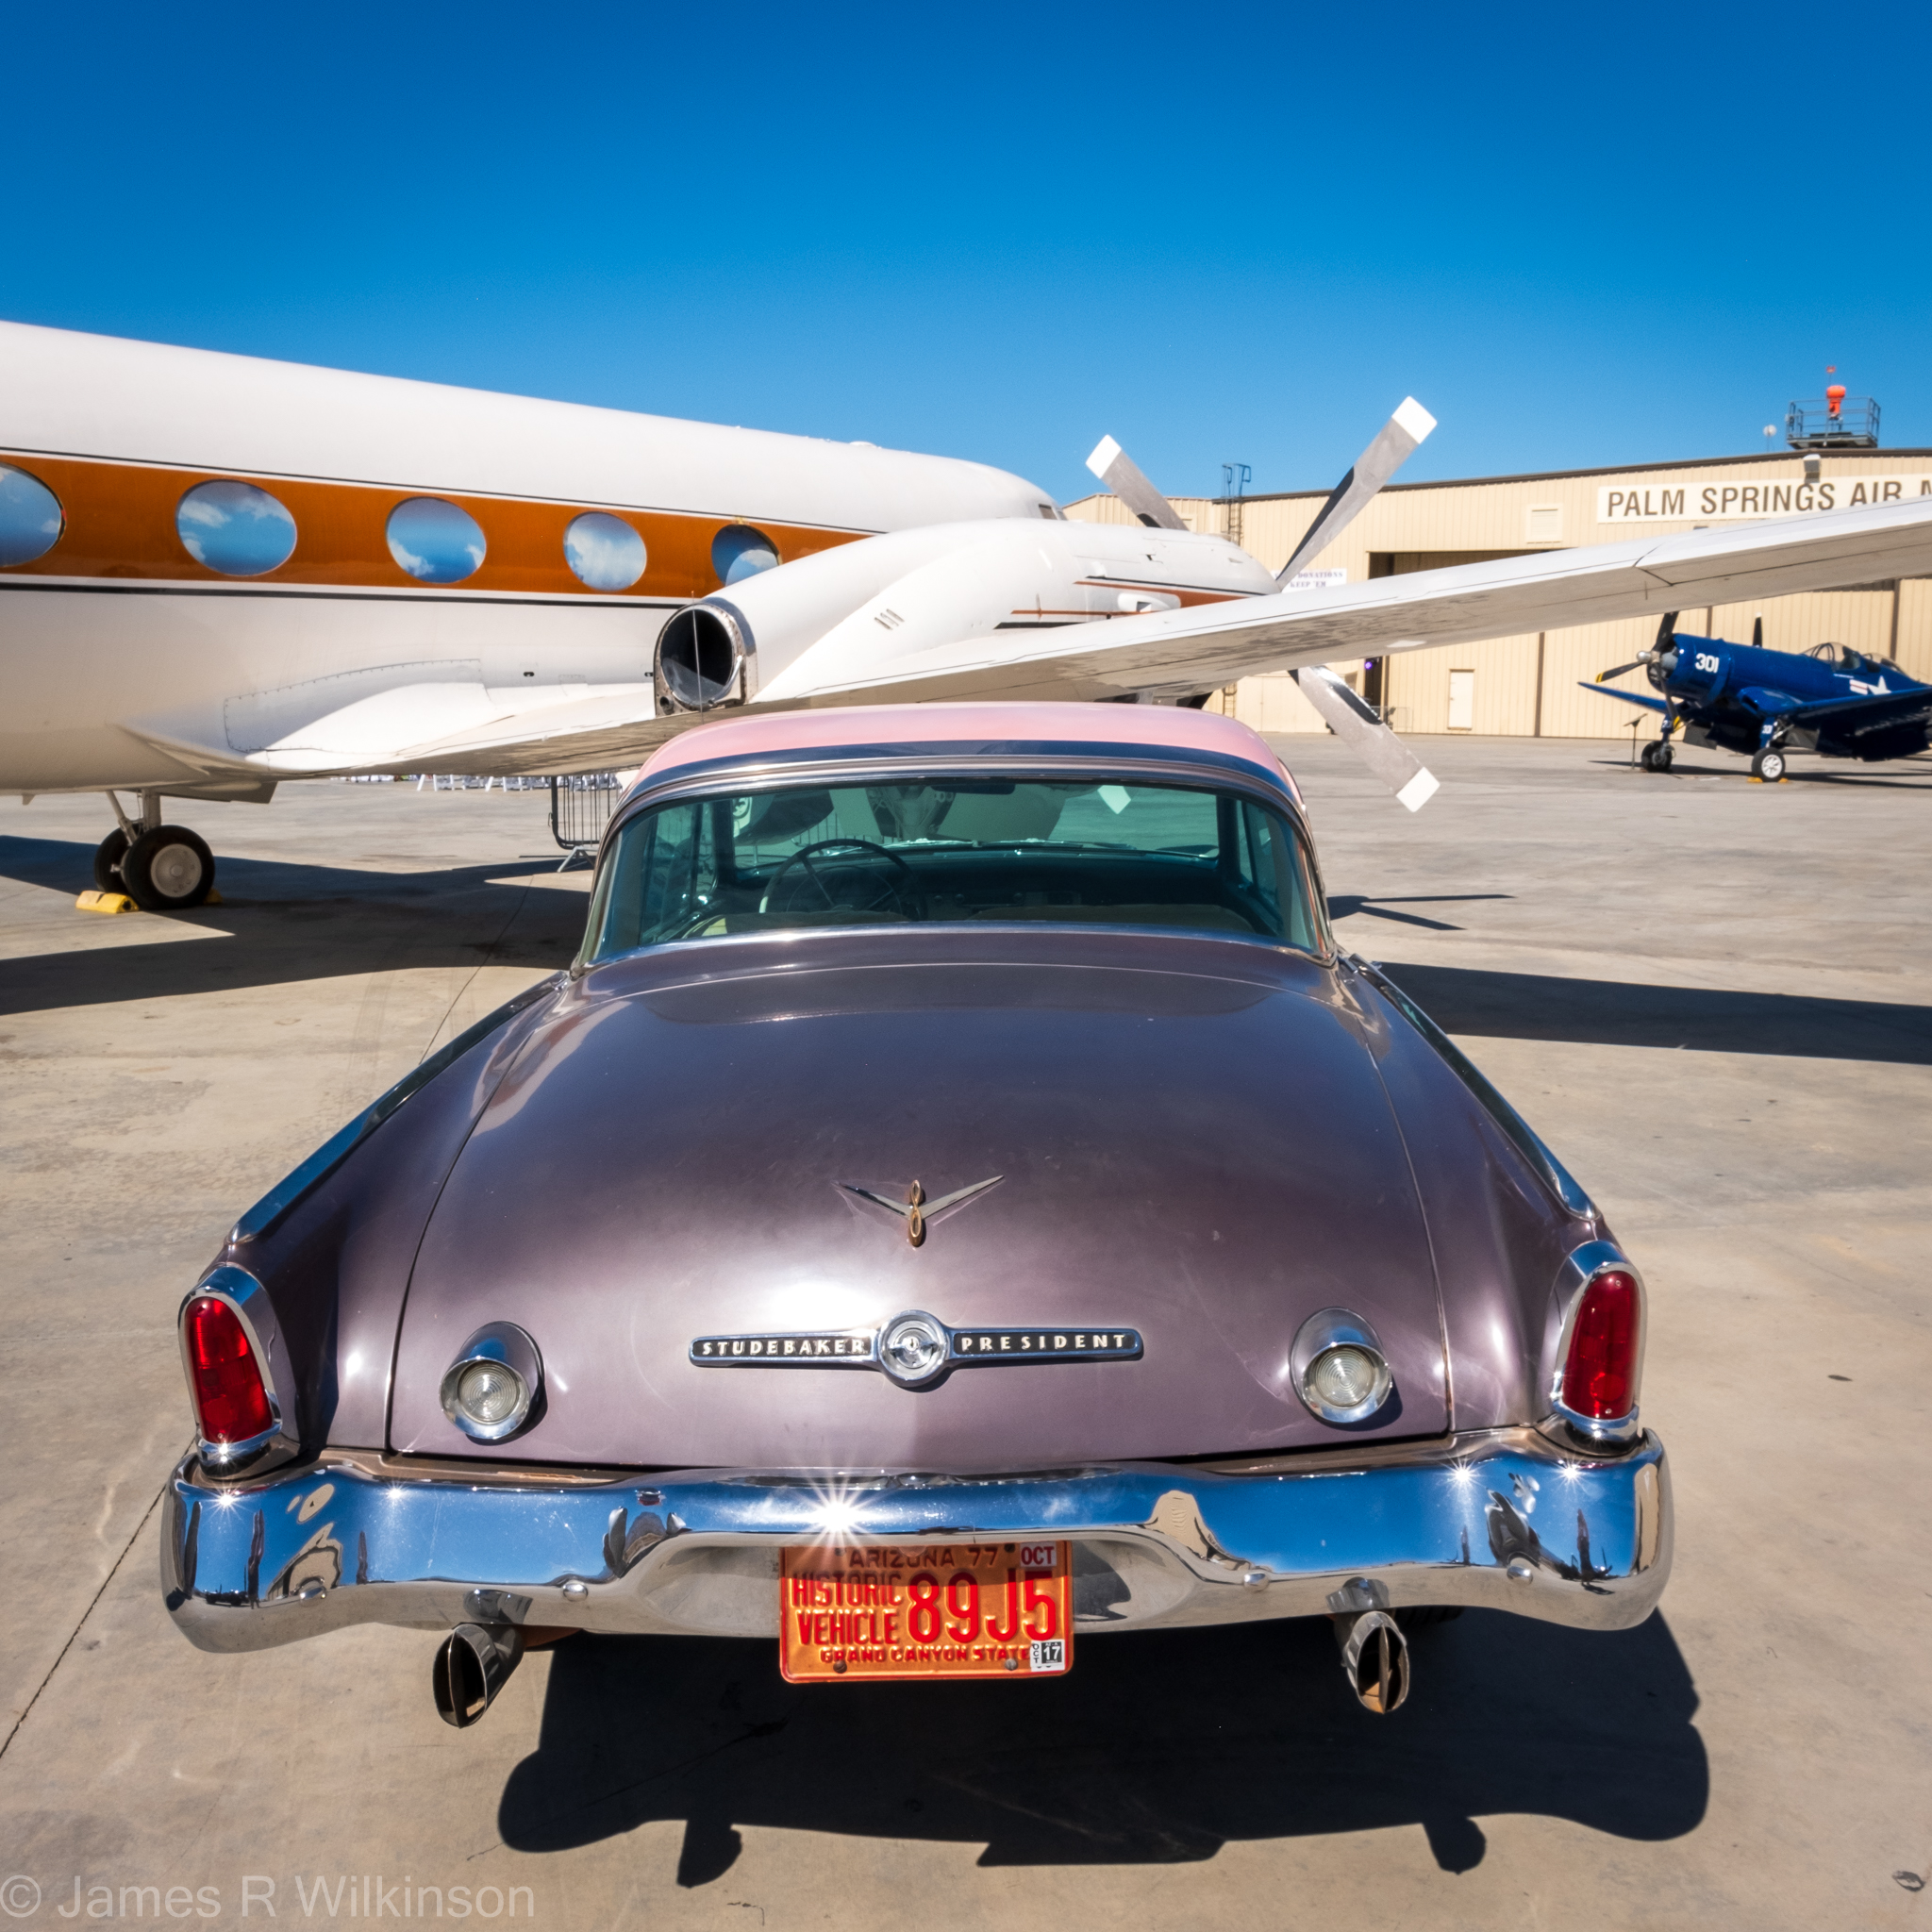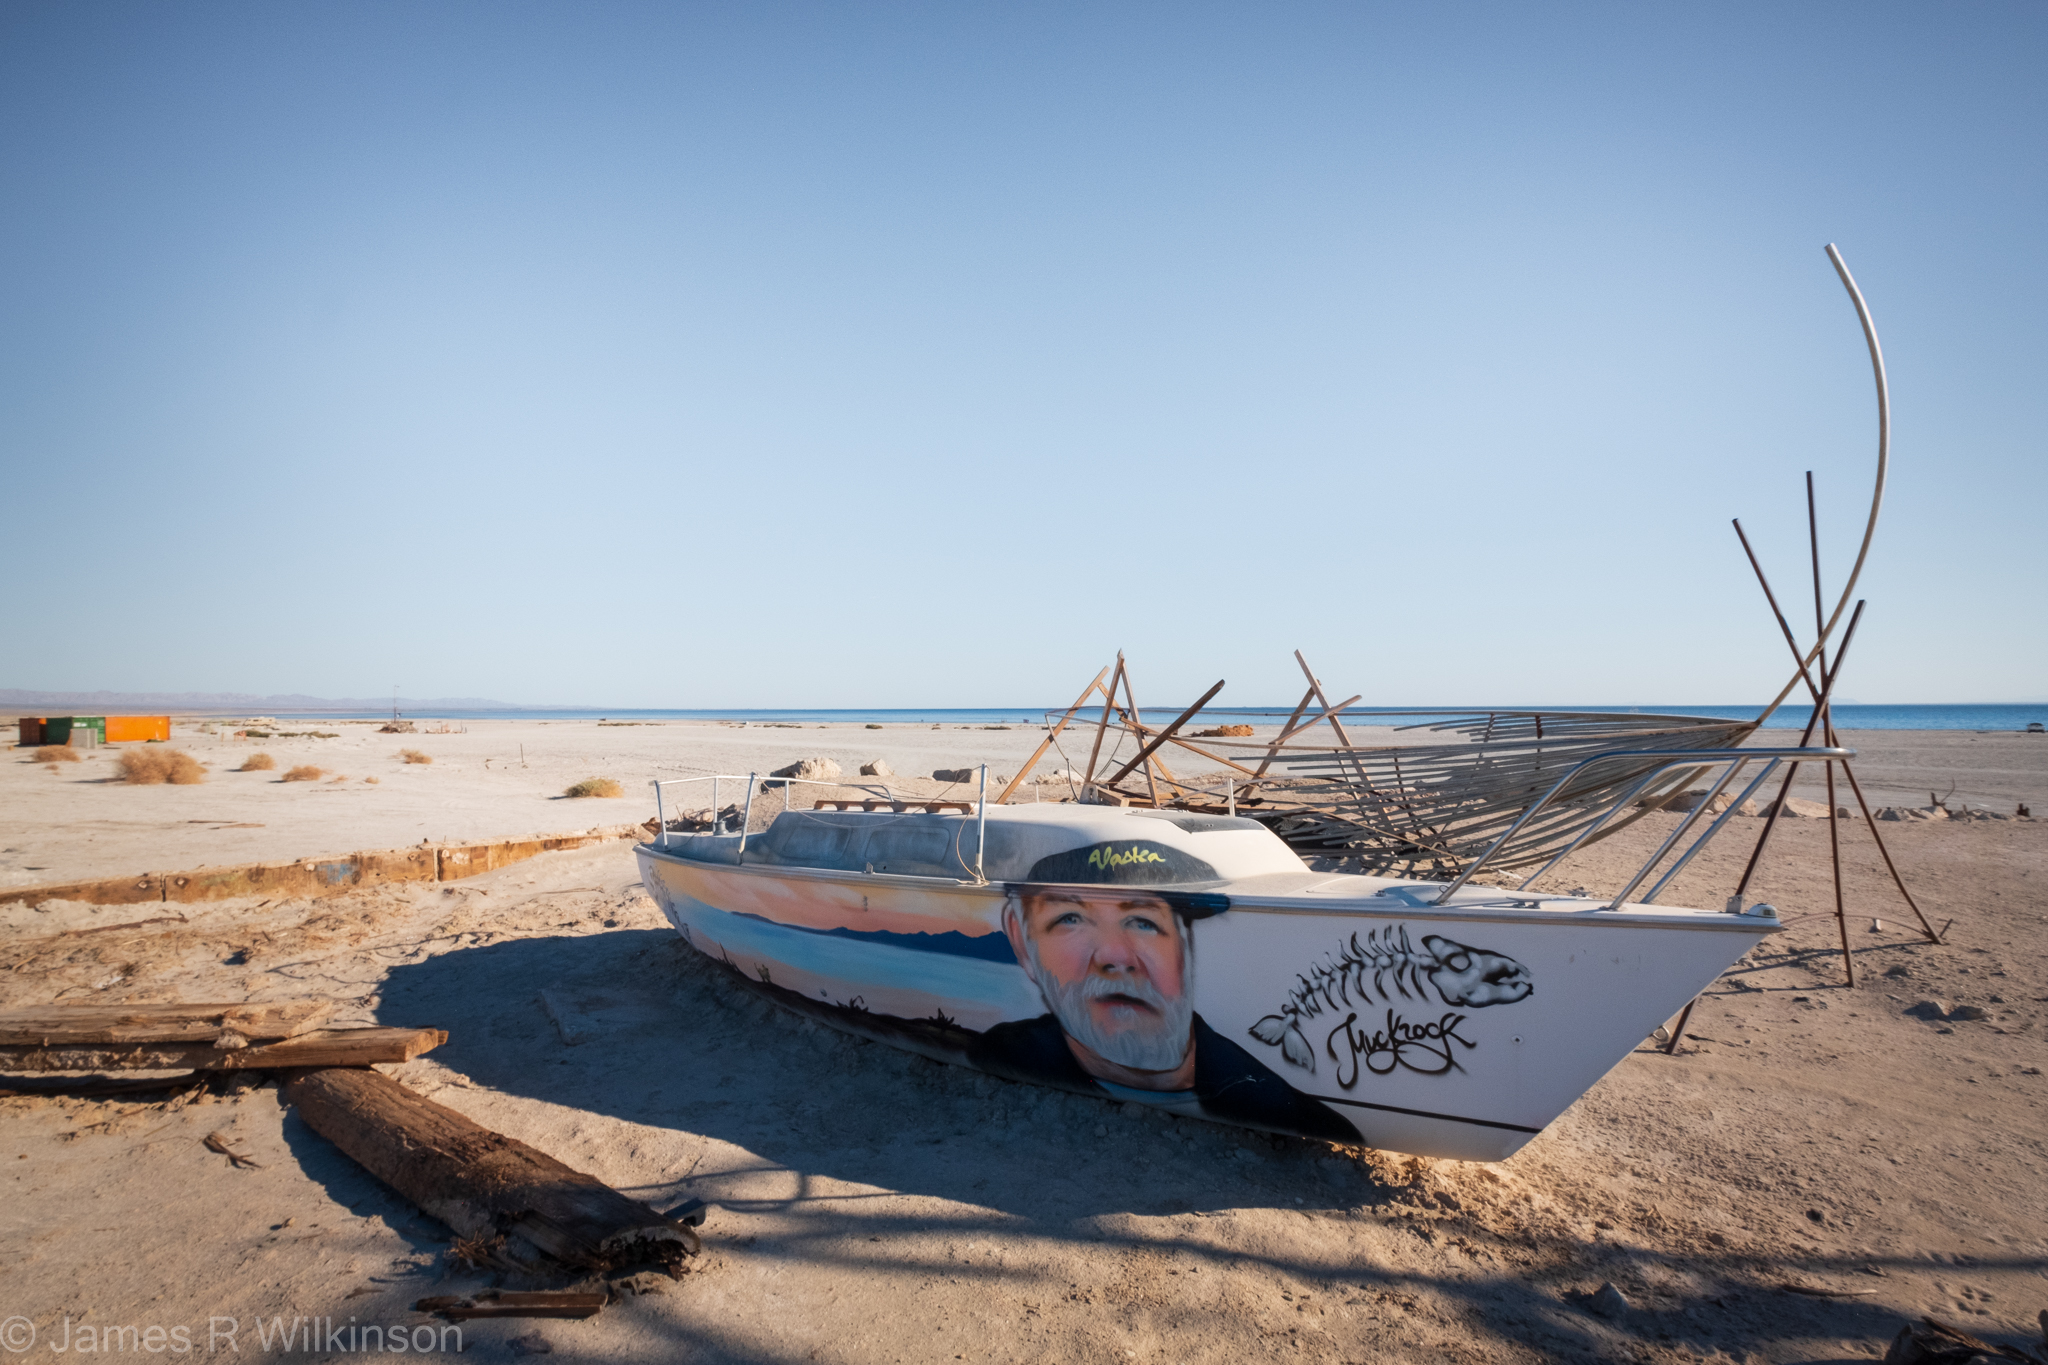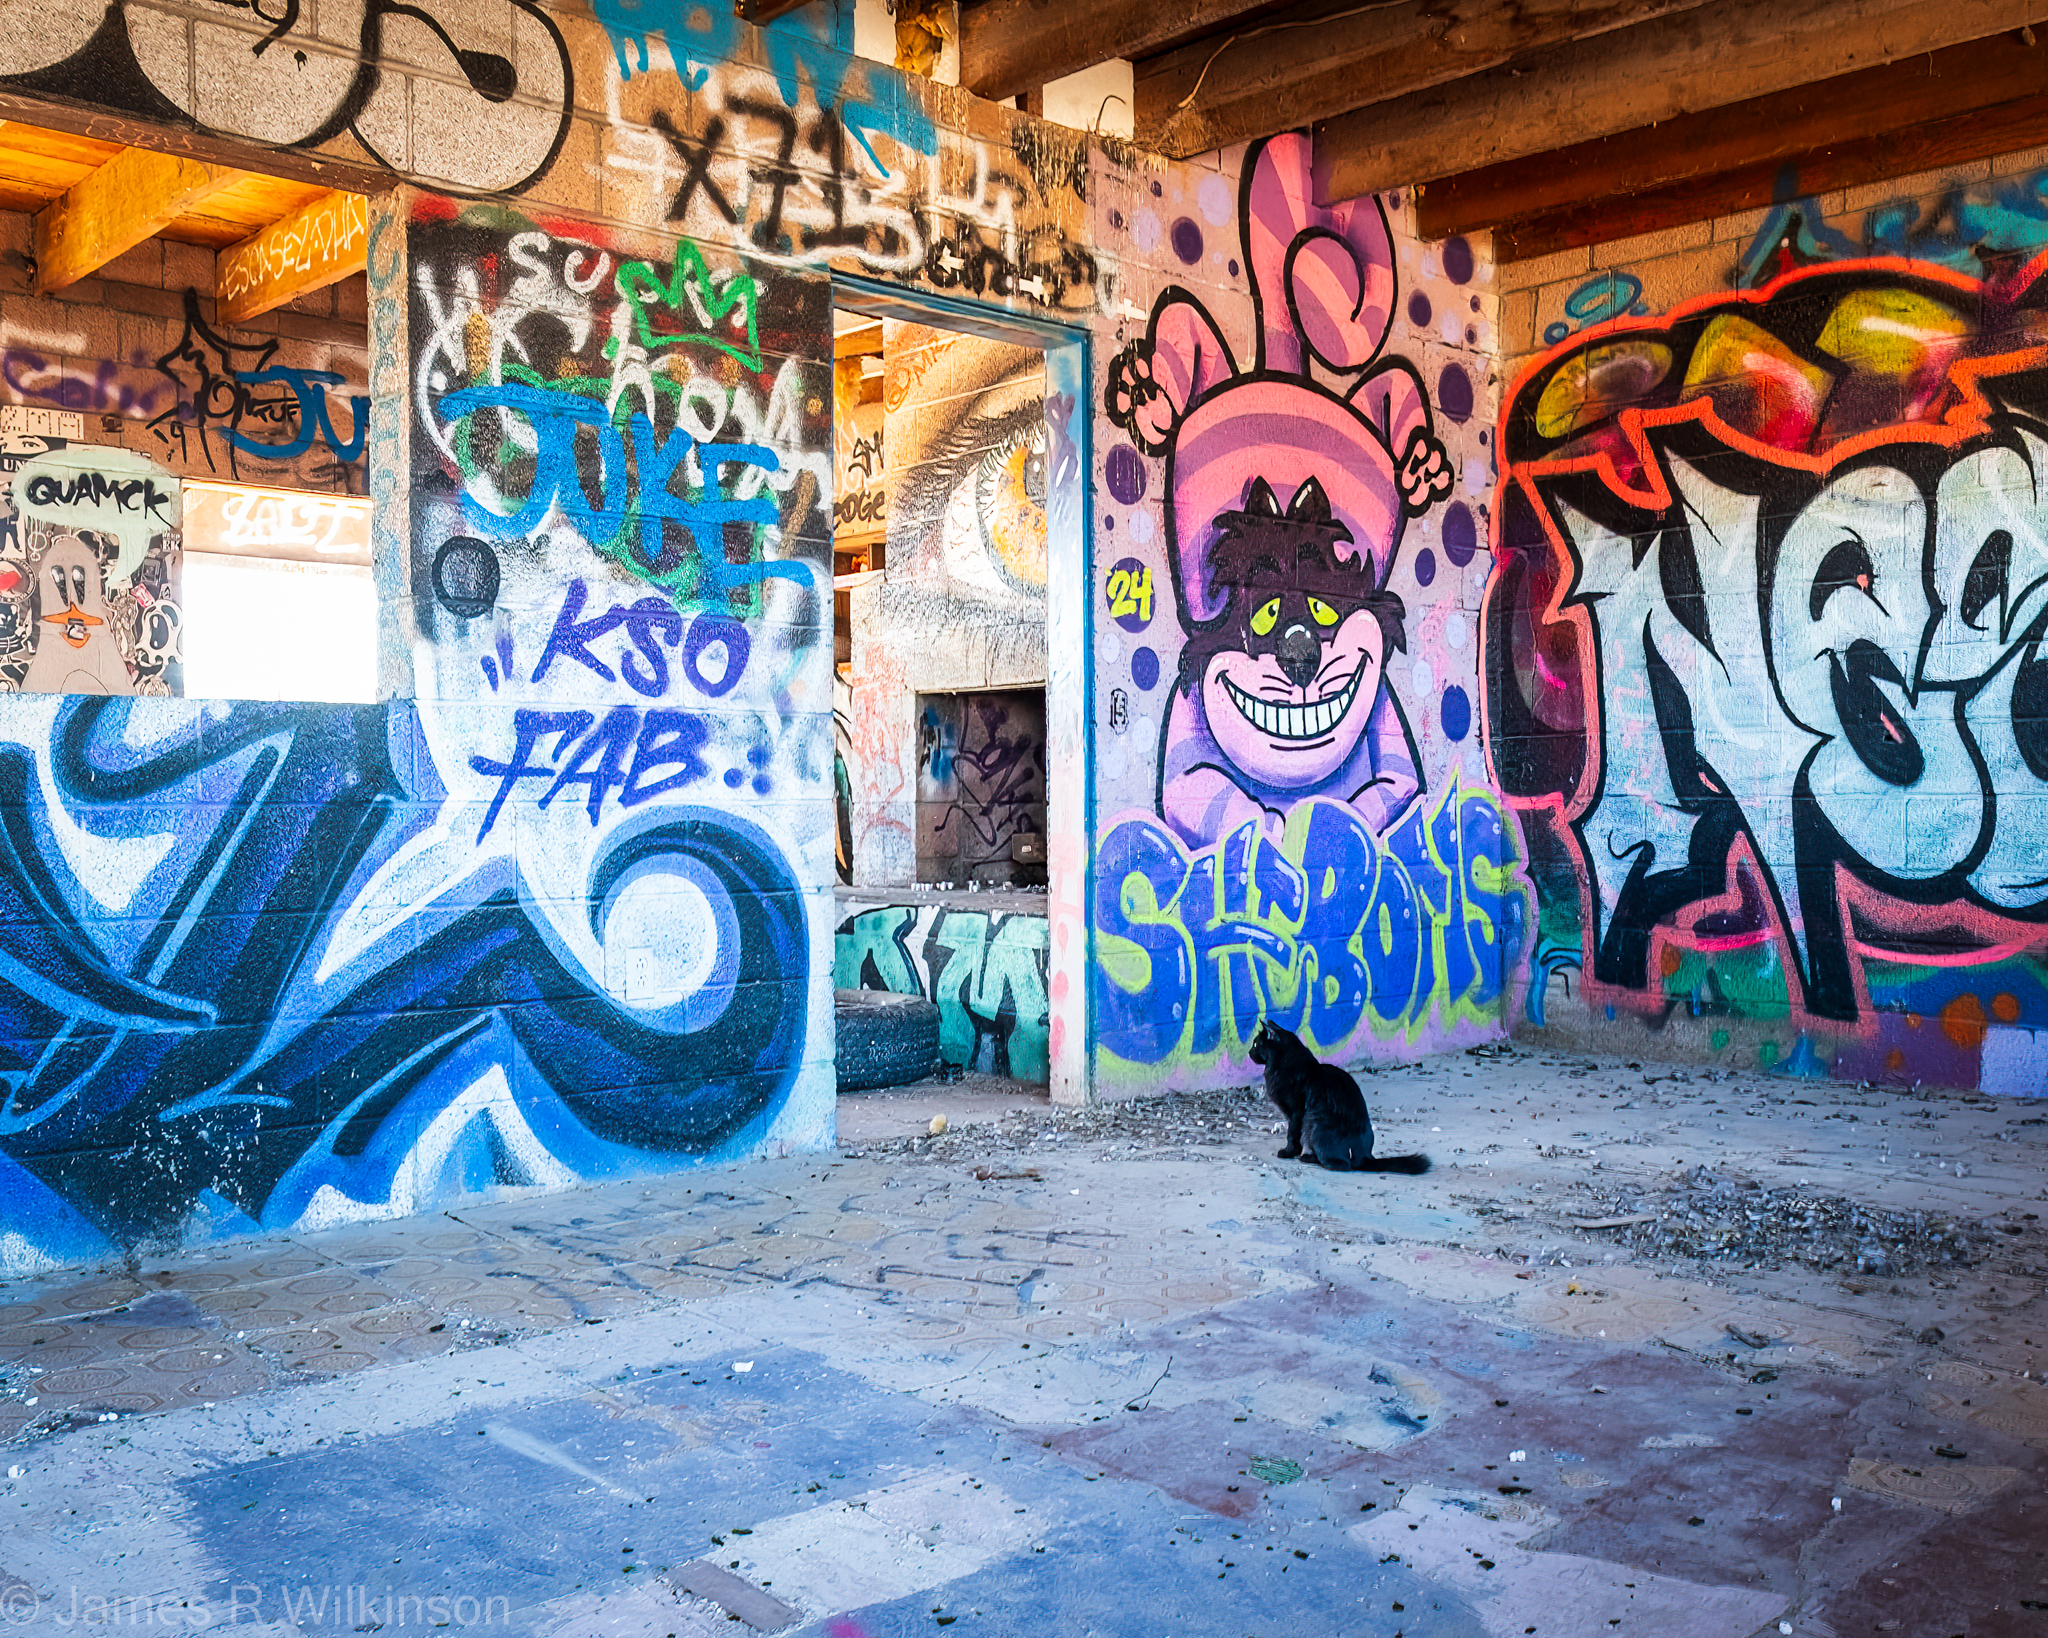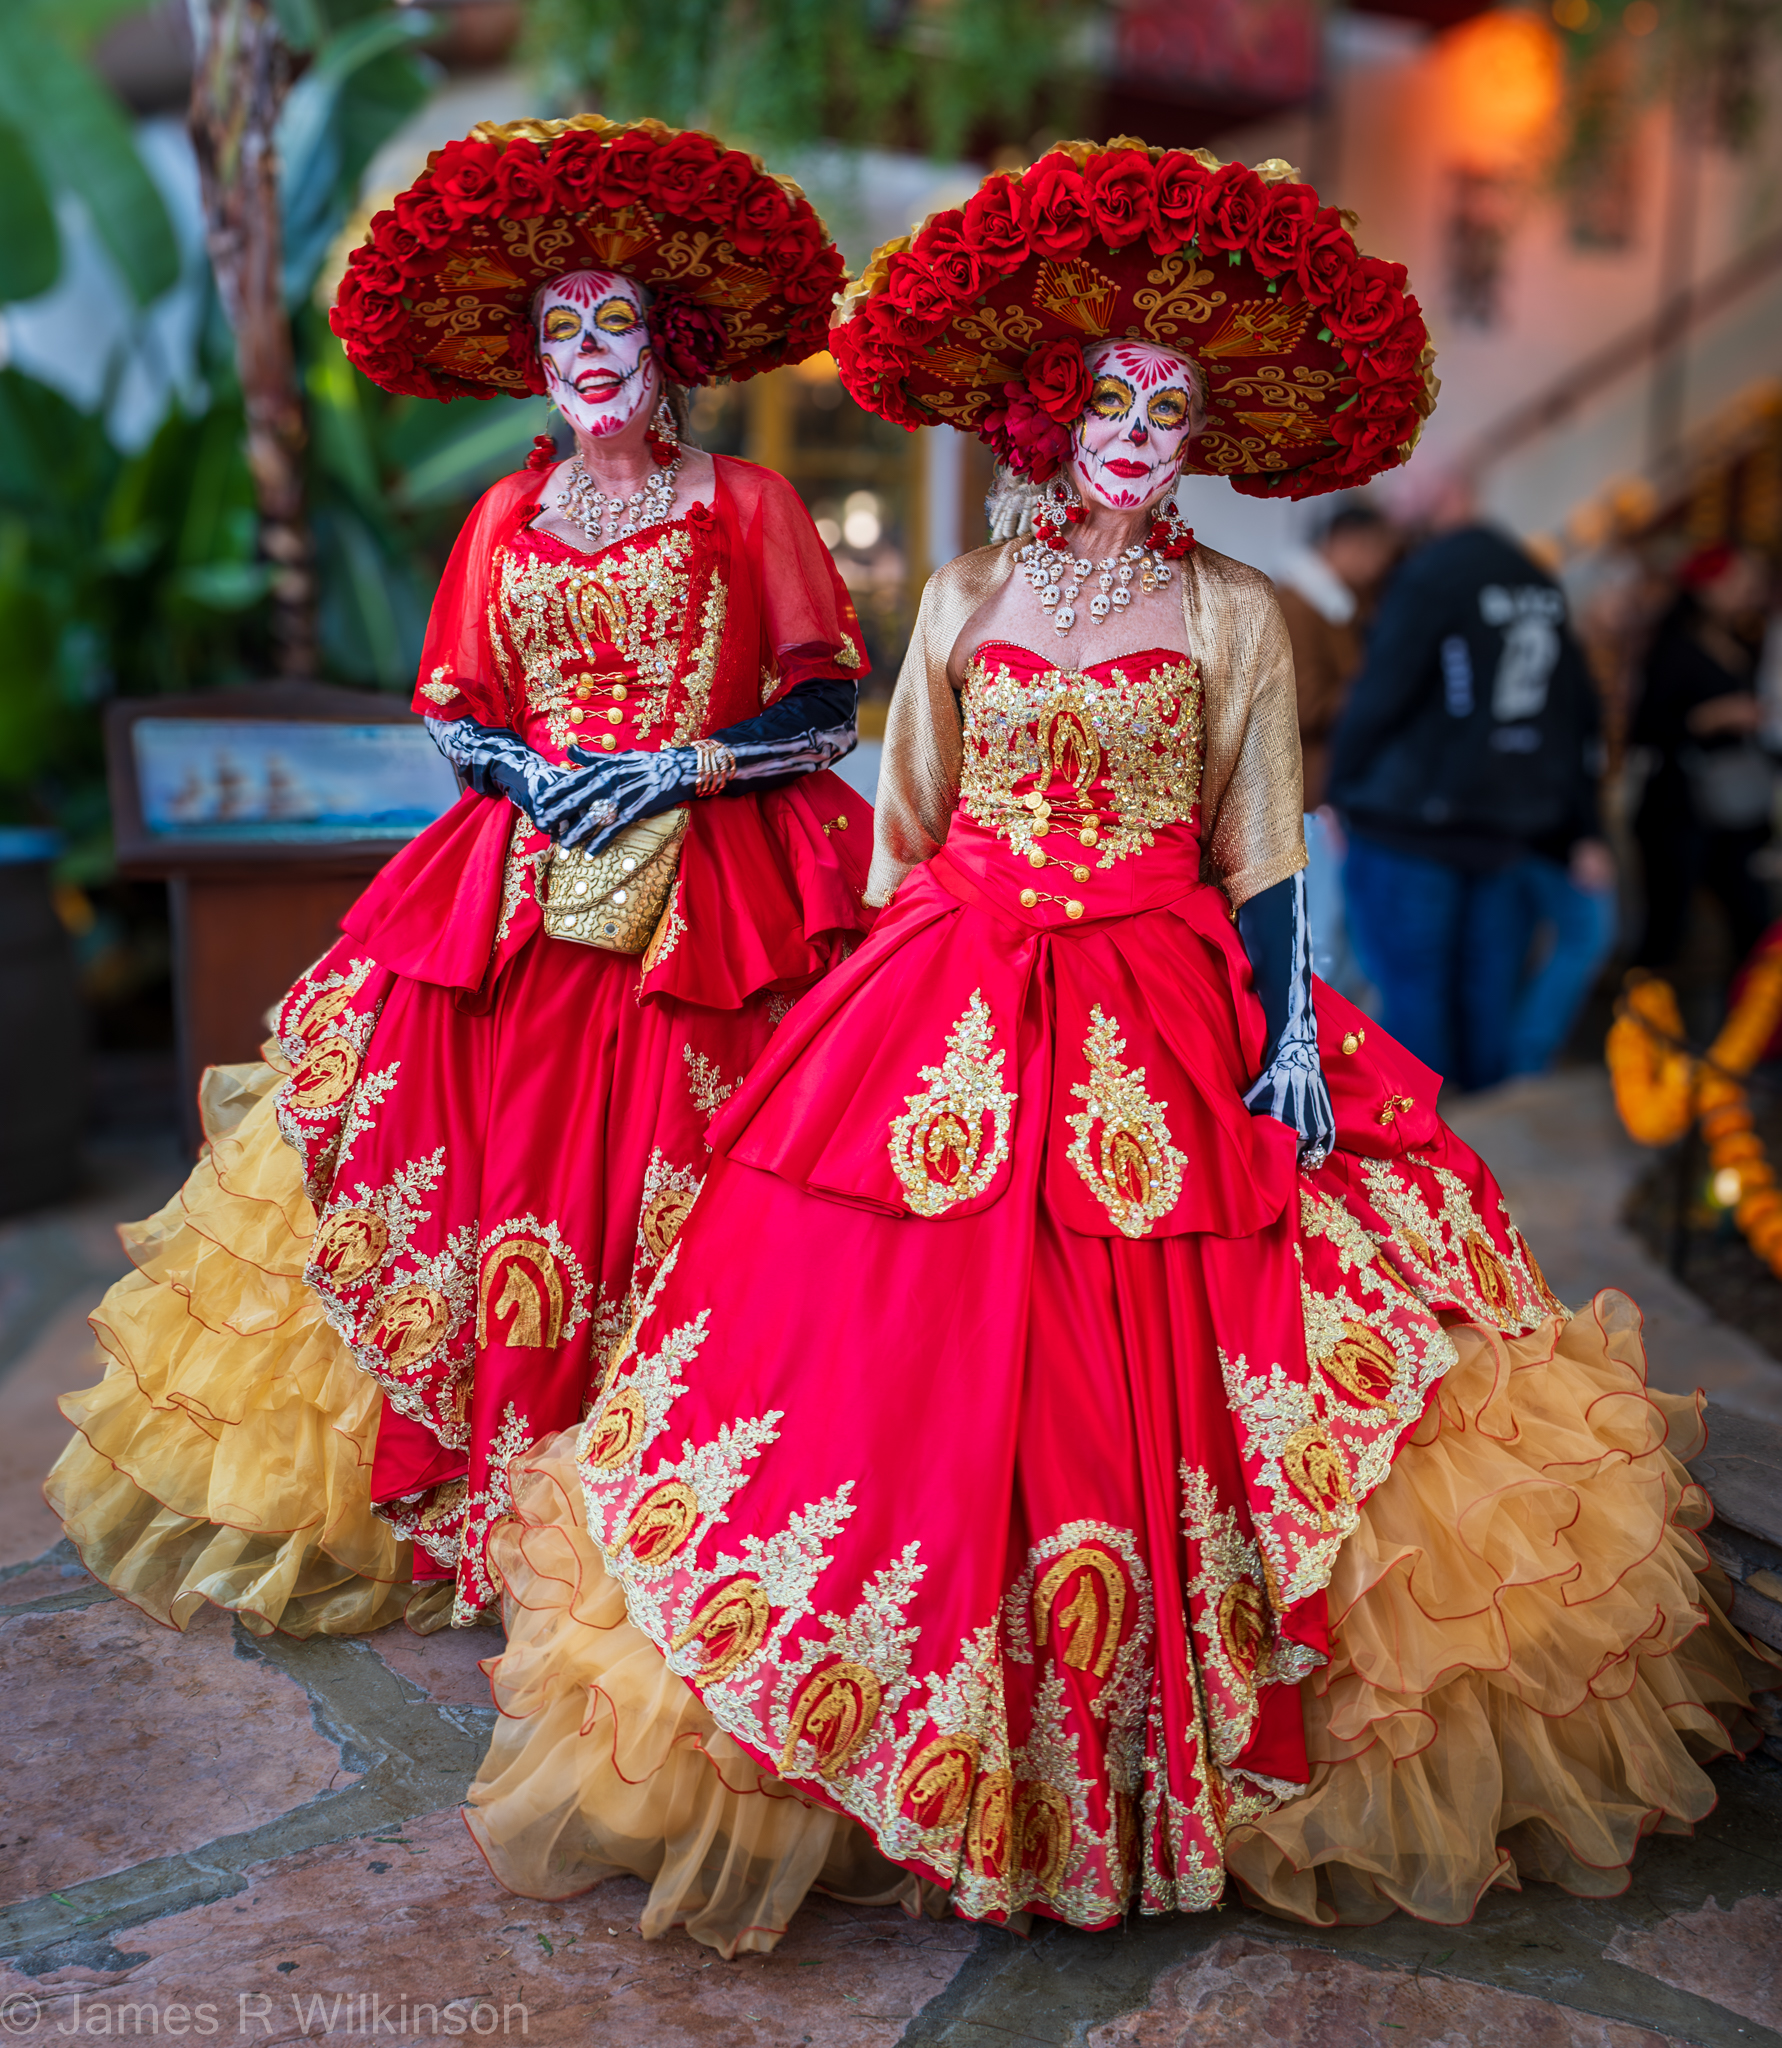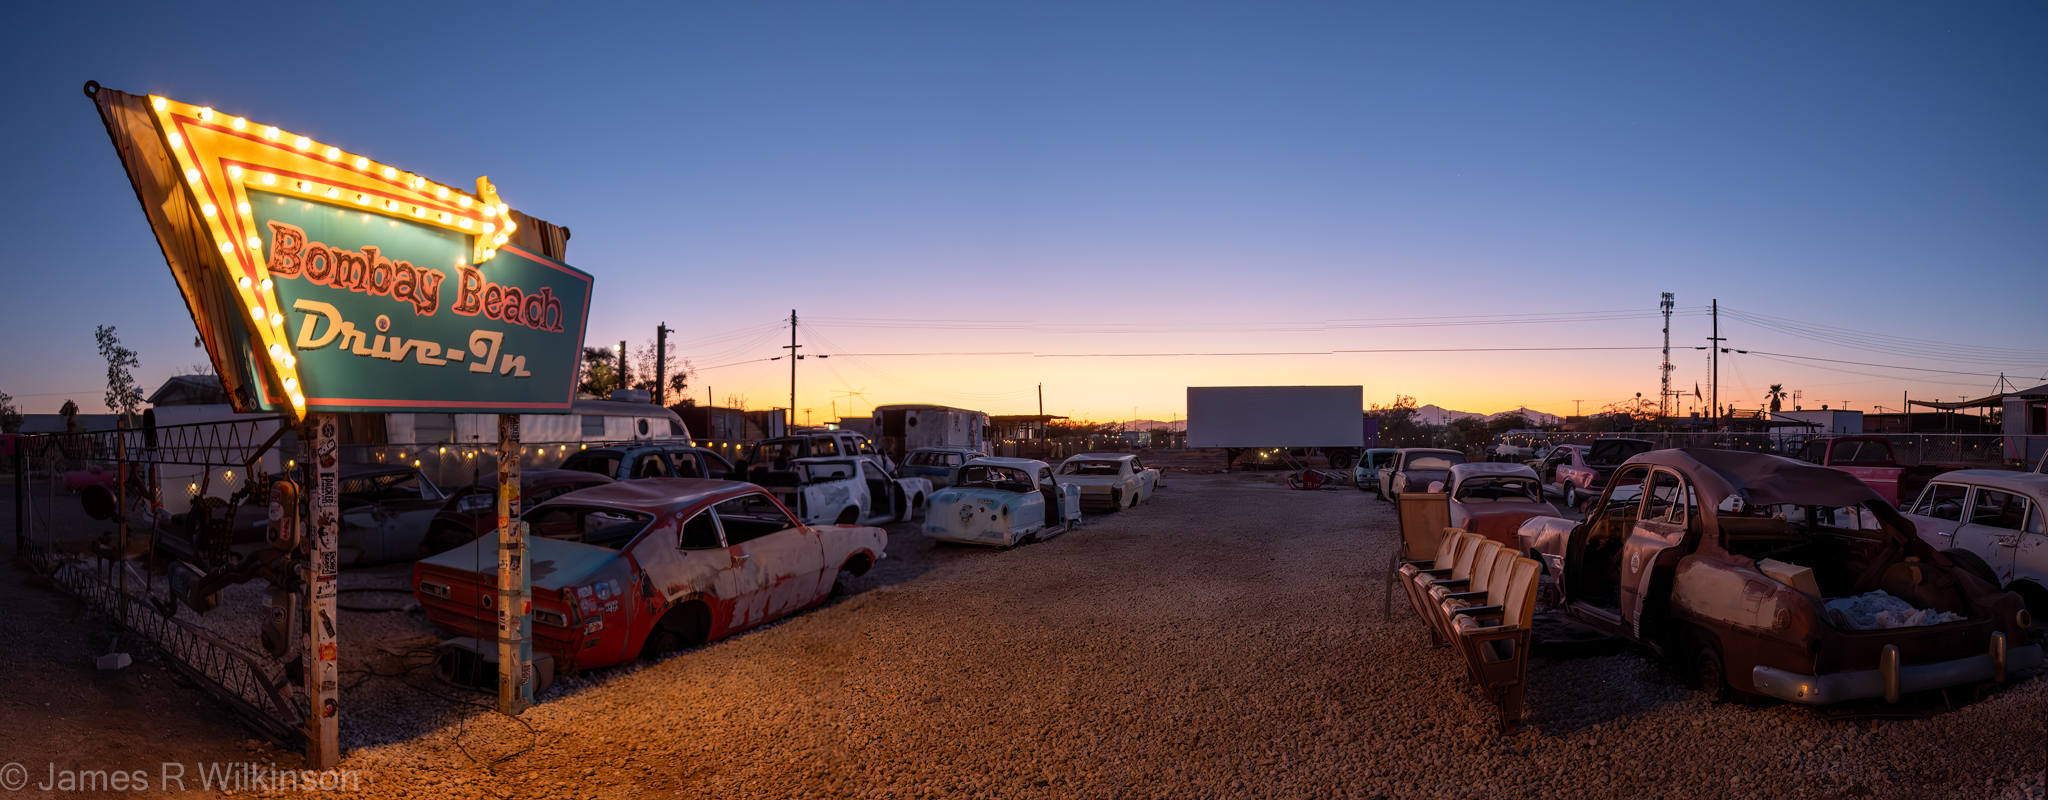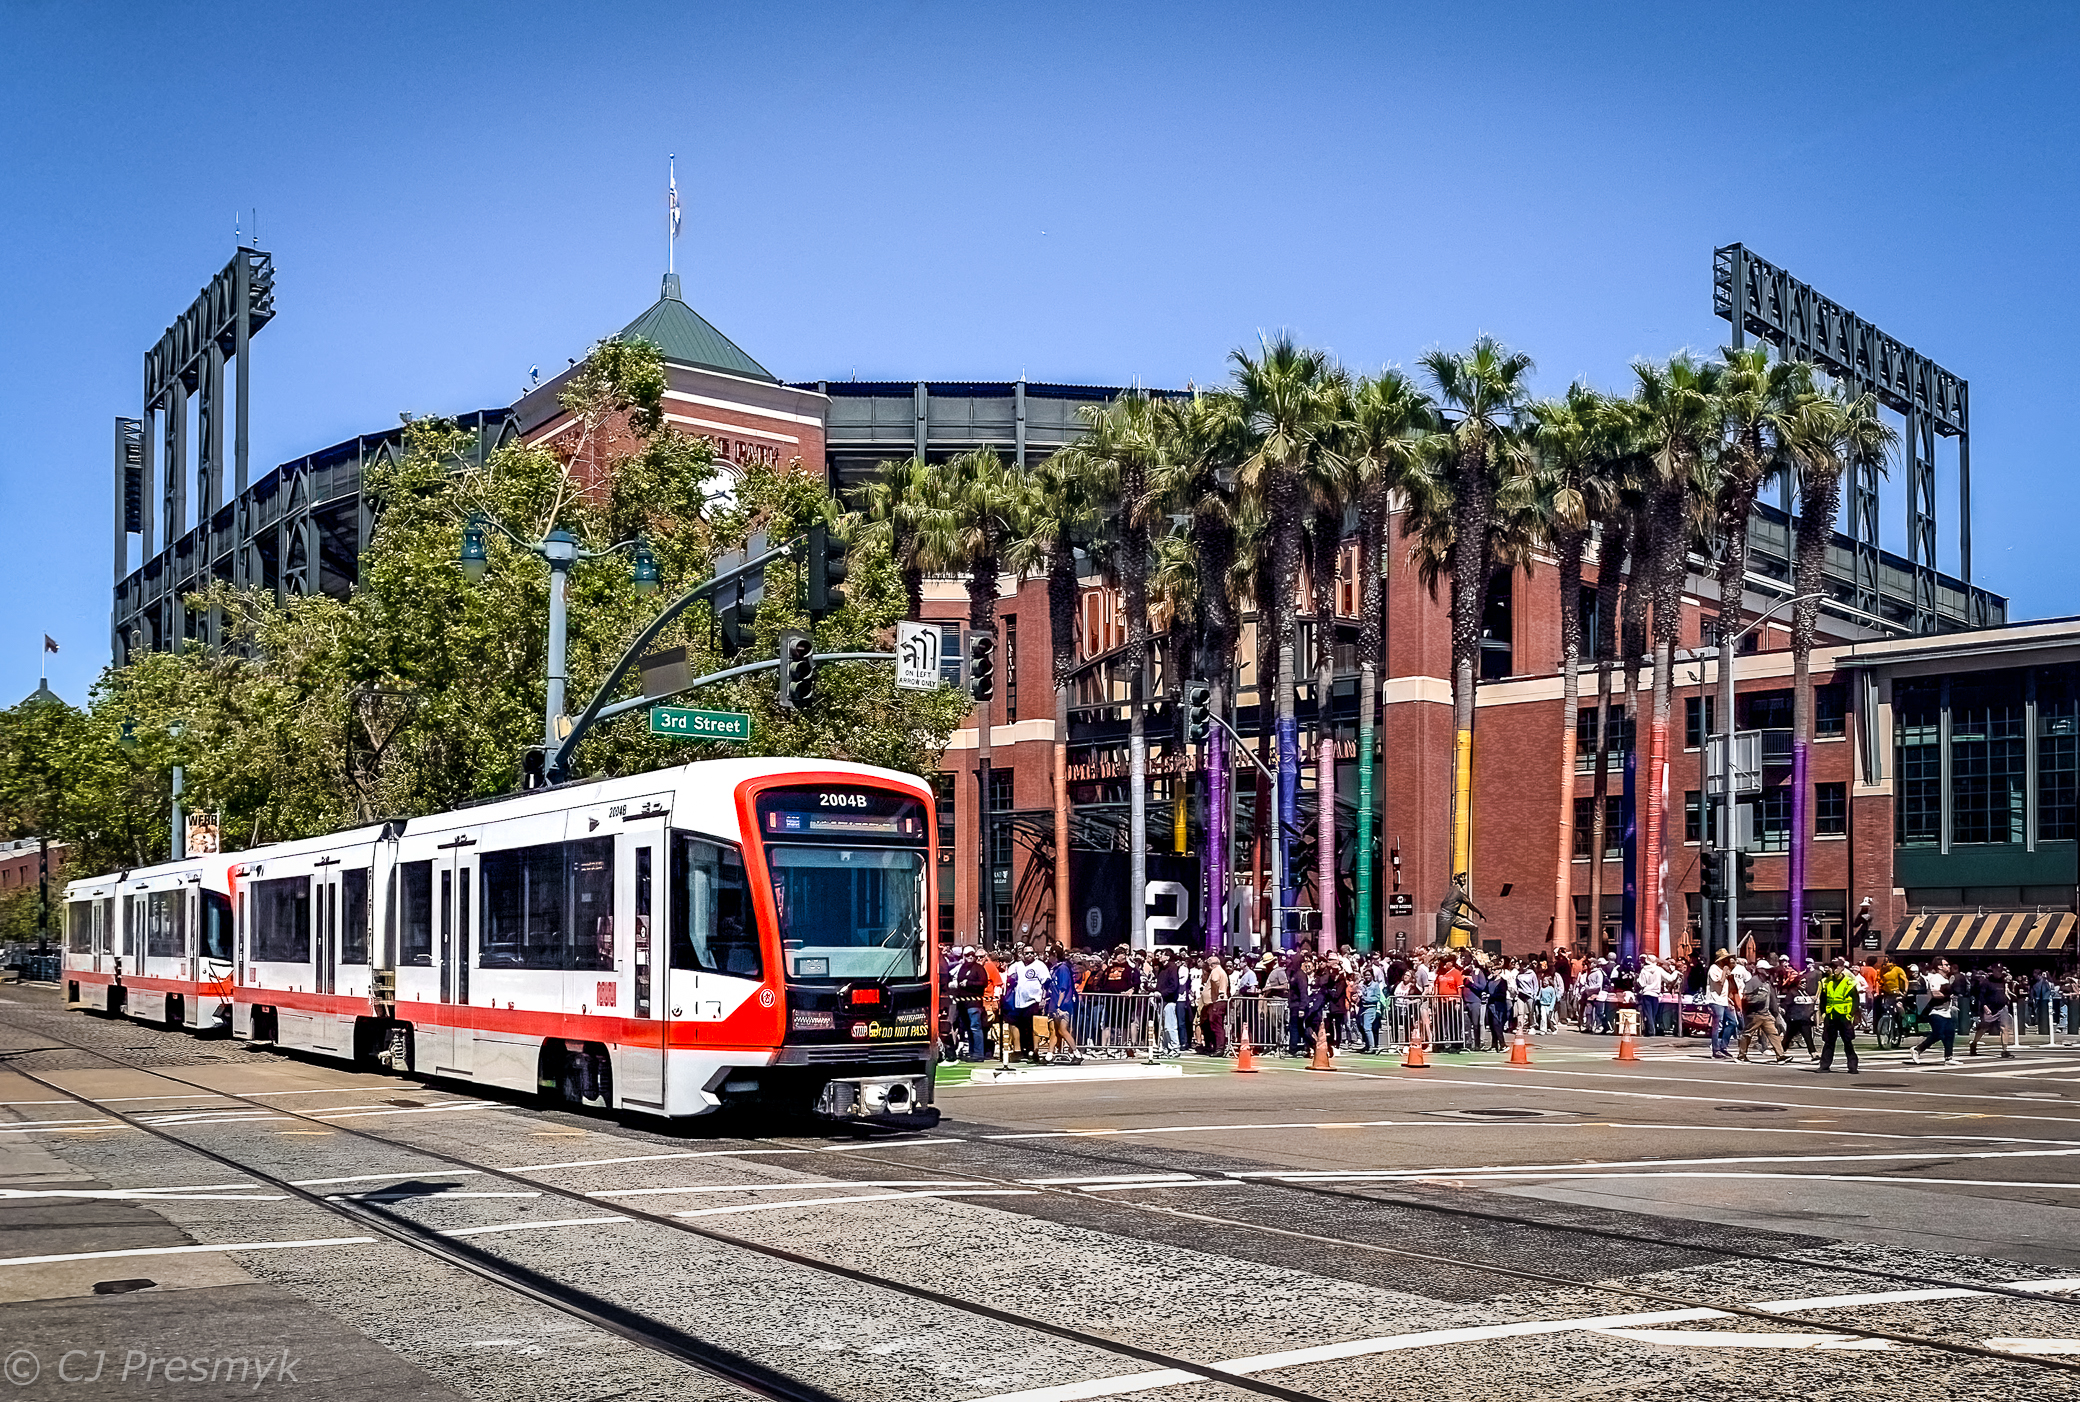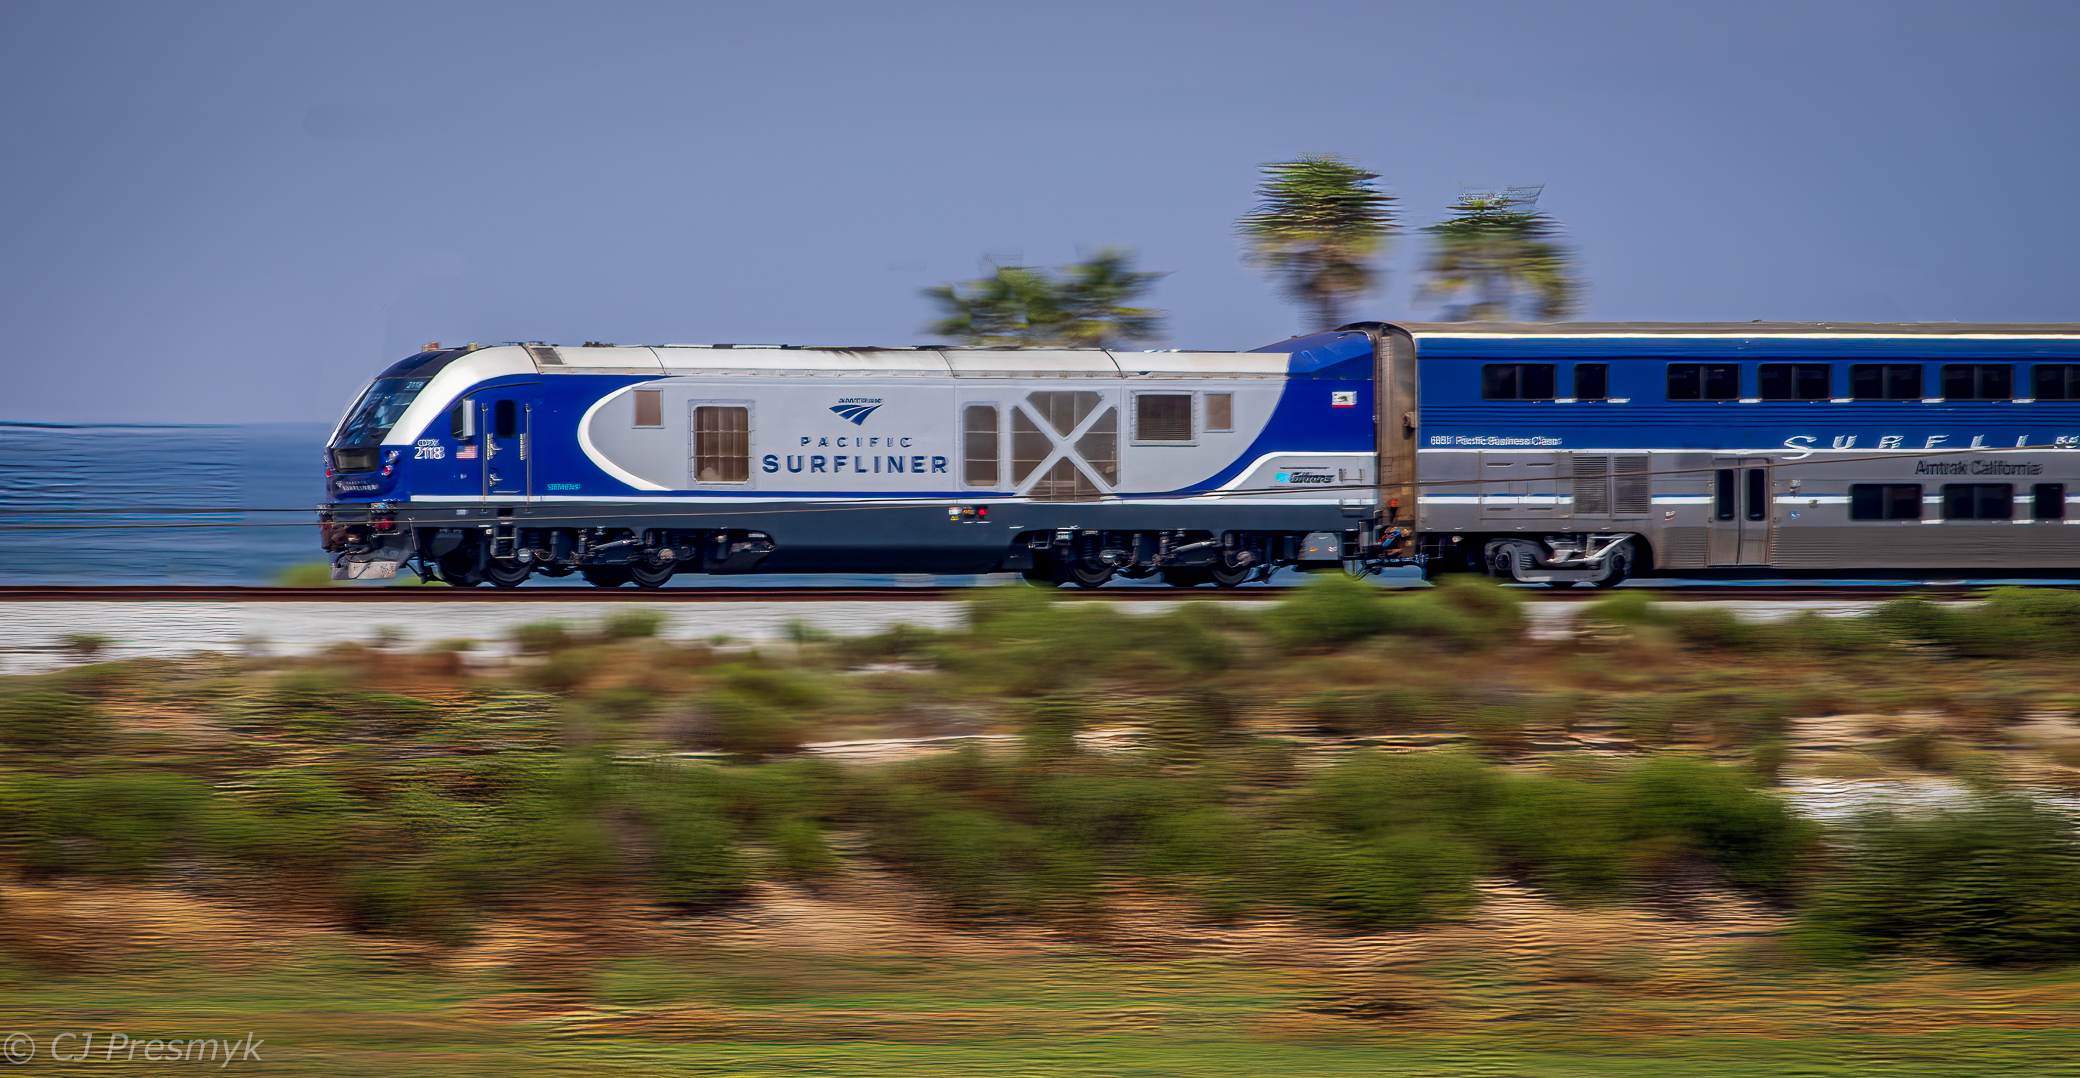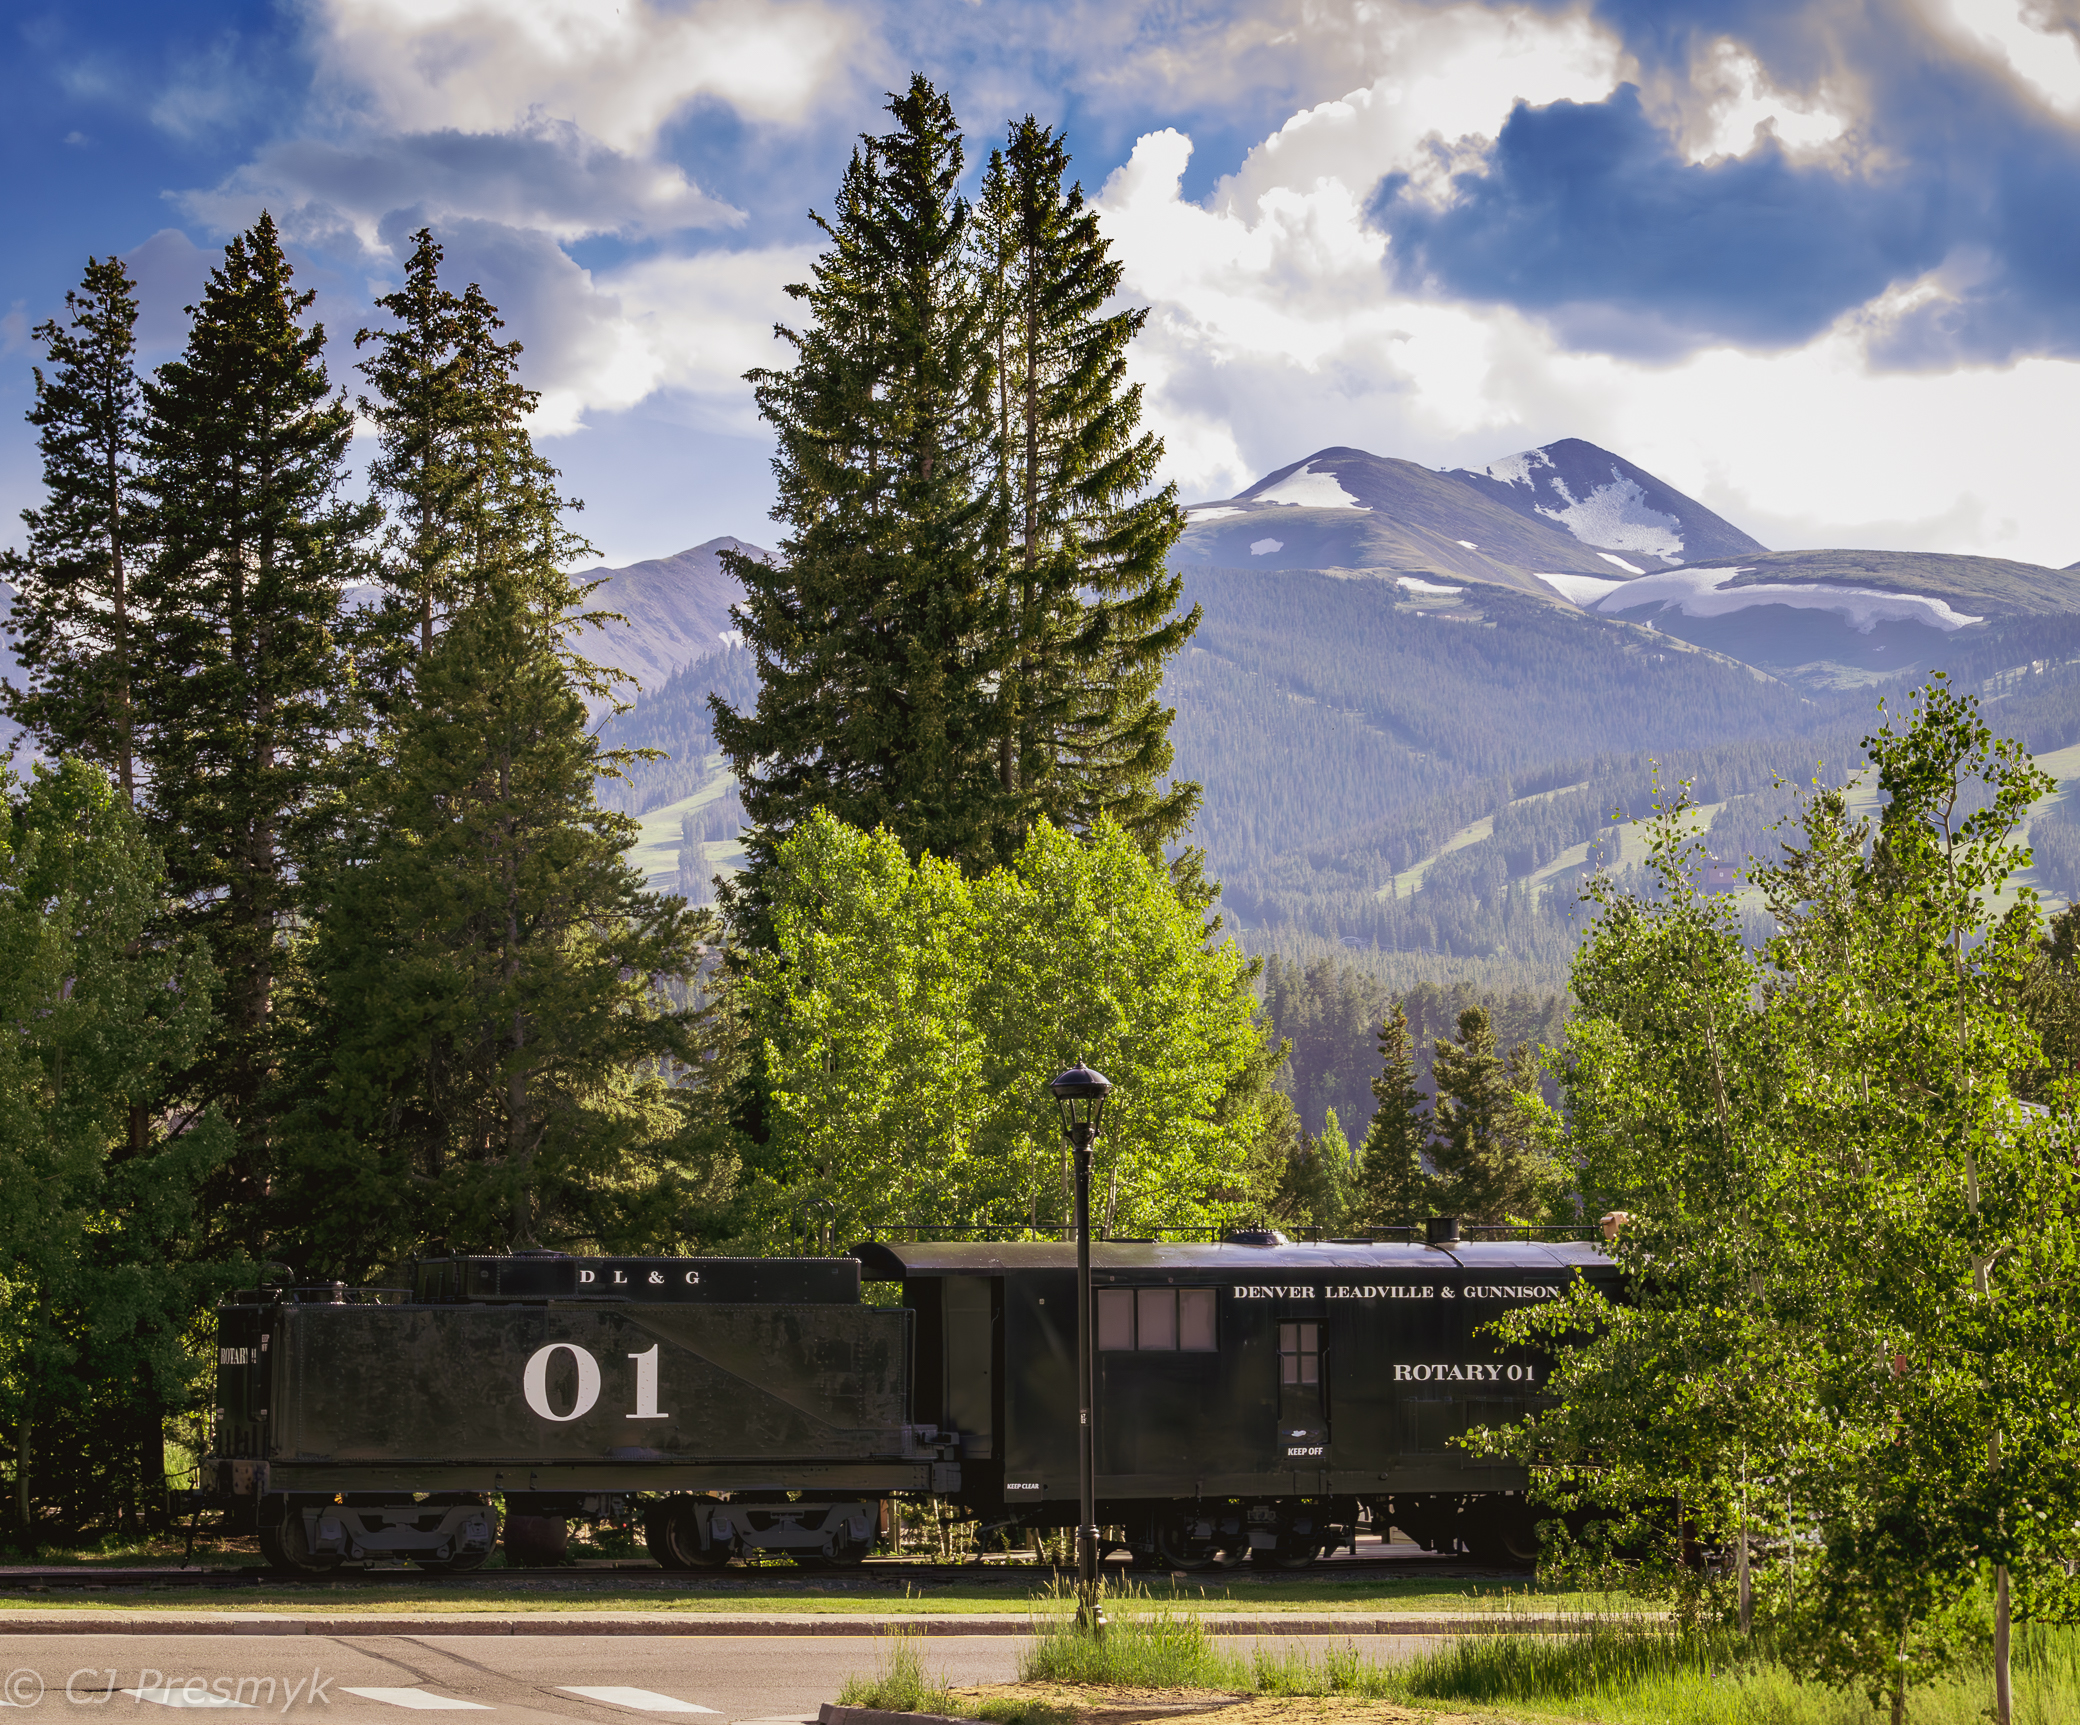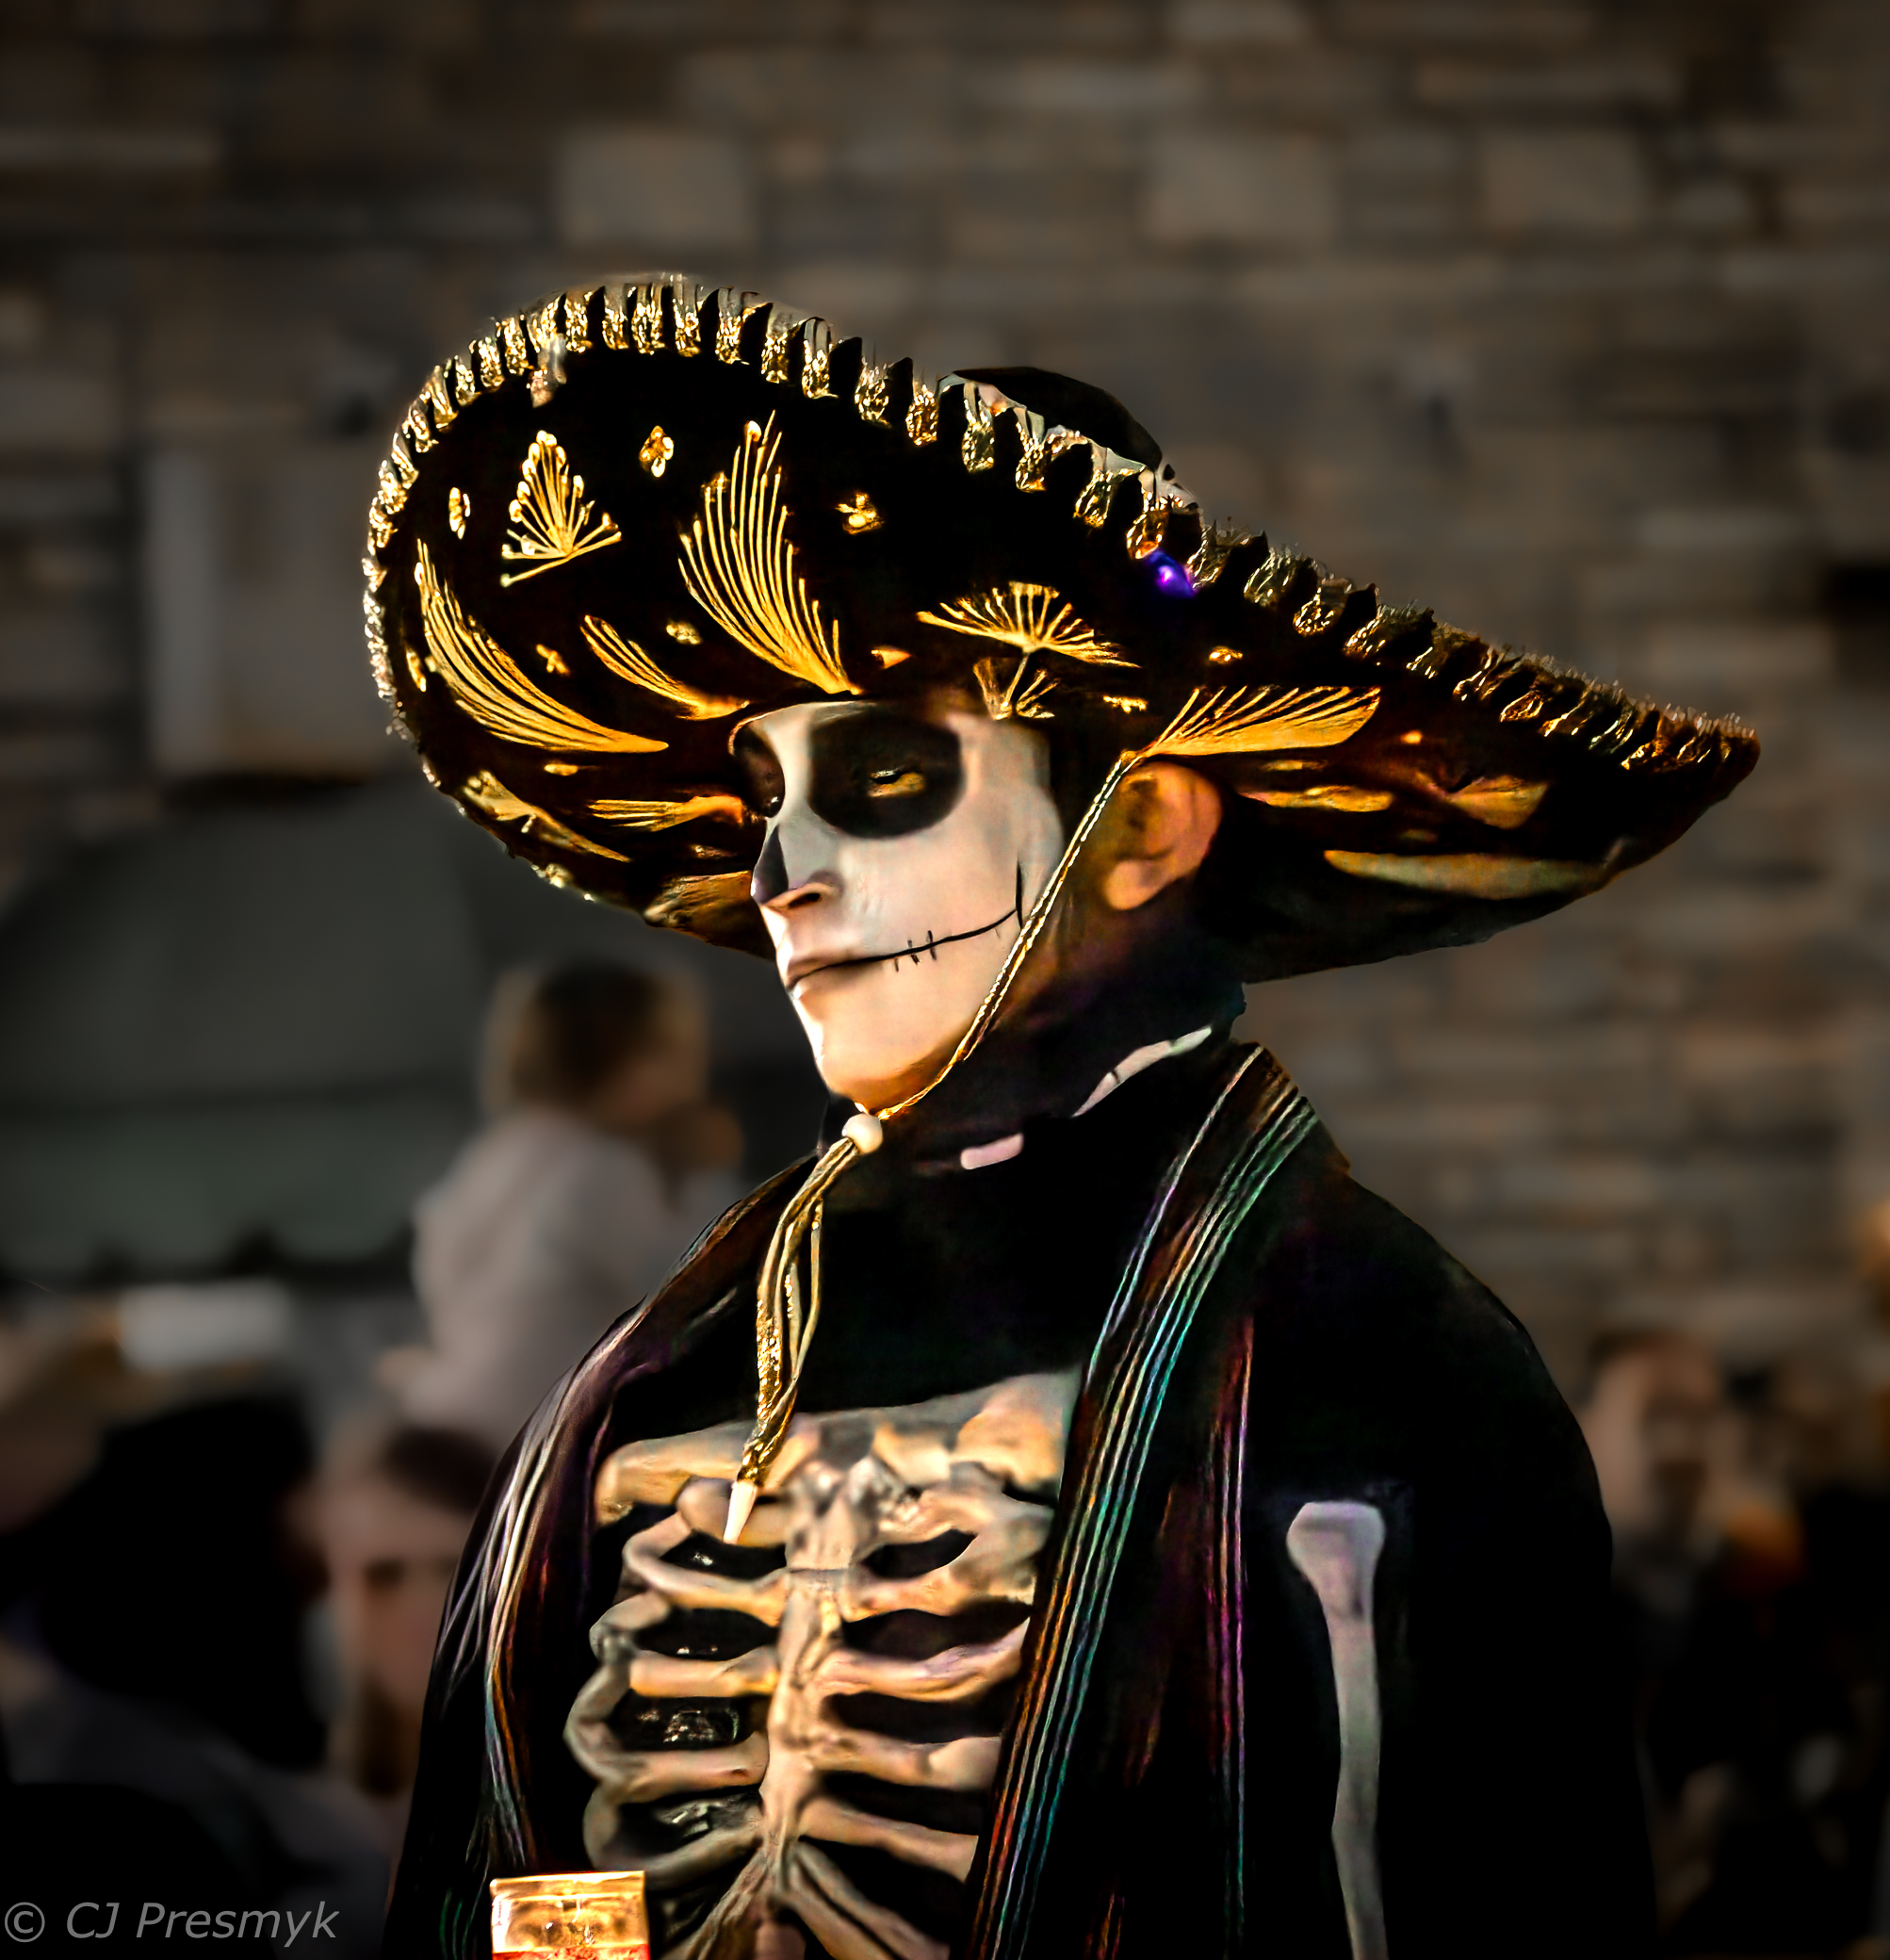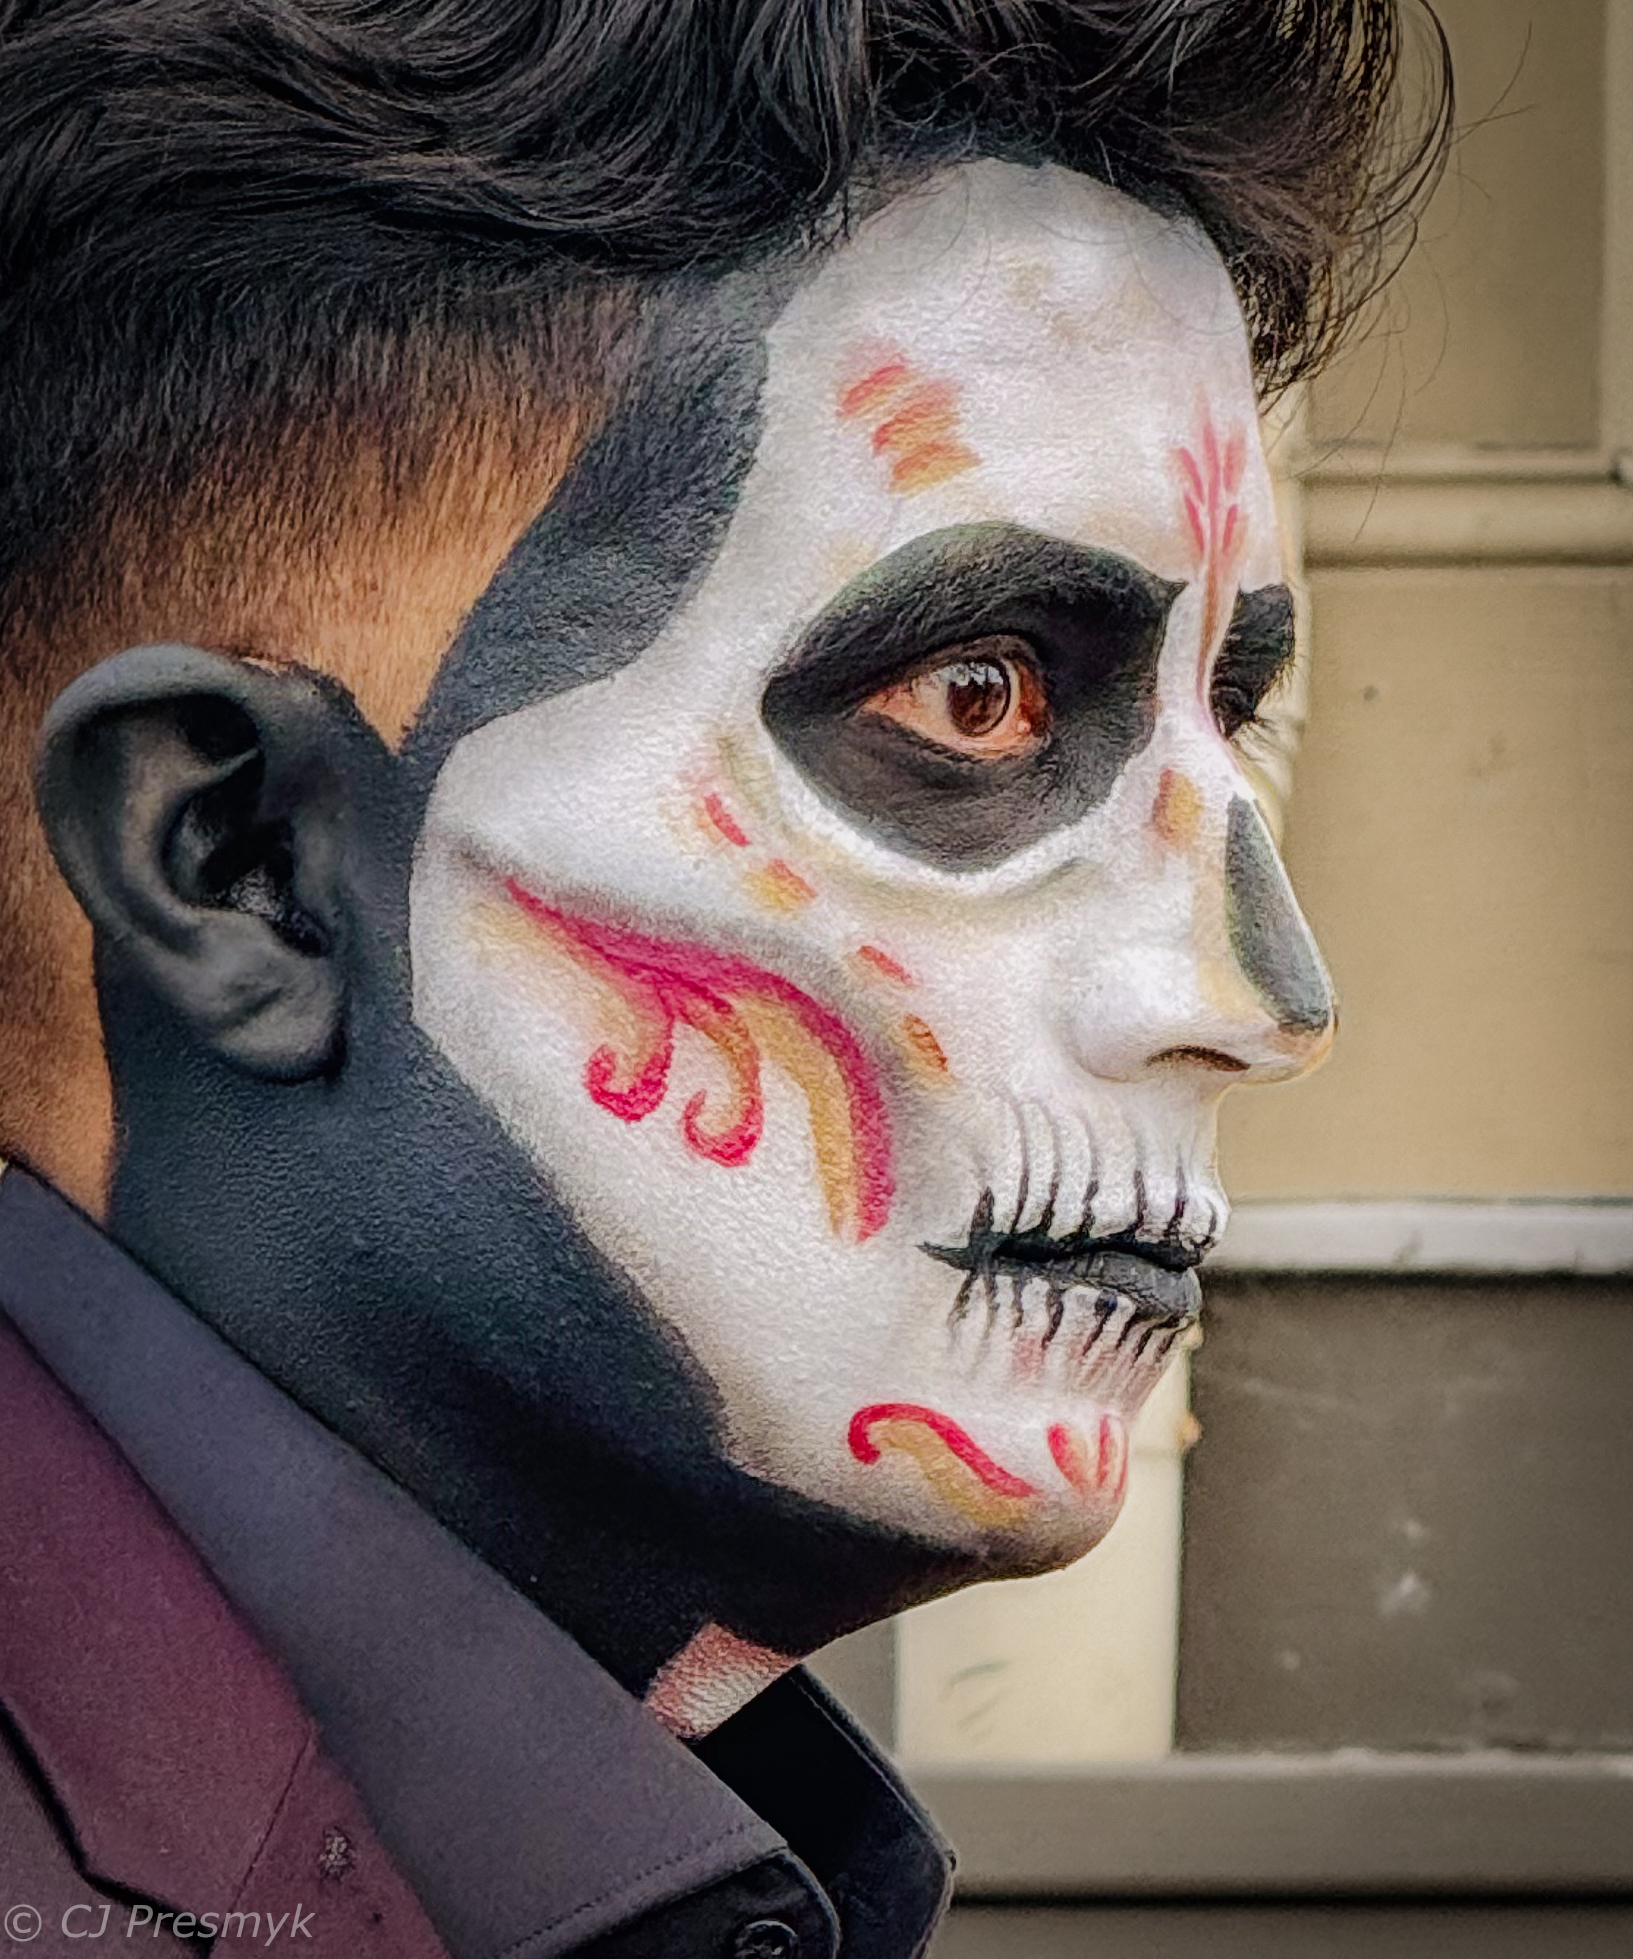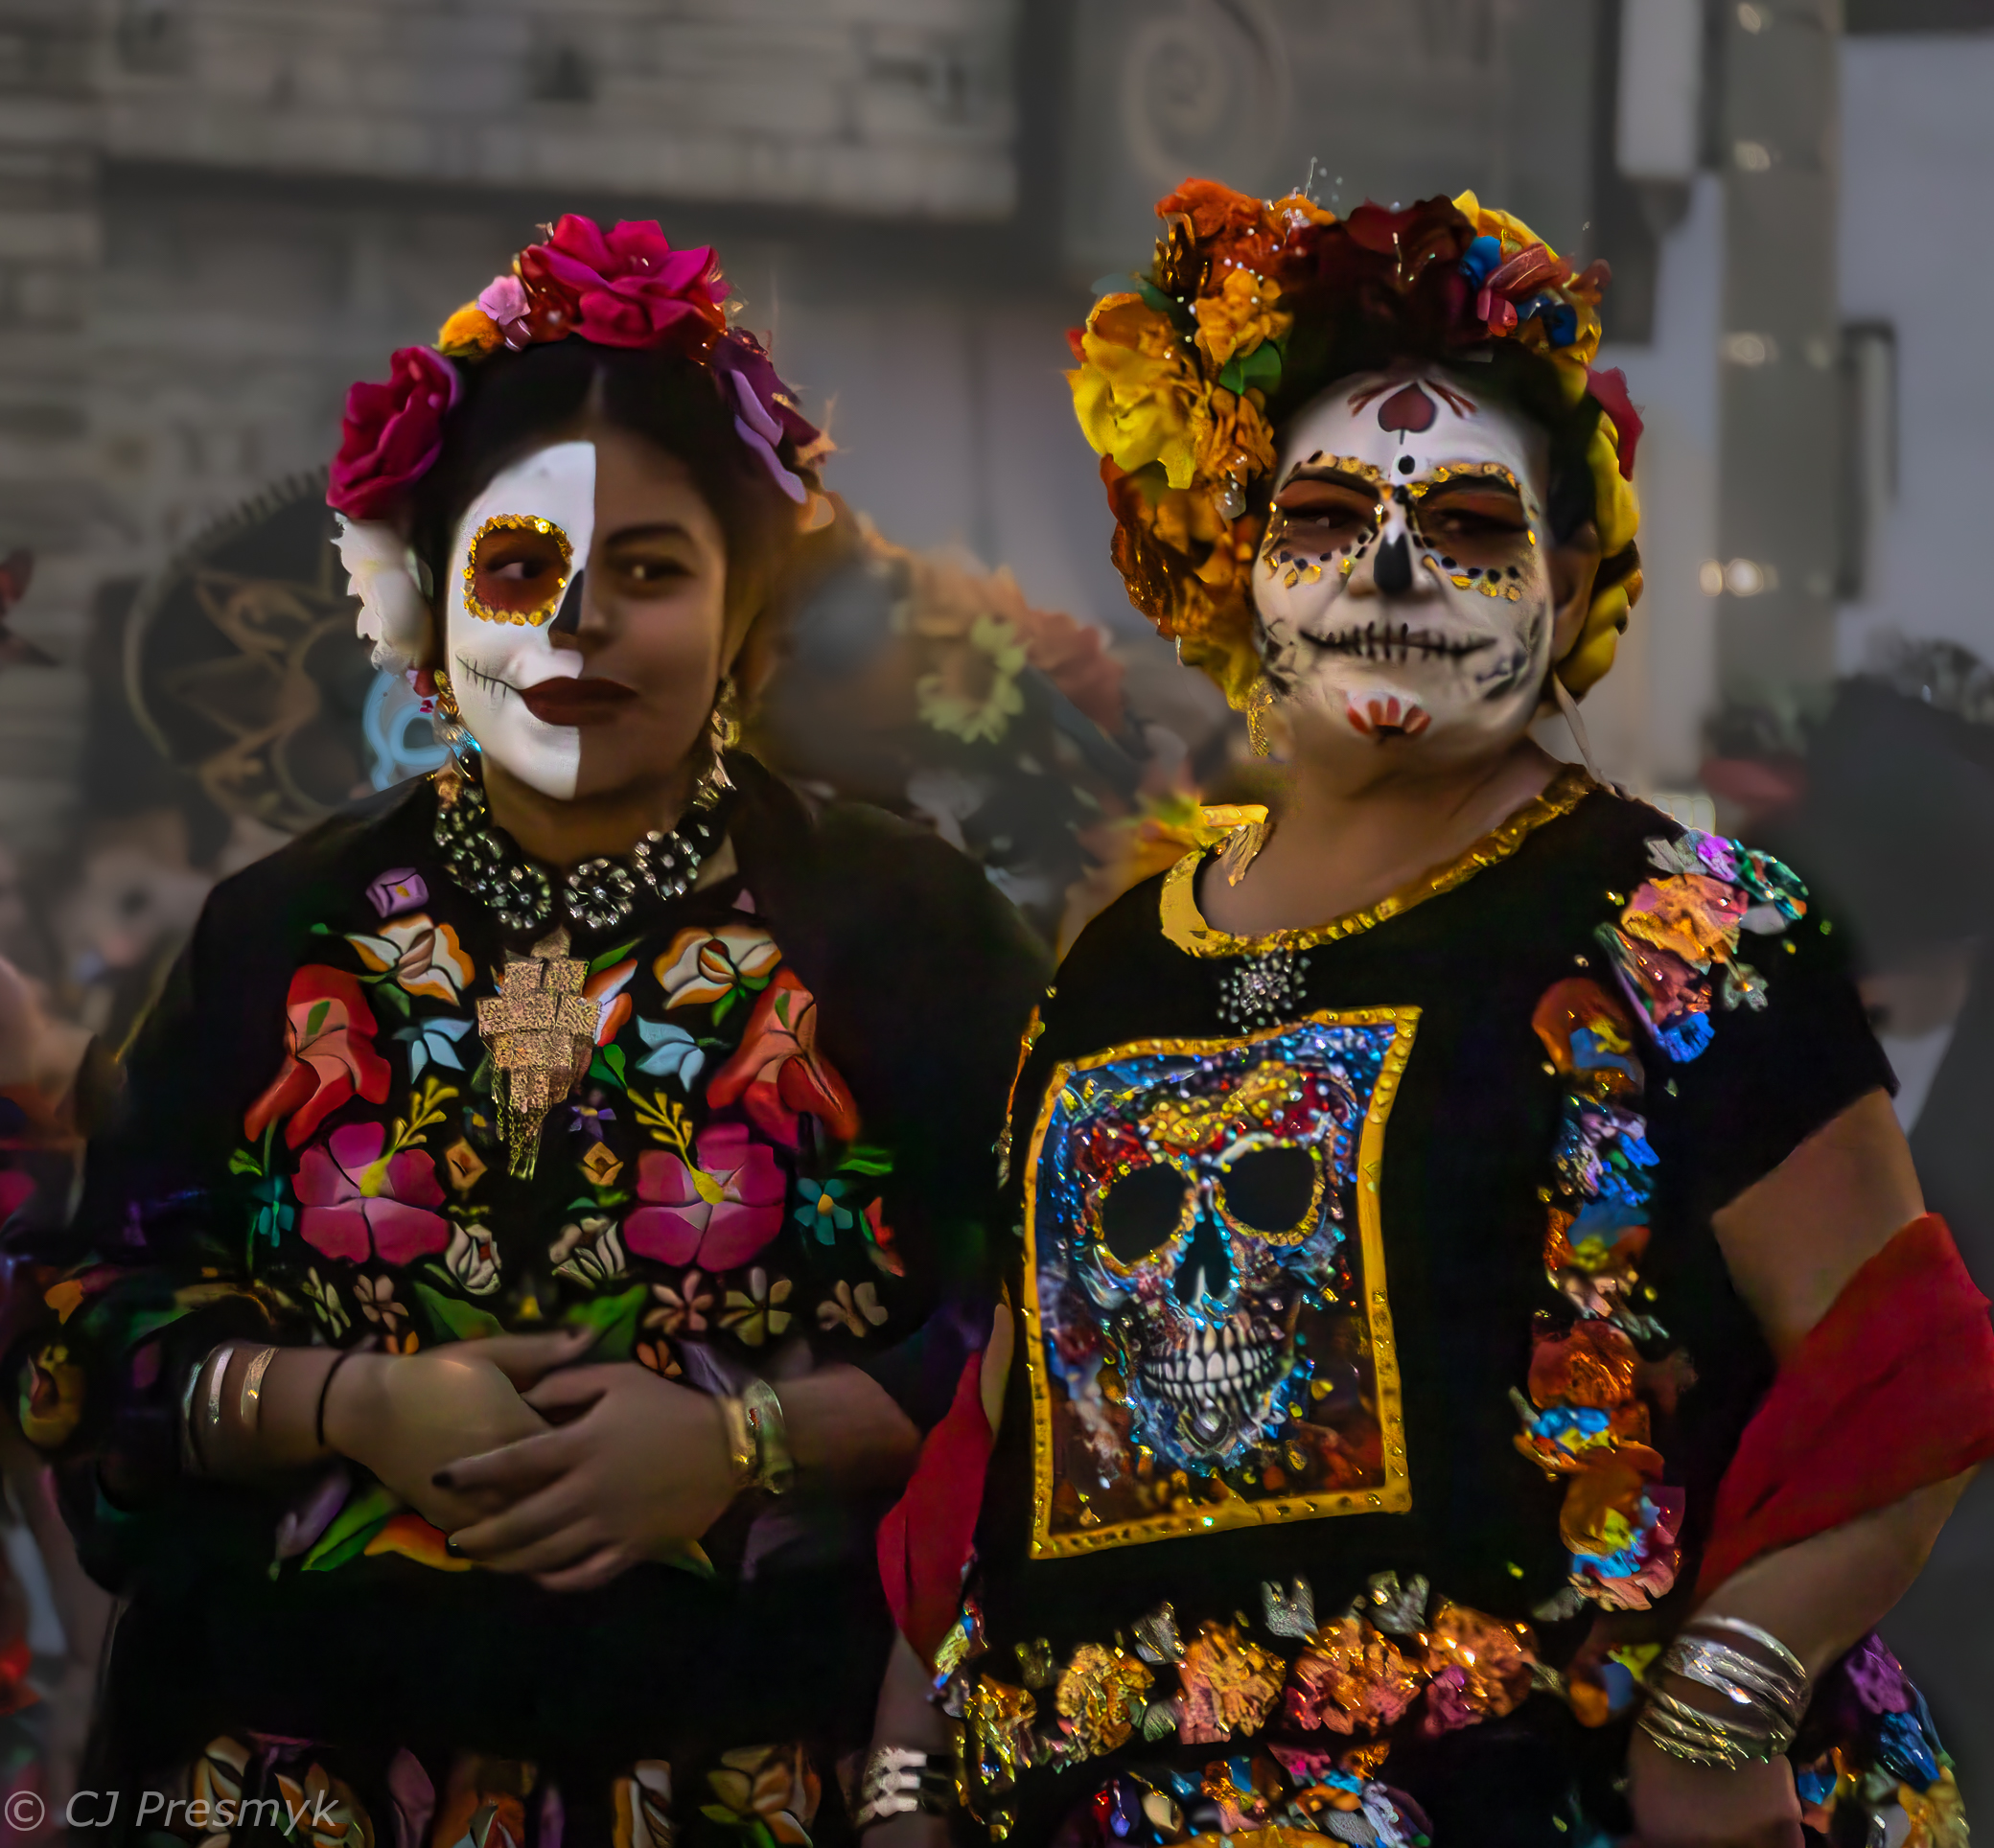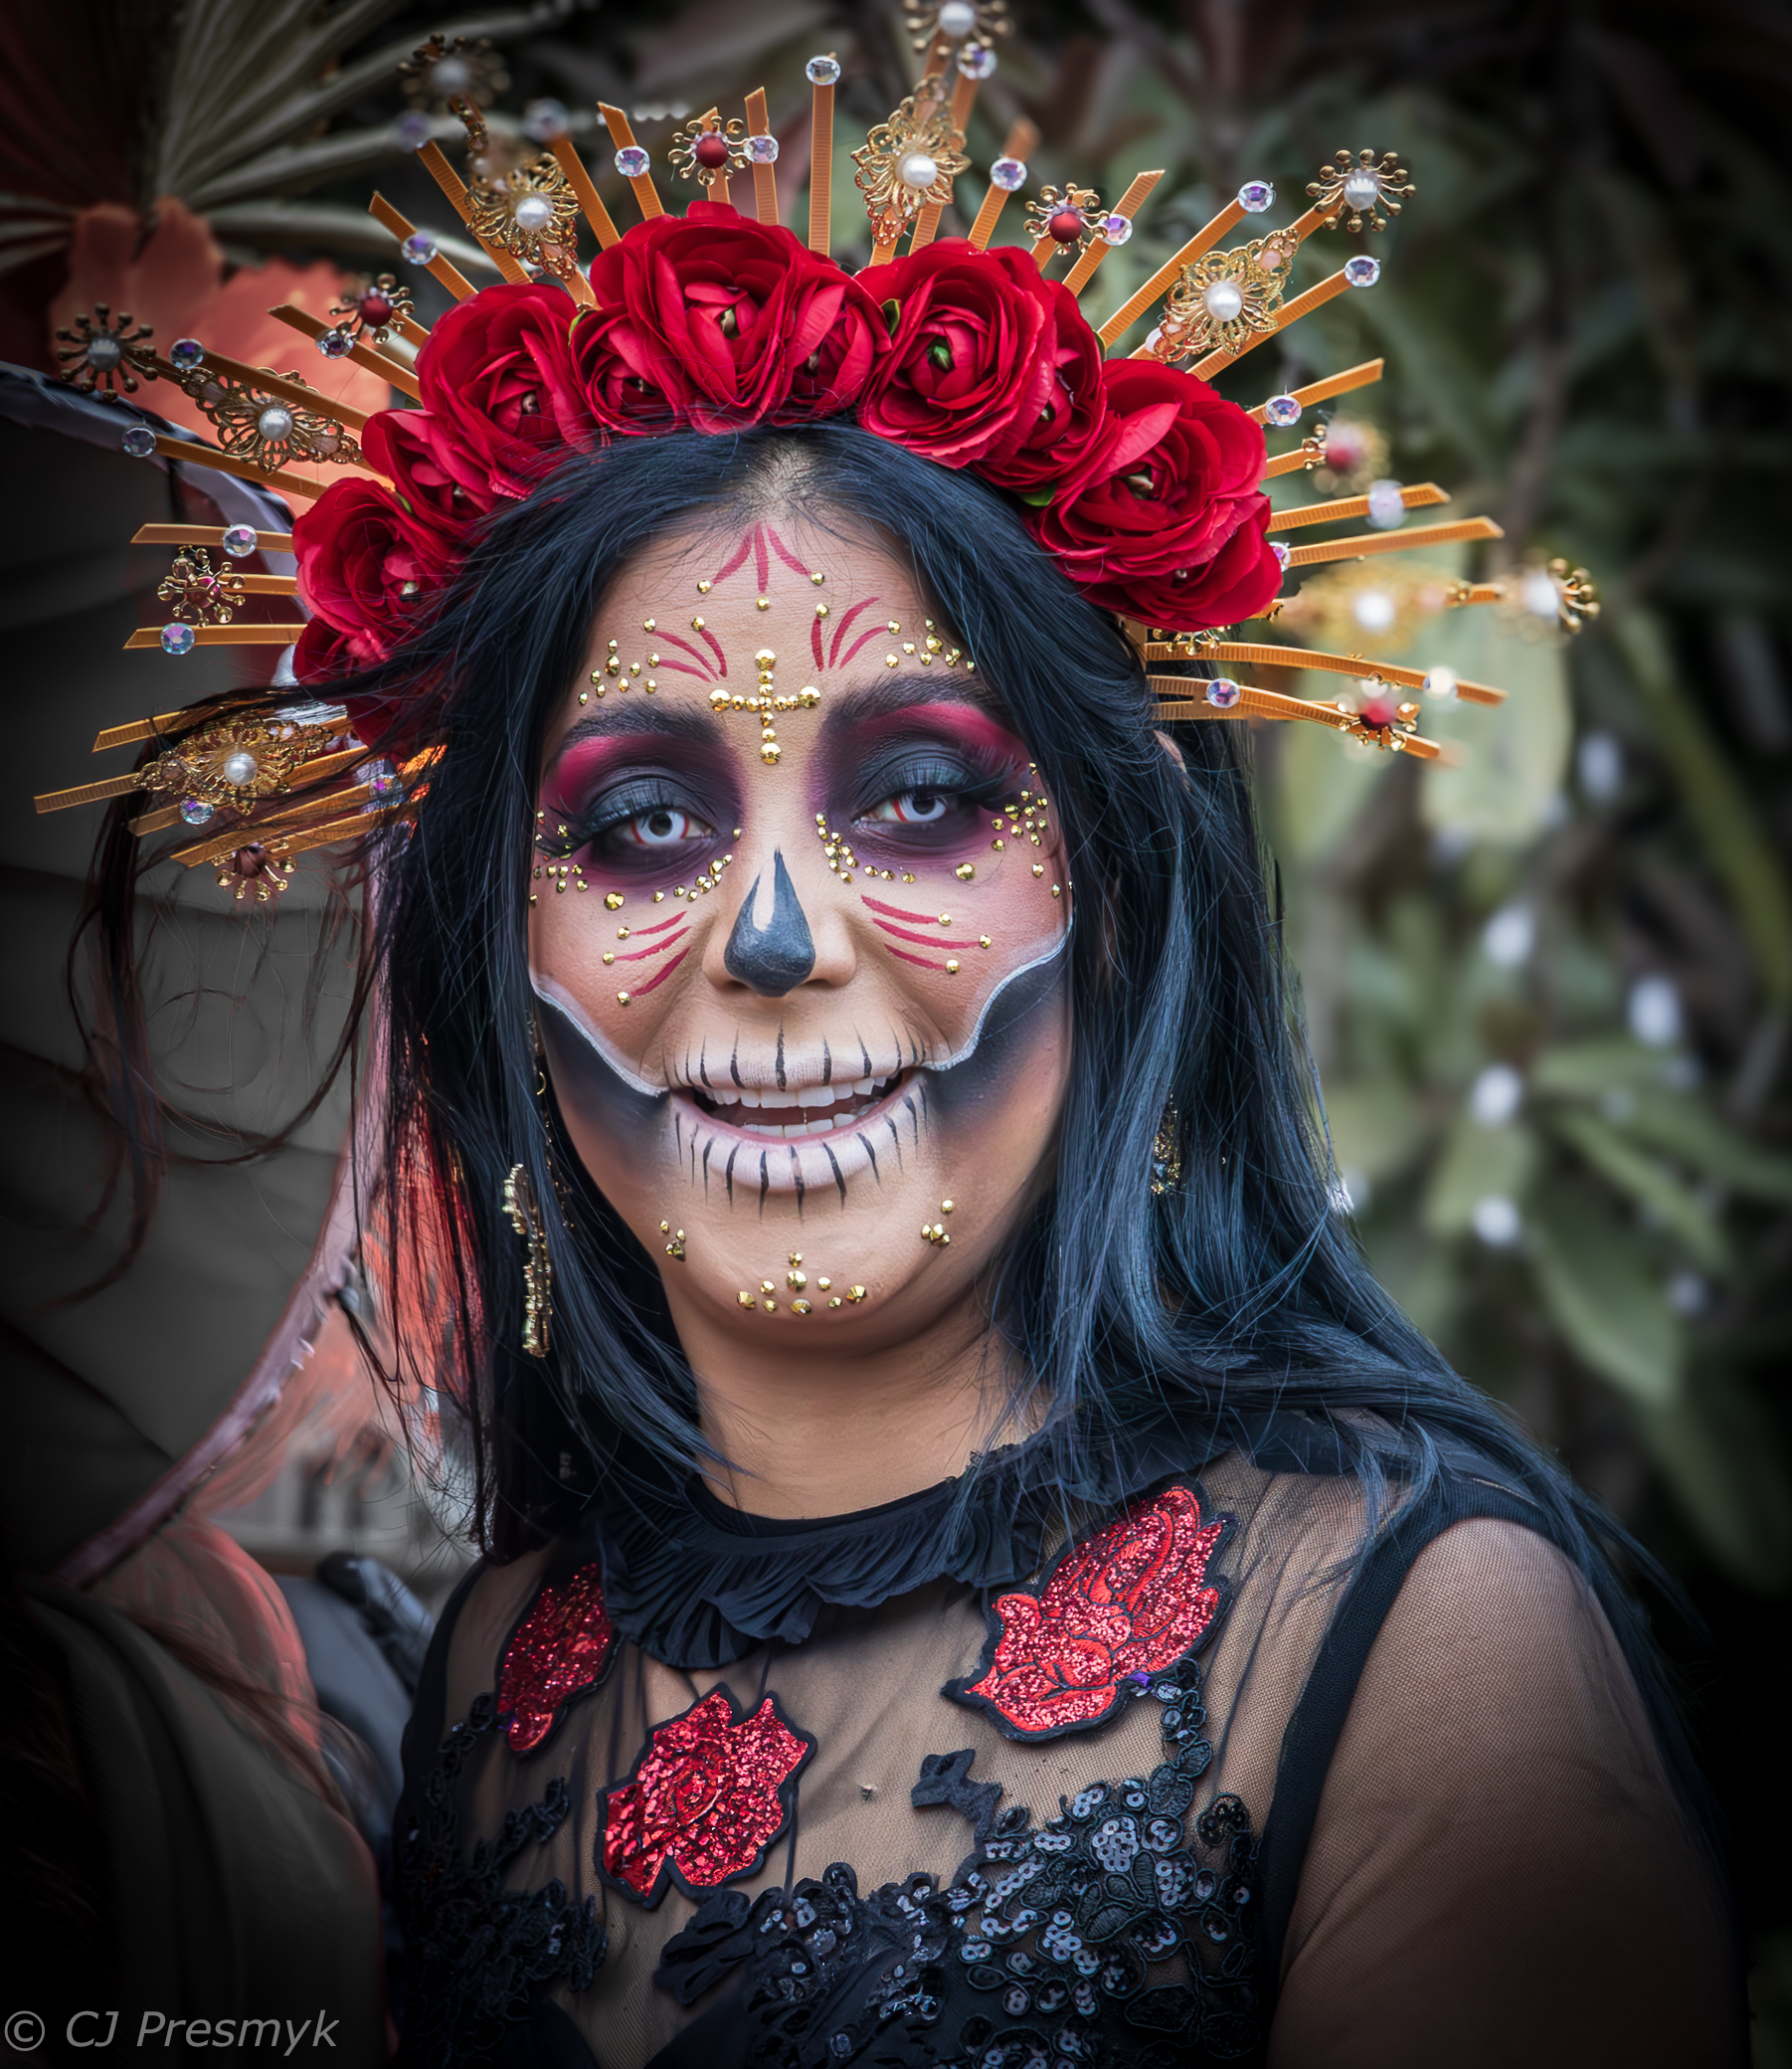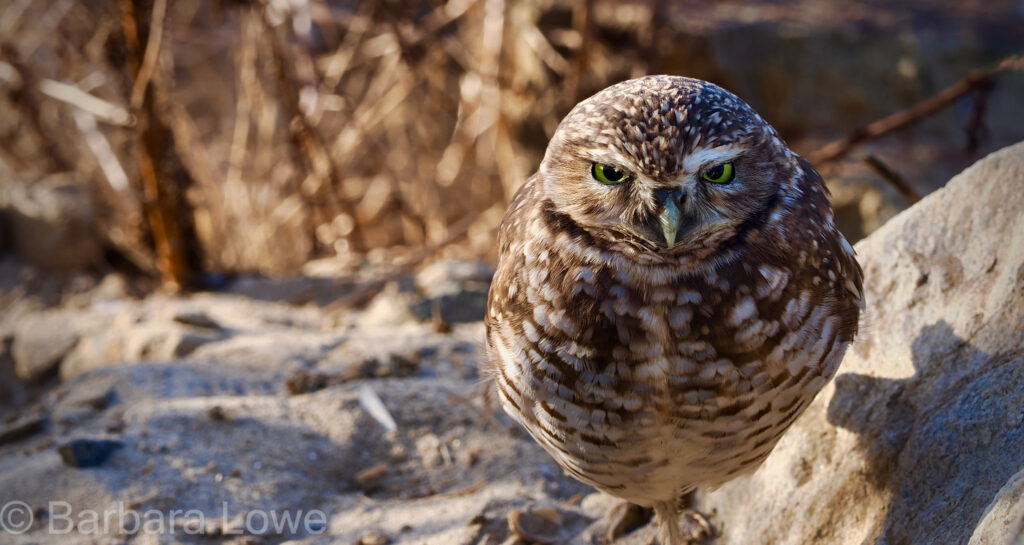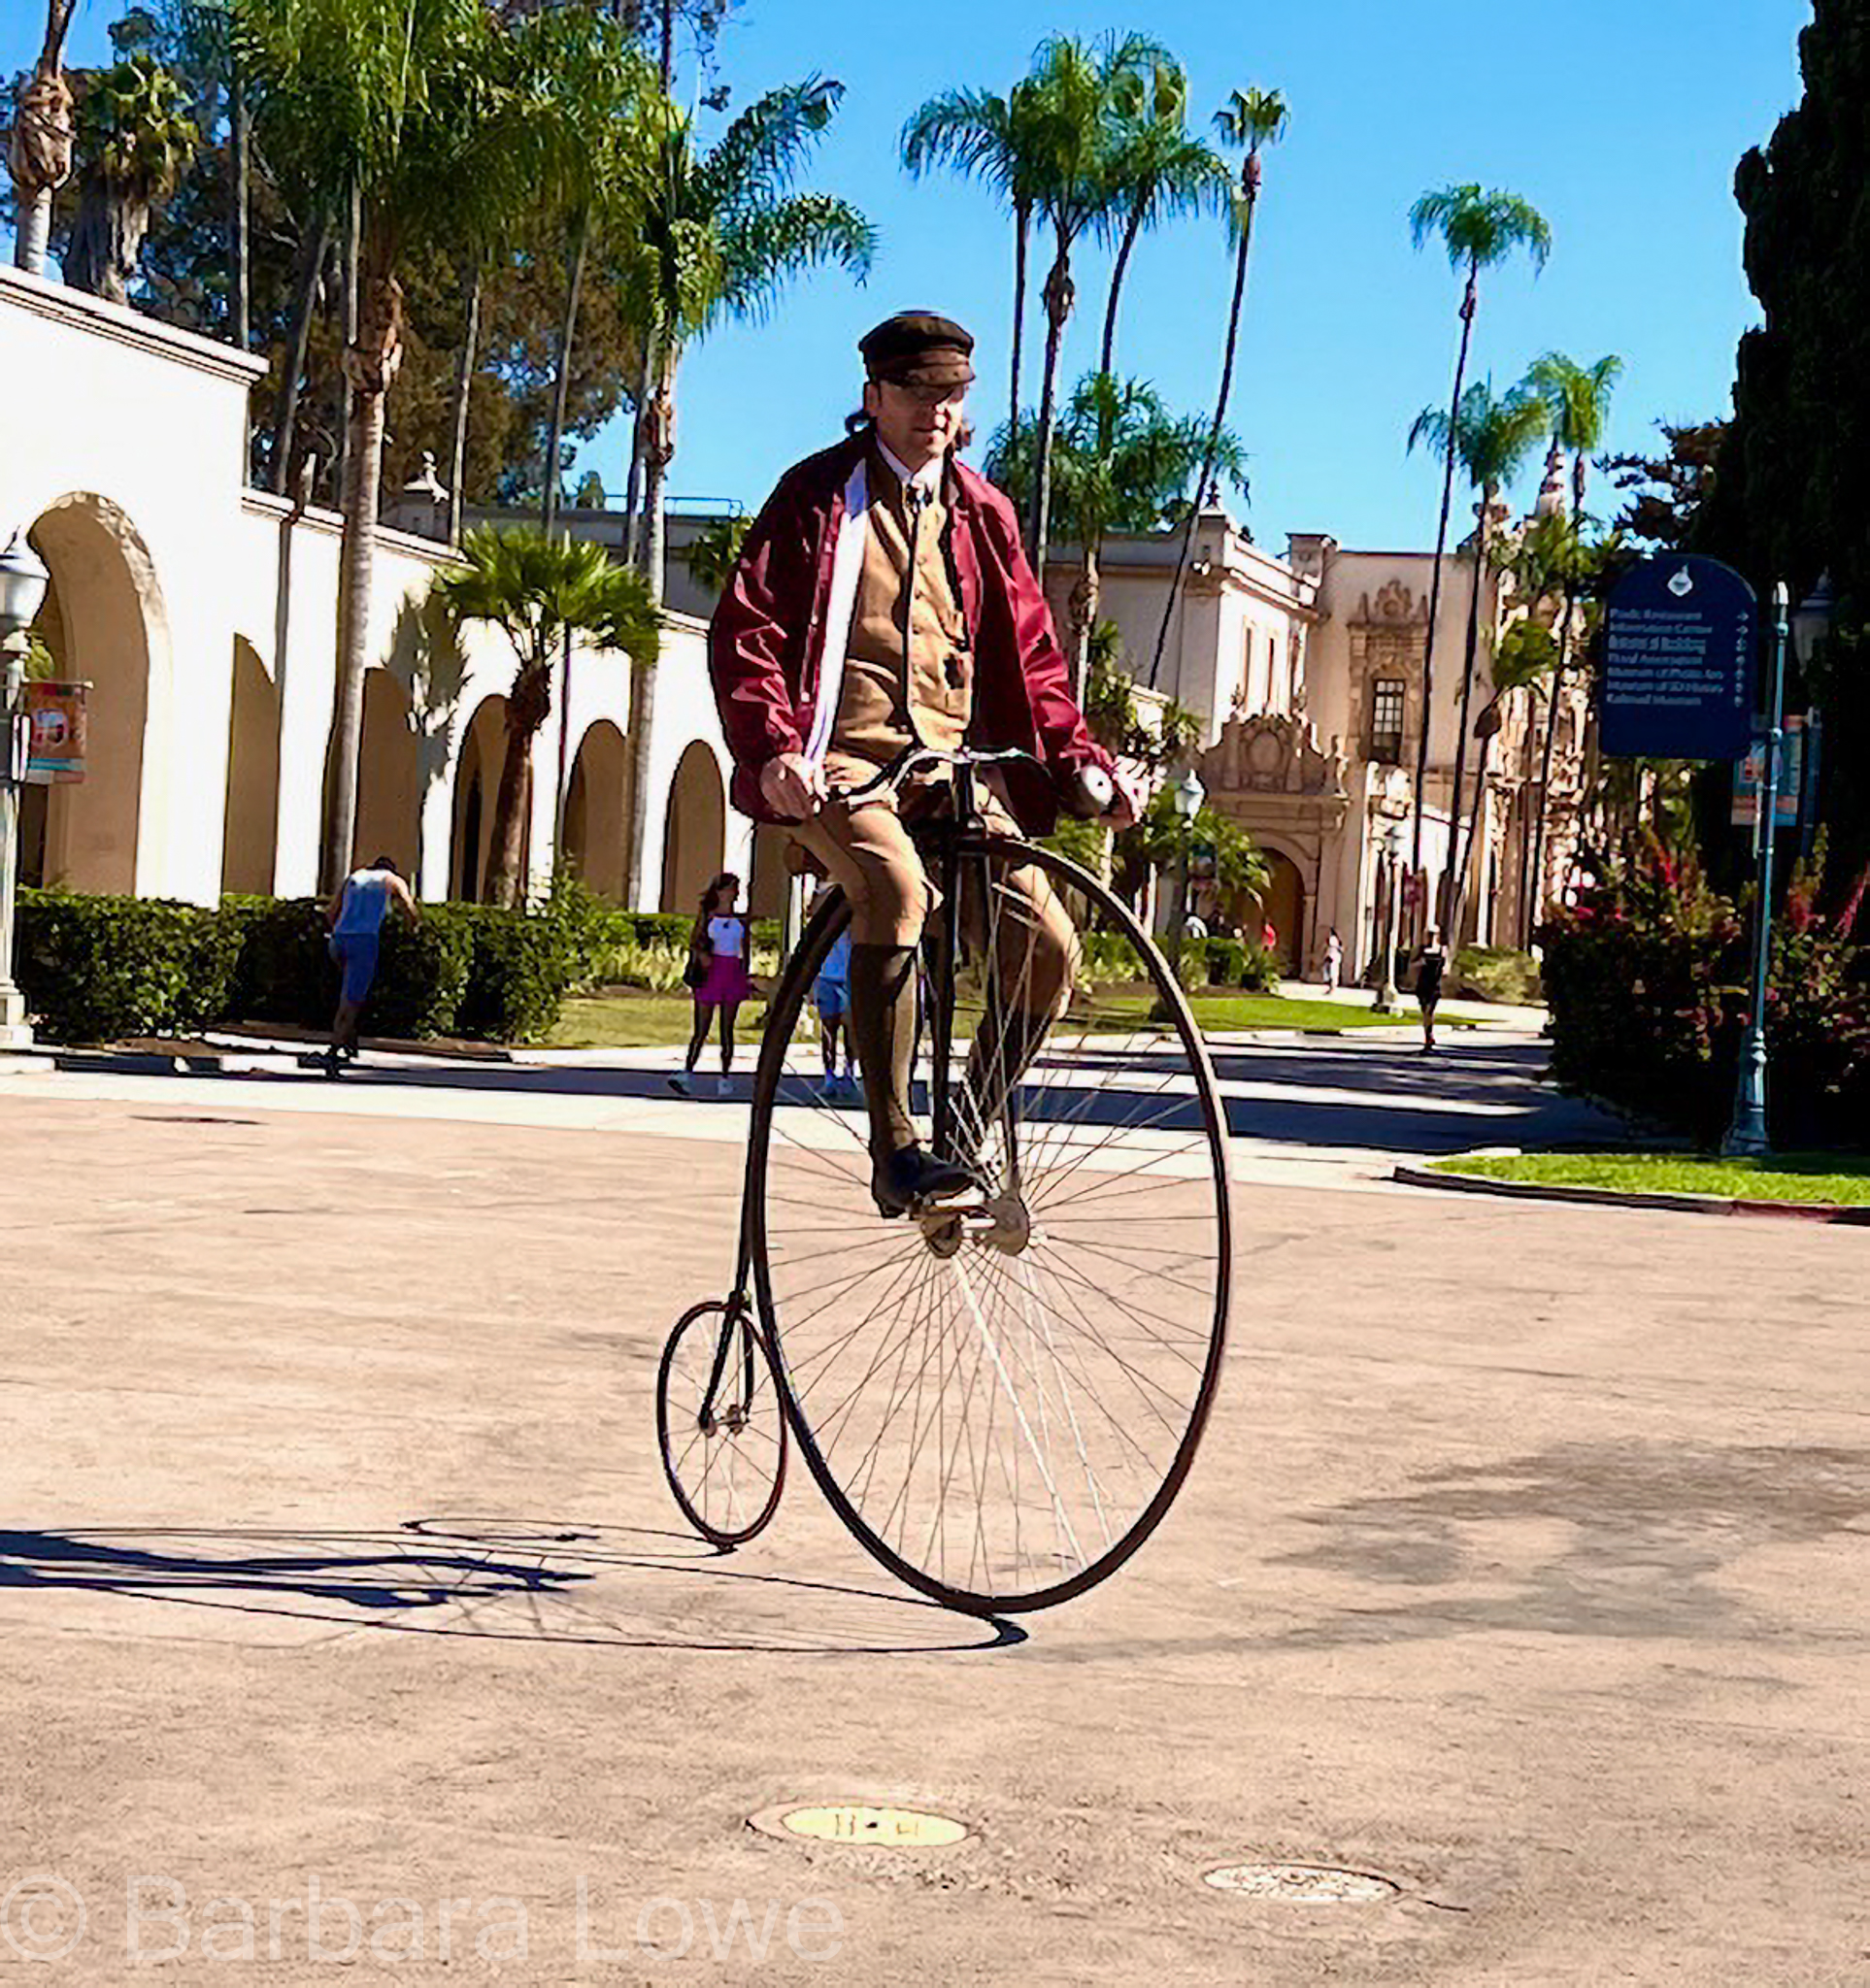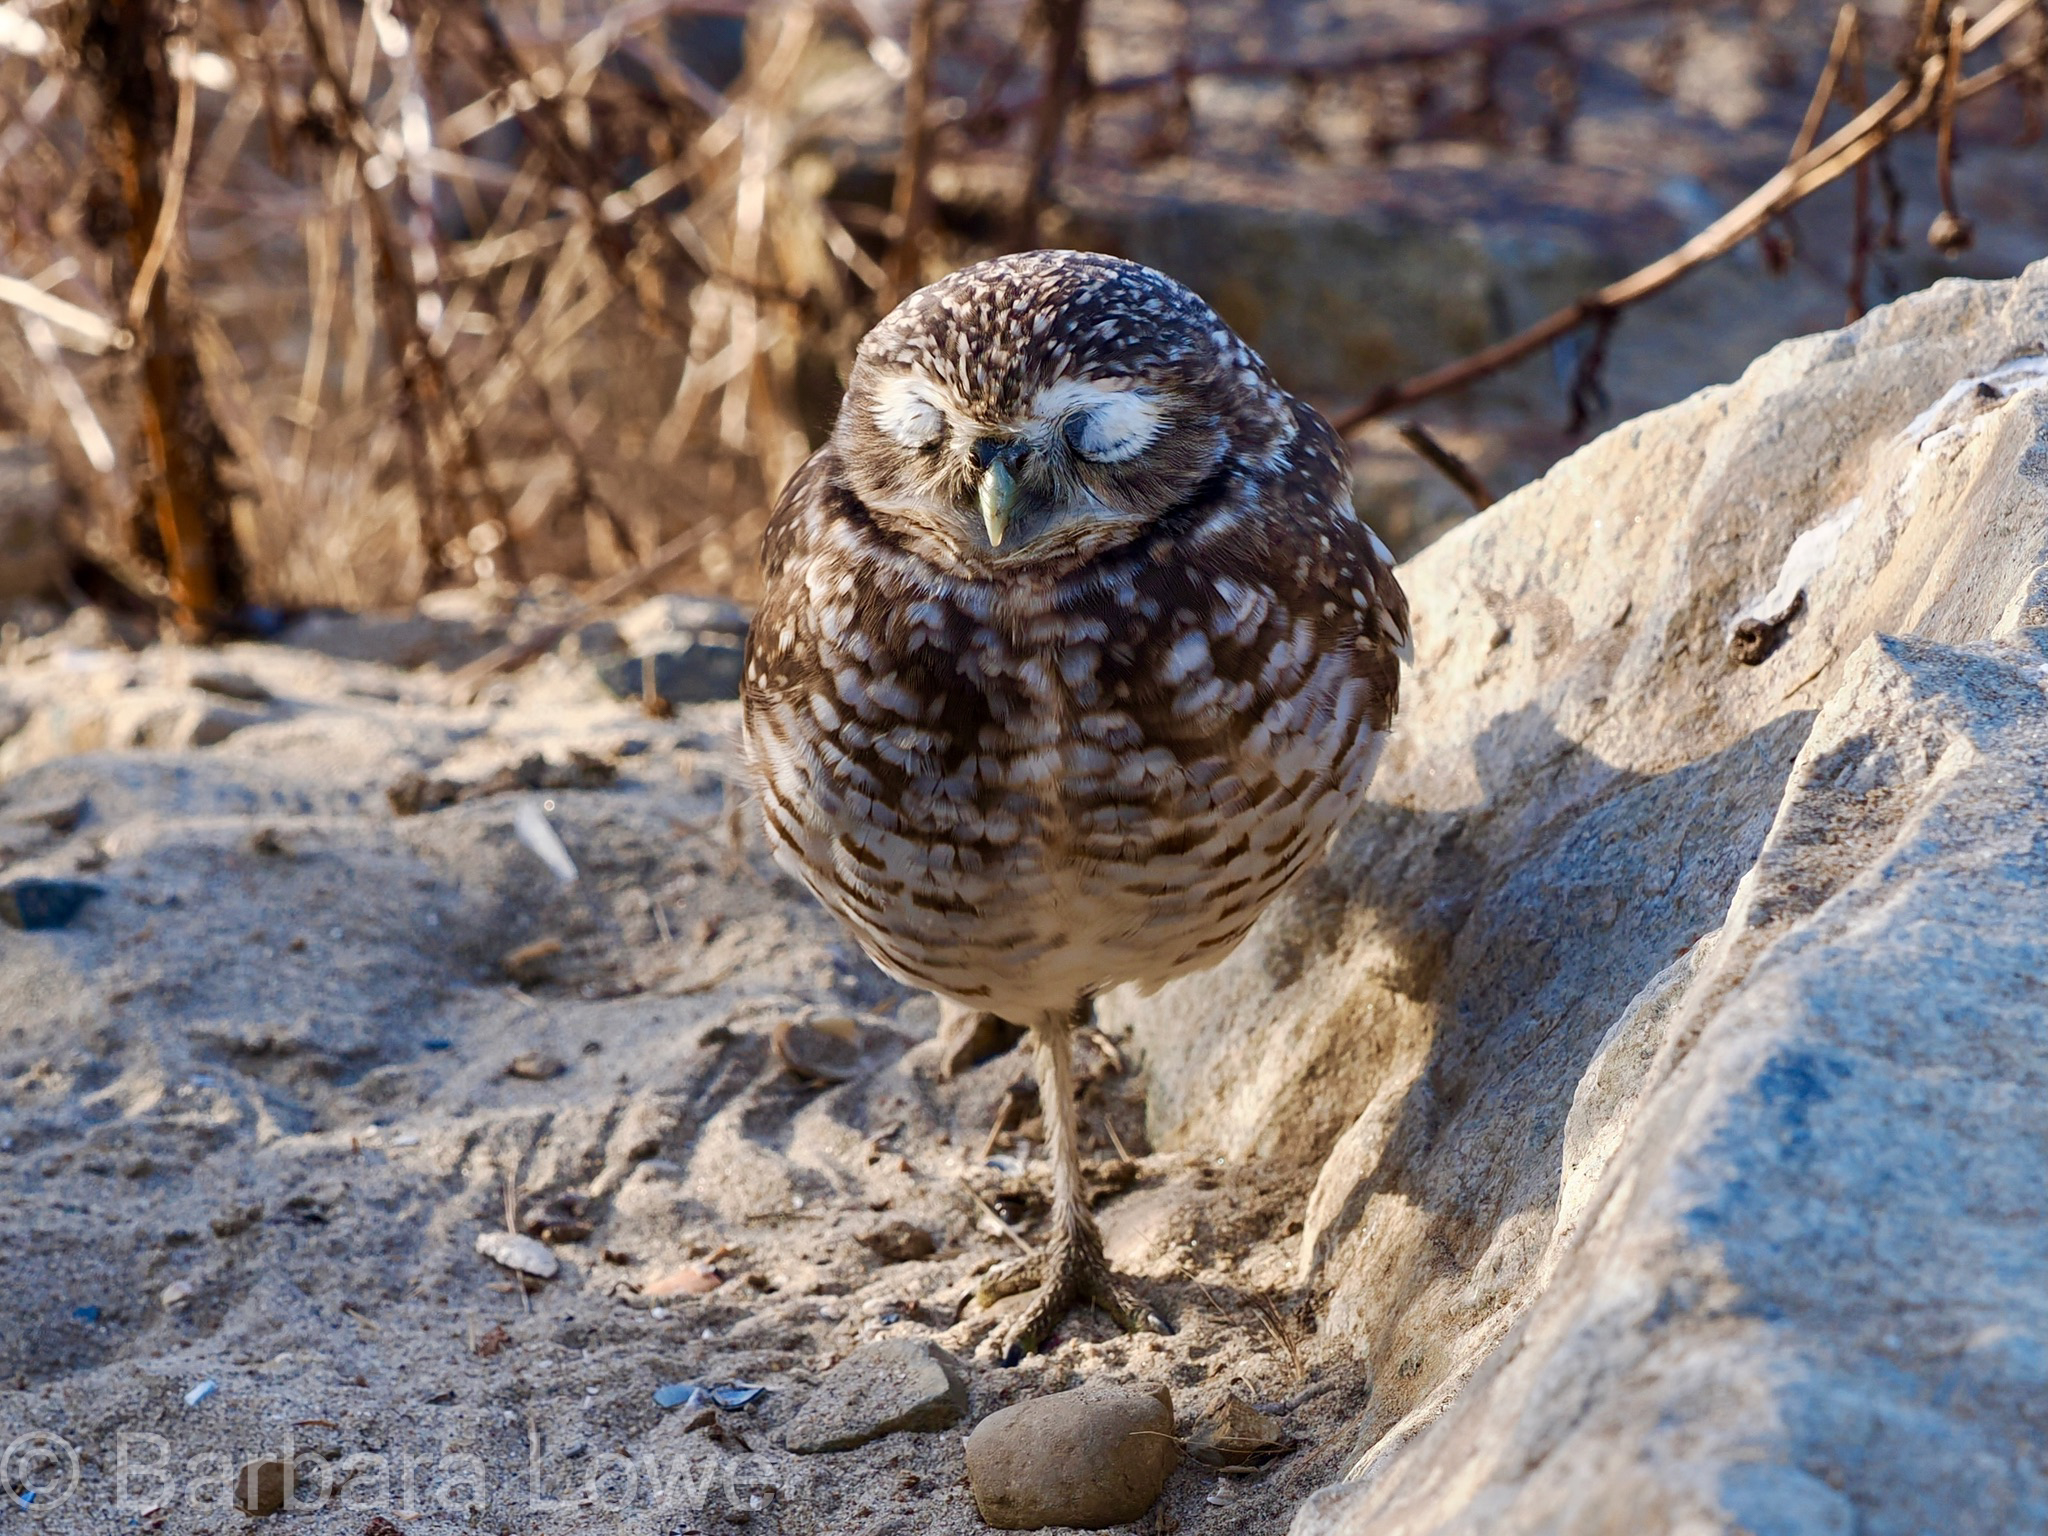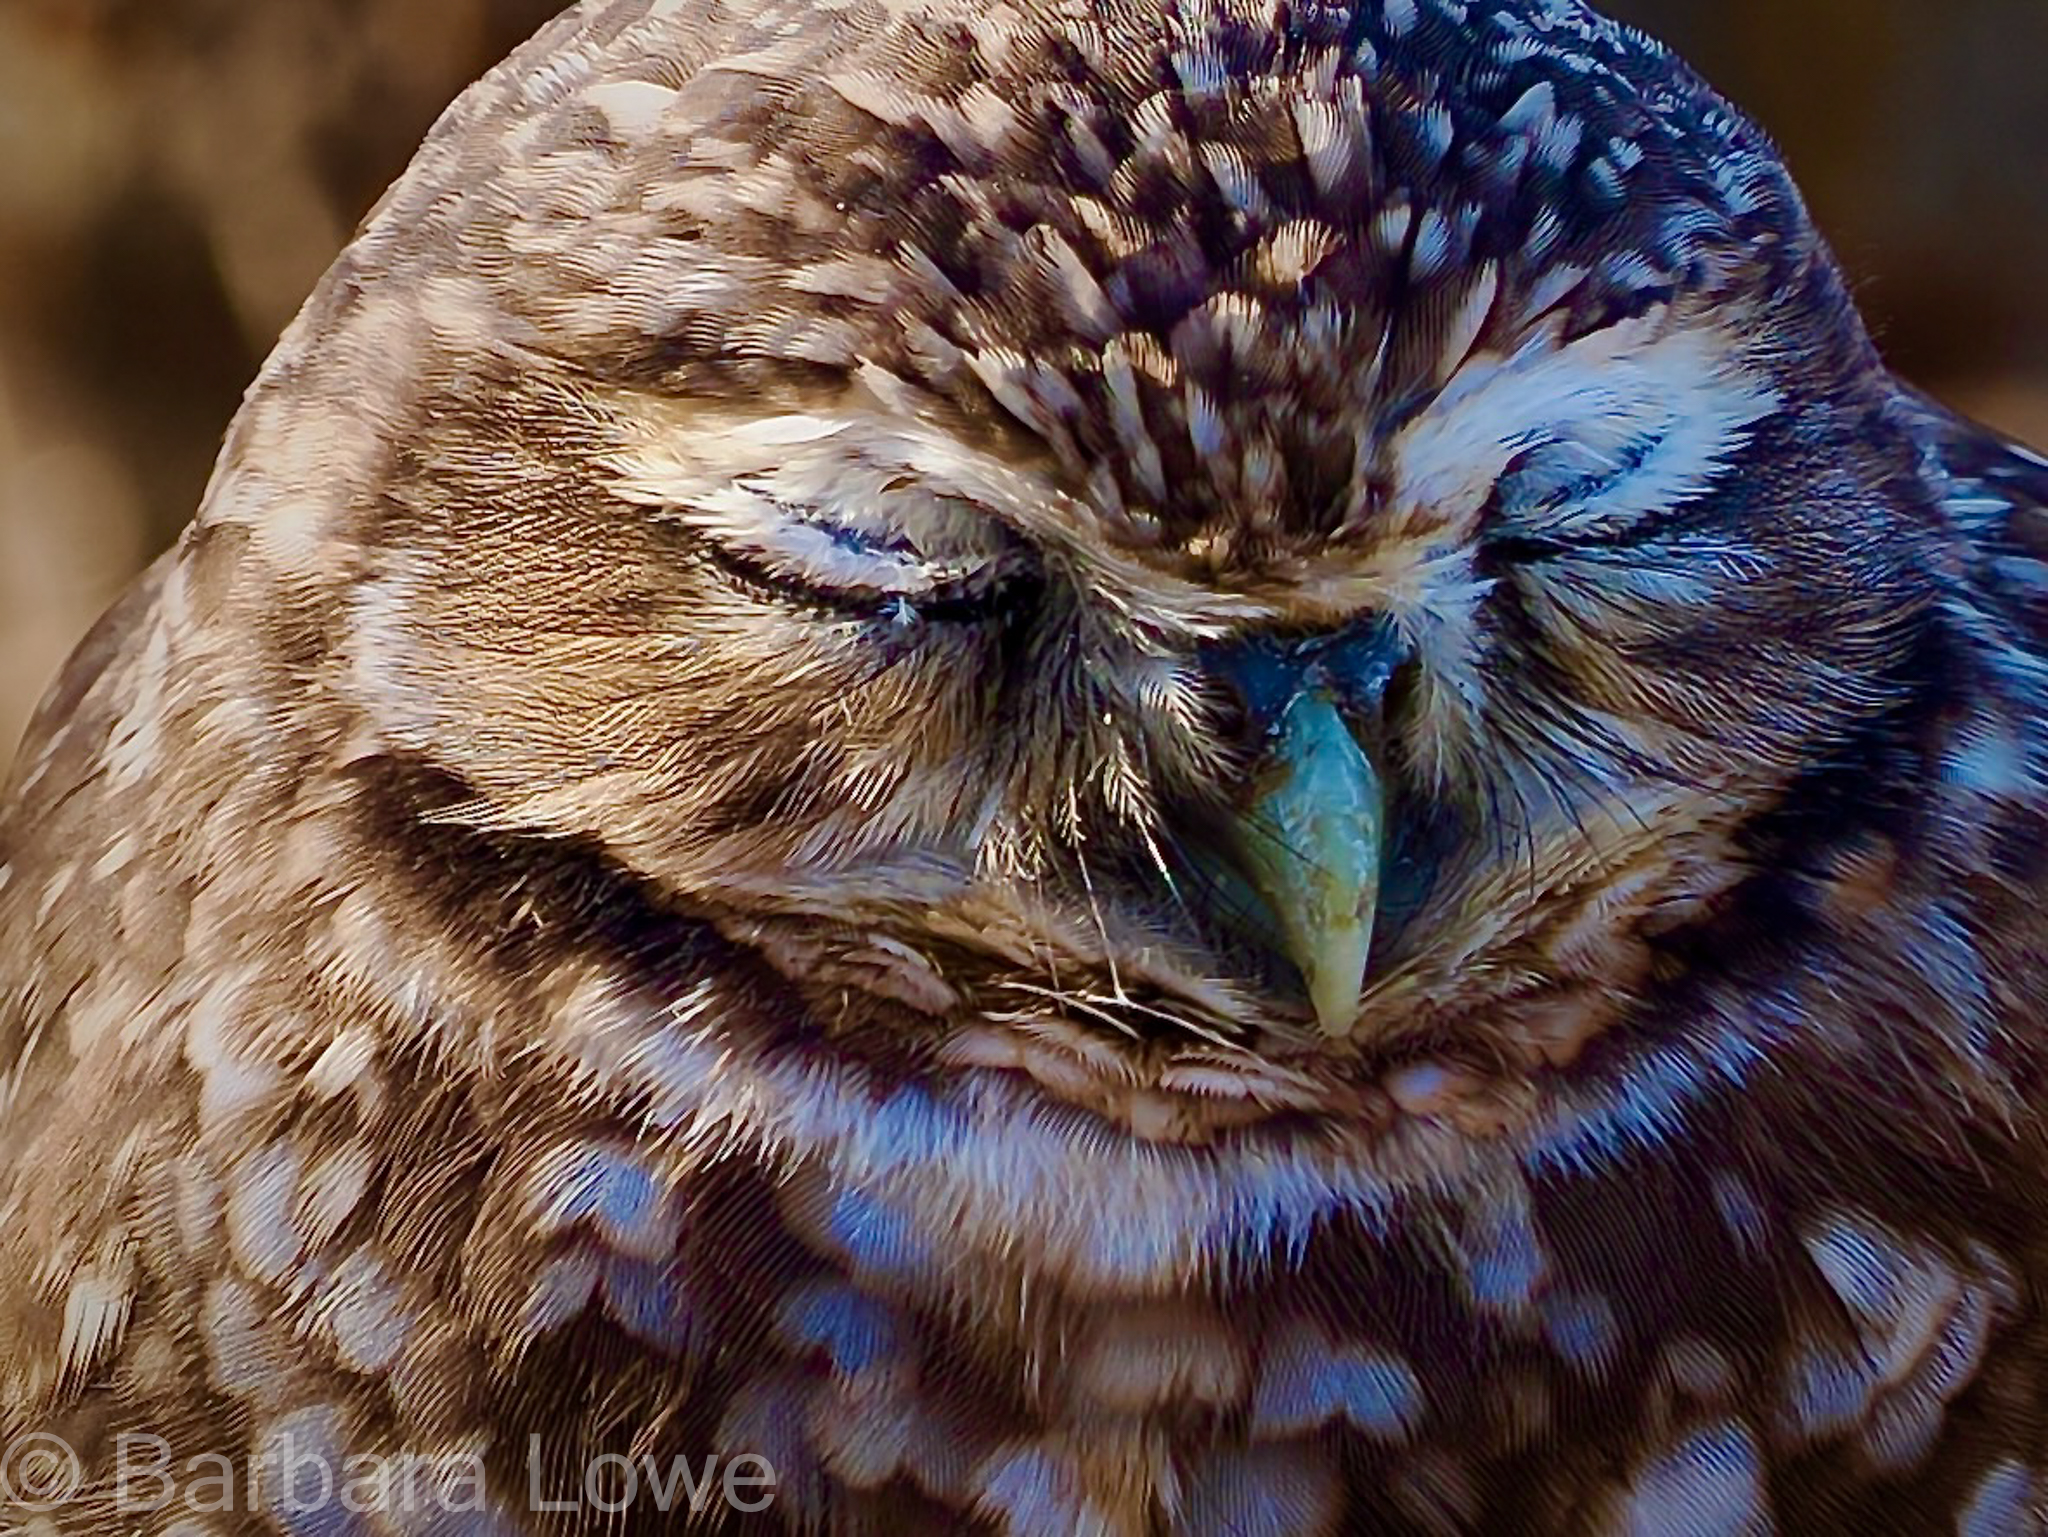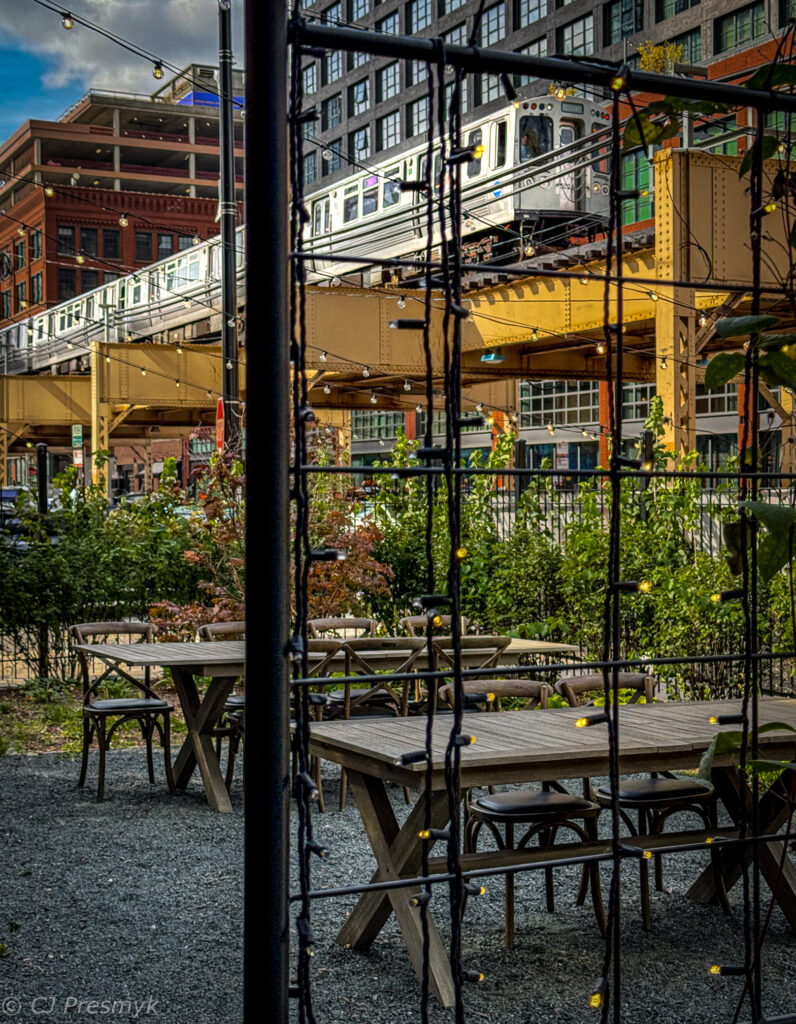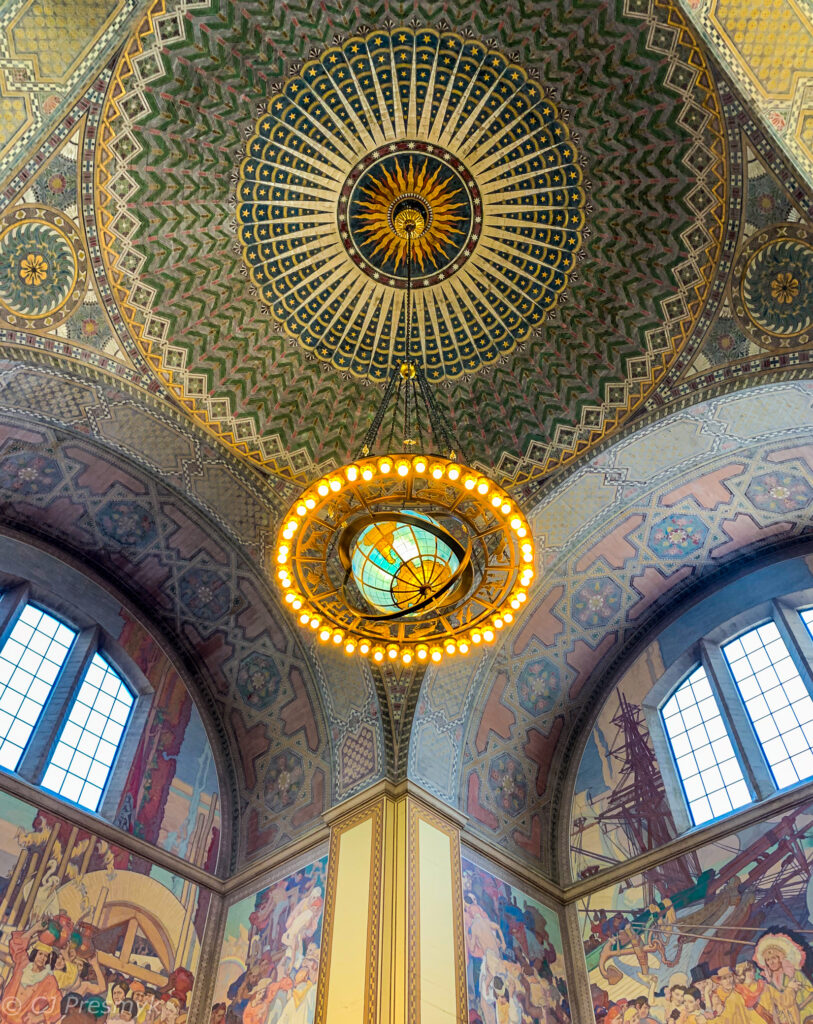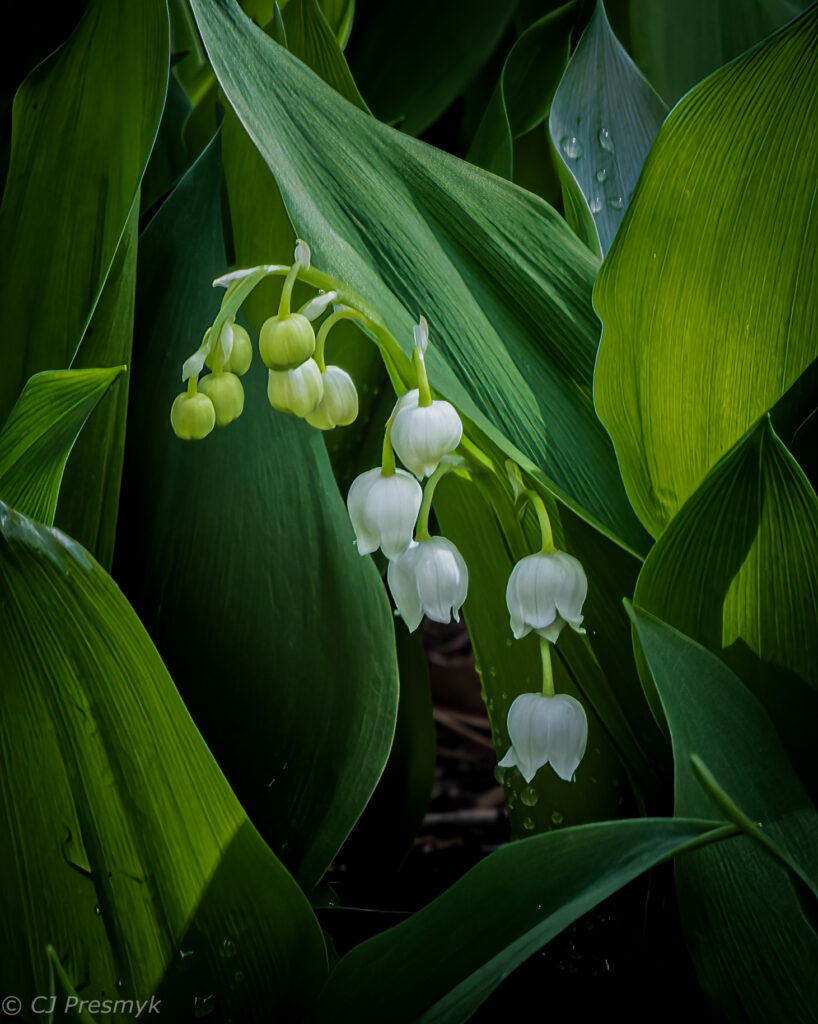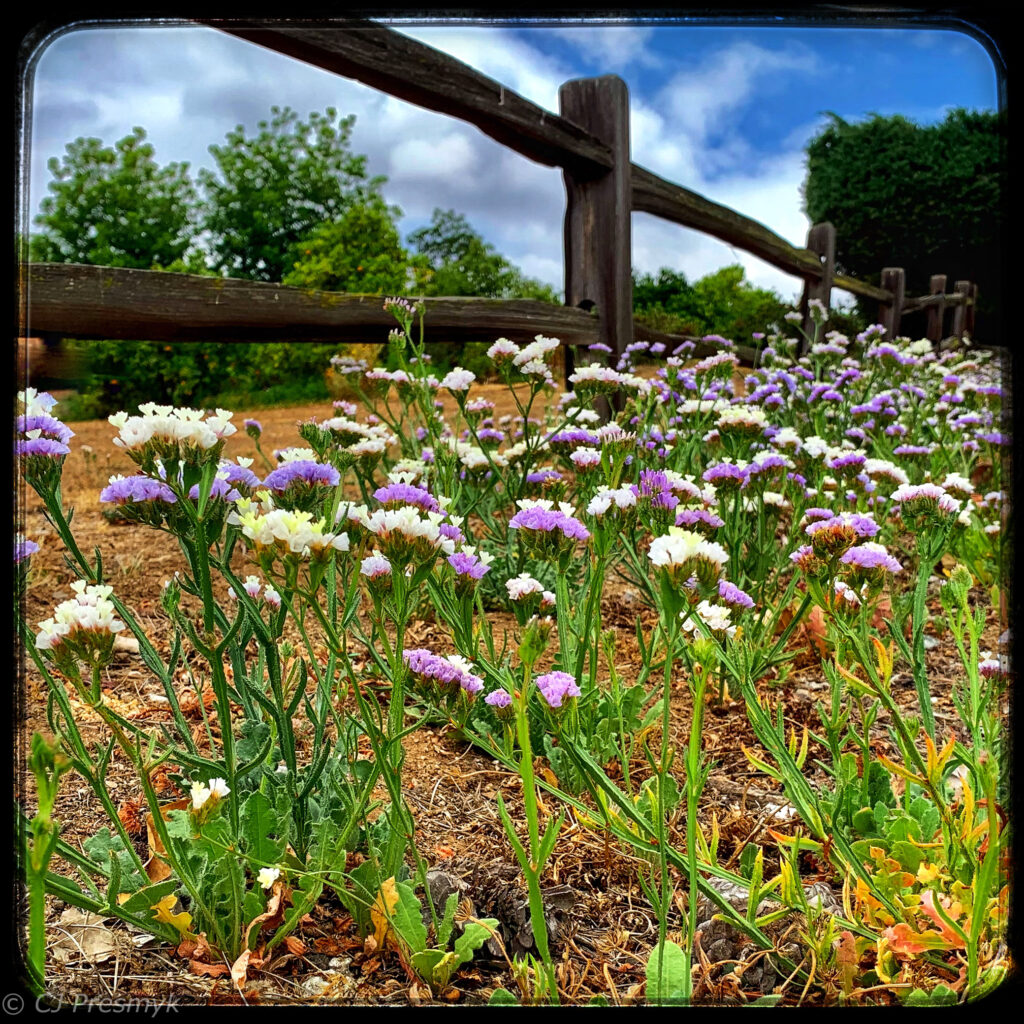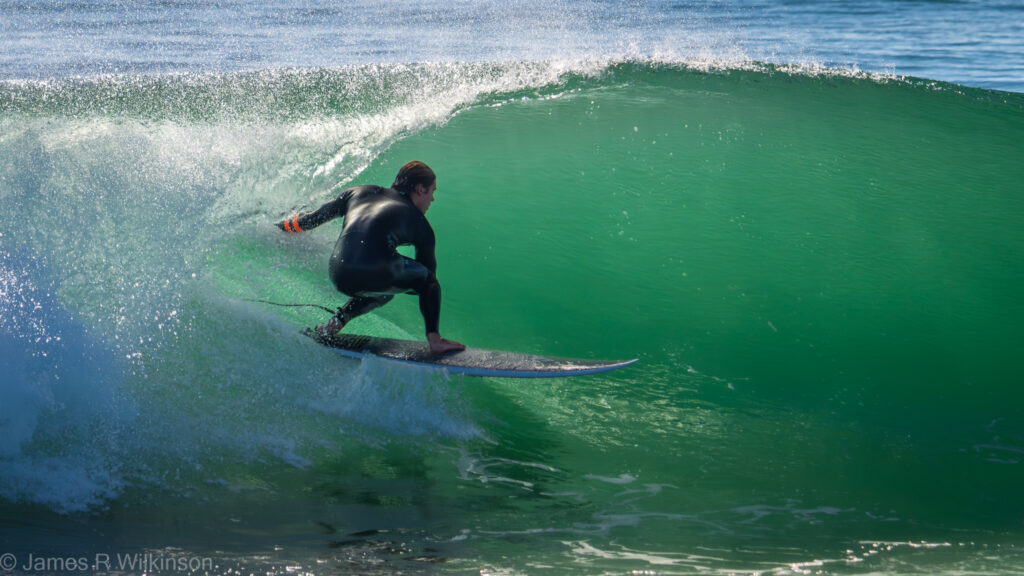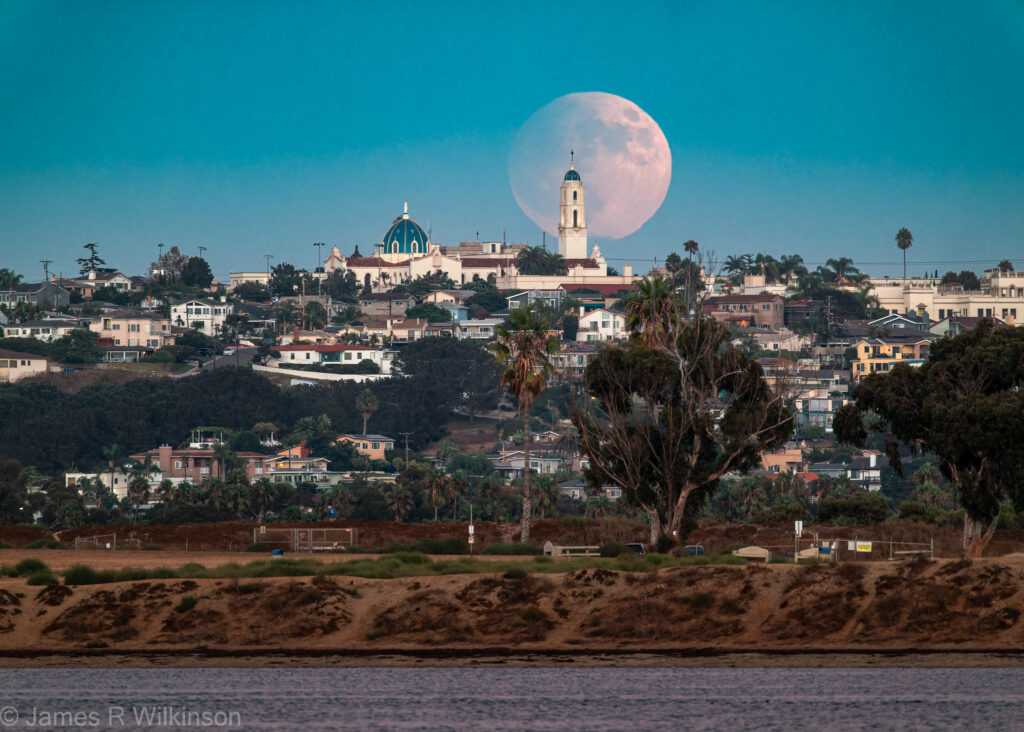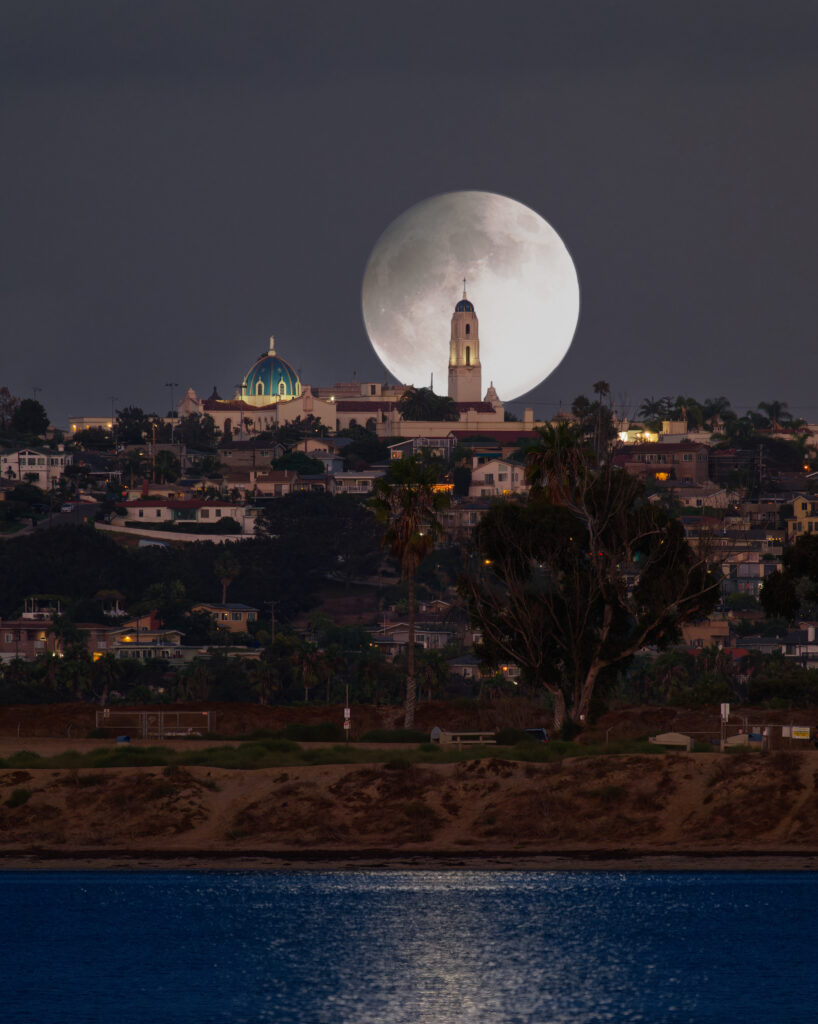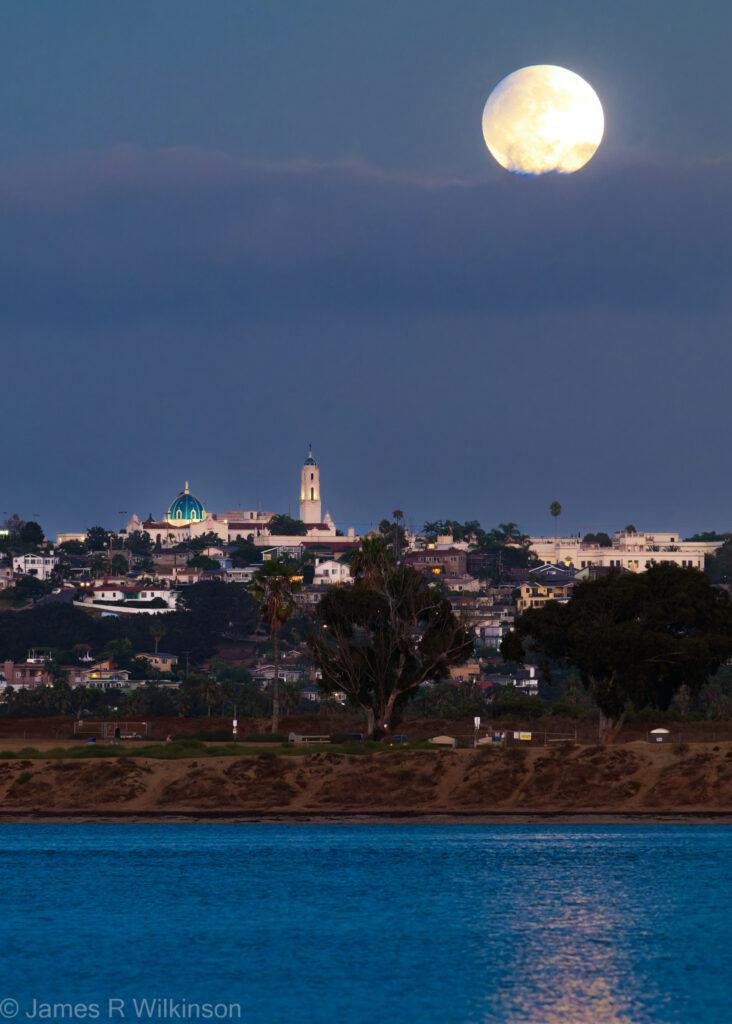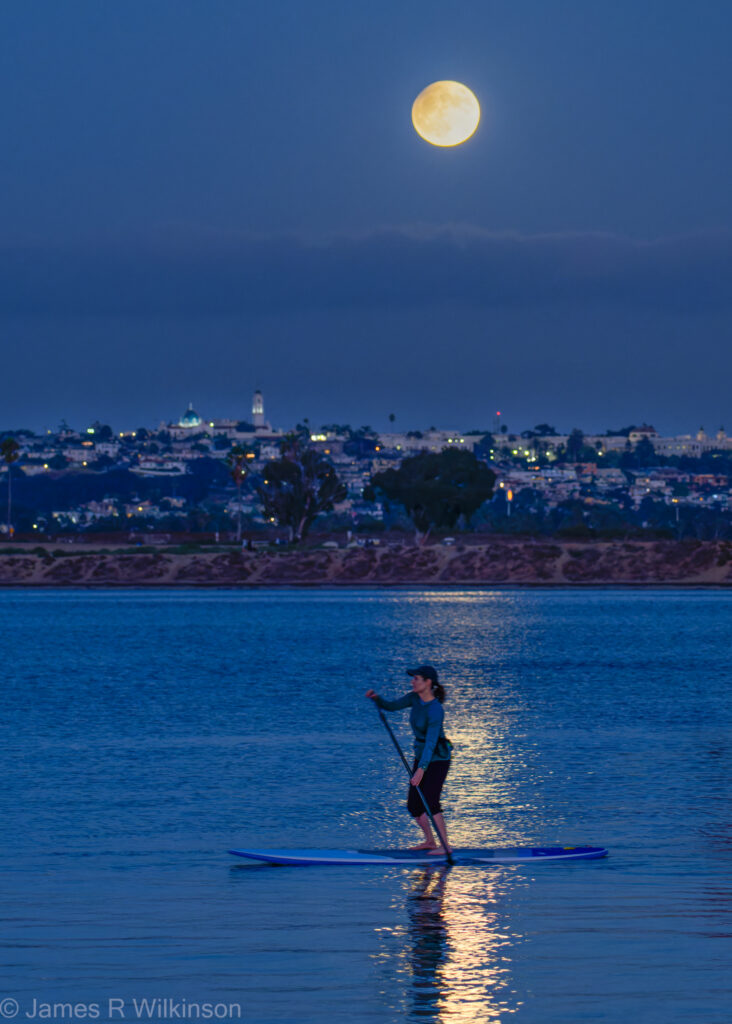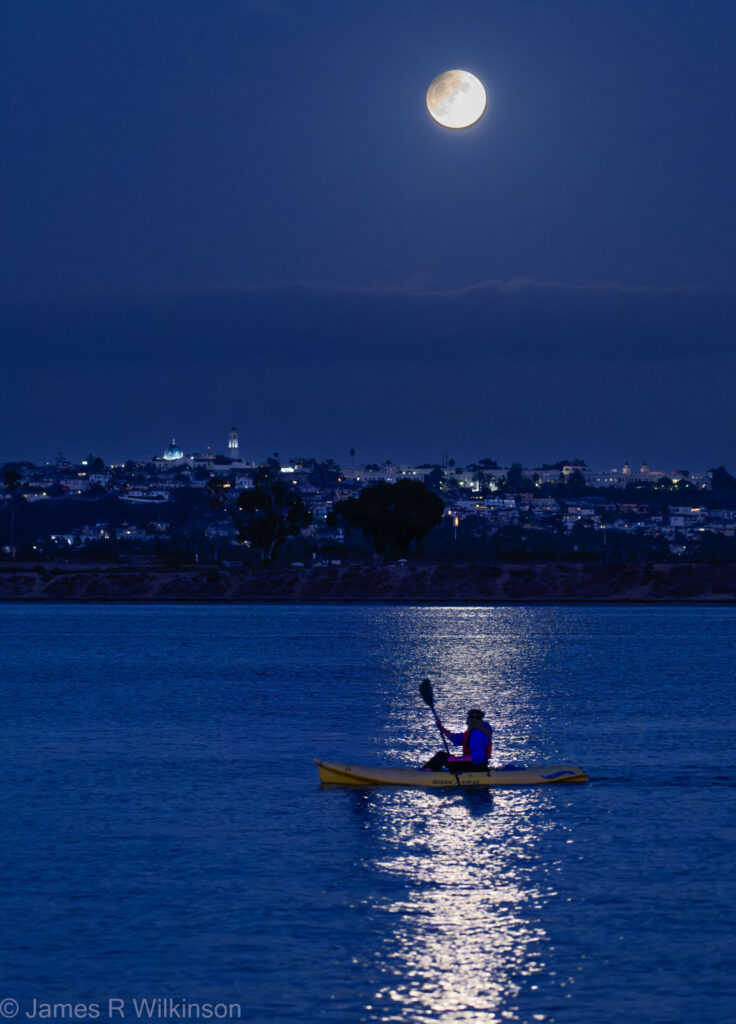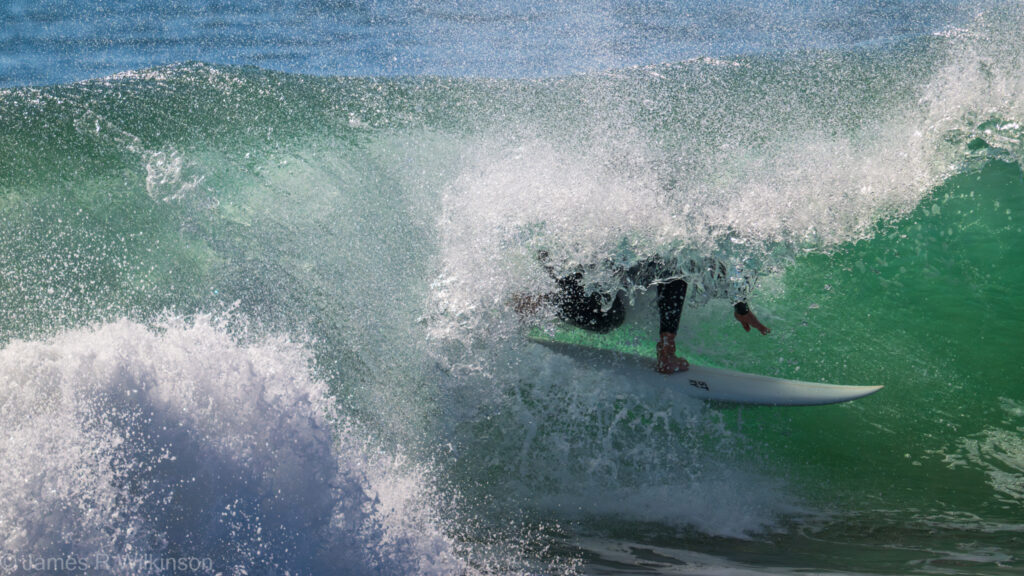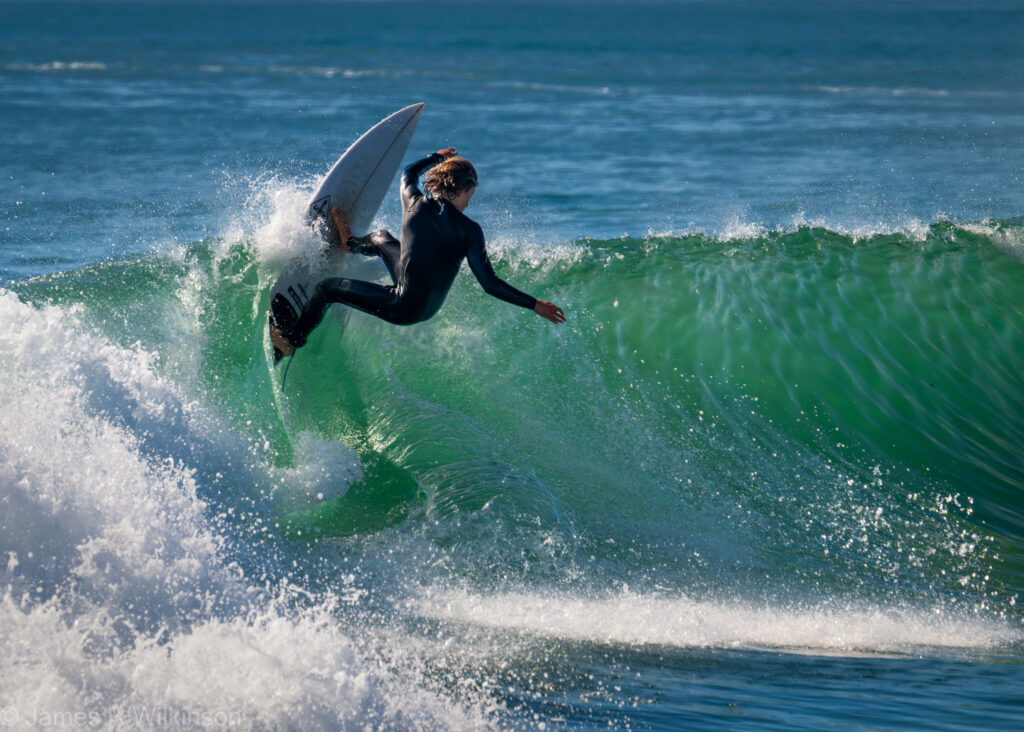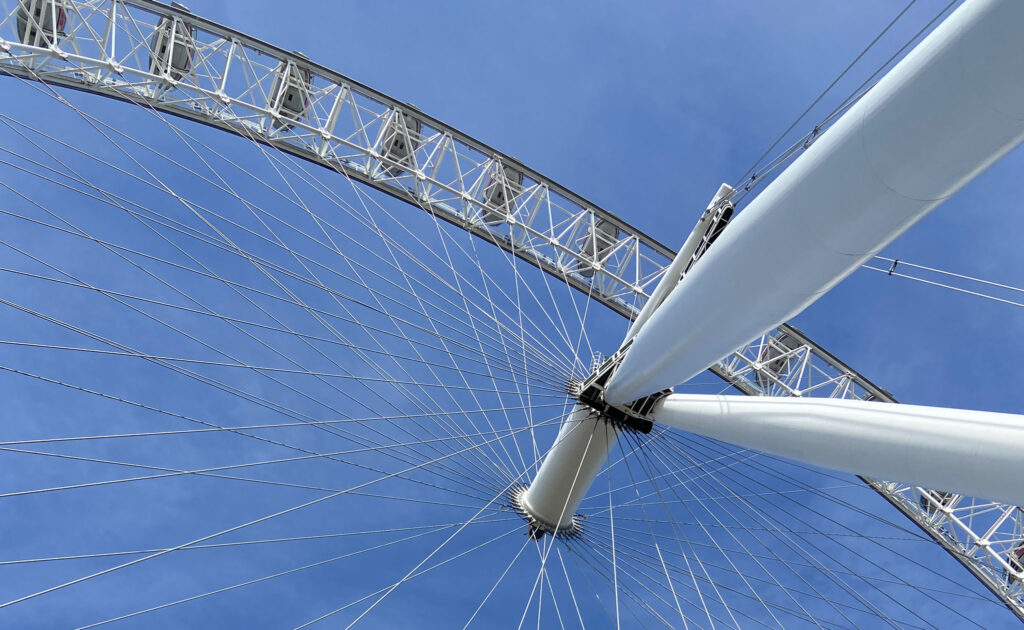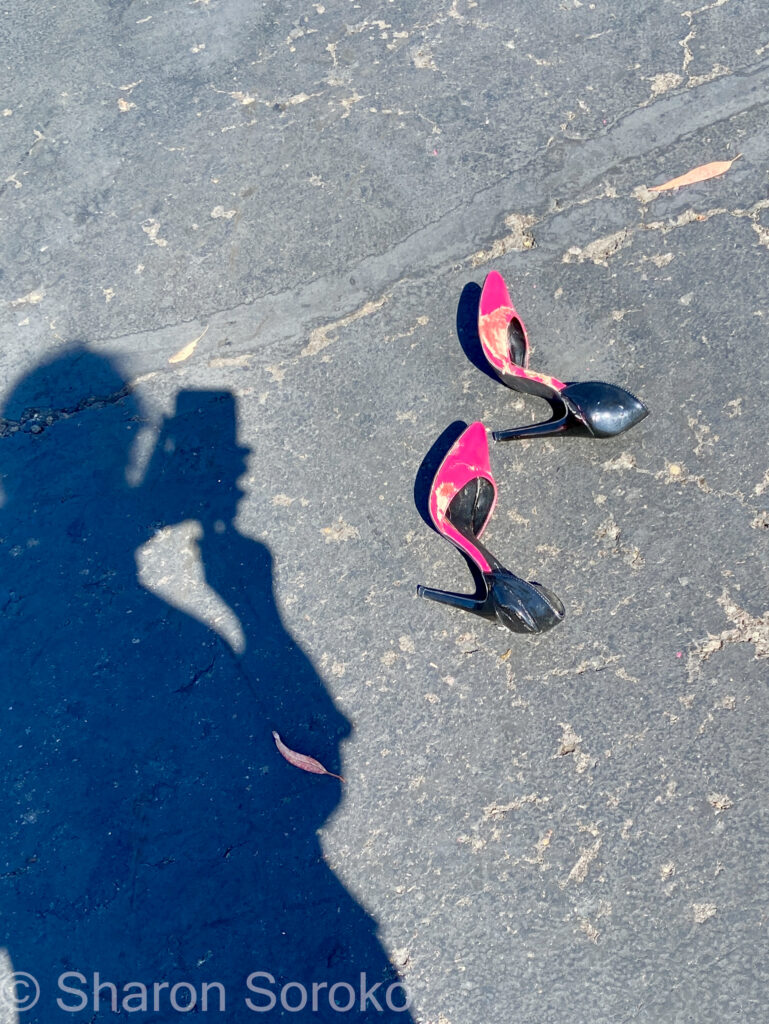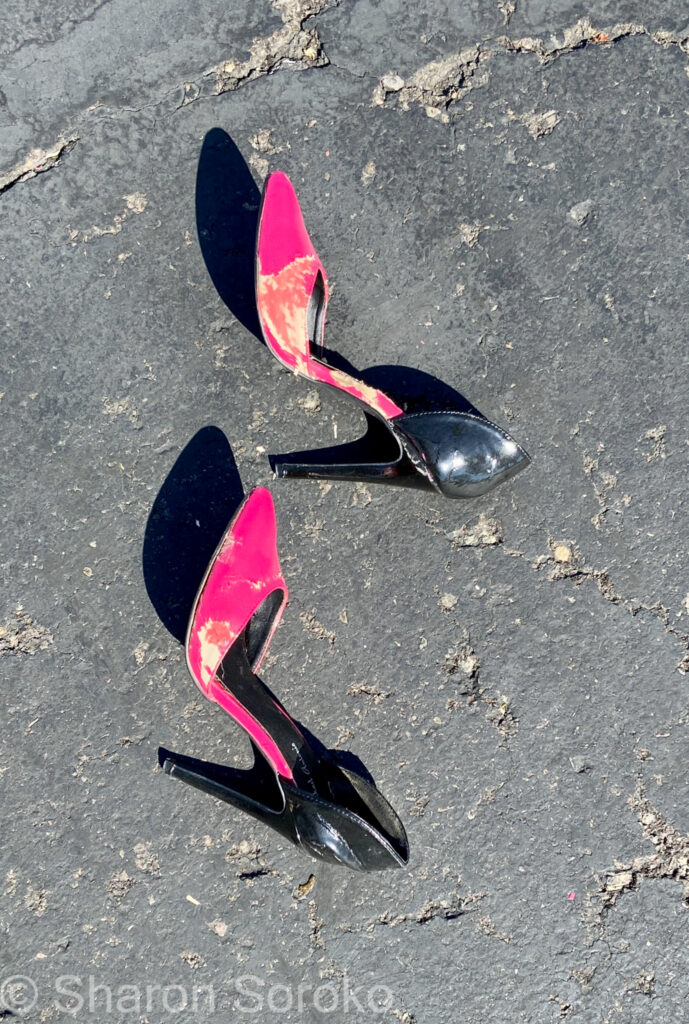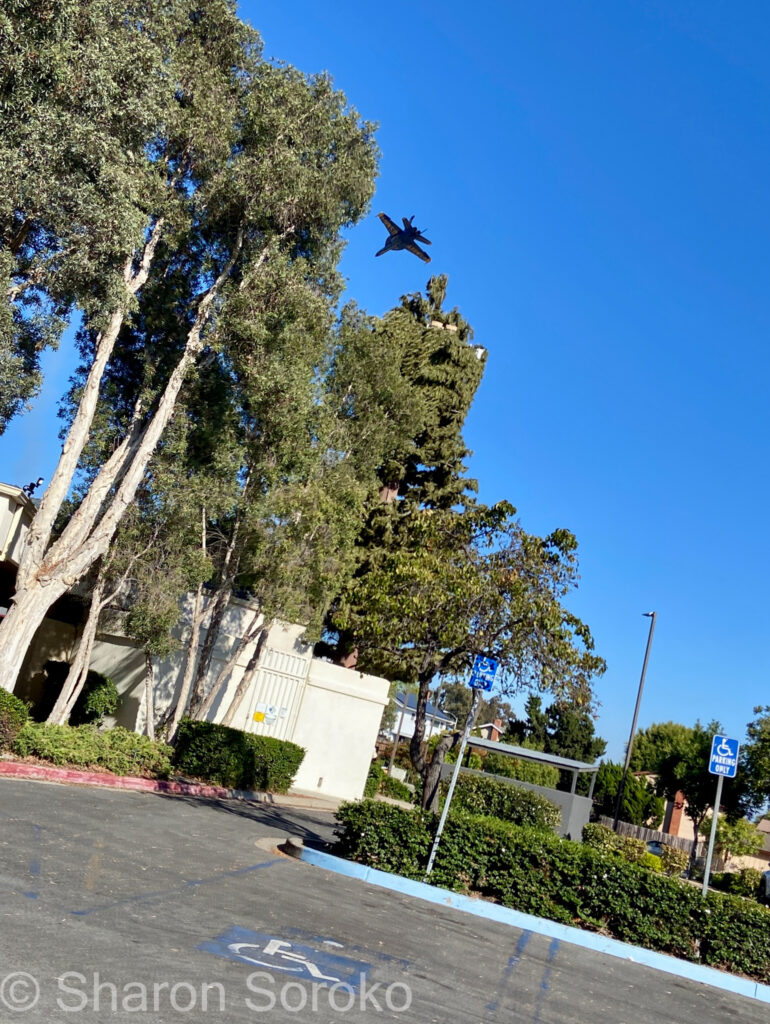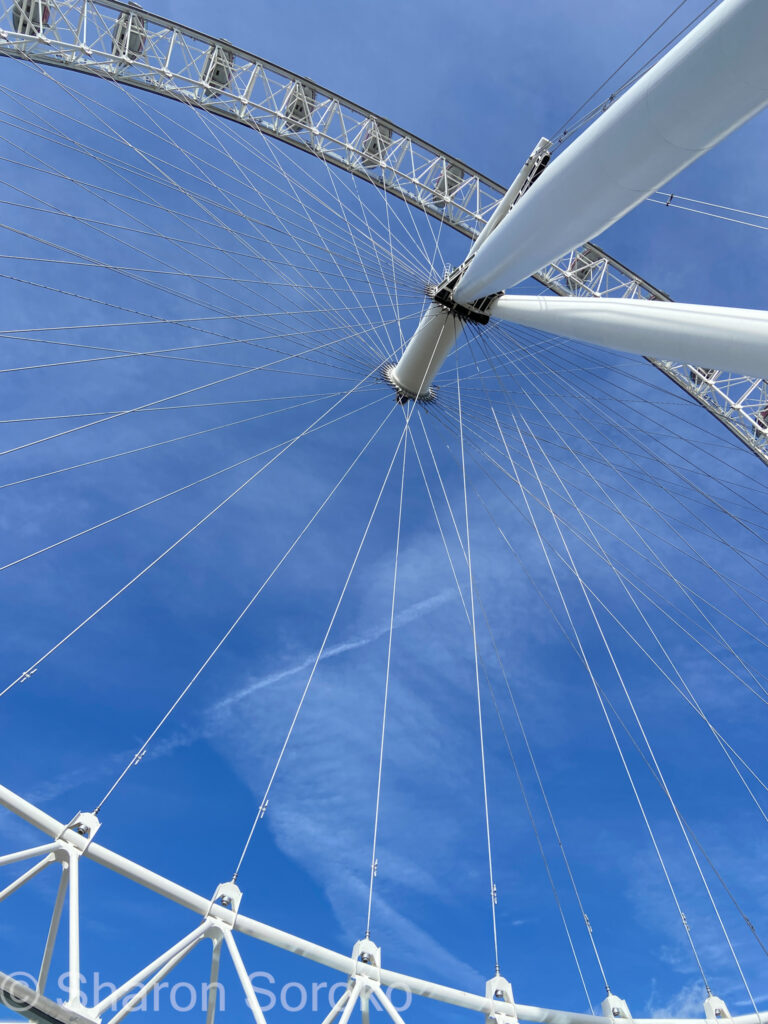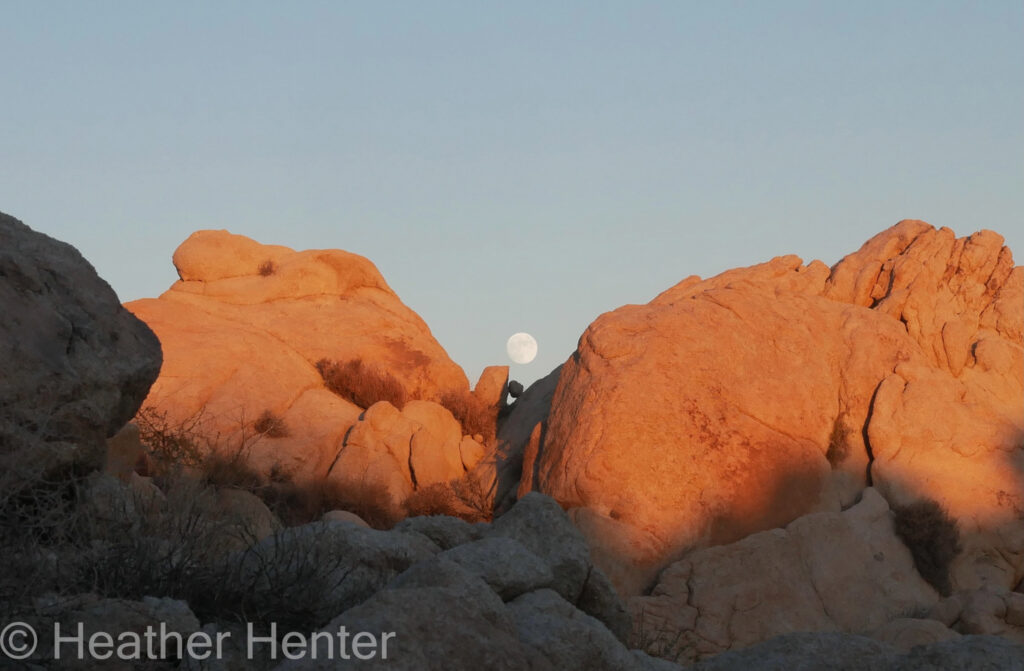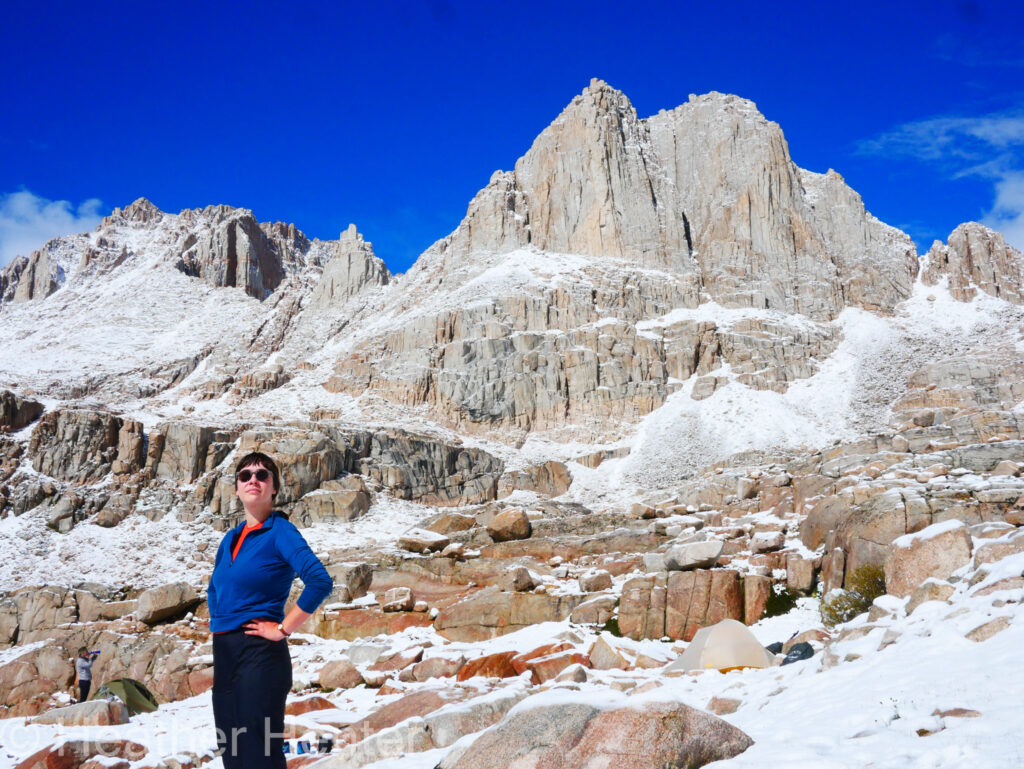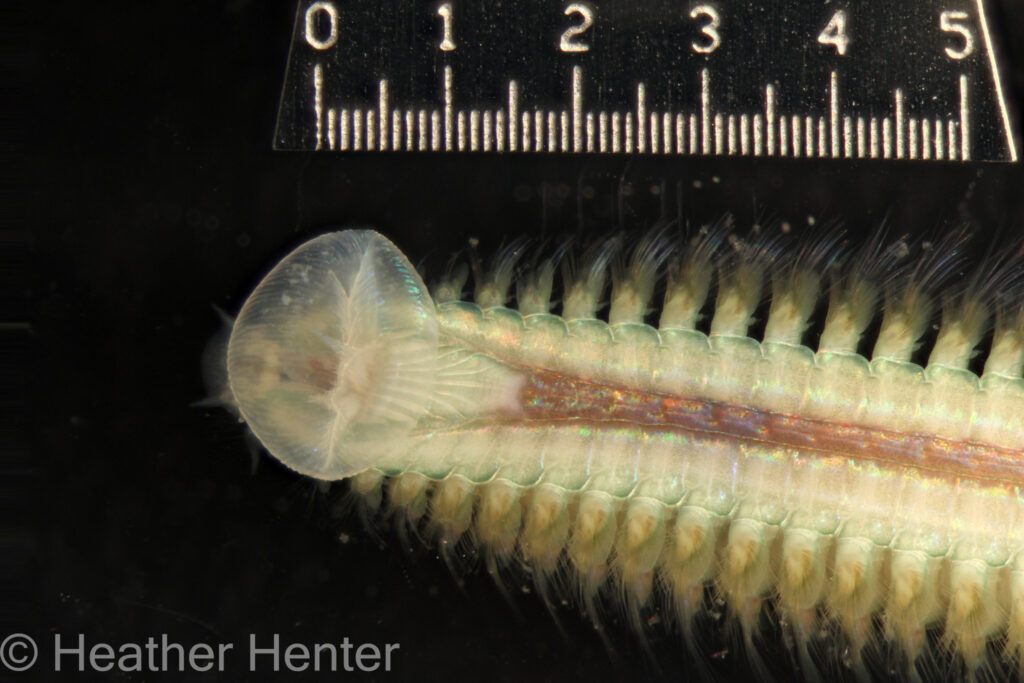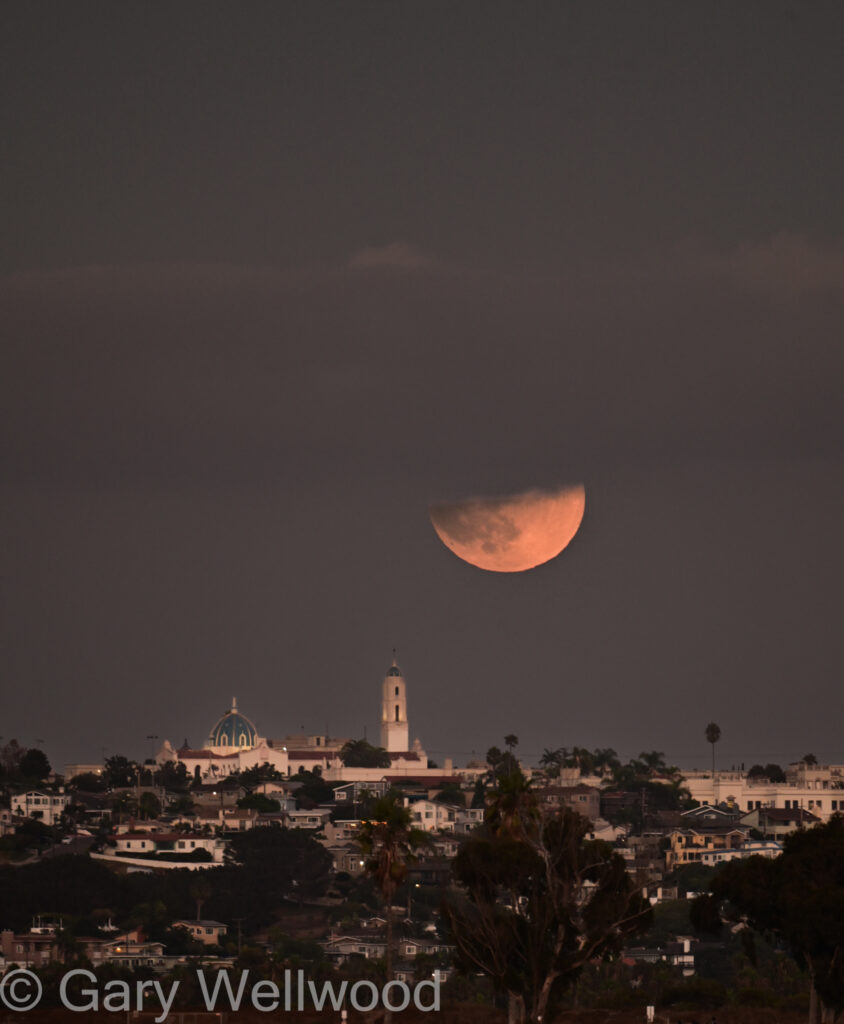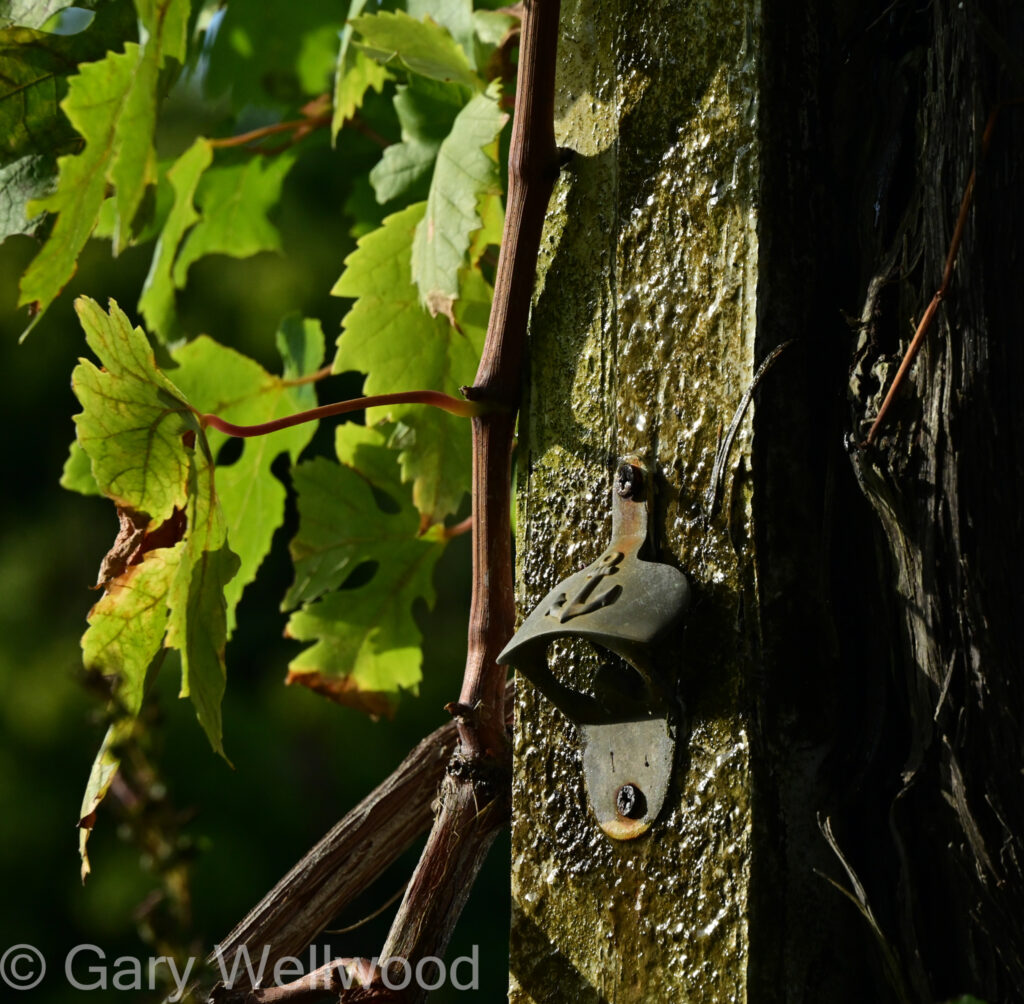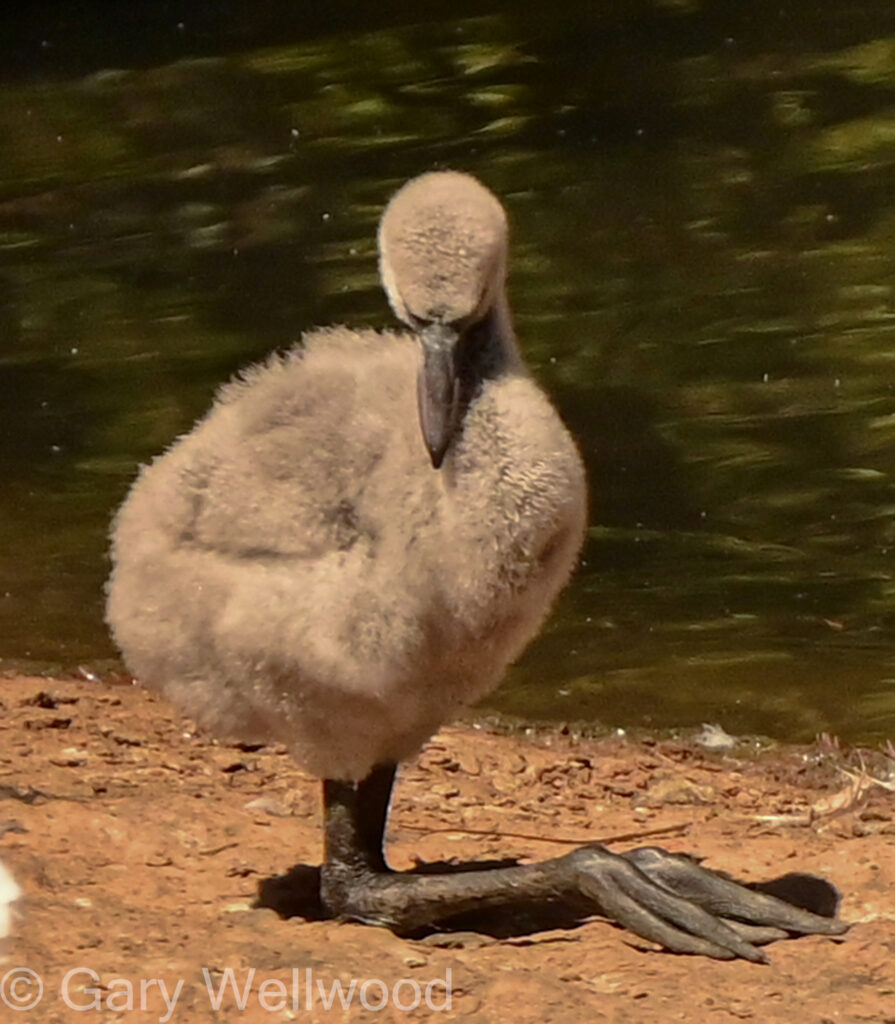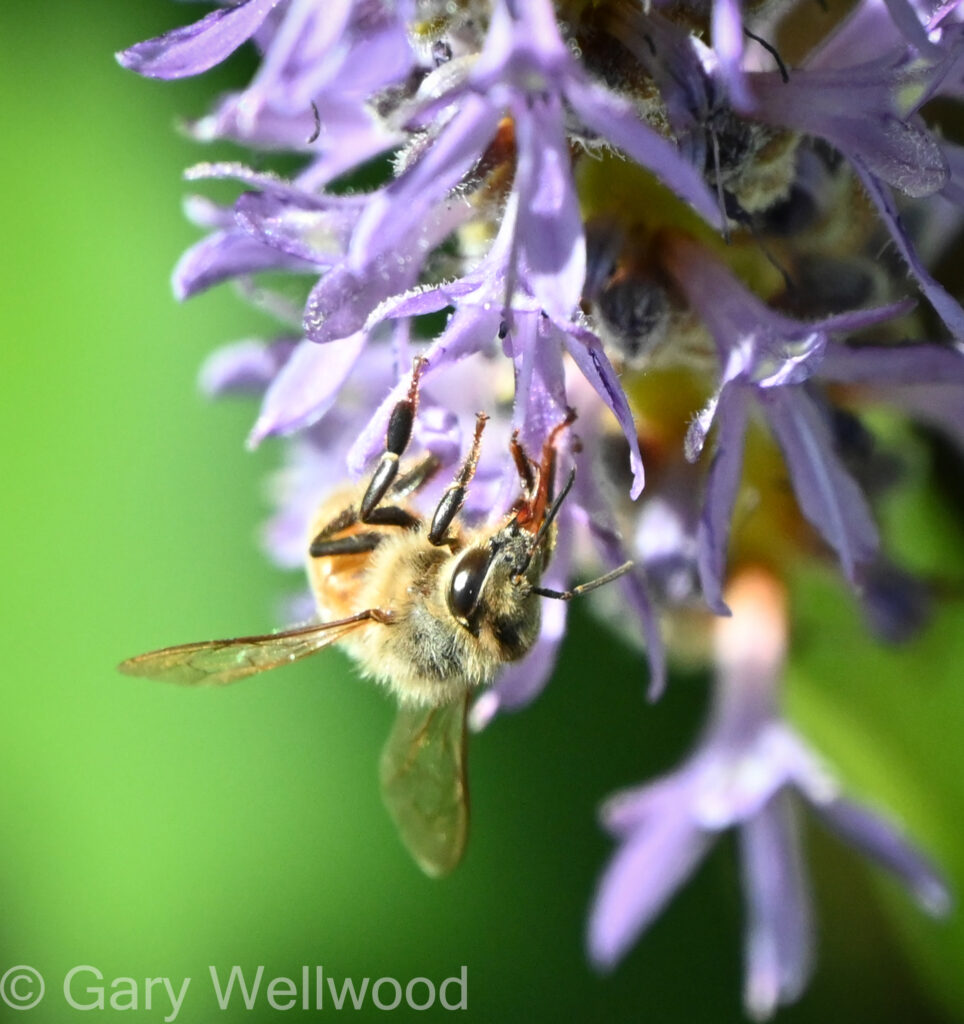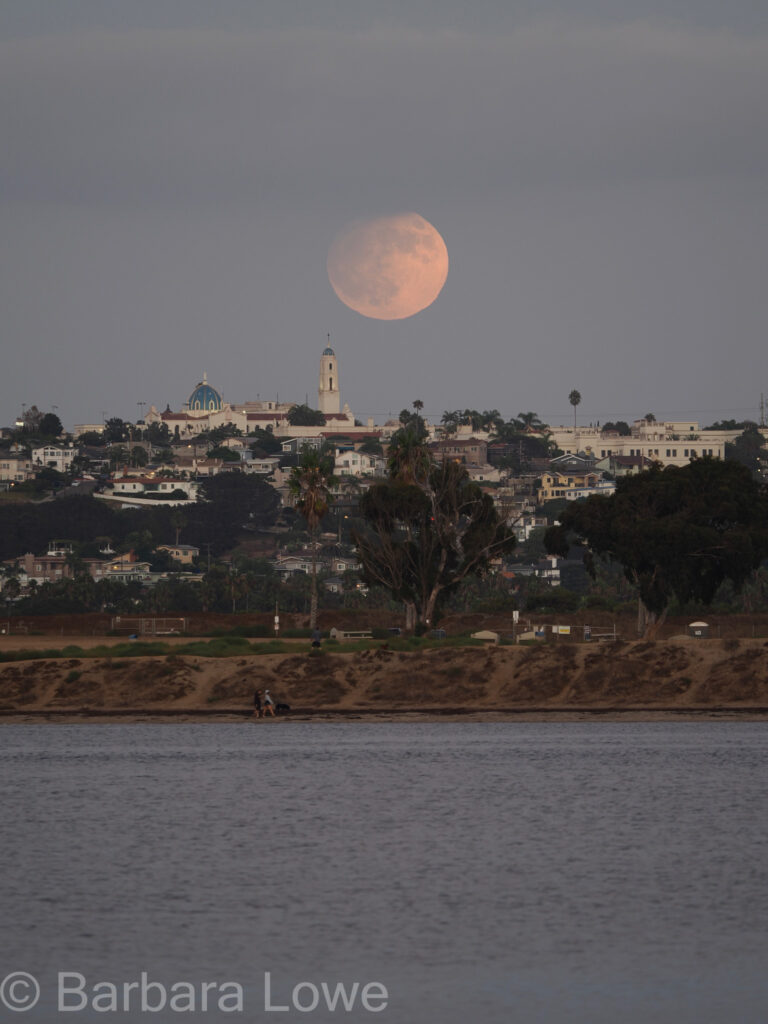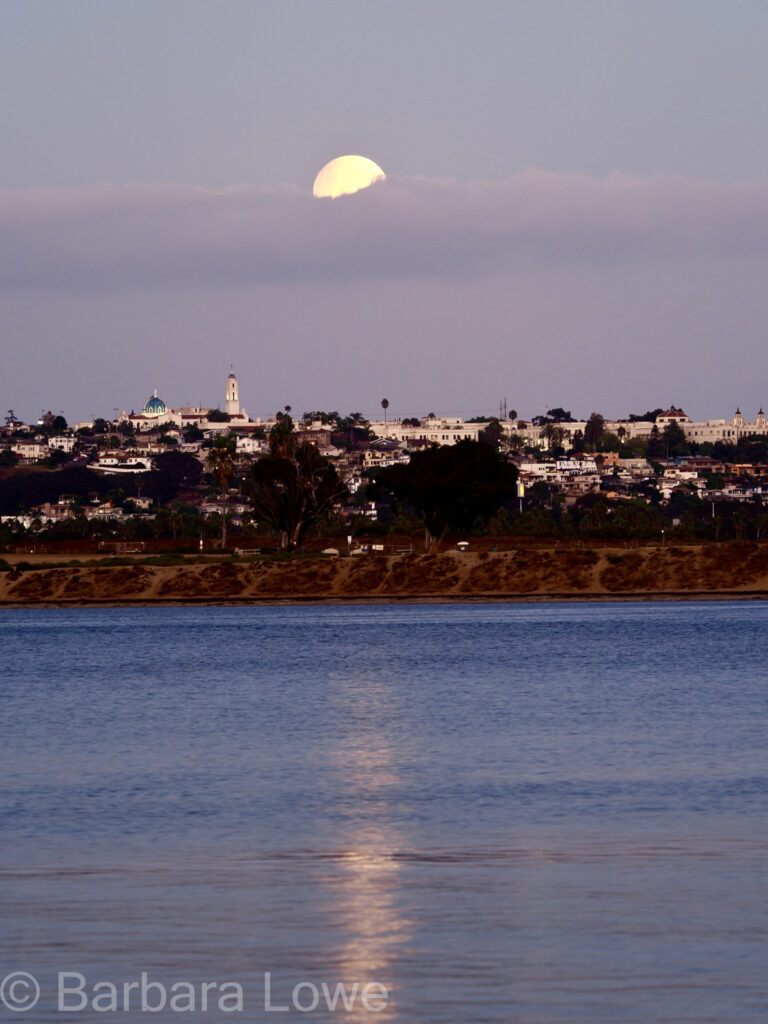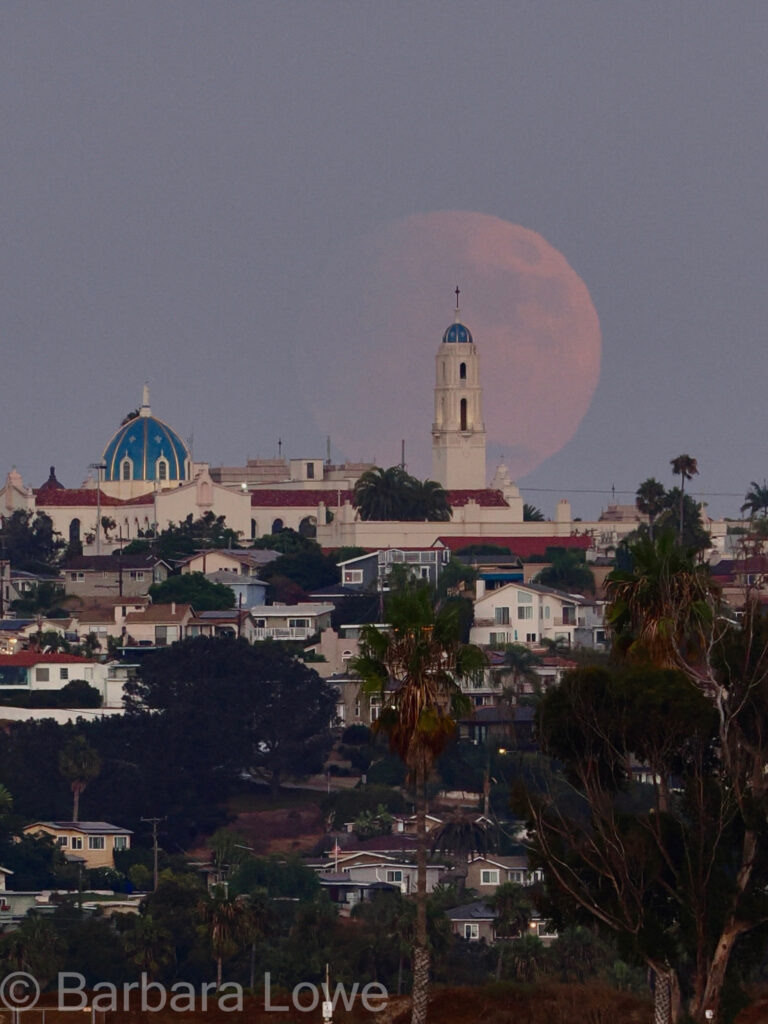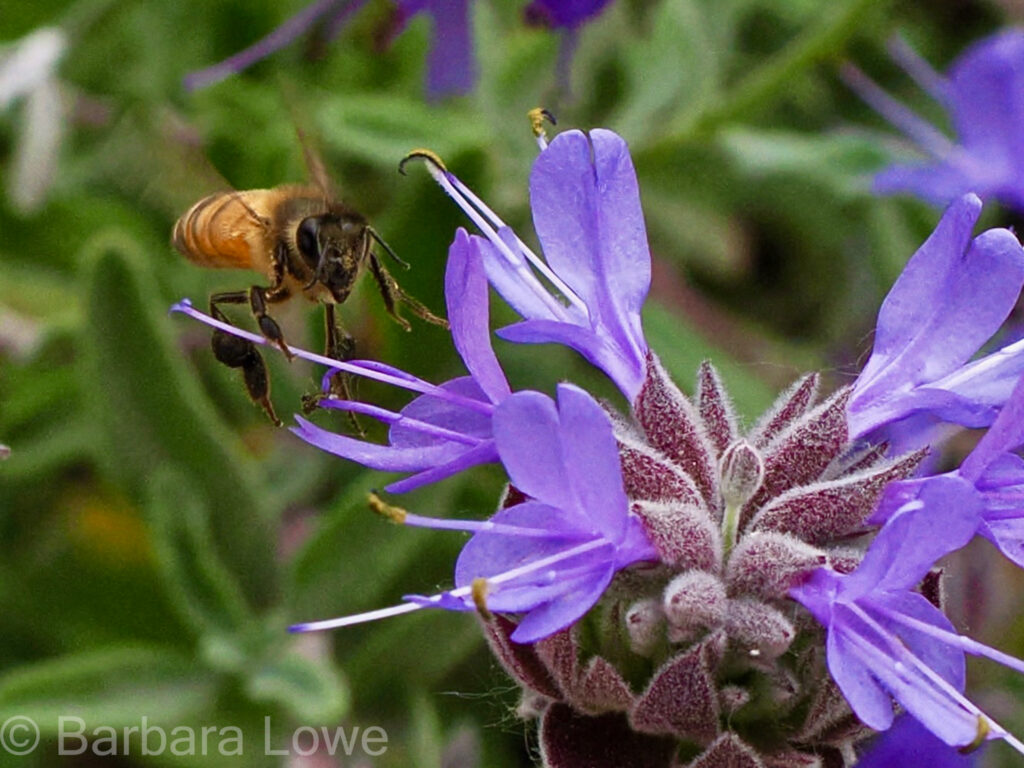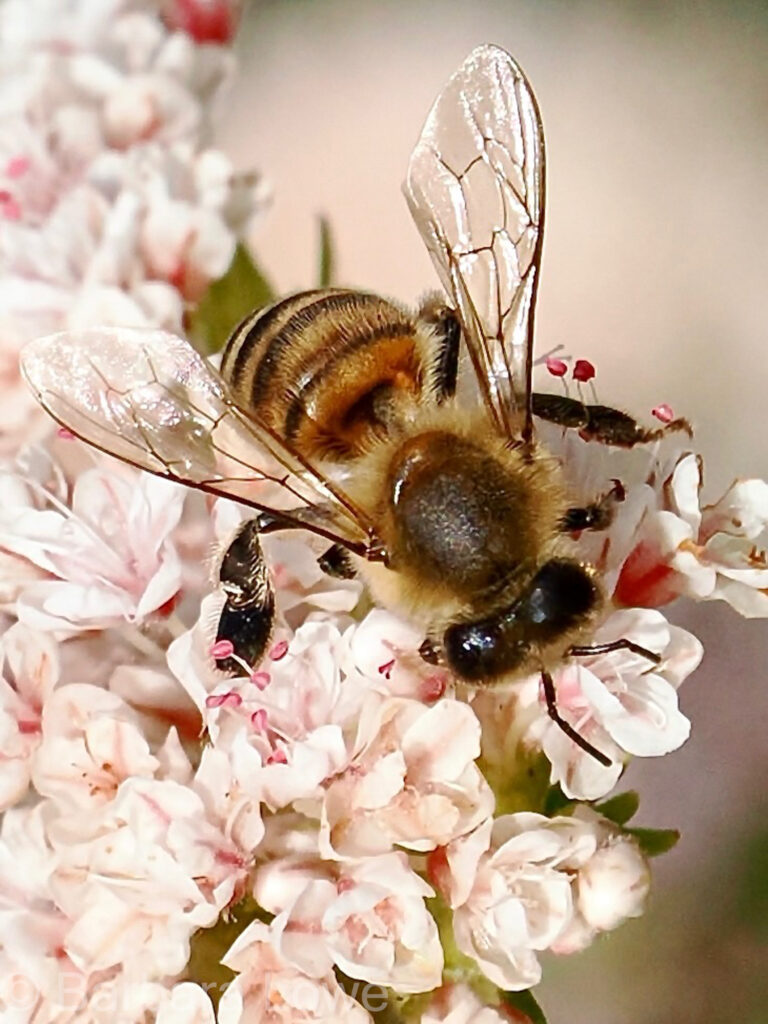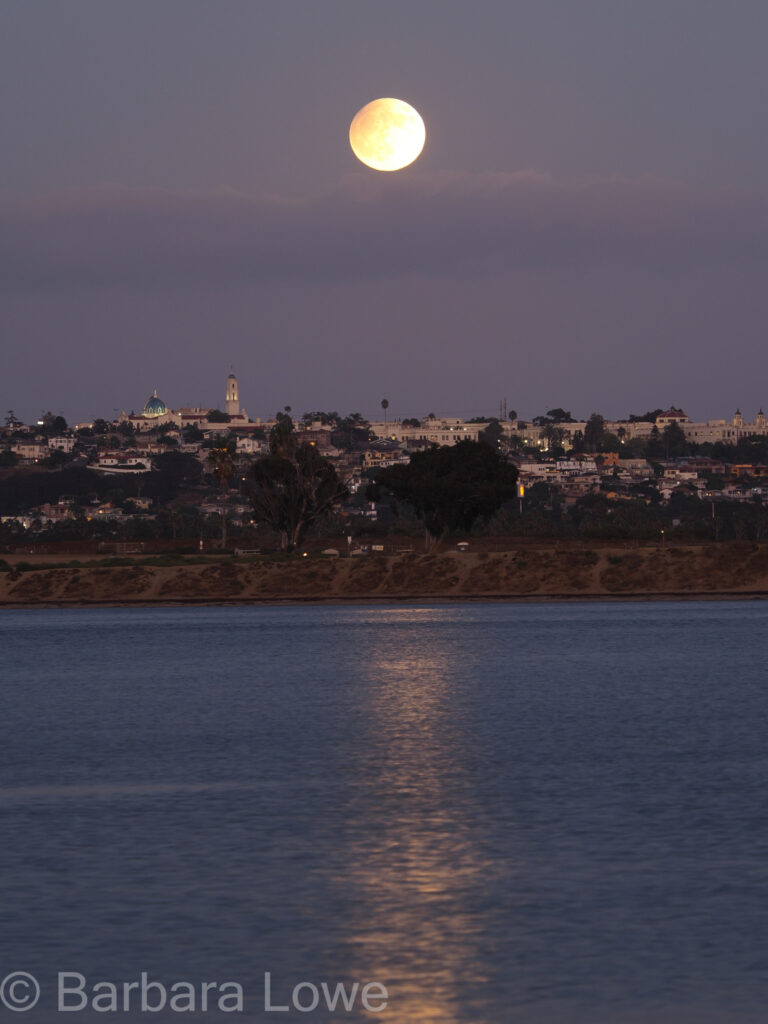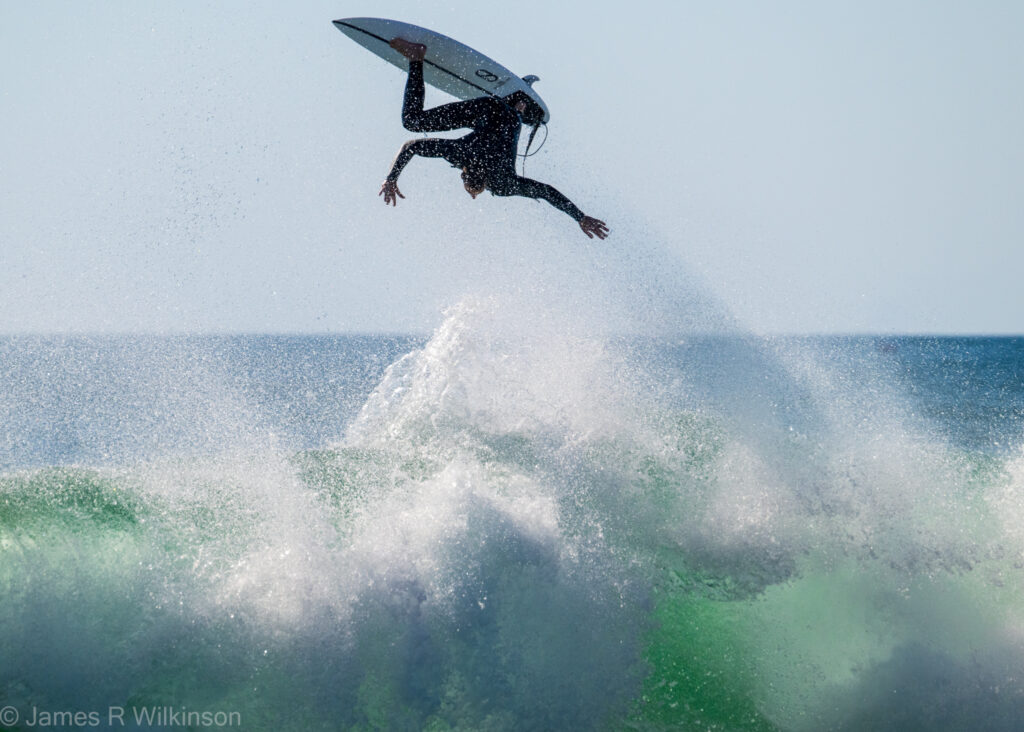
Jerry focused on how he’d edit the other member’s unprocessed images. He’s got great Photoshop skills and is able to bring out the best in the images. Here are the several images he processed from raw to final:


A second theme for June’s Photography Interest Group meeting was Architecture. Since some of the participants do not dabble in post-processing very much. An architecture theme was proposed because a Harbor Drive pedestrian bridge meet-up was proposed. Unfortunately, that didn’t happen, but here are the images that were shared:
Cathy


Gary got some great shots while re-landscaping his backyard.


Heather shared images from a recent trip to Idaho State Penitentiary museum.


Jerry focused on the “how I’d edit theme”, not architecture:


Jim was inspired by recent tutorials on converting architectural images into high contrast black & white.


BTW – Thufa’s ‘outhouse’, on the grass mound, is a fish-drying shack.
Inspired by May’s meeting of “Before and After” where participants shared their straight-out-of-camera photos then their final processed images. This month’s “How I’d Edit Your Photo” participants edited other peoples images ‘their’ way. There were four images uploaded so here’s how the final edits from different members turned out:
Here’s a photo Cathy took recently with snow on the mountains overlooking San Diego. Photo was taken from Point Loma Bayside Trail March 2023 after a recent snow storm in the local mountains.


Gary submitted a photo from his friend Sarah. It’s a poignant story – this is the only photo she has of her and her father before he disappeared. The original photo was scanned and shows its age. We used many of the Photoshop/Lightroom tools to improve the photo.


Jim had two images from Yosemite – a Milky Way image over Half Dome and Bridalveil Fall from the Merced riverbank. The Milky Way shot was a single exposure so not ideal for best post-processing – stacking multiple images is usually preferred.
Milky Way Over Half Dome


Bridalveil Fall From Merced River


Jerry’s Grand Teton Fall Colors


I recently learned of some tools that aide in the processing of astrophotography images. An Adobe Photoshop or PixInsight plugin called StarXterminator (by RC-Astro; $60 w/ 30day free trial) or the free command-line executable Starnet++. Either of these programs allow you to eliminate the stars from your photograph.
Why would that be useful? Because you end up with a starless Milky Way/Nebula layer and stars layer that you can process separately. This allows you to apply photo enhancements to the Milky Way (or Nebula) without affecting the stars and vice-versa. You can tone down the stars so they are less distracting to the Milky Way’s galactic core. You can also apply anti-coma or astigmatism corrections to the corner of your frame to improve star resolution.
Walk-through using StarXterminator plugin in Photoshop
1). Open your Milky Way image in Photoshop then duplicate the layer. This will be the working copy of the original. Label it “With Stars”.

2). optional: Run the NoiseXterminator or Topaz DeNoise plugin if you want to remove noise. Or if you start in Lightroom, use its denoise tool before importing into Photoshop. You label this layer “With Star DN”.

3). Duplicate the ‘With Stars DN’ layer and label it “Starless”. Apply the Filter/StarXterminator plugin. You will end up with a Milky Way layer void of stars.
Note: Do this after you’ve downloaded and installed the Photoshop plugin. You will find it under Photoshop’s Filter menu, under ‘RC-Astro’ at the bottom. You can download a 30 day trial version of this and their other plugins.

4). Create a duplicate layer of both the ‘With Stars’ layer and ‘Starless’ layer. Be sure the ‘Starless copy’ layer is above the ‘With Stars copy’ layer. With the ‘Starless copy’ layer selected, select the ‘Subtract’ blend mode (box to the left of Opacity). Select both ‘Starless copy’ & ‘With Stars copy’ layers and merge. Relabel this layer as ‘Stars’.
5). Using Filter/Camera Raw Filter or other Photoshop tools, process both the Starless layer and Stars layers to your liking.
6). Once you are happy with the results, merge the layers.
If you want to be able to come back and reedit them. Duplicate both processed layers once more, select ‘screen’ as your overlay, then merge the two layer. Label this layer ‘Final Merged Image’ then export this layer as your final jpg.

Jerry shared an eclectic variety of wonderful before and after images, some new some older. Birds, epic landscapes, action and portraiture show his skills in post-processing primarily using Photoshop.


Jim shared recent images from his April trip to Yosemite with fellow photographer Gary. Here are his before and after images. He did some astrophotography of the Milky Way over Half Dome that he is still editing. But included below are two sets of initial edits.


Gary shared mainly final edited images although he discussed the post-processing steps of images from his recent Yosemite trip. He also photographed the new Osprey pair nesting at Shelter Island. It took his several trips to get the right conditions for his favorite keepers.


Cathy uses a Canon camera and iPhone for her photography. Post-processing is done in Lightroom and Photoshop. Cathy’s been experimenting with Photoshop 2024’s AI generative fill tool to improve composition. She also used Lightroom’s masking and overall image tools to bring out specific details or remove unwanted elements.


When sharing photographs during our Zoom meeting, much of the discussion involves image processing. Some critiques and suggestions involve the different perspectives of some participants visual aesthetic. This difference is what make sharing photographs an interesting pursuit and can be educational. With this in mind, this month’s theme was Before/After. Participants could share their straight-out-of-camera – before – and their final image – after. It’s interesting and educational to hear the photographer’s thought and image process, resulting in their end product.
Some participants did not show photos this week so here are the Before/After sets shared at the meeting:


Gary – Gary shared primarily final edits except the Half Dome Before/After