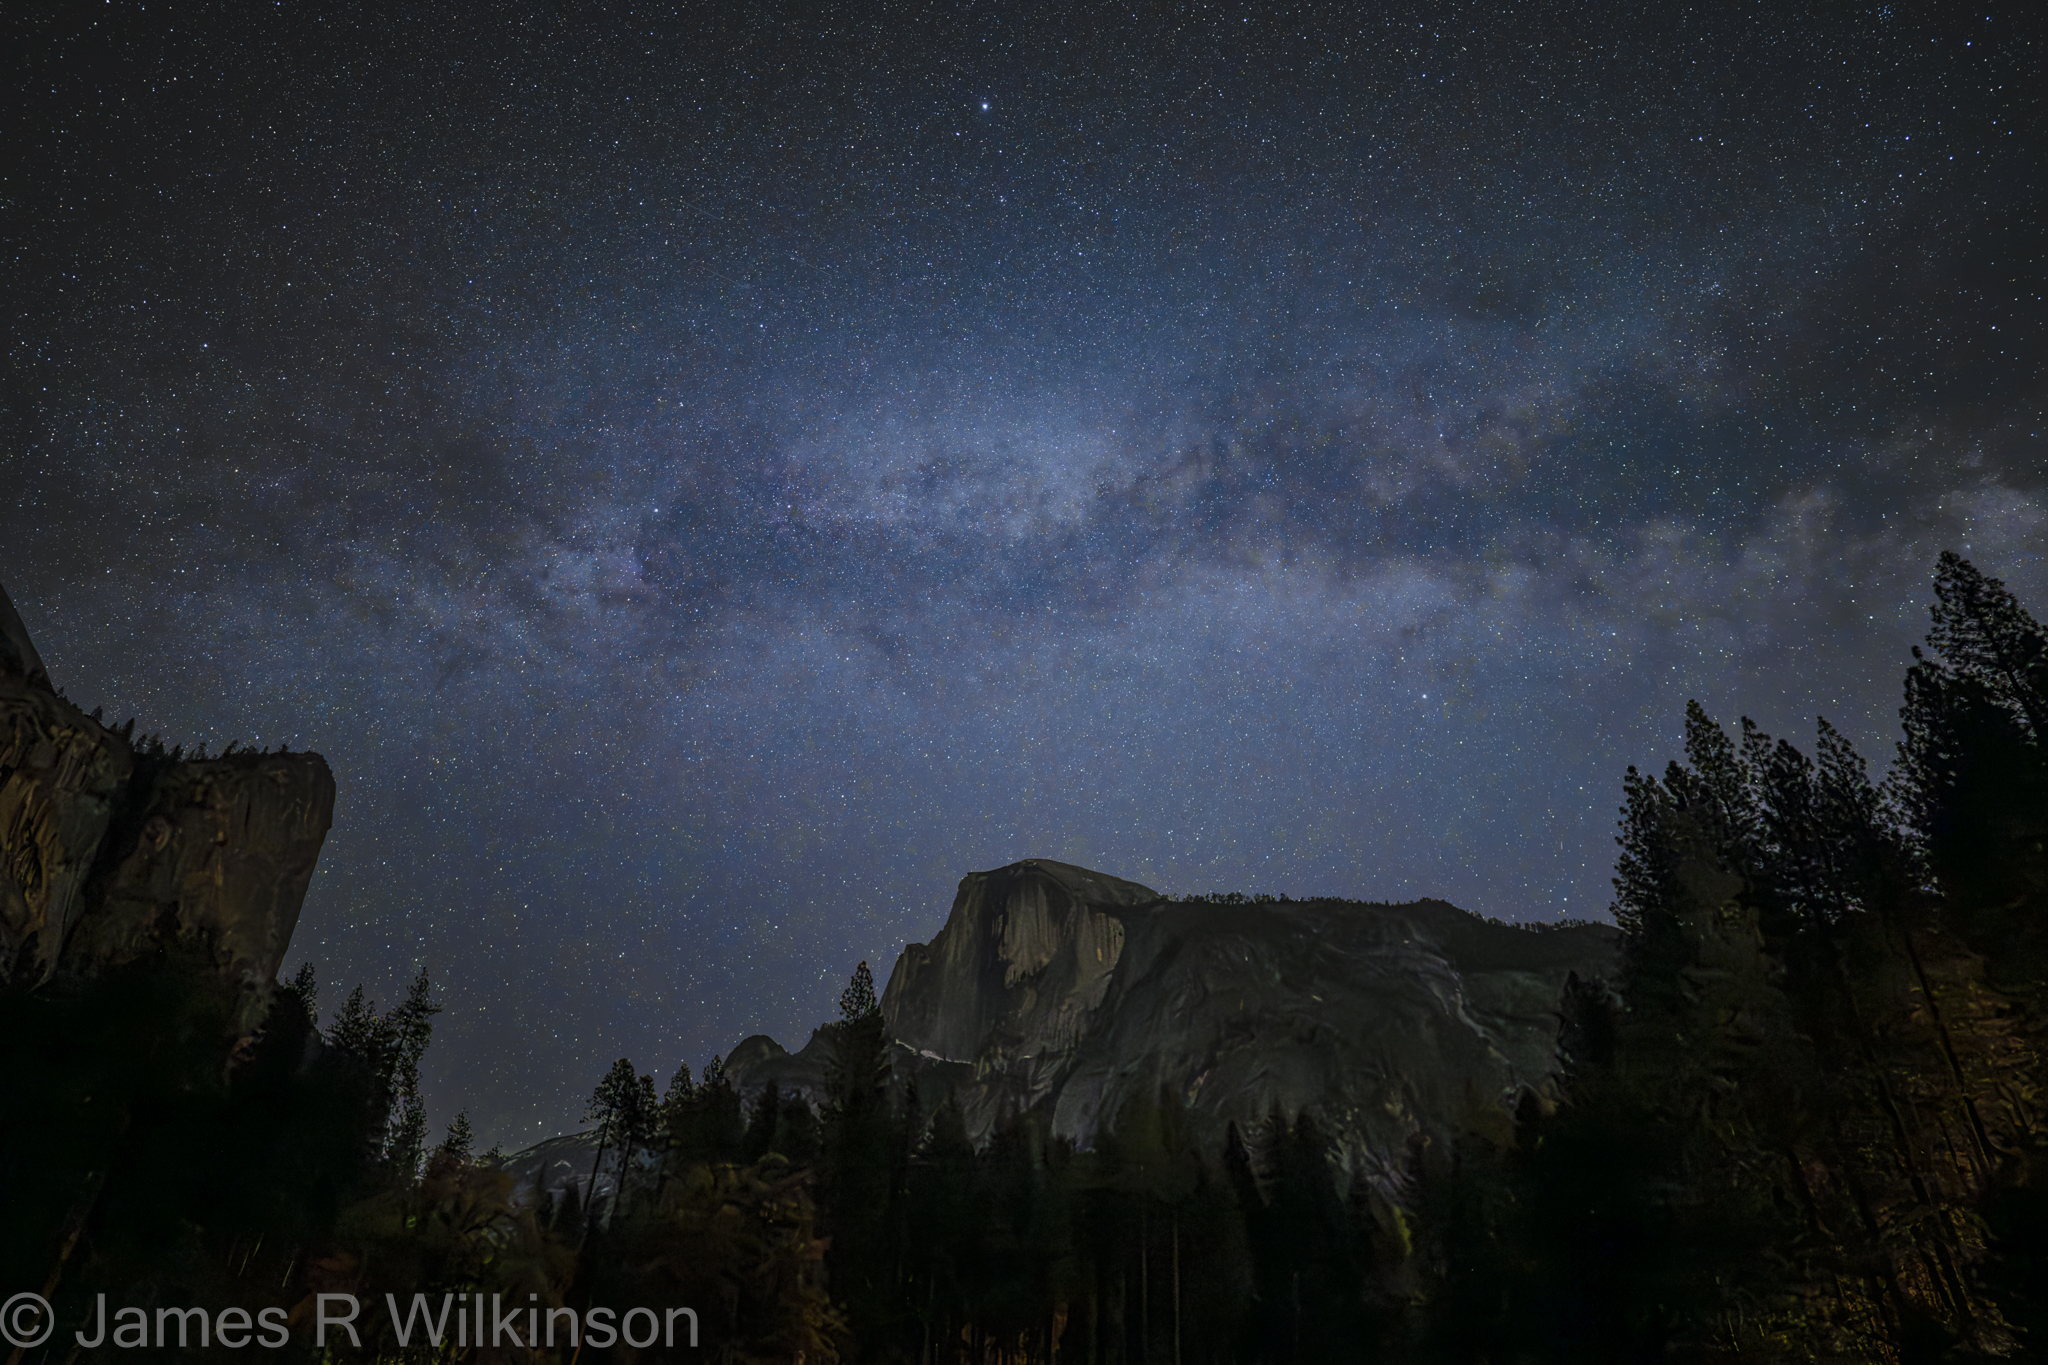
I recently learned of some tools that aide in the processing of astrophotography images. An Adobe Photoshop or PixInsight plugin called StarXterminator (by RC-Astro; $60 w/ 30day free trial) or the free command-line executable Starnet++. Either of these programs allow you to eliminate the stars from your photograph.
Why would that be useful? Because you end up with a starless Milky Way/Nebula layer and stars layer that you can process separately. This allows you to apply photo enhancements to the Milky Way (or Nebula) without affecting the stars and vice-versa. You can tone down the stars so they are less distracting to the Milky Way’s galactic core. You can also apply anti-coma or astigmatism corrections to the corner of your frame to improve star resolution.
Walk-through using StarXterminator plugin in Photoshop
1). Open your Milky Way image in Photoshop then duplicate the layer. This will be the working copy of the original. Label it “With Stars”.
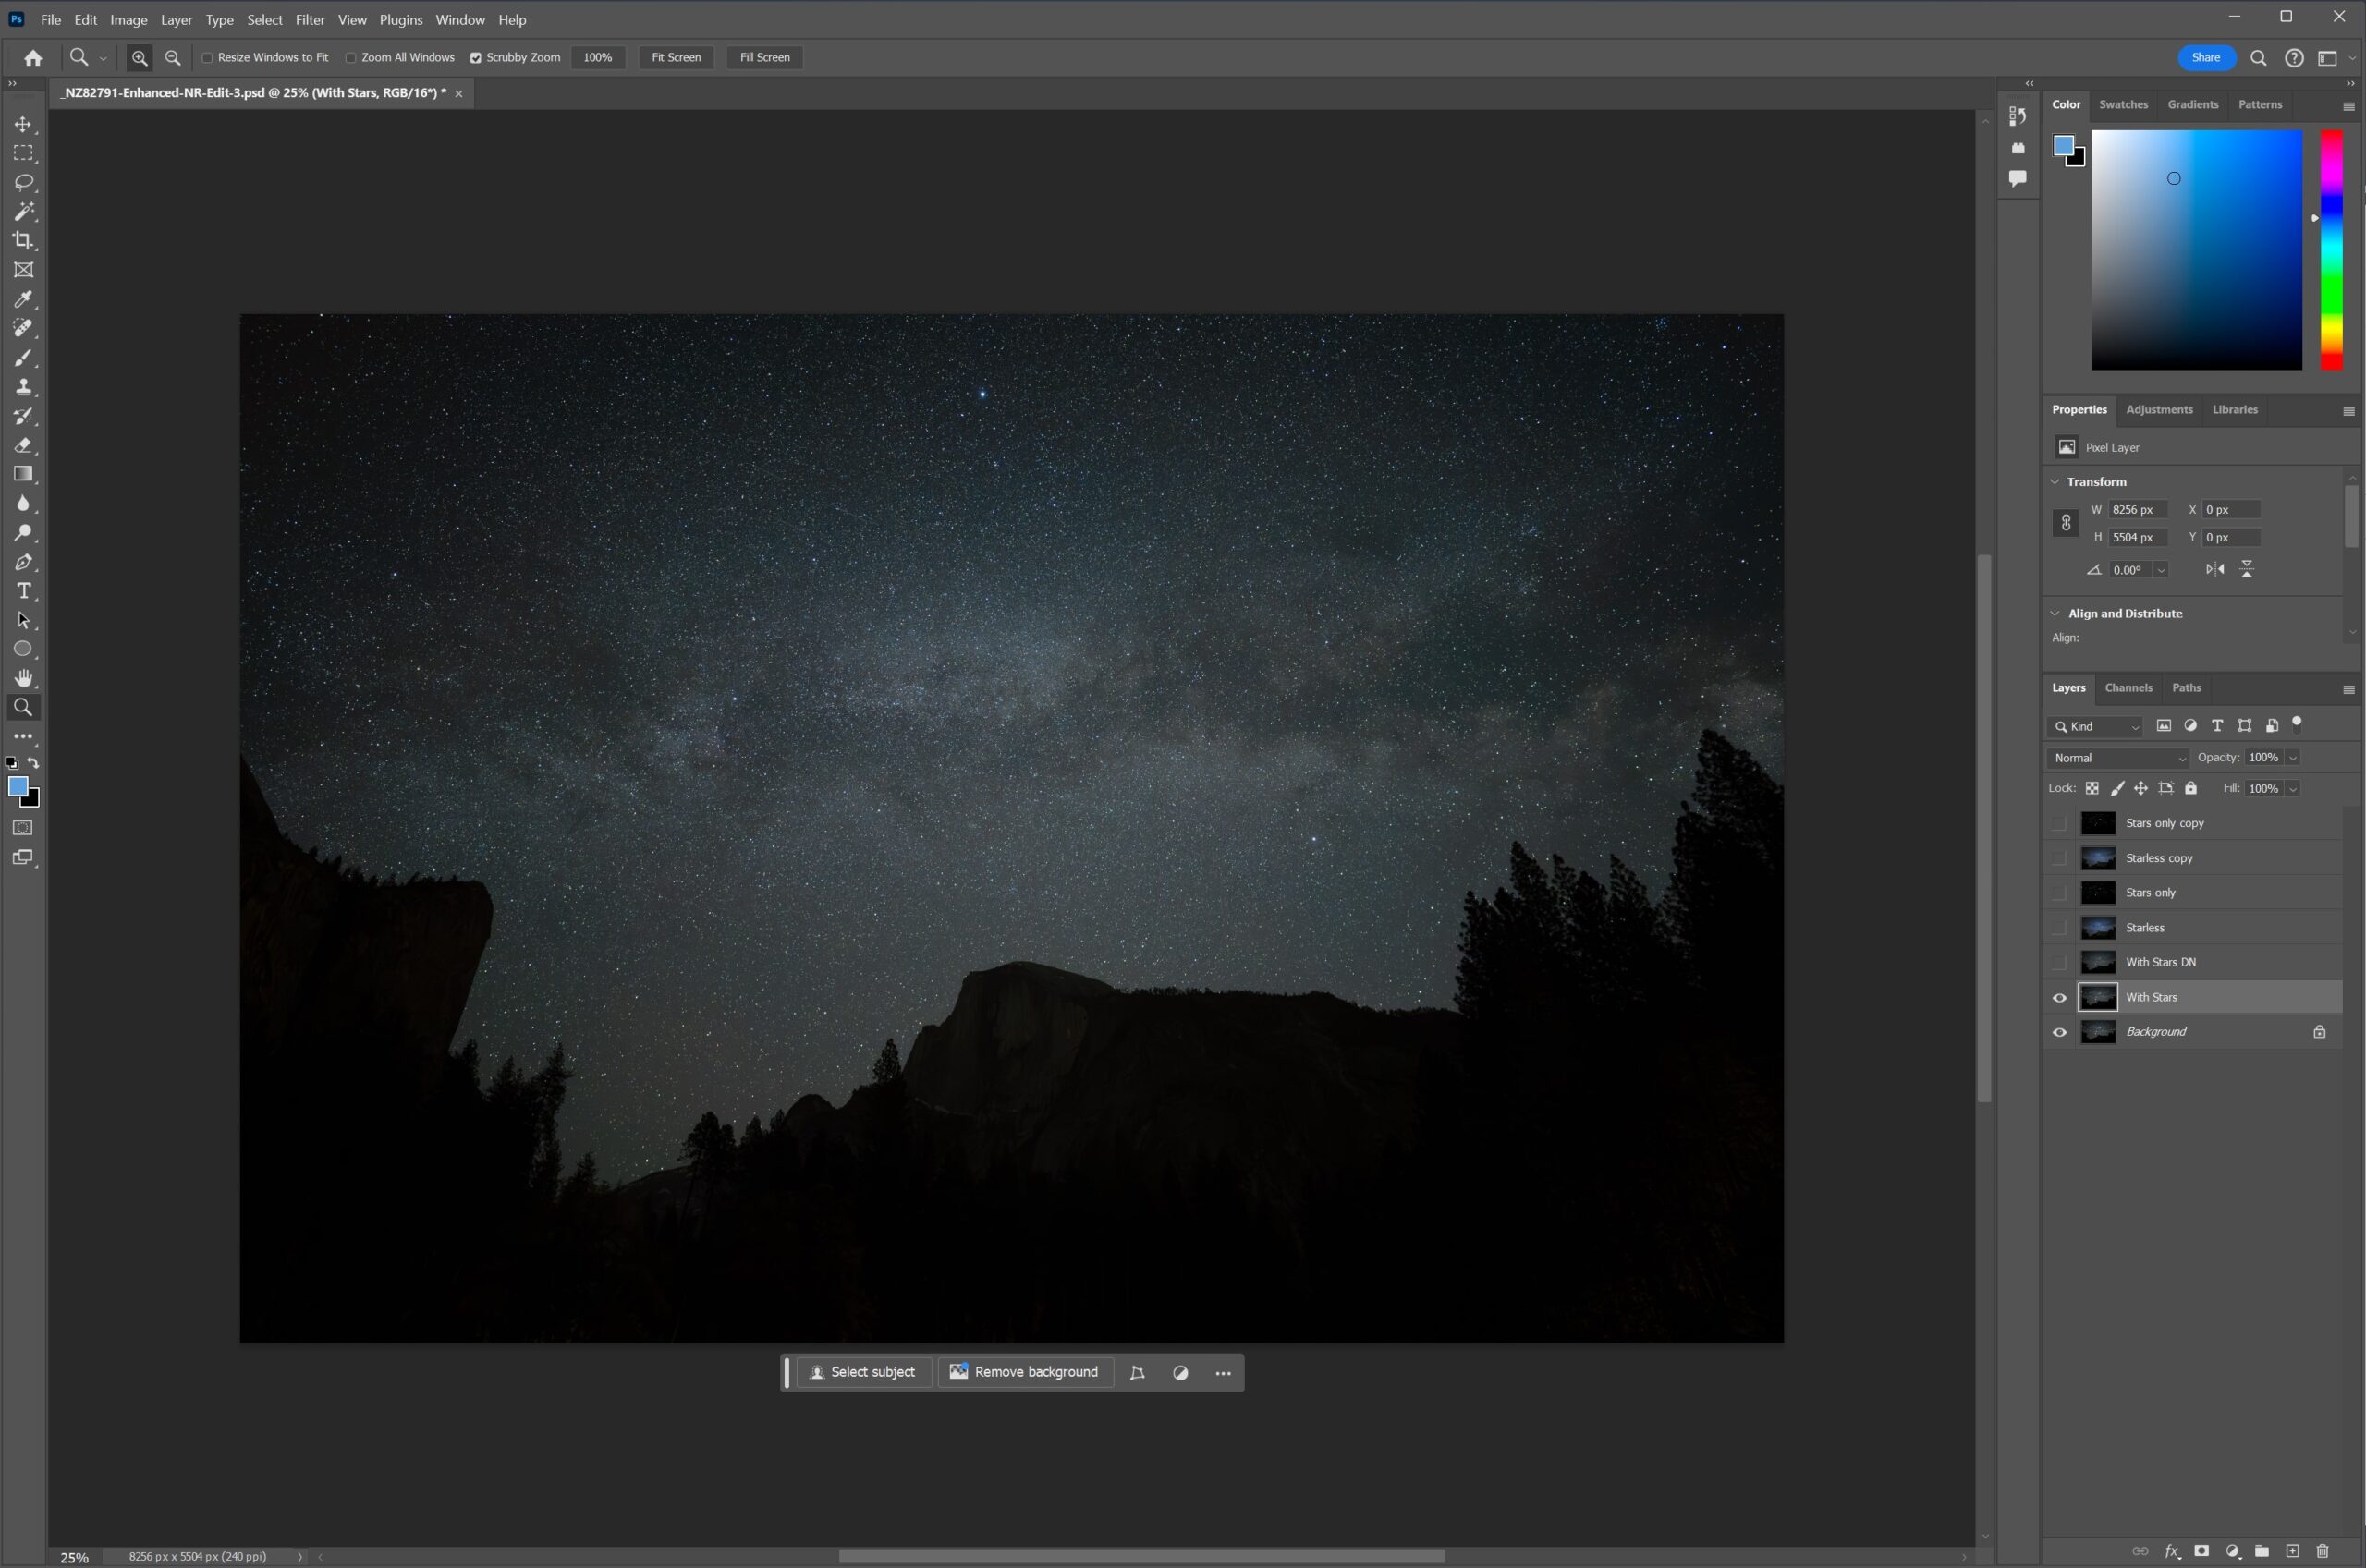
2). optional: Run the NoiseXterminator or Topaz DeNoise plugin if you want to remove noise. Or if you start in Lightroom, use its denoise tool before importing into Photoshop. You label this layer “With Star DN”.
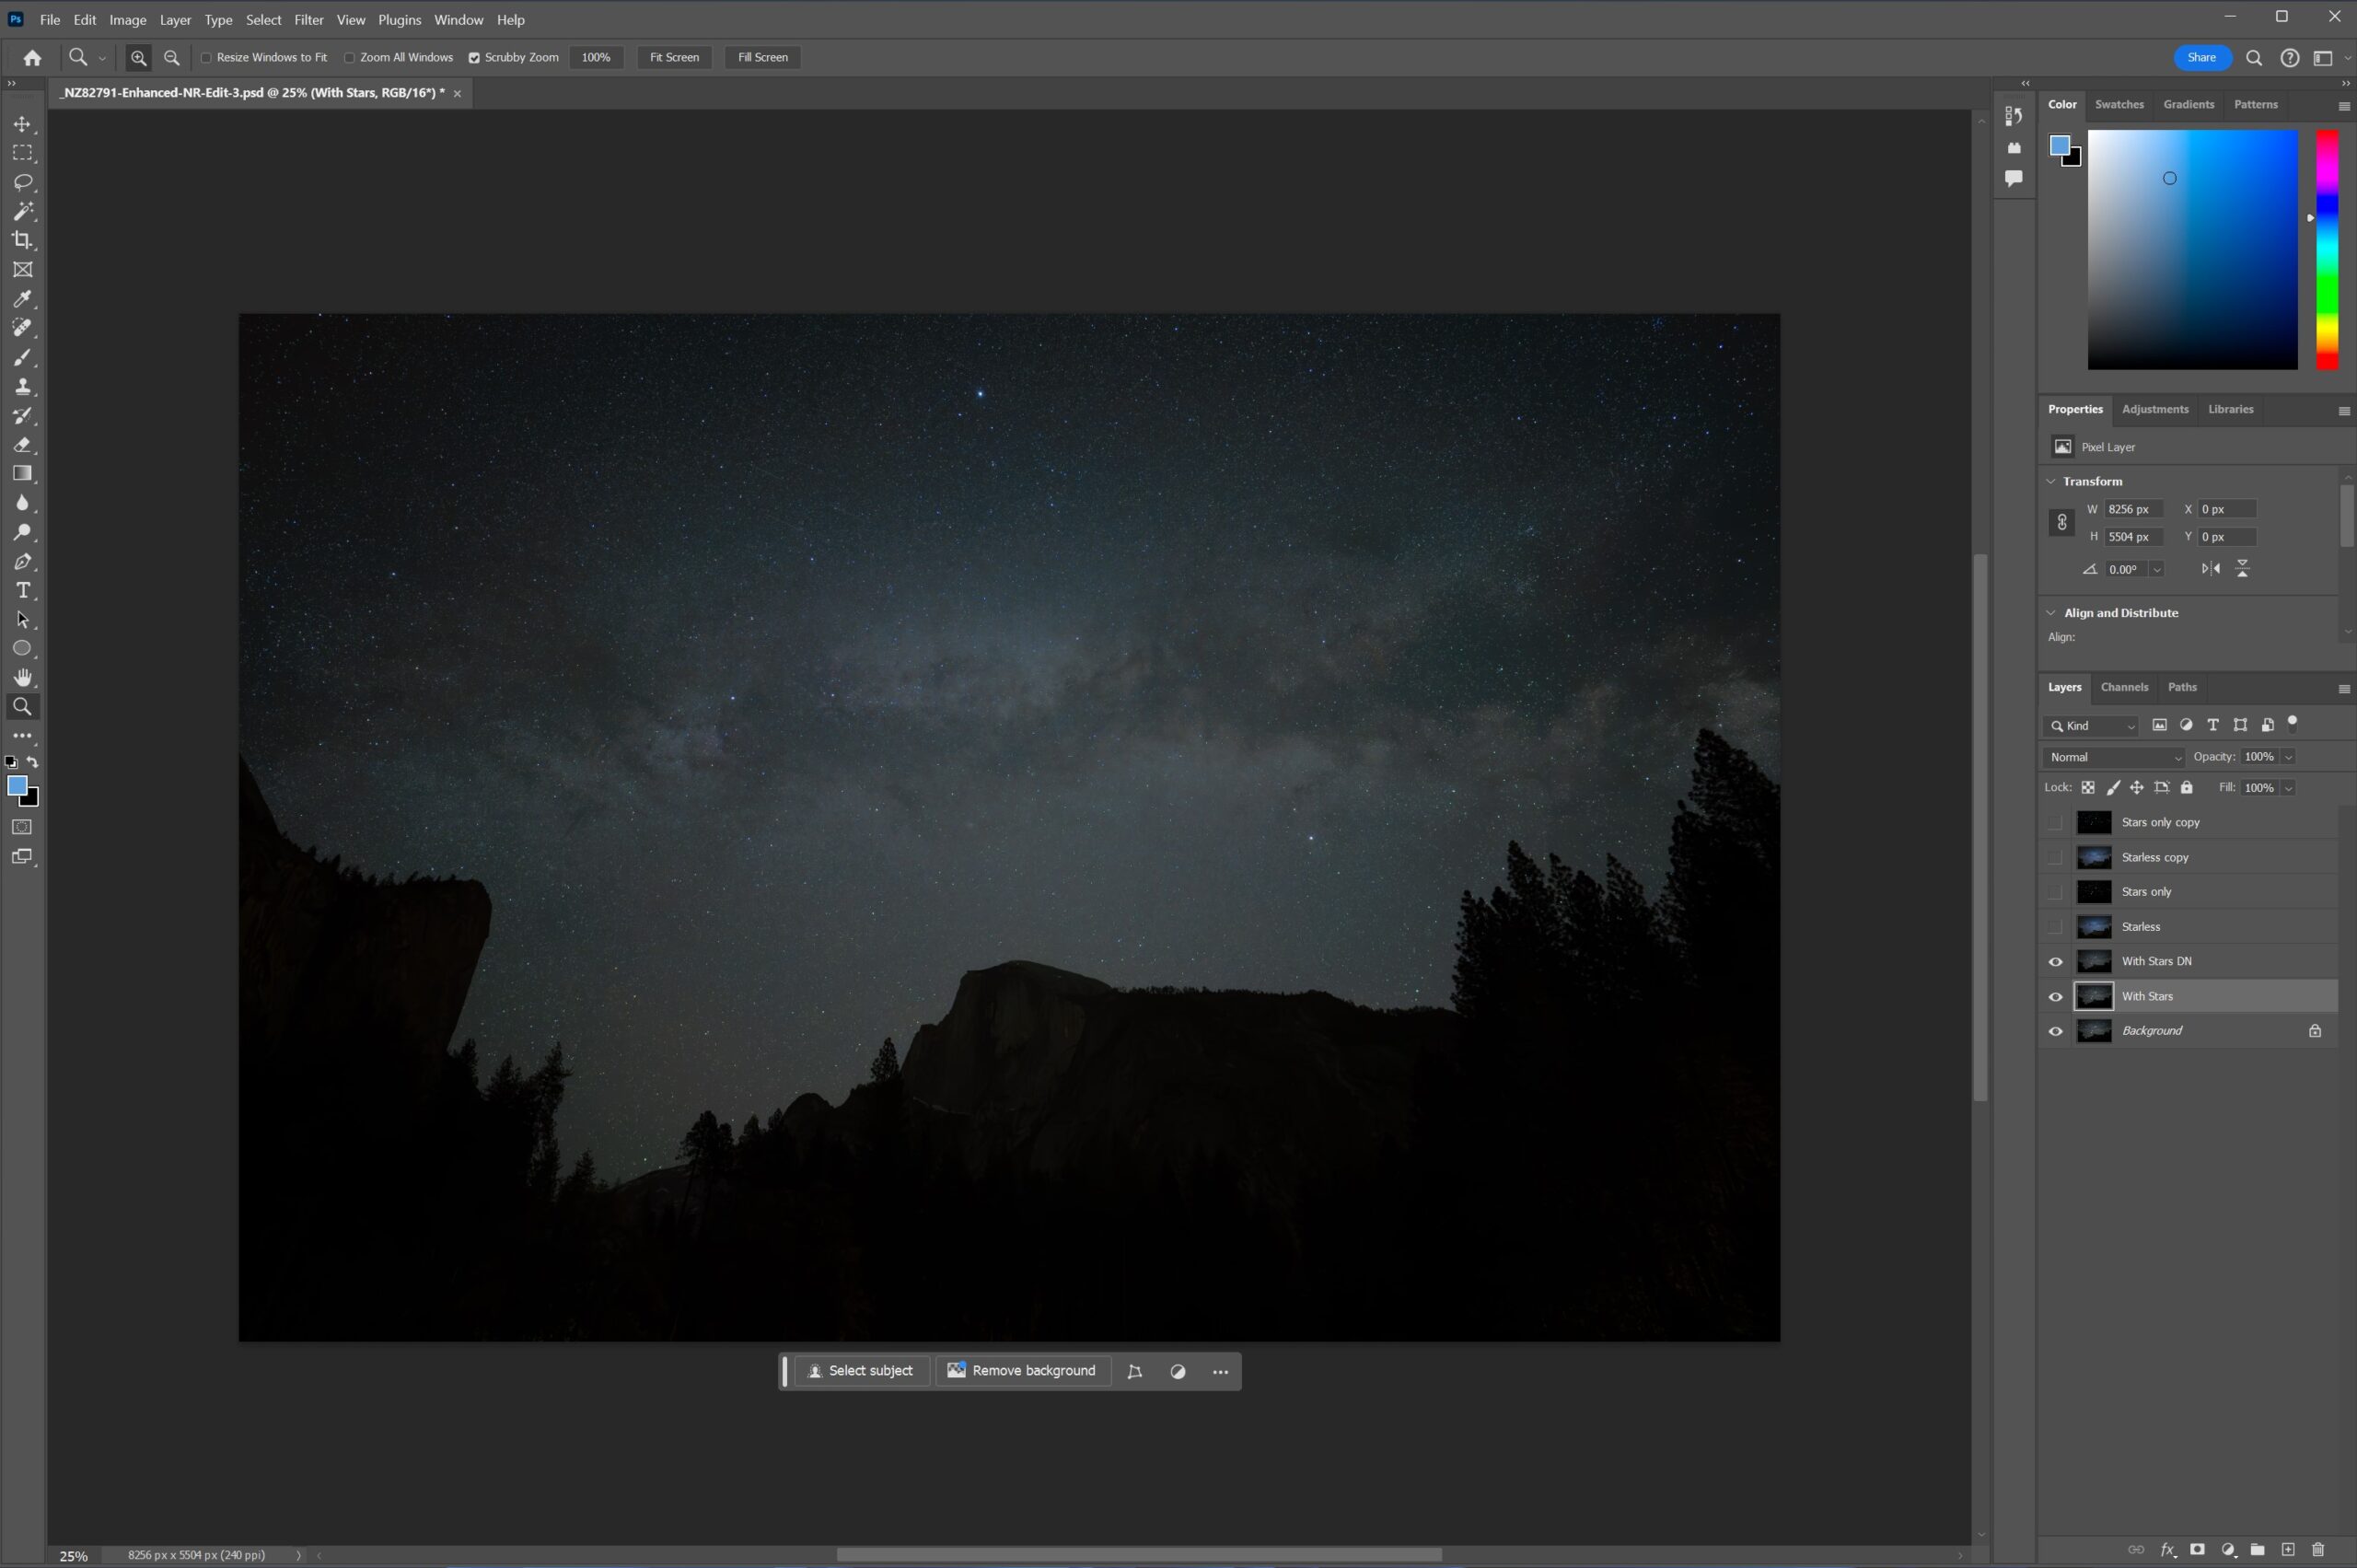
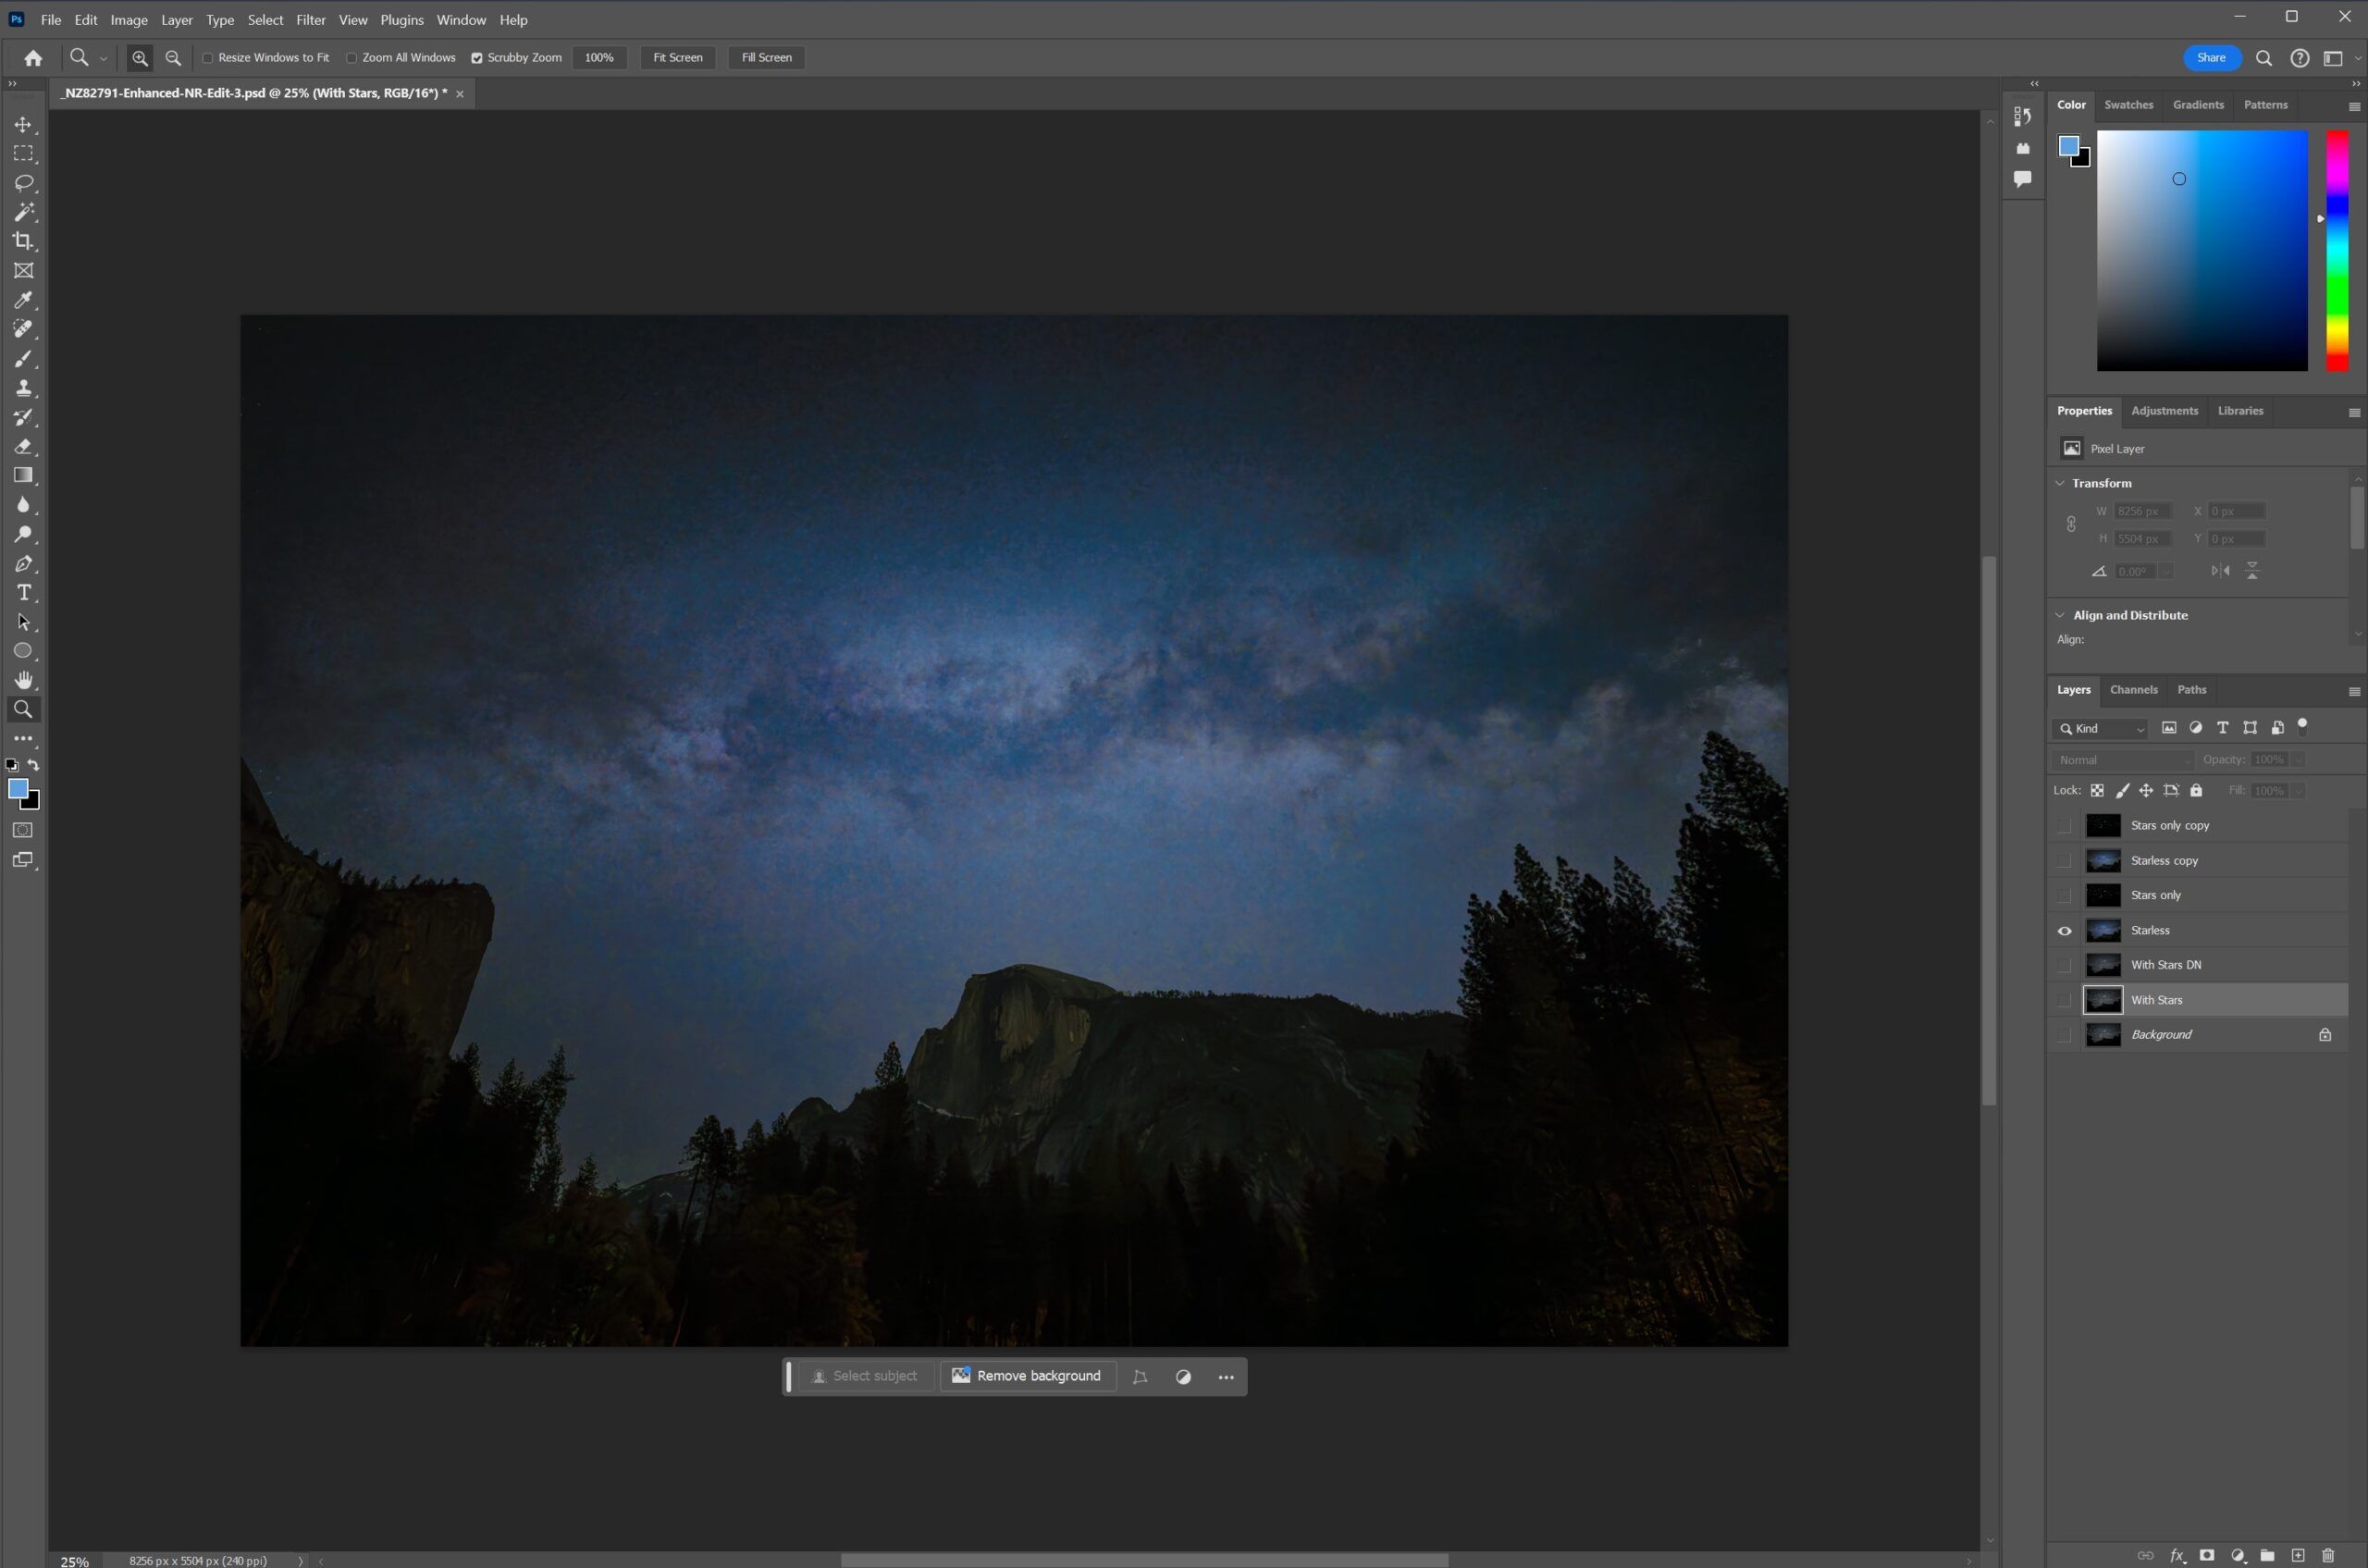
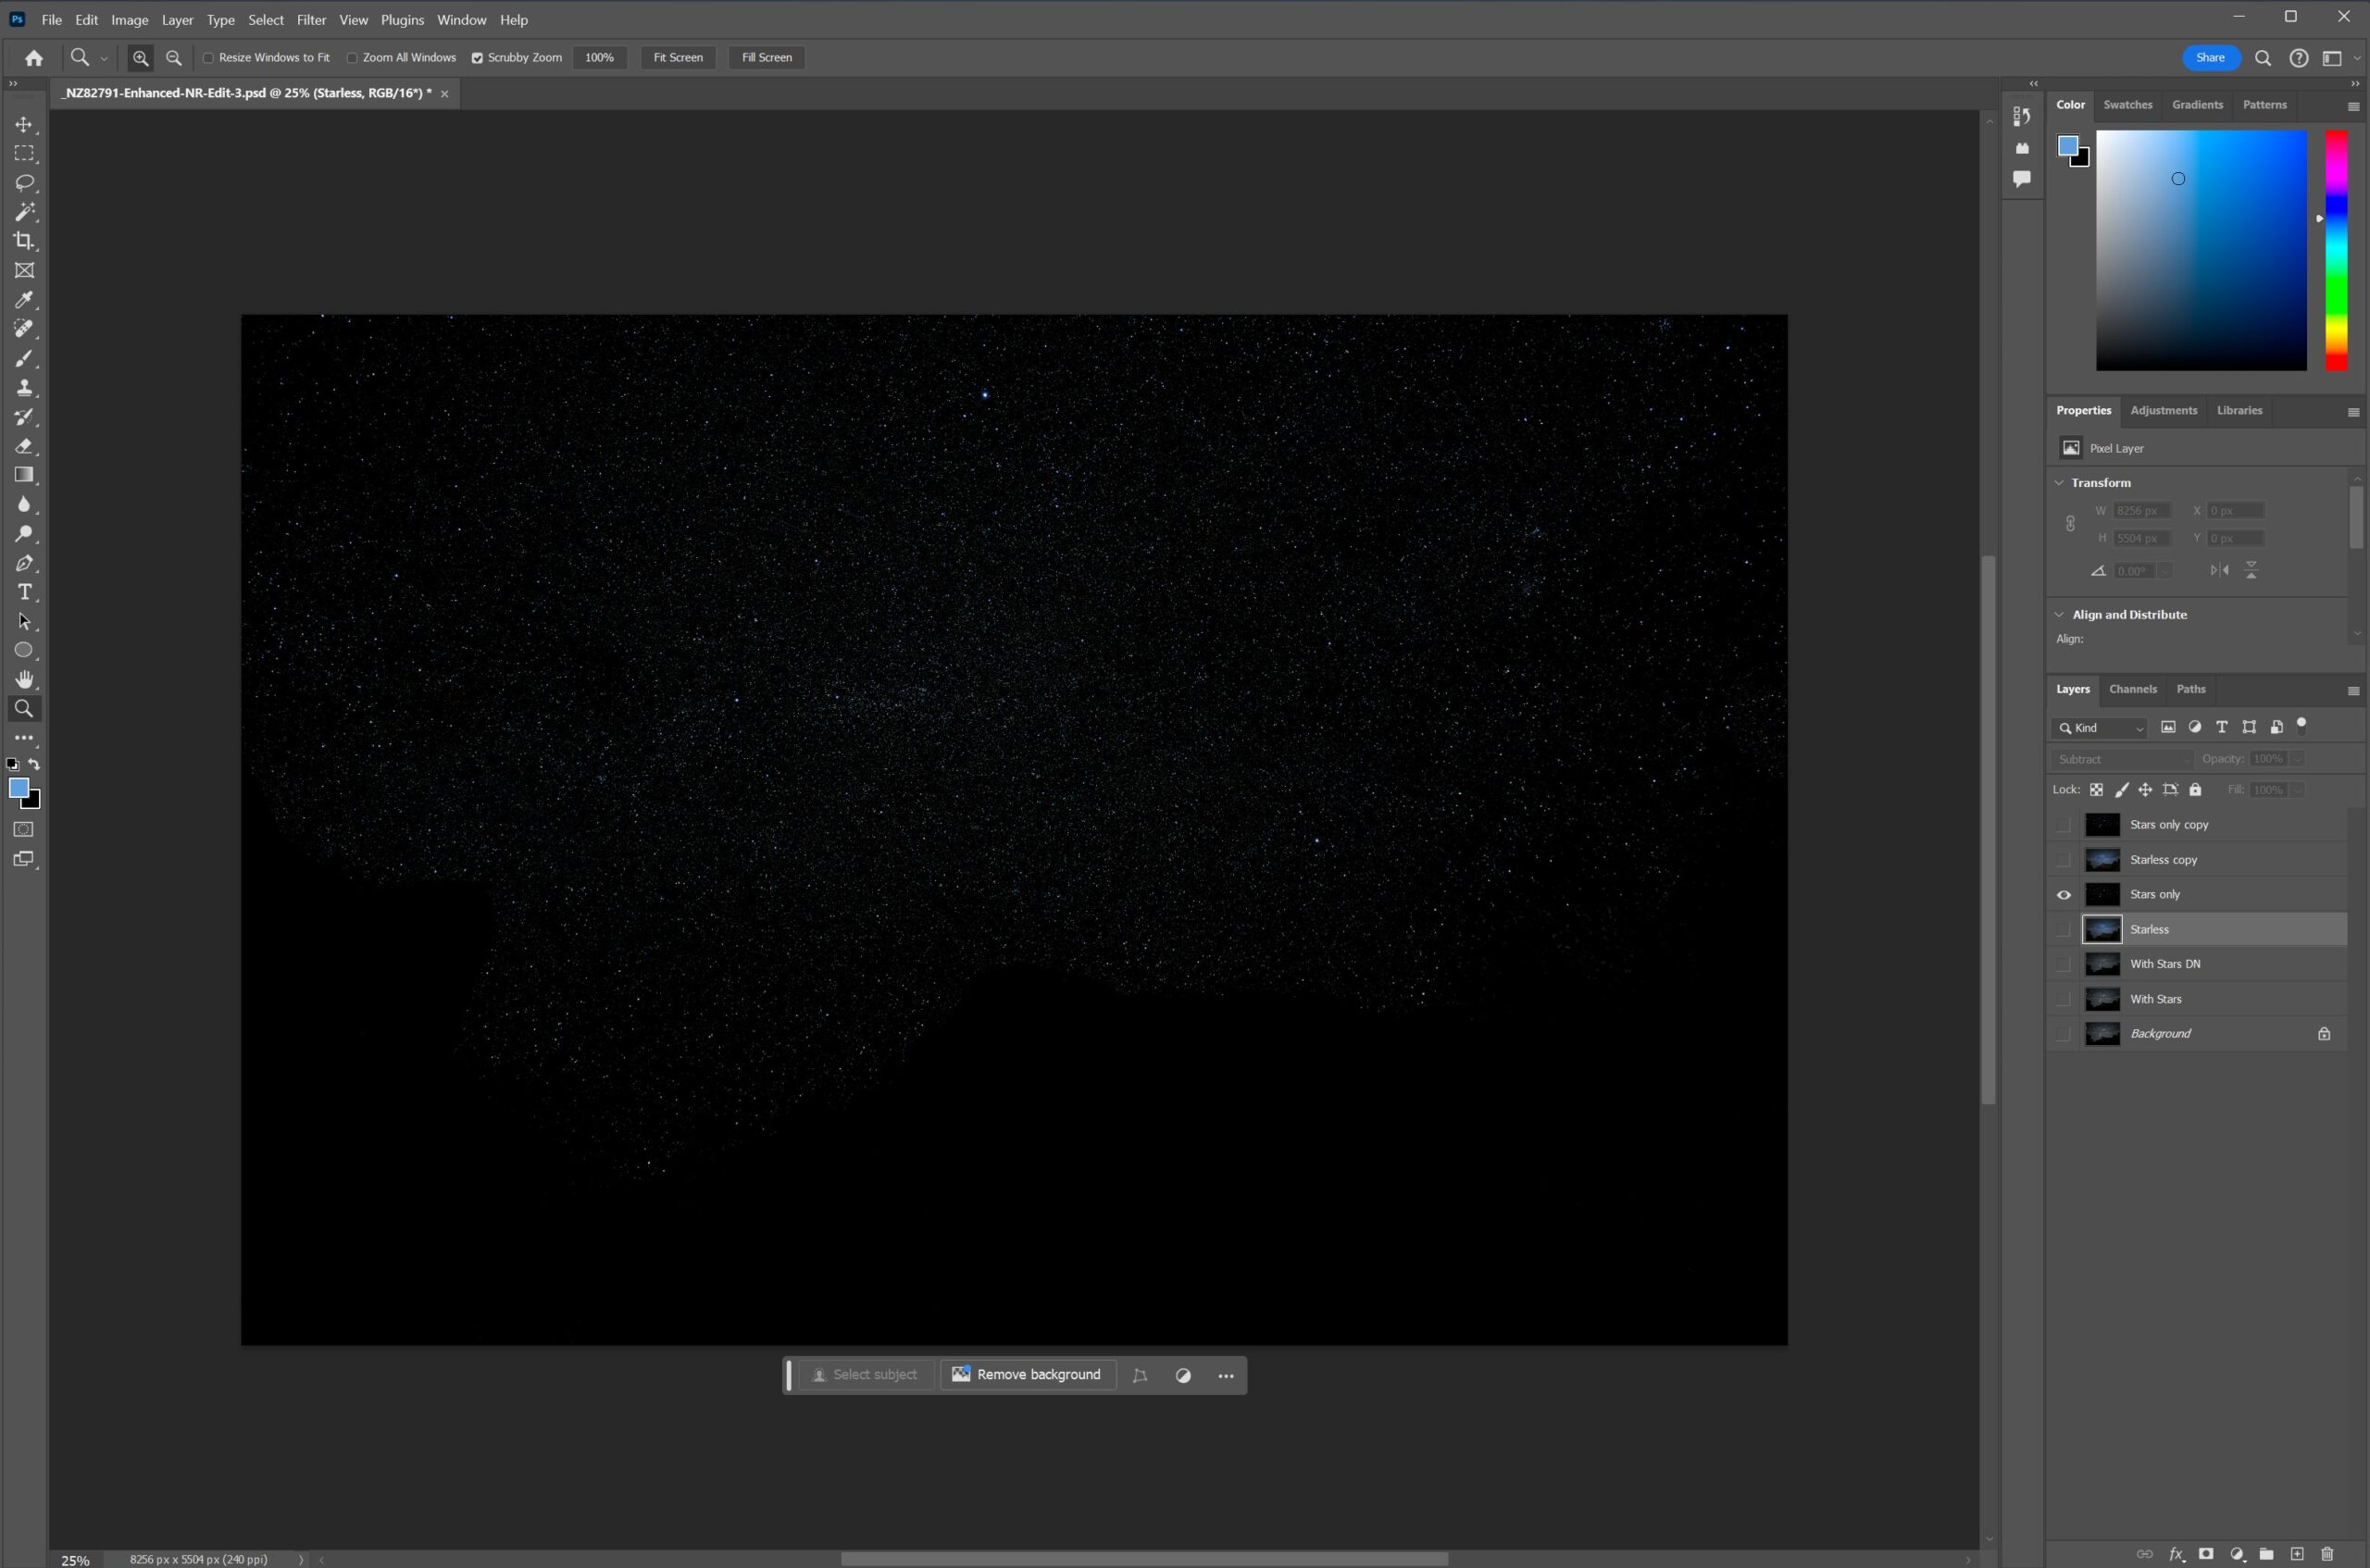
3). Duplicate the ‘With Stars DN’ layer and label it “Starless”. Apply the Filter/StarXterminator plugin. You will end up with a Milky Way layer void of stars.
Note: Do this after you’ve downloaded and installed the Photoshop plugin. You will find it under Photoshop’s Filter menu, under ‘RC-Astro’ at the bottom. You can download a 30 day trial version of this and their other plugins.
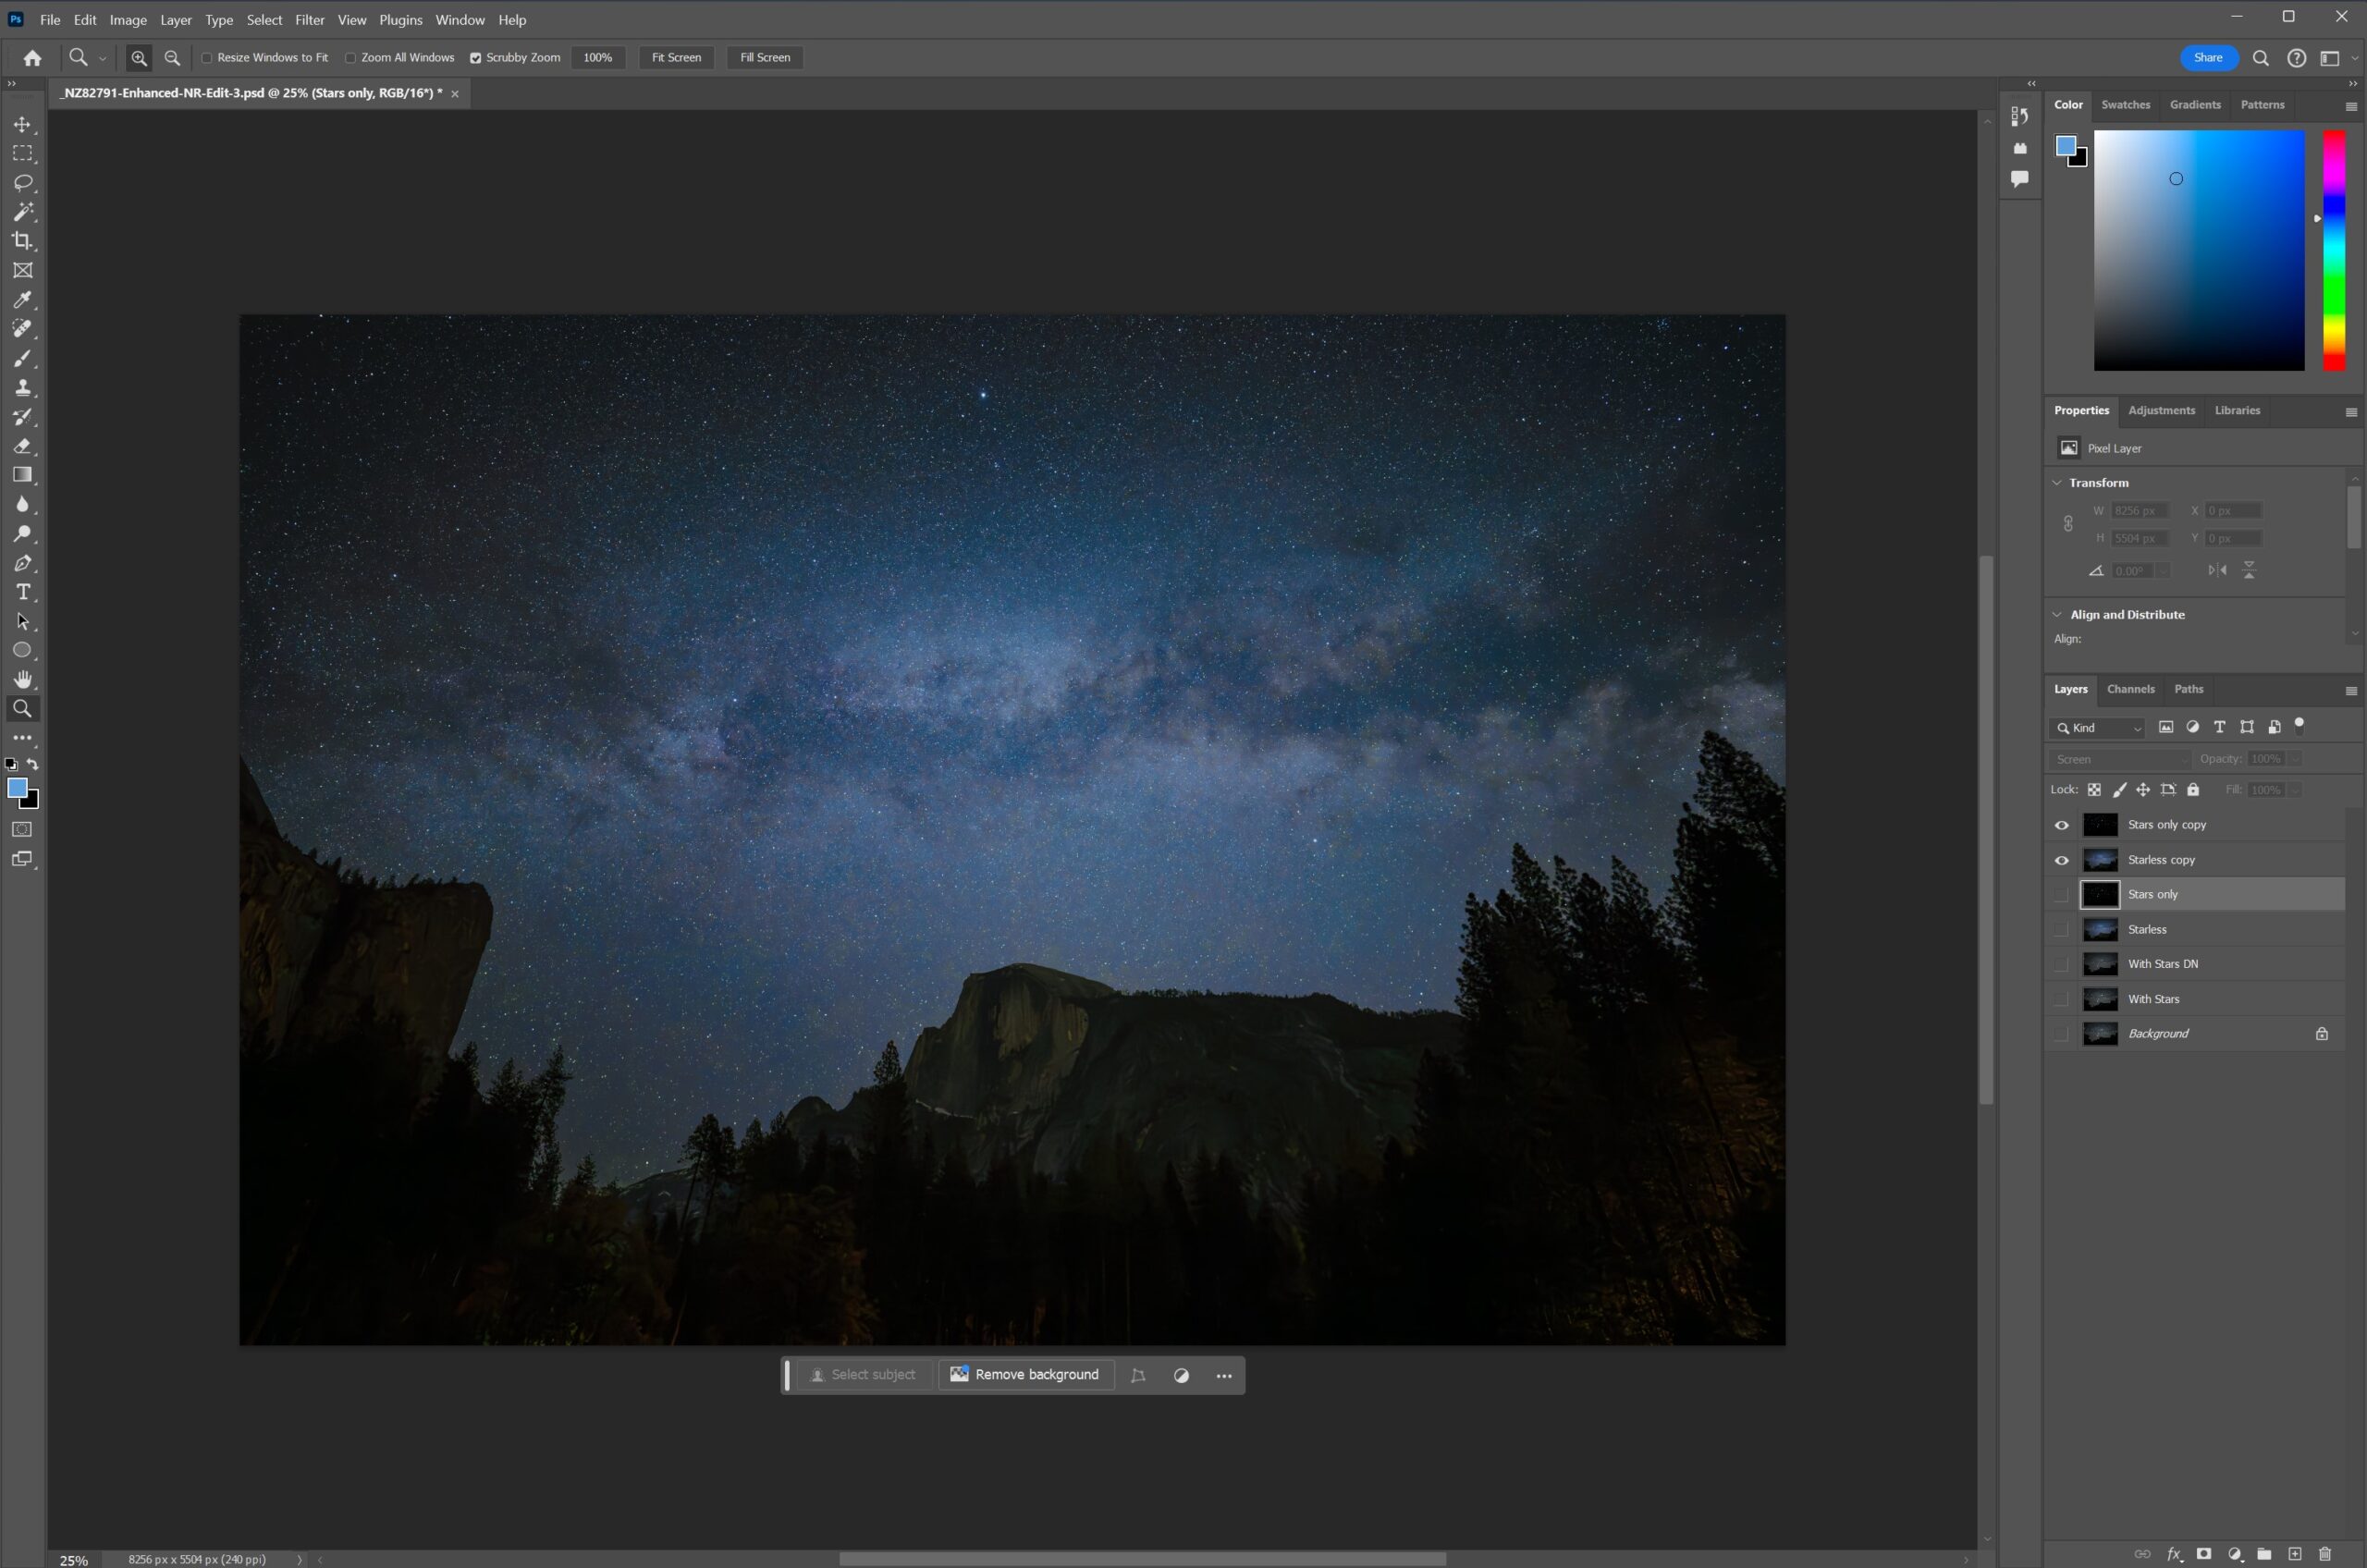
4). Create a duplicate layer of both the ‘With Stars’ layer and ‘Starless’ layer. Be sure the ‘Starless copy’ layer is above the ‘With Stars copy’ layer. With the ‘Starless copy’ layer selected, select the ‘Subtract’ blend mode (box to the left of Opacity). Select both ‘Starless copy’ & ‘With Stars copy’ layers and merge. Relabel this layer as ‘Stars’.
5). Using Filter/Camera Raw Filter or other Photoshop tools, process both the Starless layer and Stars layers to your liking.
6). Once you are happy with the results, merge the layers.
If you want to be able to come back and reedit them. Duplicate both processed layers once more, select ‘screen’ as your overlay, then merge the two layer. Label this layer ‘Final Merged Image’ then export this layer as your final jpg.