
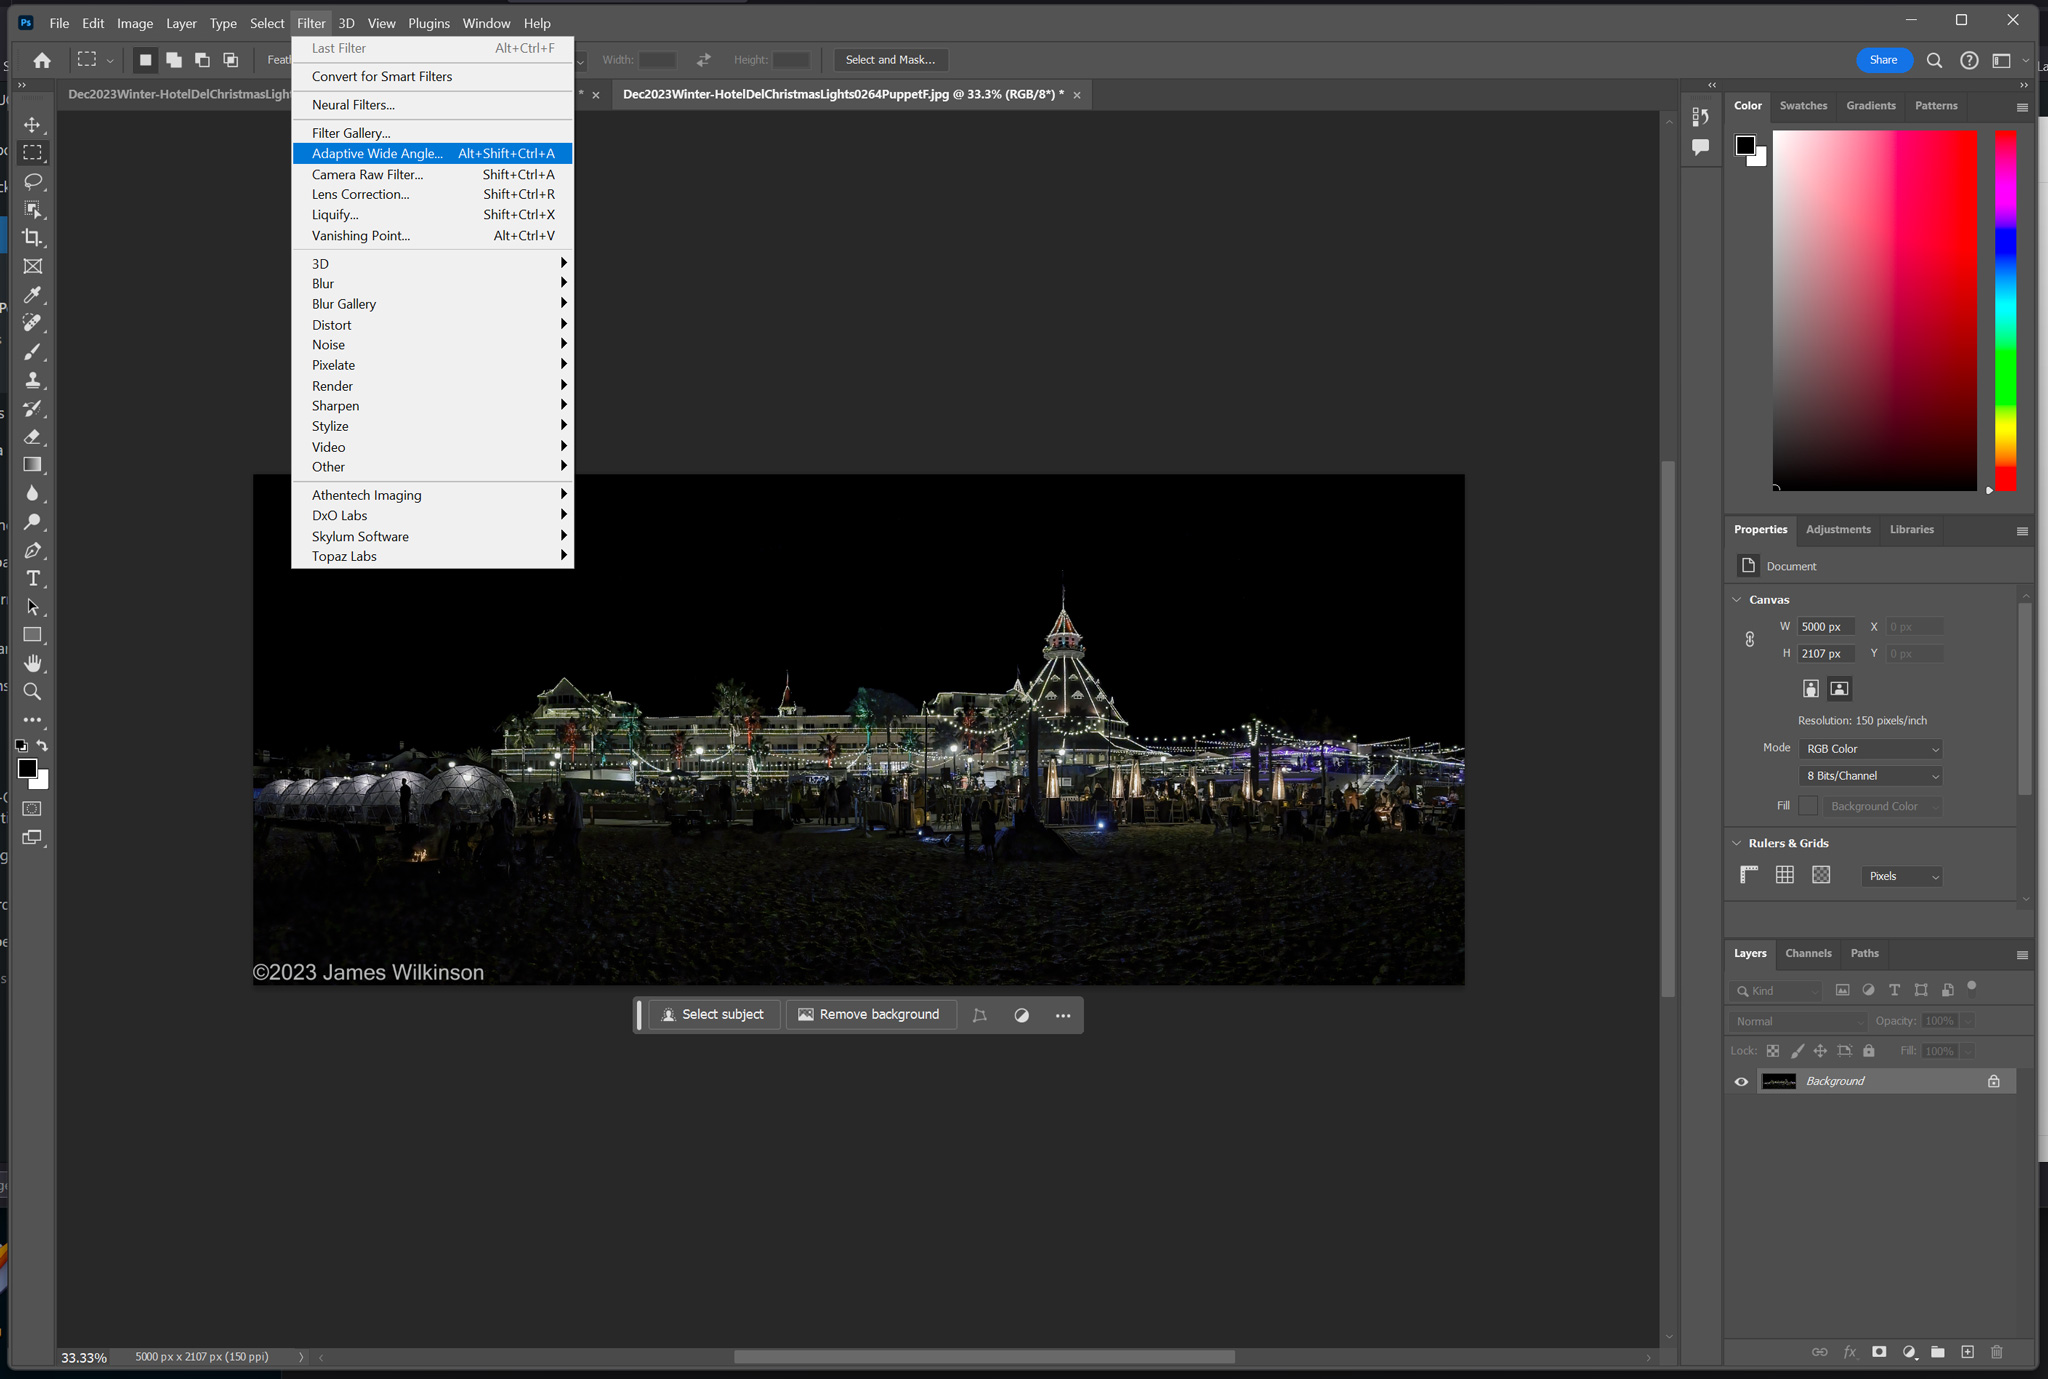
I enjoying taking panoramic photos with my cameras. iPhone photos, when held level, look pretty good. But sometimes an iPhone or stitched panorama is has barrel distortion and is bowed in the middle. If you google how to repair such issues, the search will recommend using Photoshop’s Filter-Adaptive Wide Angle. This can straighten the center of the image but can cause side-effects on the left and right sides. Photoshop’s Edit-Puppet Warp can correct specific areas of the image, leaving the rest unaffected. Here is an example of an iPhone Panorama with both corrections applied.
Note: these correction require a working layer (ie background copy) so if the controls are greyed-out. Create a background layer to activate these commands.
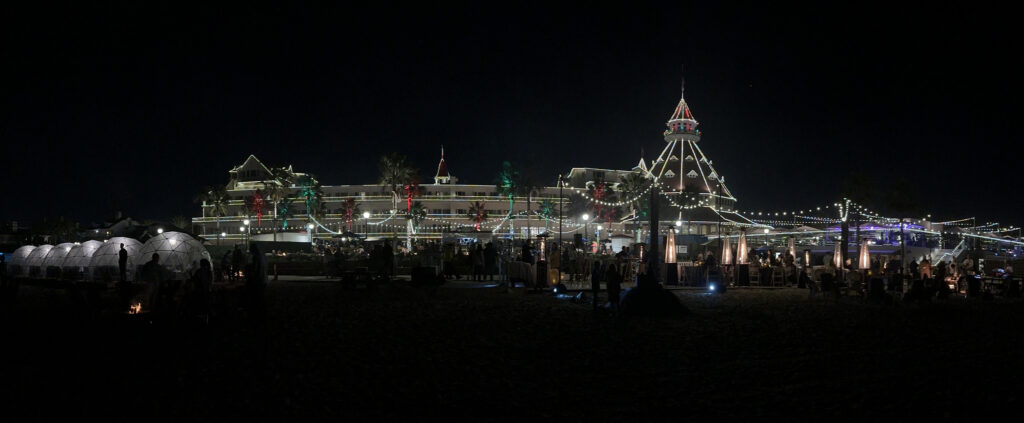
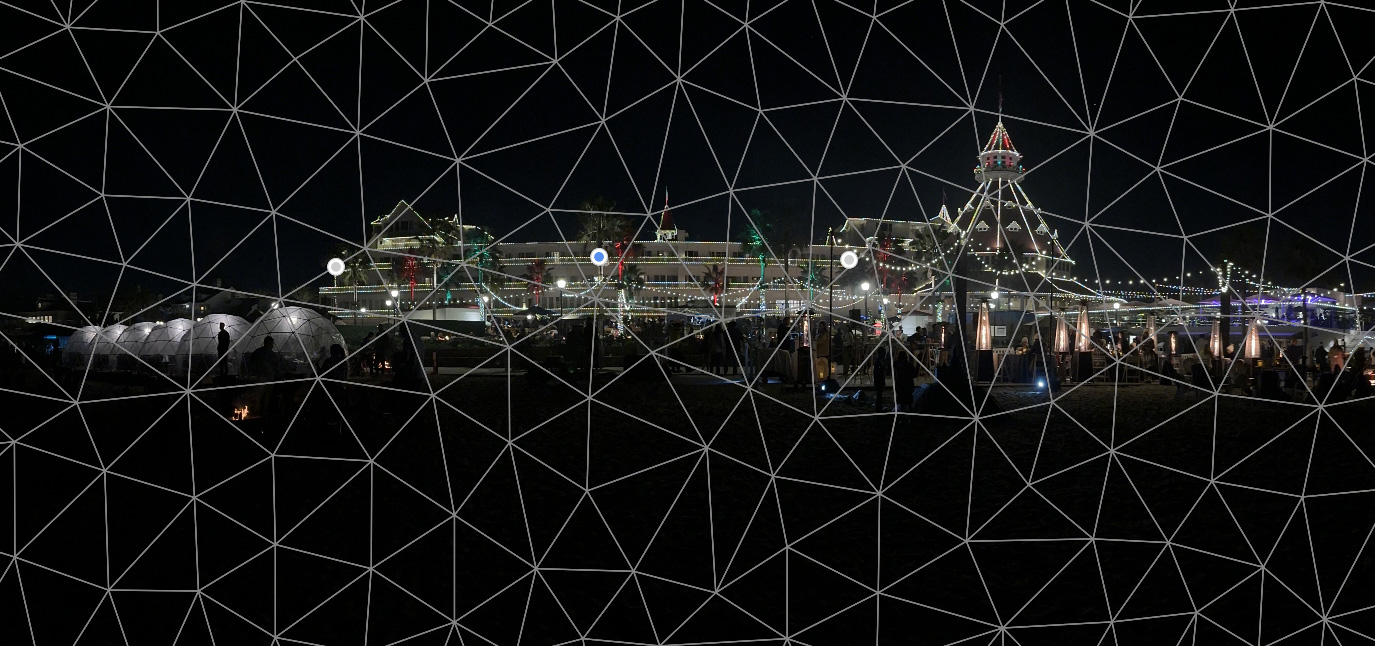
iPhone Hotel Del Coronado panorama uncorrected
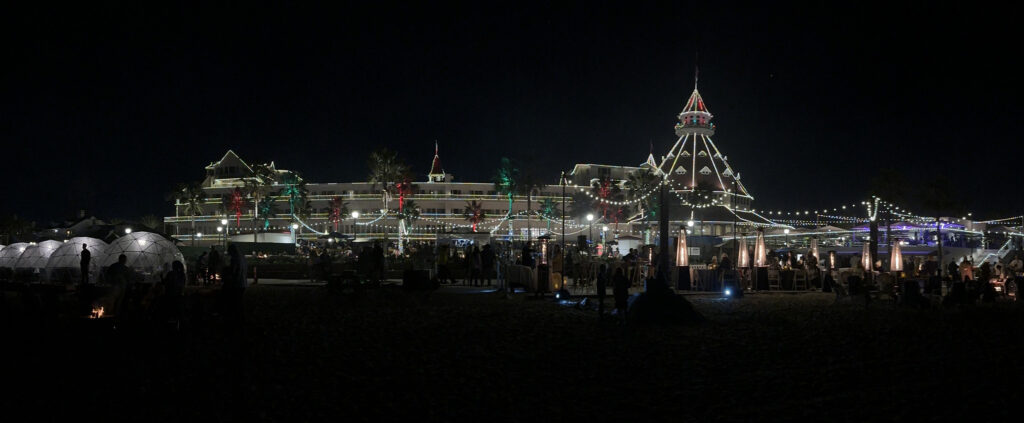
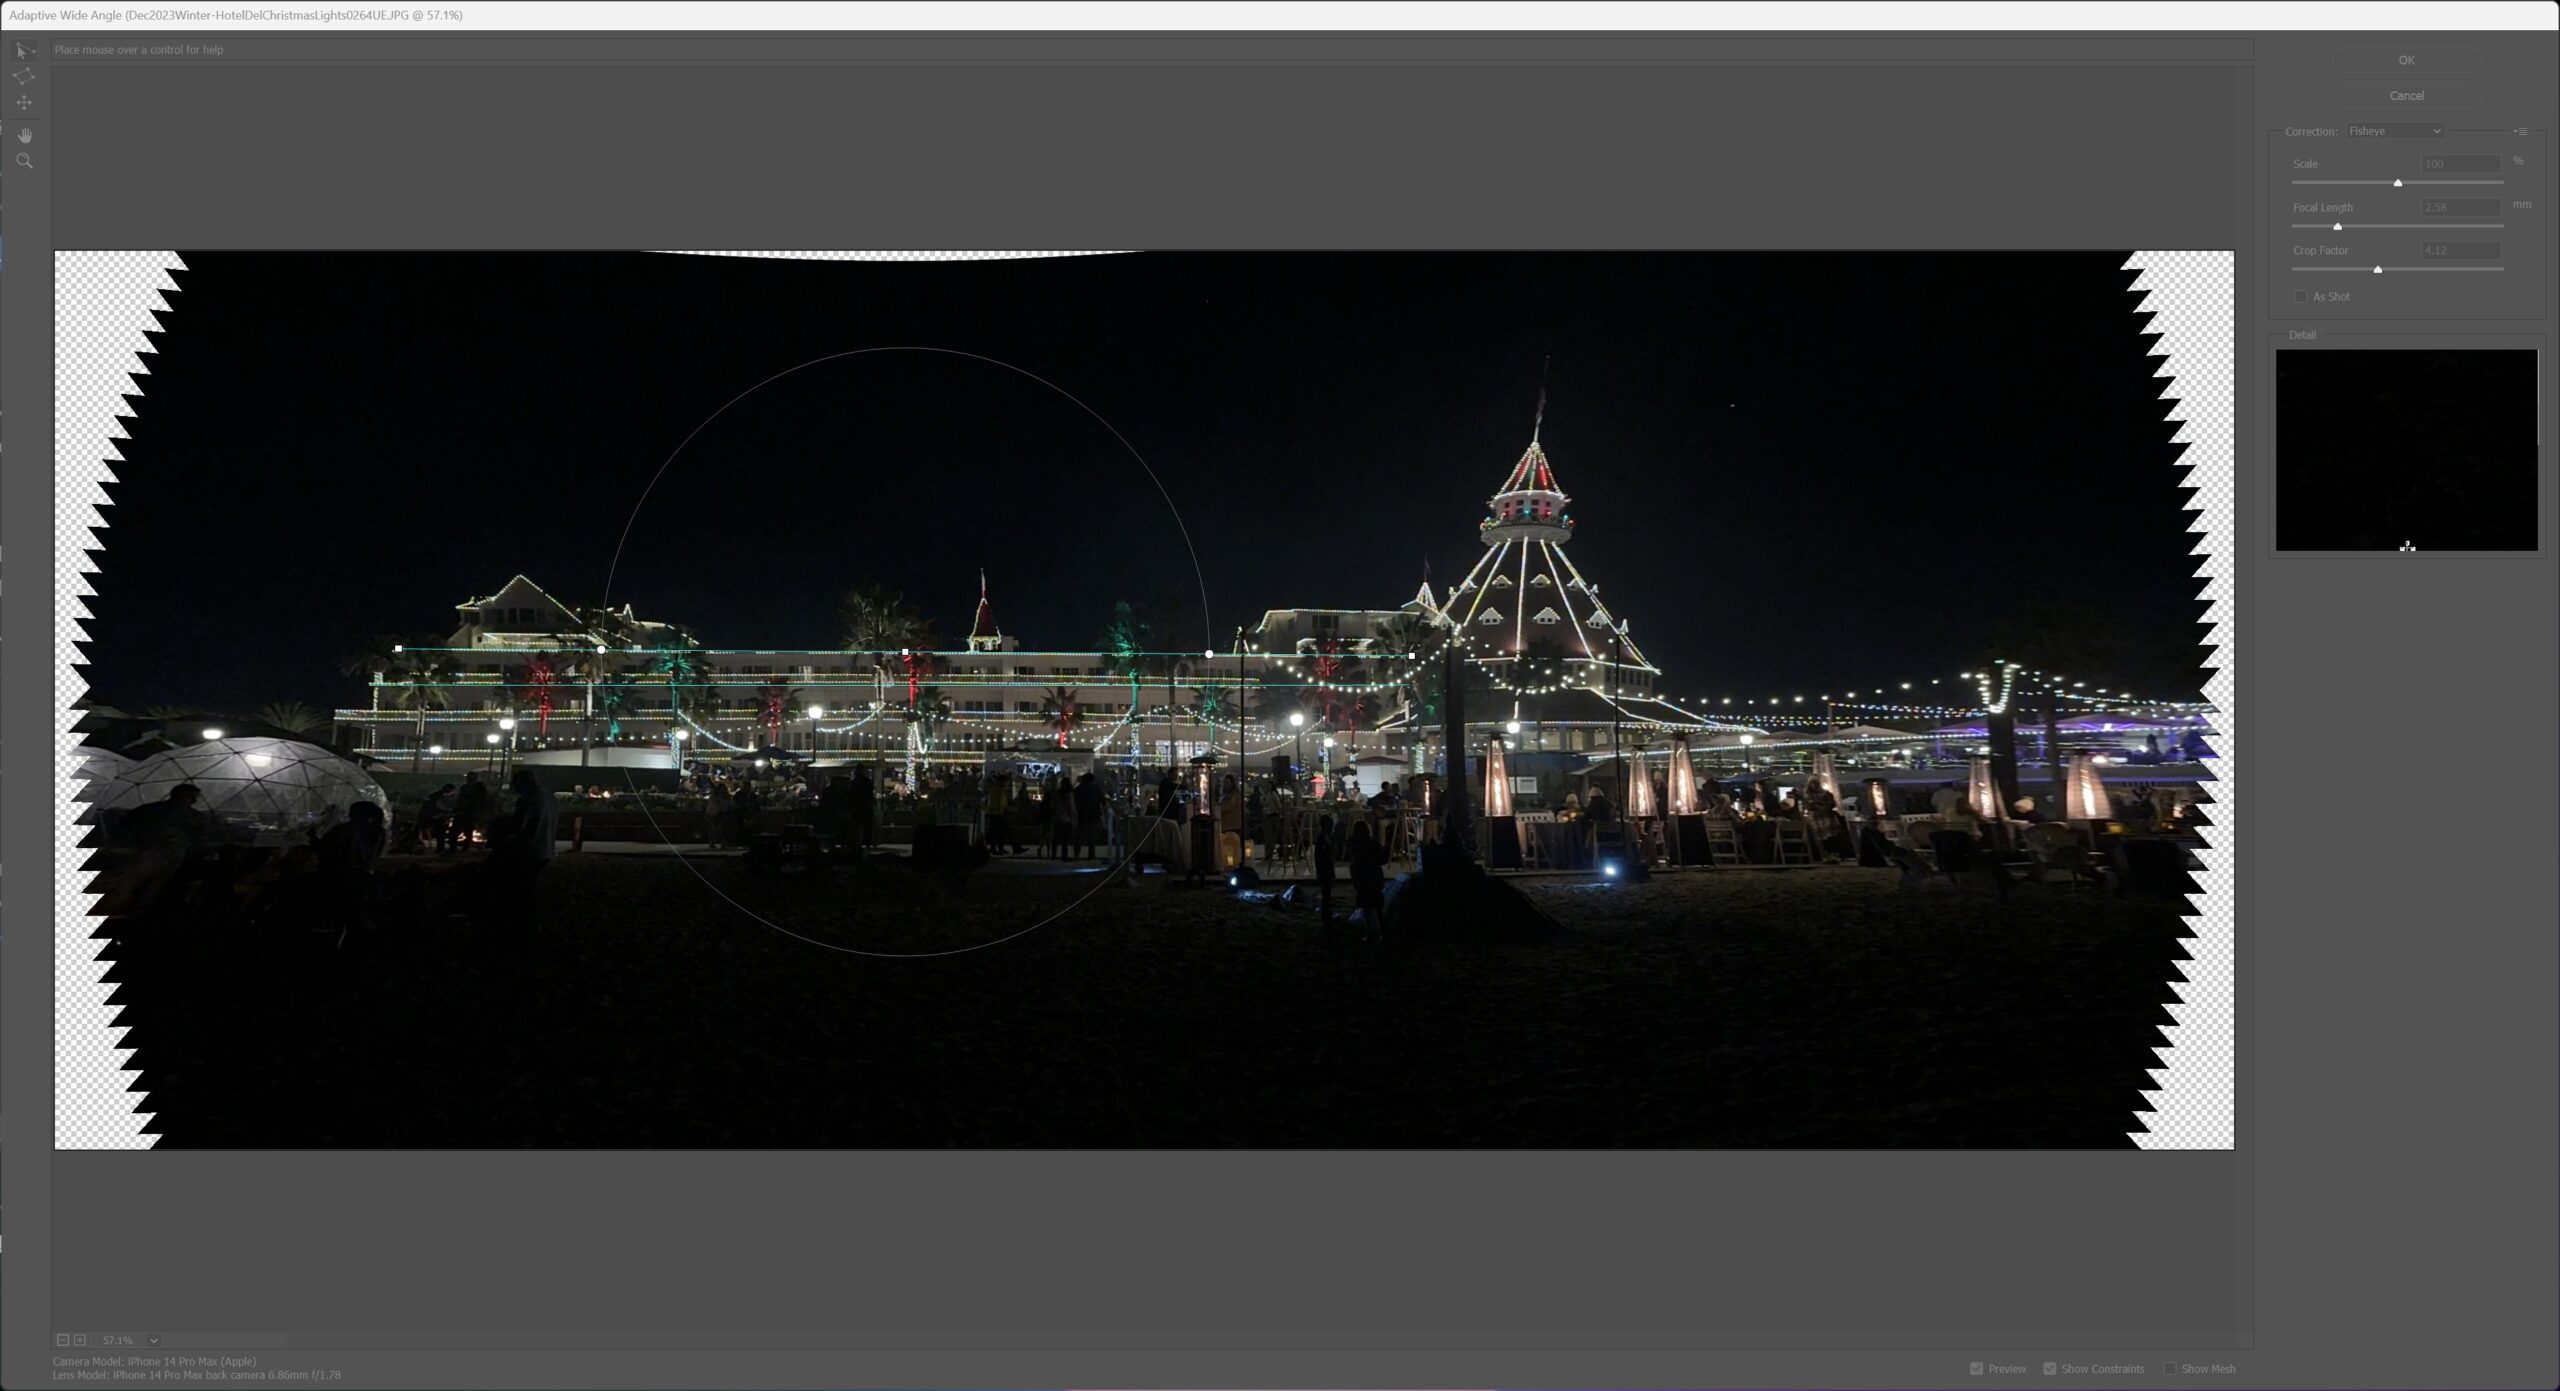
iPhone Hotel Del Coronado panorama, Adaptive Wide Angle corrected. There is still a slight bow plus the image is slightly cropped.
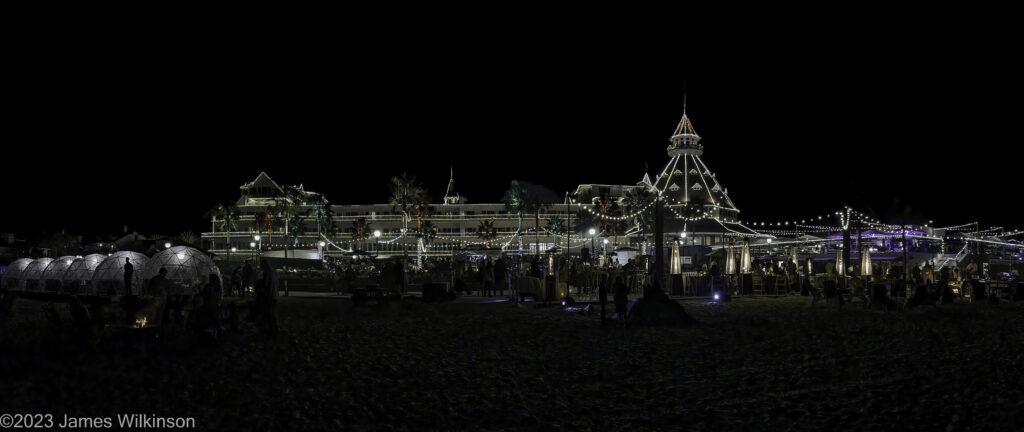
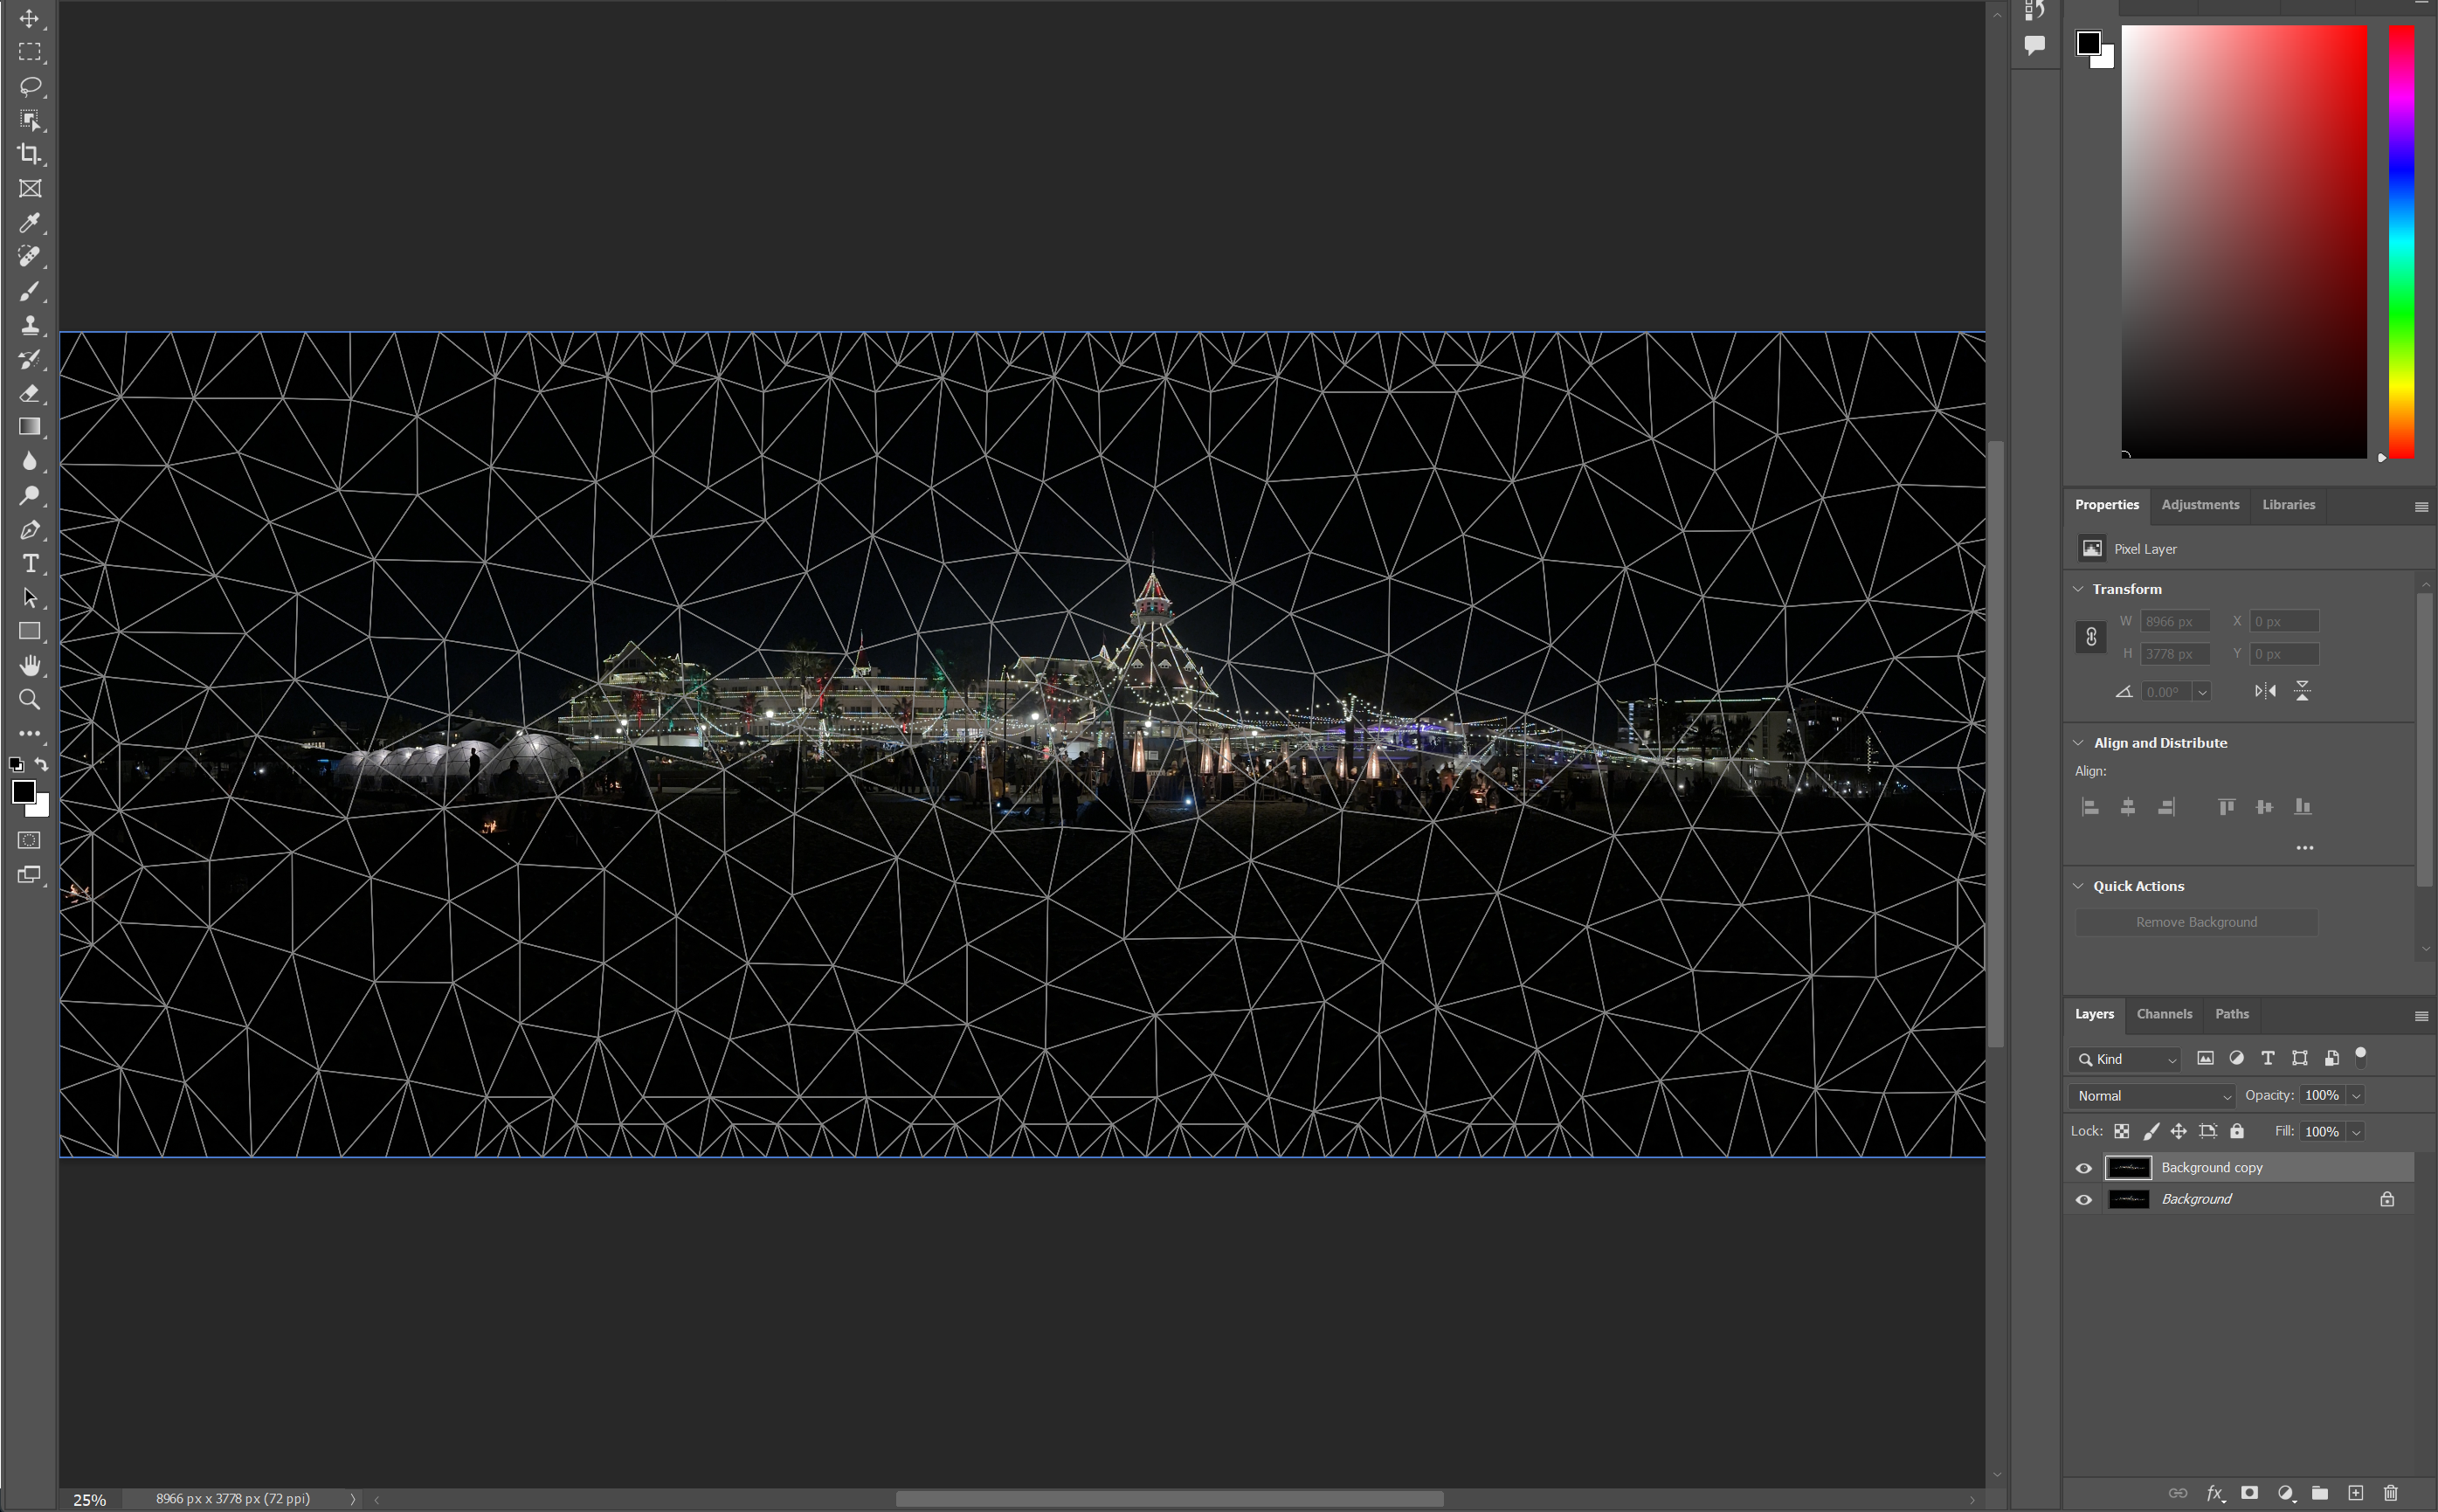
iPhone Hotel Del Coronado panorama, Puppet Warp corrected. Notice the left and right edges are not straightened but also not distorted
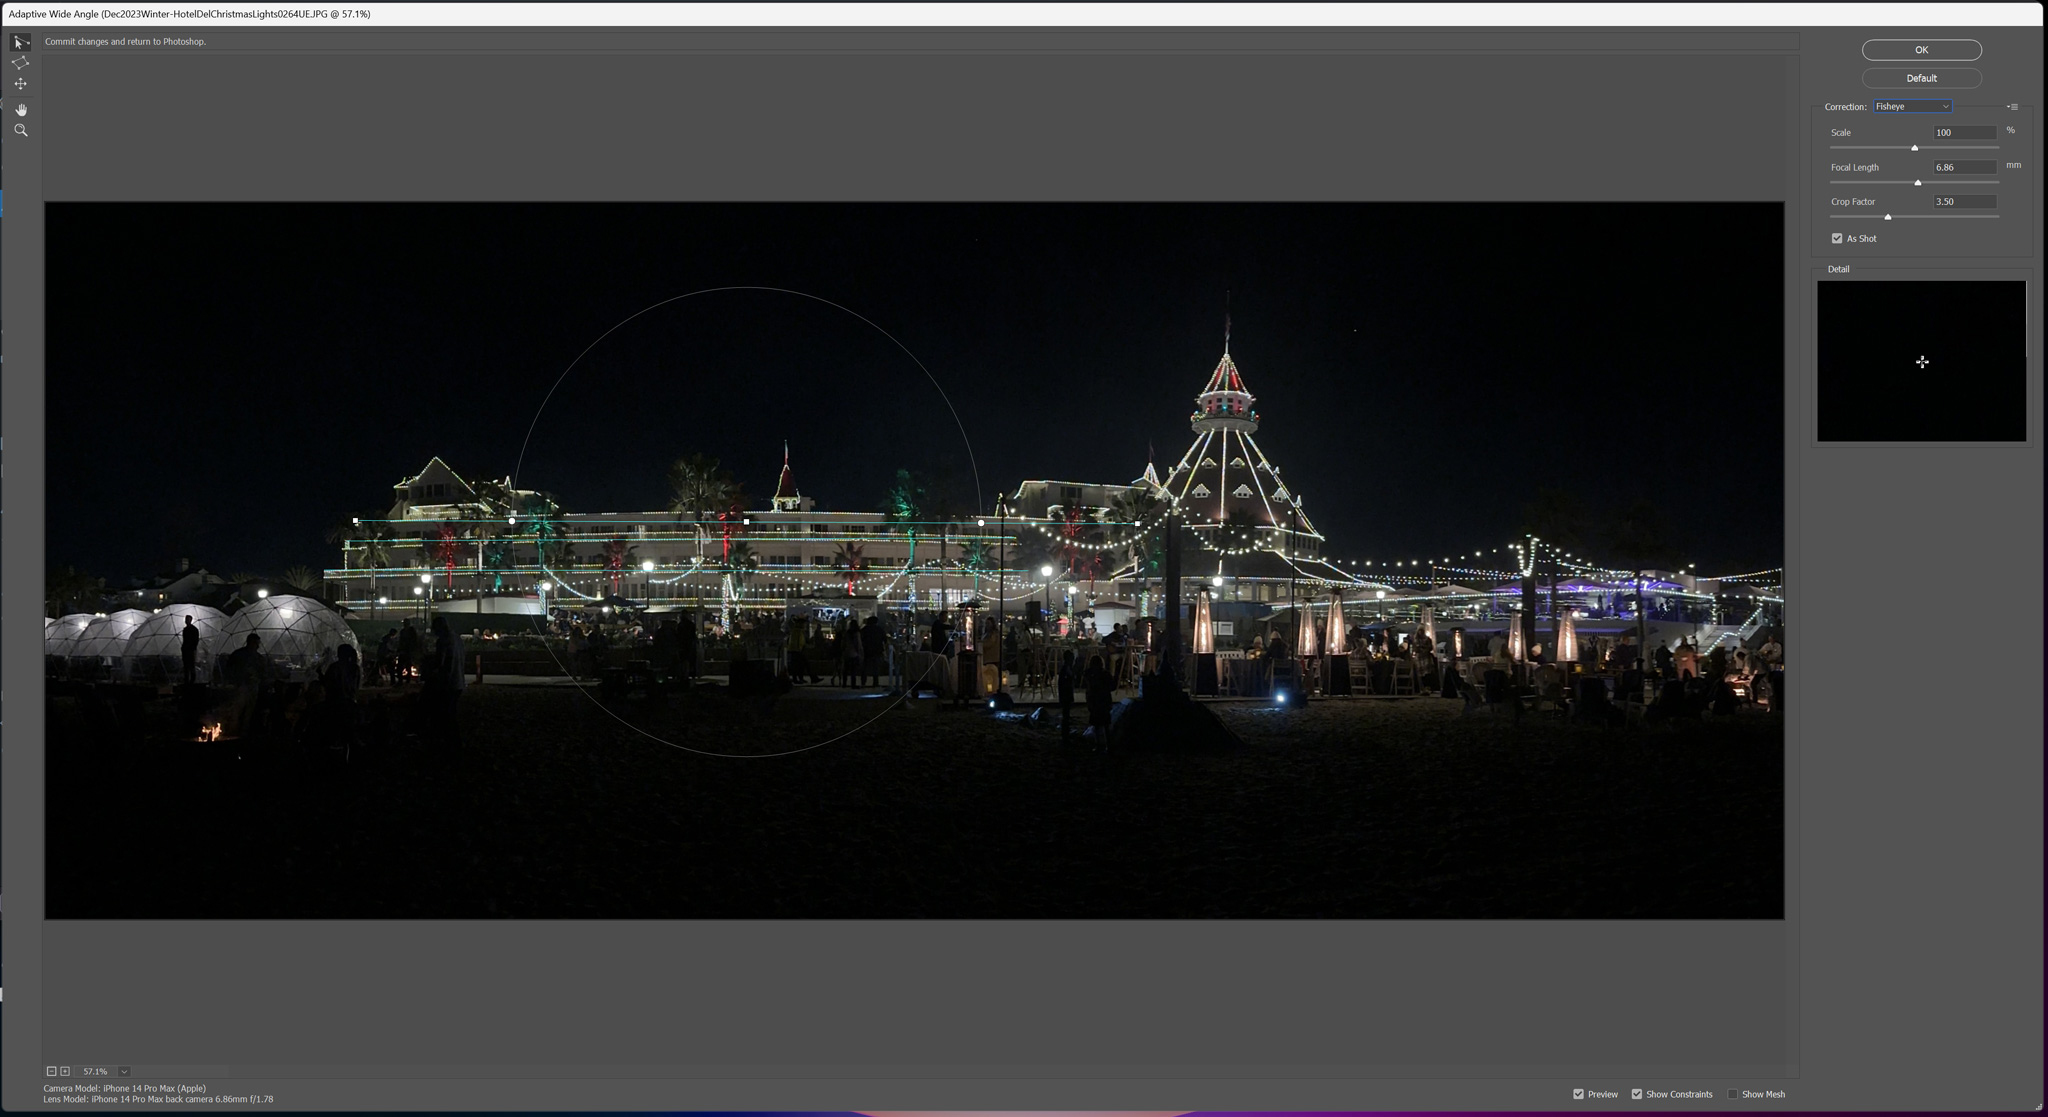
Adaptive Wide Angle
Using Photoshop Filter Adaptive Wide Angle requires setting two horizon points, drawing a straight line as a guide then bending the line along the horizontal plane. Then you select & apply the lens correction (Auto, Fisheye, Perspective, Full Spherical). Fisheye will straighten the building but distorts the sides.
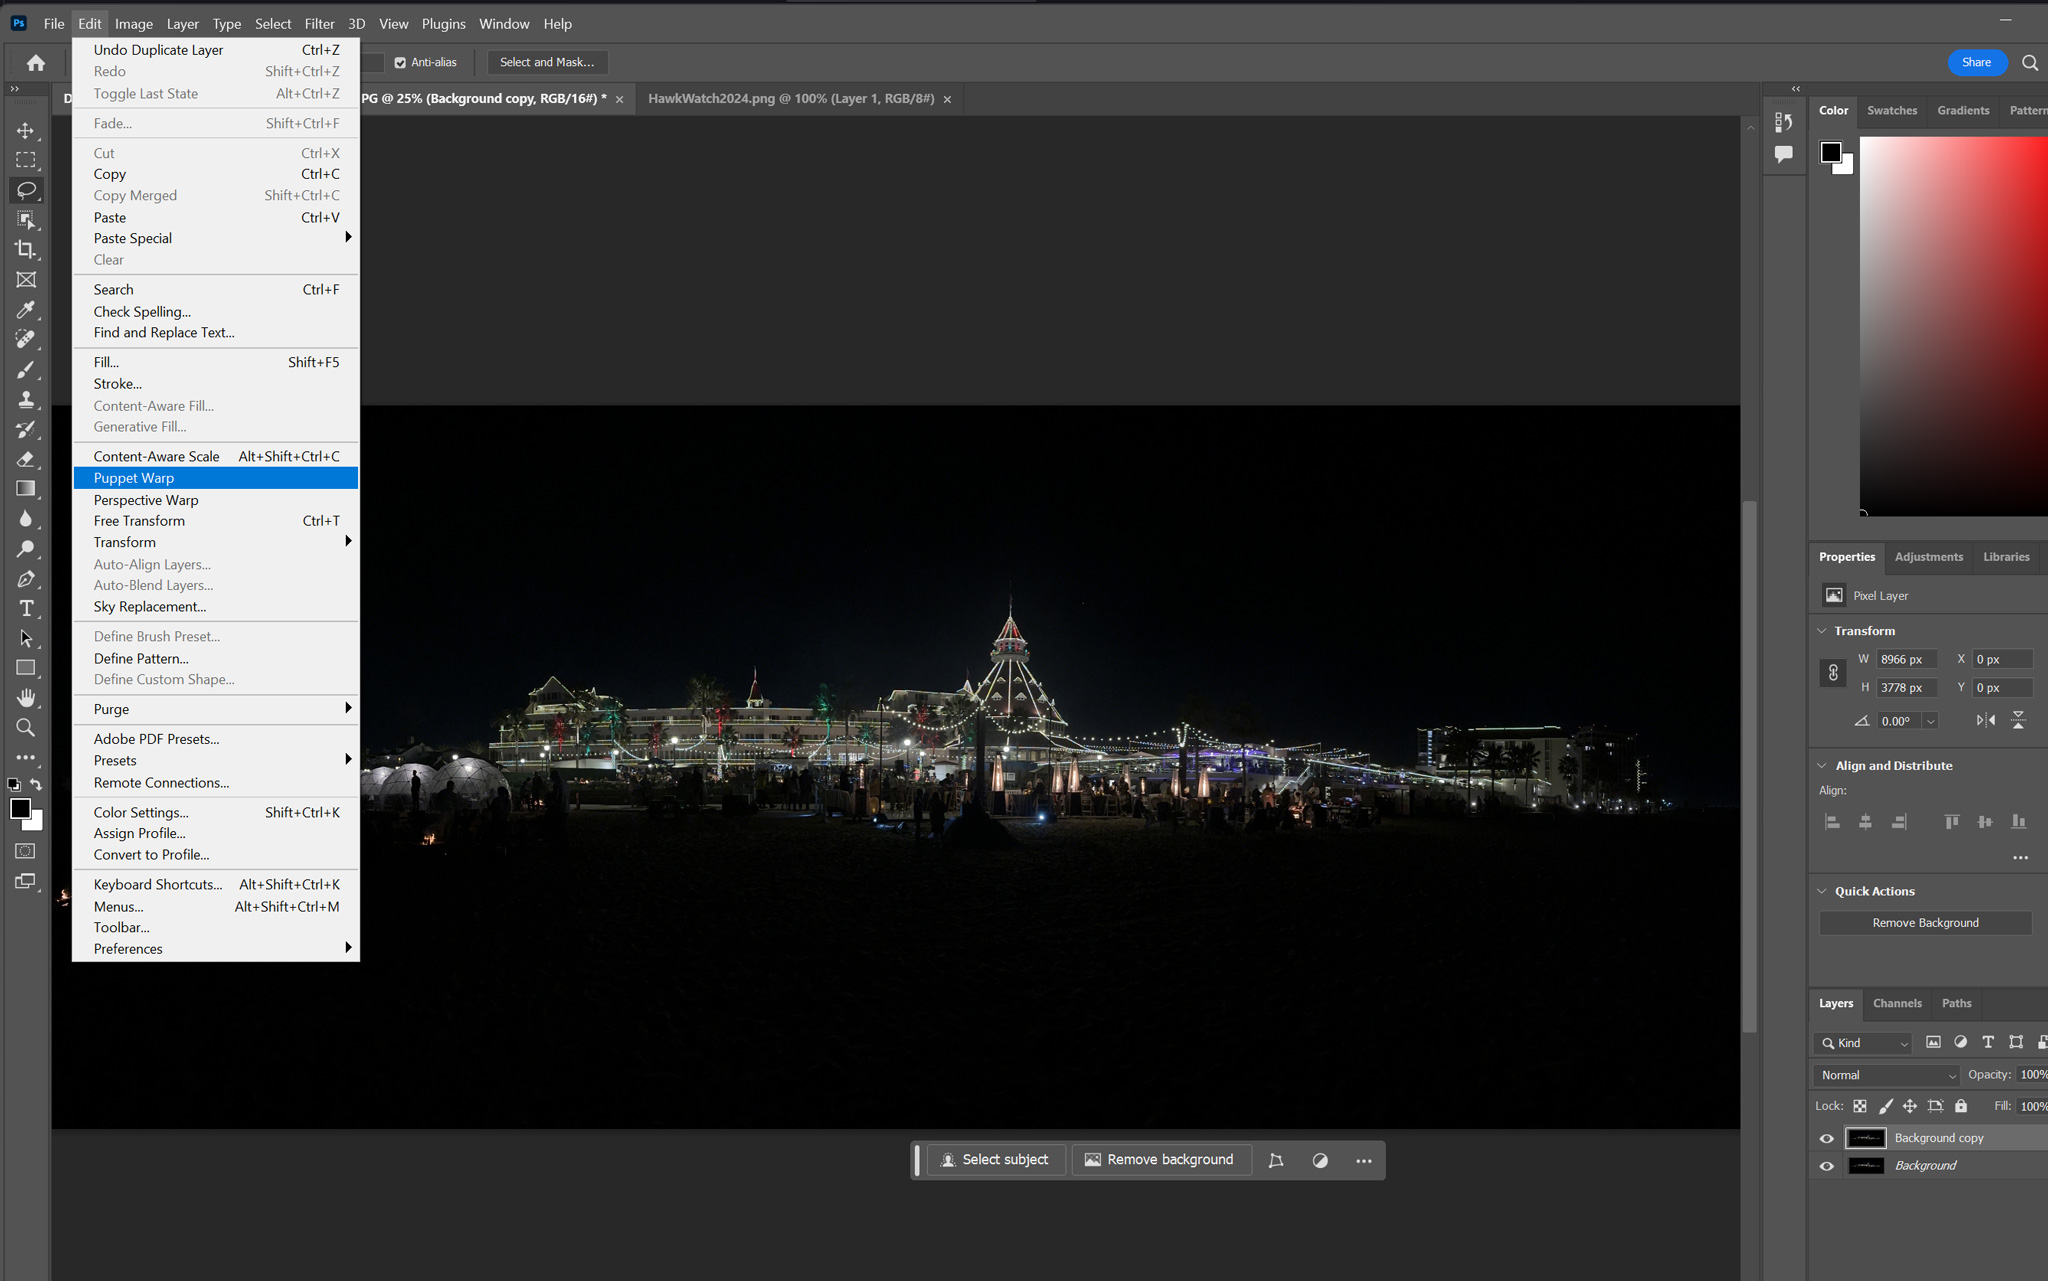
Puppet Warp
This is my first try at using Puppet Warp and I was impressed with its flexibility. You can apply corrections to specific areas without affecting the entire image. Adaptive wide angle affects the entire image, puppet warp affects only the area you work on.
Both corrections have their application. But I prefer the Puppet Warp’s ability to just affect the hotel and leave the edges unaffected. The Adaptive Wide Angle would be more for correcting wide angle lens distortion as I’m sure it designed to do.