Fujifilm cameras with their built-in film simulation settings are currently very popular for quickly generating images (jpgs) for social media. Other camera makers have camera menu settings or profiles such as ‘Vivid’ or ‘Monochrome’ that produce in-camera jpgs with similar results. But Fujifilm cameras take the color science further, by adding ‘analog film’ simulations. These result in photos that look like they were taken using a film camera using Fuji or Kodak roll film. These film simulation effects can also be applied to videos shot with Fujifilm cameras.
What are film simulations? They are basically a manipulation of the color and contrast to emphasize different color spectrum. Some presets even add grain to truly emulate particular film characteristics. Adjusting in-camera digital sensor settings can result in a photo that emulates a particular film stock. When I shot film, I chose Fuji film when I wanted to enhance the green; I’d use Kodak Velvia for neutral flesh tones; Kodachrome for reds; Ektachrome for blues.
There are websites dedicated to different camera ‘film recipes’ that photographers can program into their non-Fujifilm cameras. There are additional recipes for Fujifilm cameras (for specific sensor generations) that can also be added. Most newer digital cameras have custom settings that can save these recipes then apply them to jpgs when dialed-in.
Sources for film simulation presets:
Of course you can Google ‘Film simulation presets‘ and find many available. The ones I’ve tried are:
- FreePSDvn.com – has many free presets organized by style or effect. They ask for a coffee donation if you find them useful.
- DXO Filmpack – commercial film simulation with a 30-day trial. This is a great set of presets especially if you want to try nostalgic film processes as well as Agfa, Fuji, Illford, and Kodak film simulations. Wait for Black Friday when this goes on sale.
- Nikonpc.com – this is a resource for the Nikon shooter. Unlike digital darkroom presets, this site has in-camera film simulations you can program into your Nikon camera. Then your Nikon can generate jpgs in-camera like Fujifilm cameras. Film simulations are selected from the in-camera menu and can be programmed to the custom buttons.
- FujiXWeekly.com – has a collection of film simulation recipes that are compatible with Fujifilm cameras, sensor-specific: X-Trans V, IV, III, II, & I. They also have an app (iOS or Android) with recipes ie settings that can be programmed into Fujifilm cameras and saved.
Why use film simulations when shooting digitally? Digital cameras will produce neutrally-toned images based on the camera manufacturer’s color science. People often choose a camera based on this – some people prefer Sony’s color science, others like Canon or Nikon, especially in regards to skin tones. This is especially true for photographers generating jpgs directly from the camera not wanting to wait or post-process.
Some photographers, like myself, prefer to shoot jpg+raw. Raw format offers the most information & potential for post-processing in a digital darkroom – computer software like Lightroom, Adobe Camera Raw, Capture One, or PhotoLab. But camera-generated jpgs are handy to include since they are available to share immediately without post-processing.
My current workflow is to shoot raw and process the photos in Lightroom & Photoshop. This results in (potentially) the truest representation of what I was photographing. Allowing me to maximize the dynamic range, adjust the color, & balance the exposure of the scene. Any experienced Lightroom or Photoshop user can create their own presets and save them. These presets can then be applied at different percentages (<100%) and their intensity or effect adjusted using sliders.
I started photographing using Nikon film cameras a long time ago. So lately, I’ve been curious about making digital photos that emulate analog film from that time. The ability to generate images with analog film color science applied can results in photos that are more of an artistic interpretation. At least in my mind. So lately, my post-processing is to start with analog film presets professionally formulated then adjusting settings after their application.
Buying a Fujifilm camera and using their built-in film types is a very popular practice for photographers interested in analog film simulation. But, if like me, you are invested in another camera system. You can find film simulation presets (many free) that work on raw images or jpgs from any camera. I can shoot normally – raw+jpg – and in the digital darkroom (Lightroom) apply different film simulation presets after I’ve edited the raw image. This allows more flexibility than in-camera film simulation jpgs by allowing you to try different film simulations on a single (edited or unedited) image. You lose the immediacy of in-camera jpgs being uploadable to social media. But you can experiment with different film simulations and find the one most appealing for the subject matter – flesh tones for example.
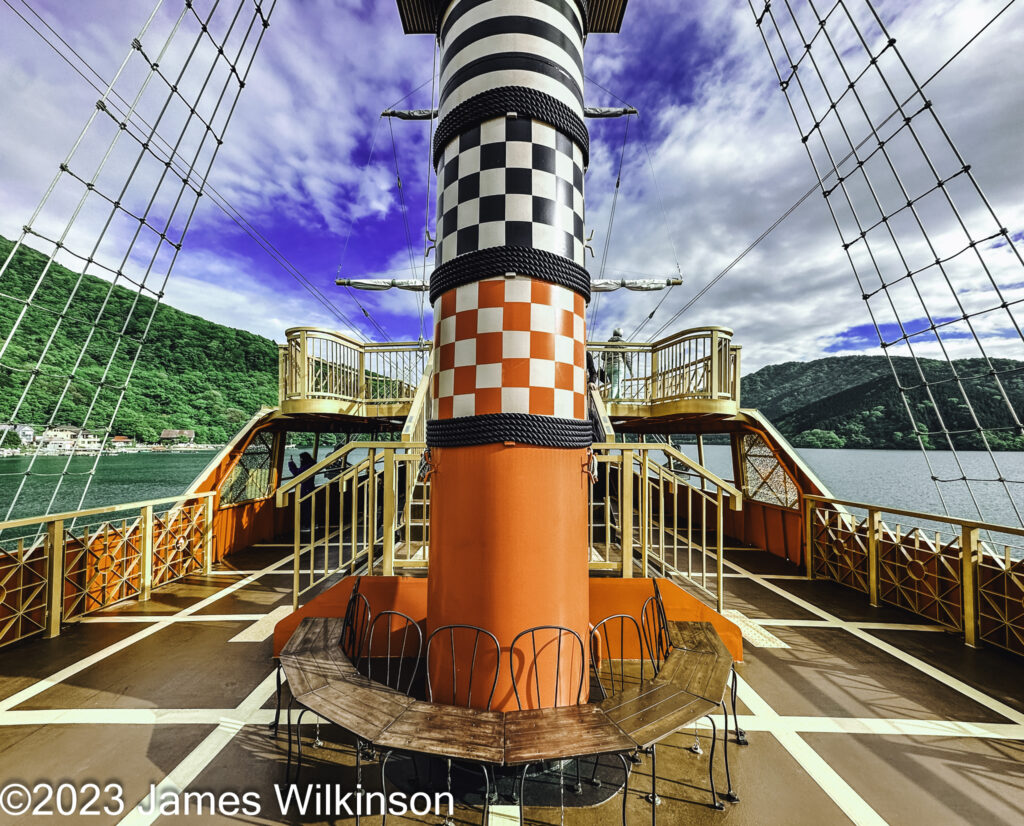
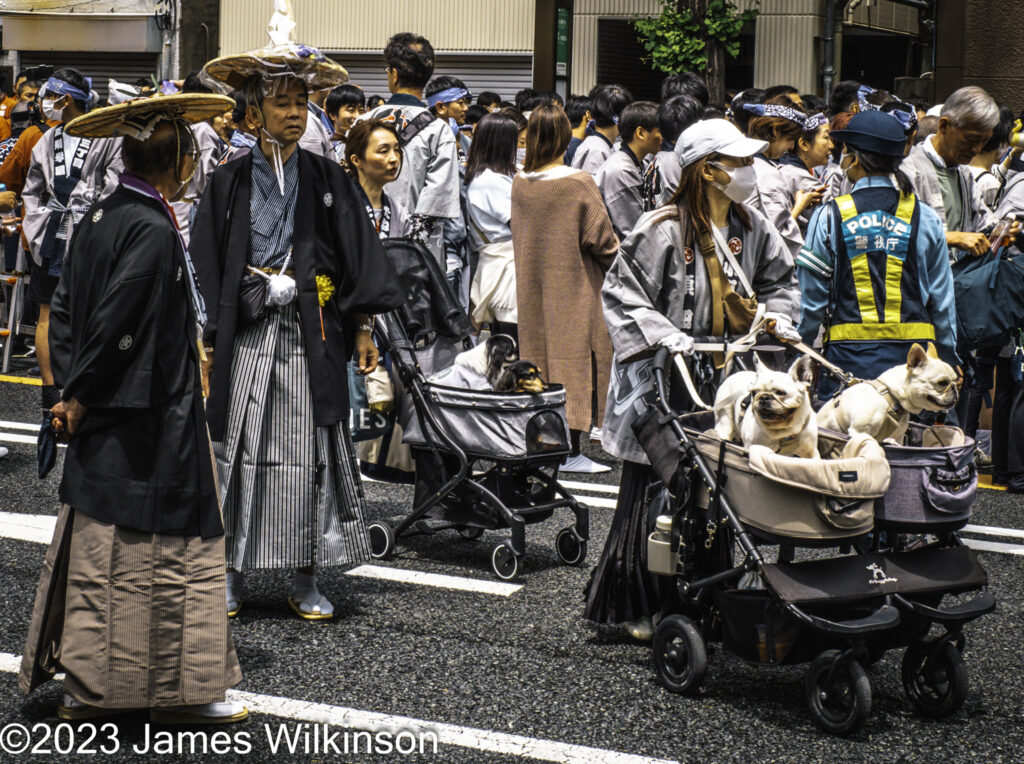
Here are some results


Wes Anderson Presets (for @accidentallywesanderson)


Other Film Simulations


